Showing posts with label restoration. Show all posts

Monday, June 20, 2022

New Low Moisture Cleaning Technique used on the Restoration of Vintage Victorian Flooring in Carlisle Cumbria

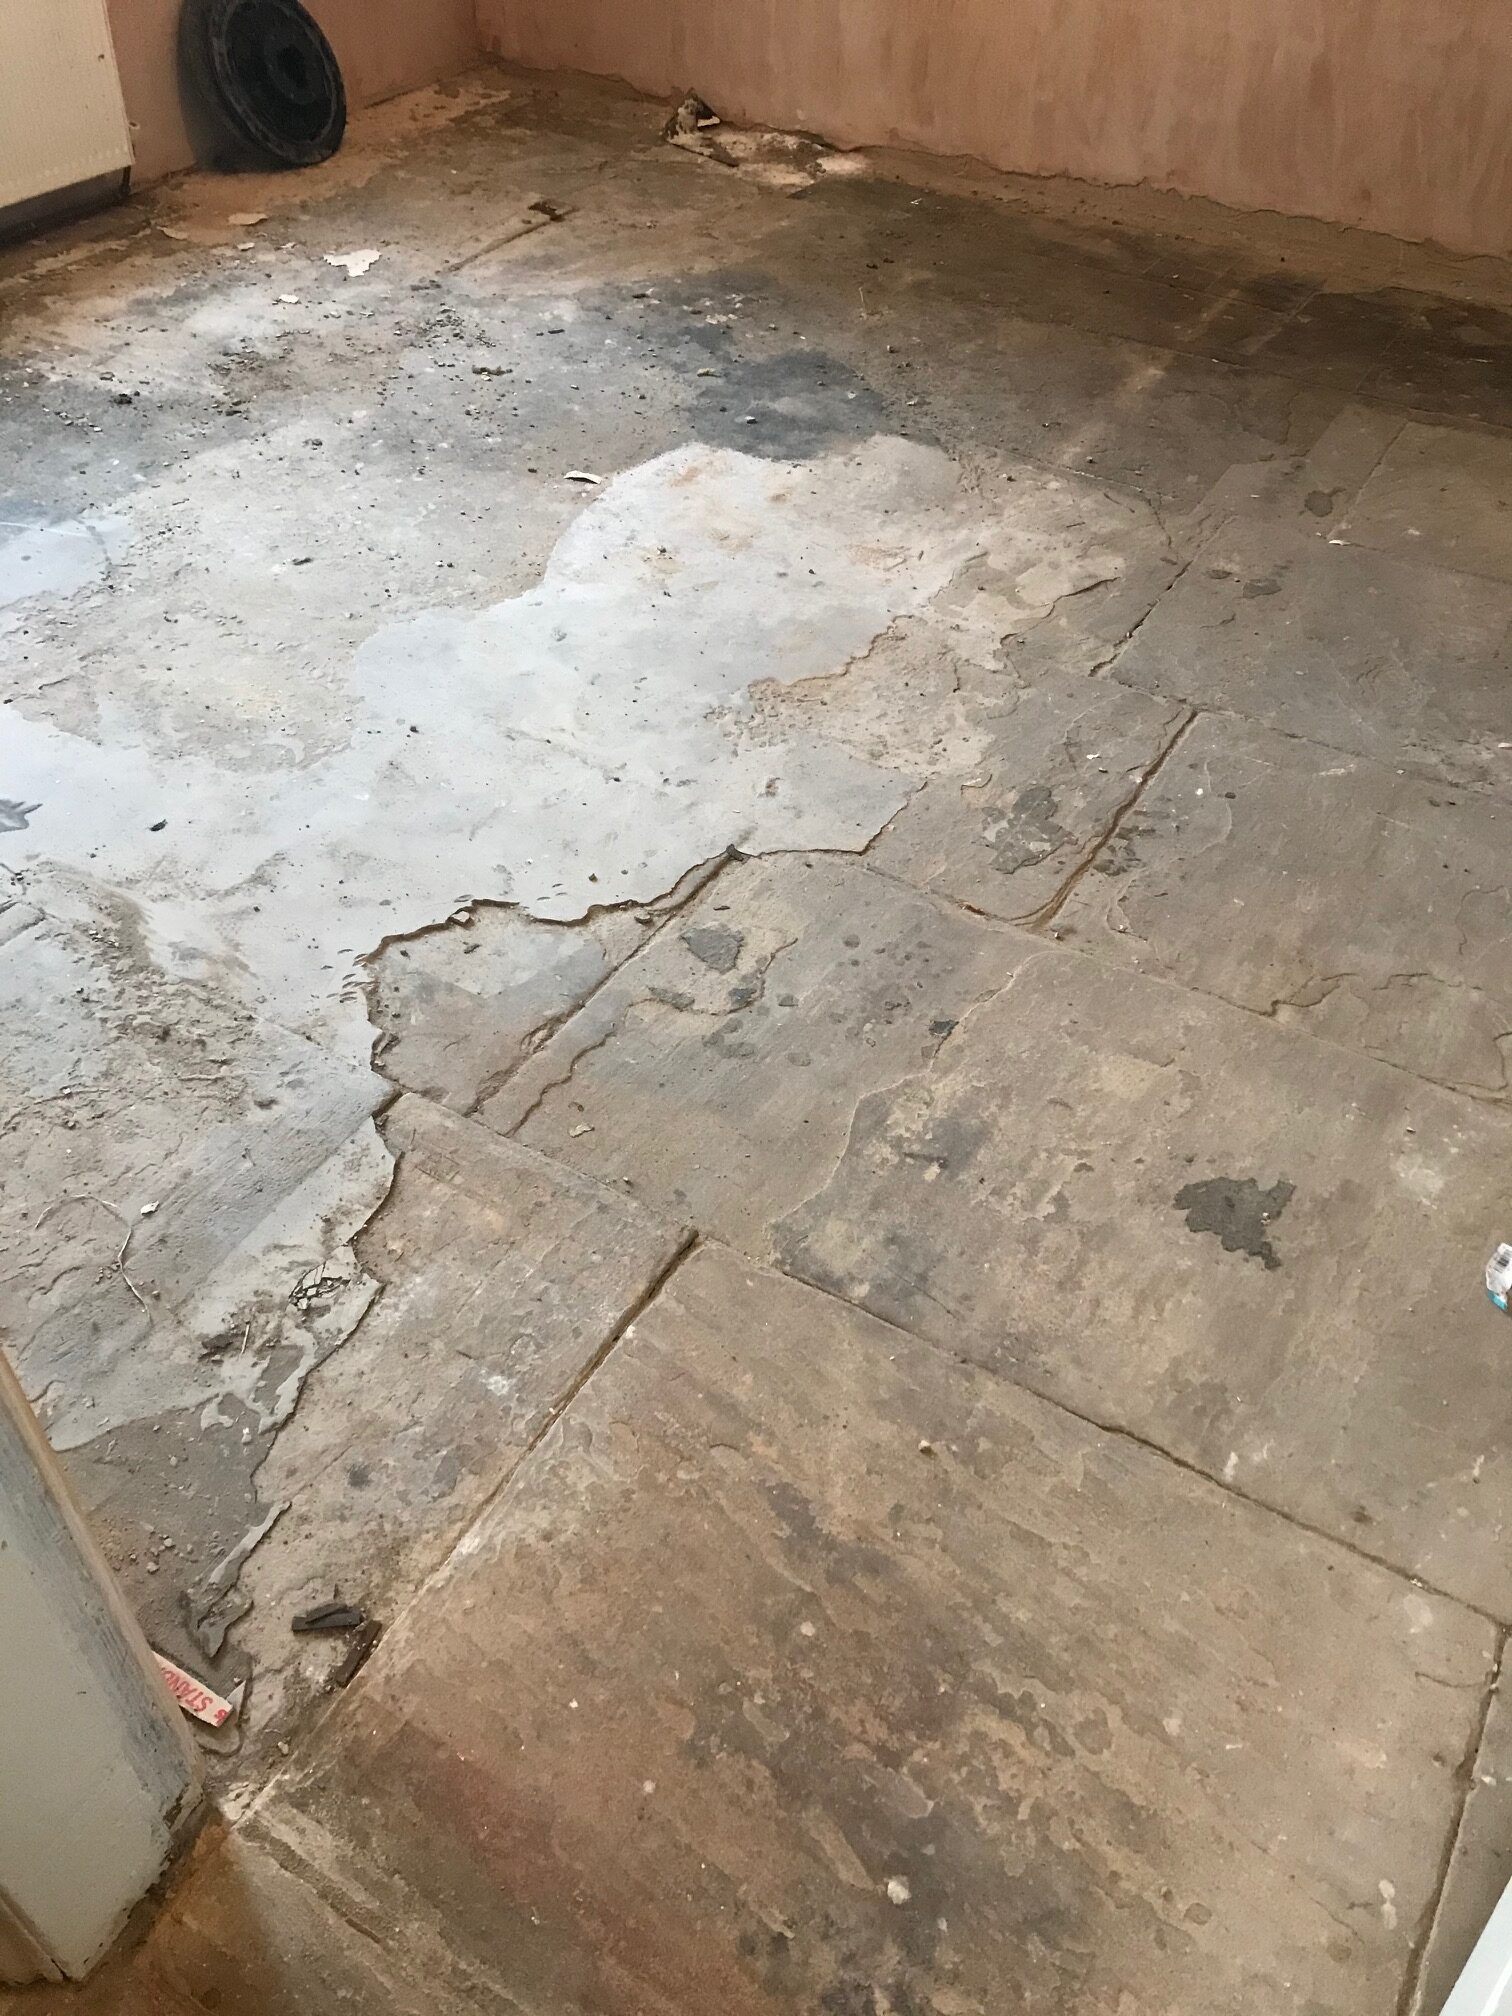
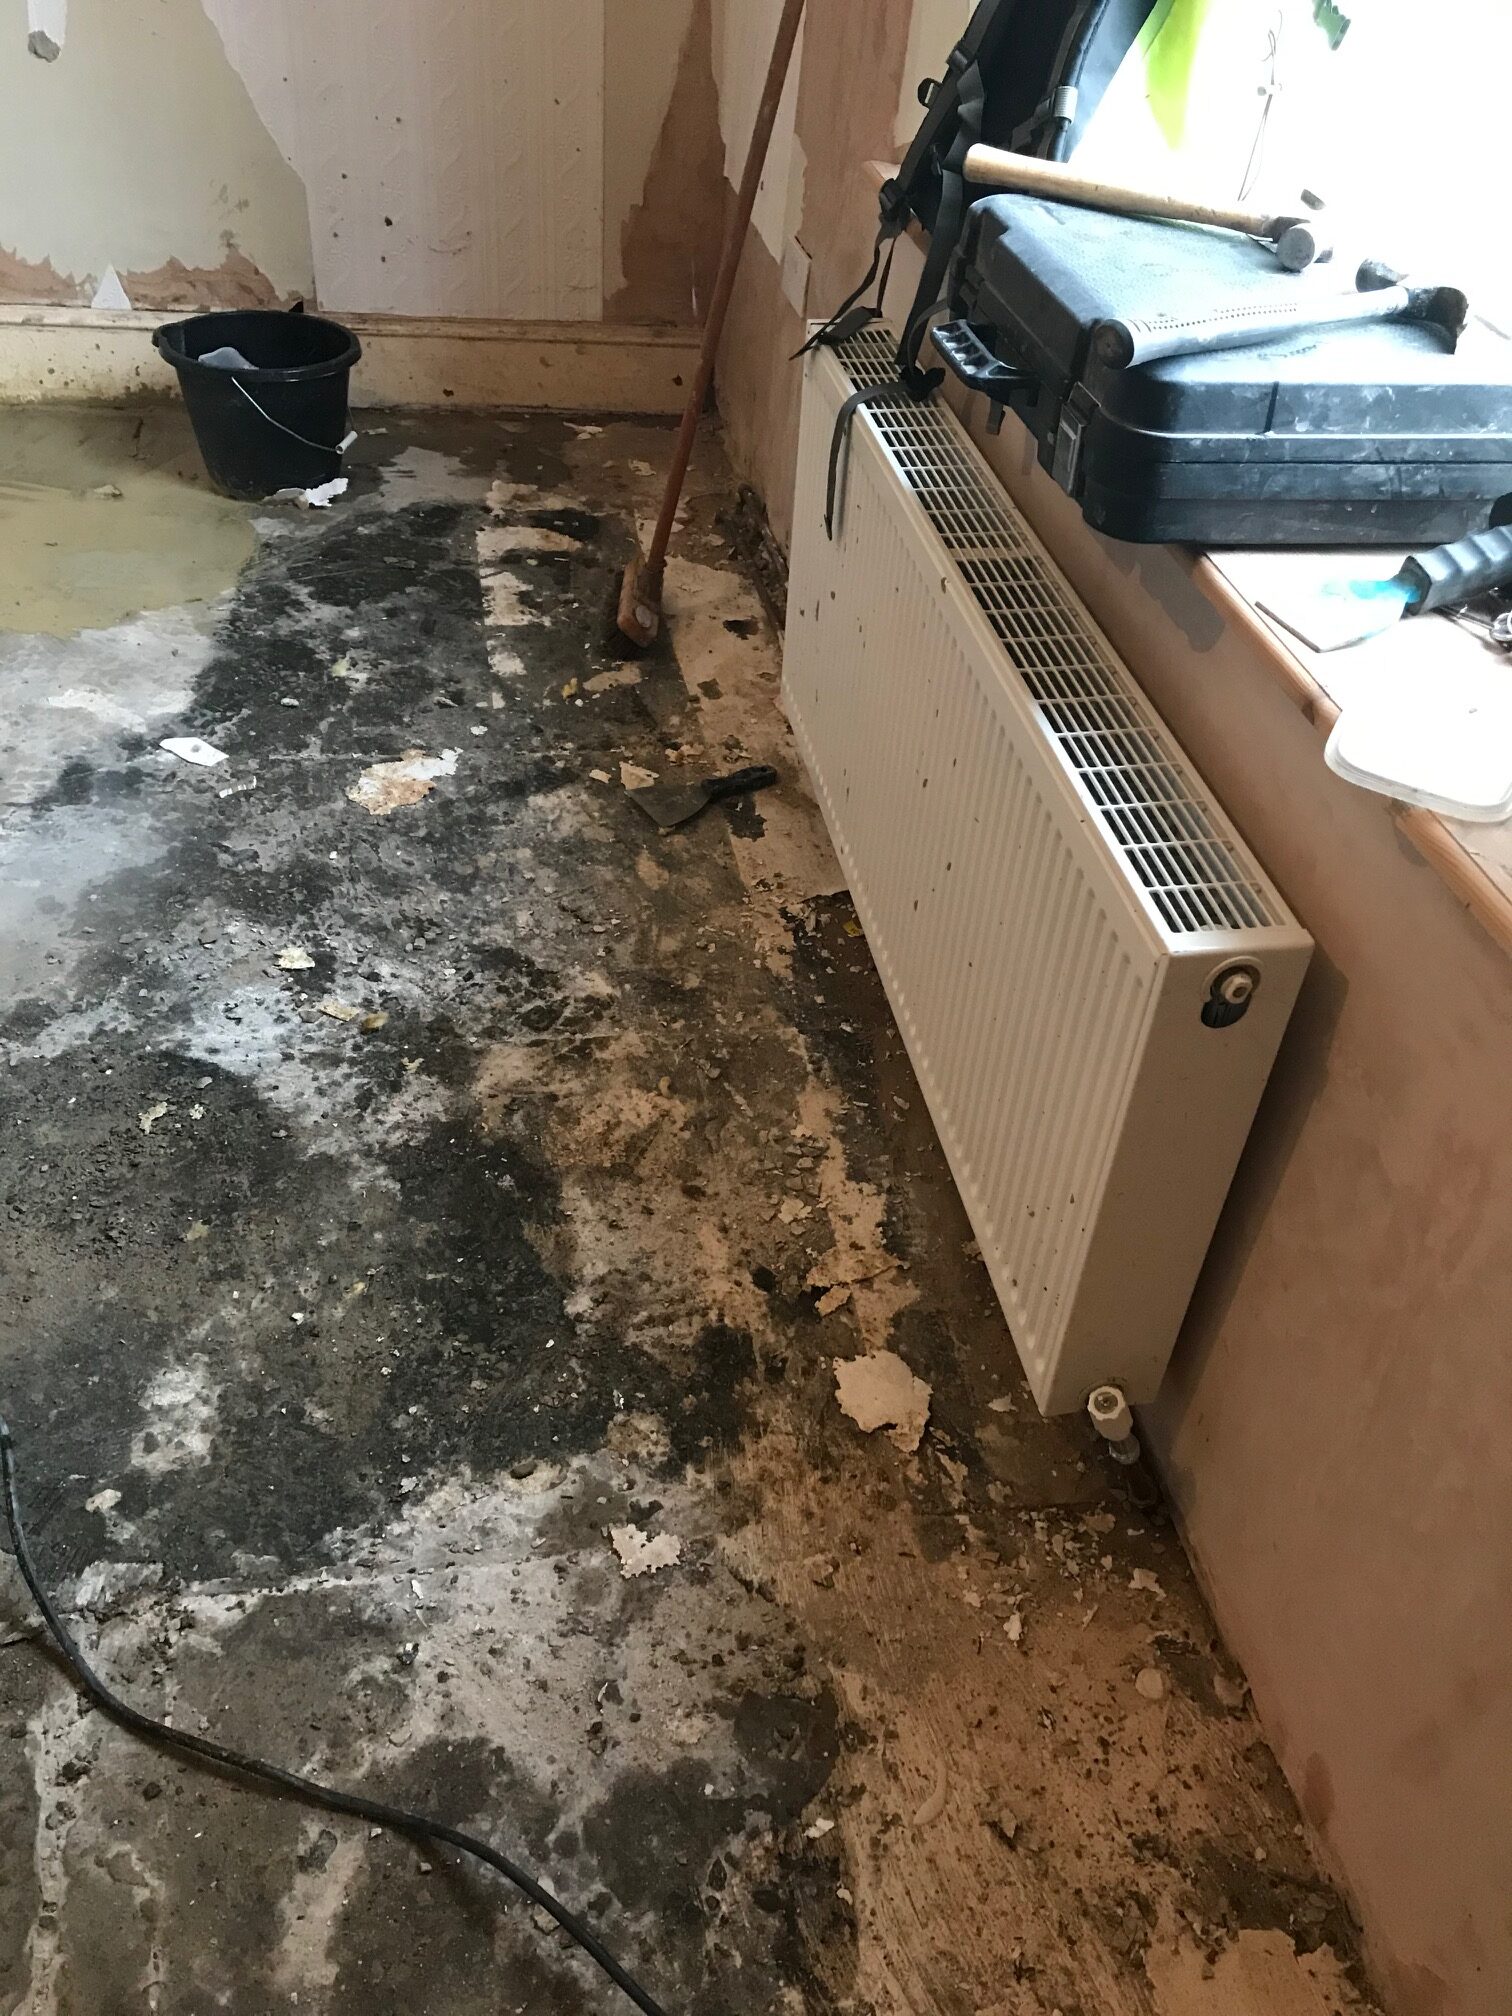
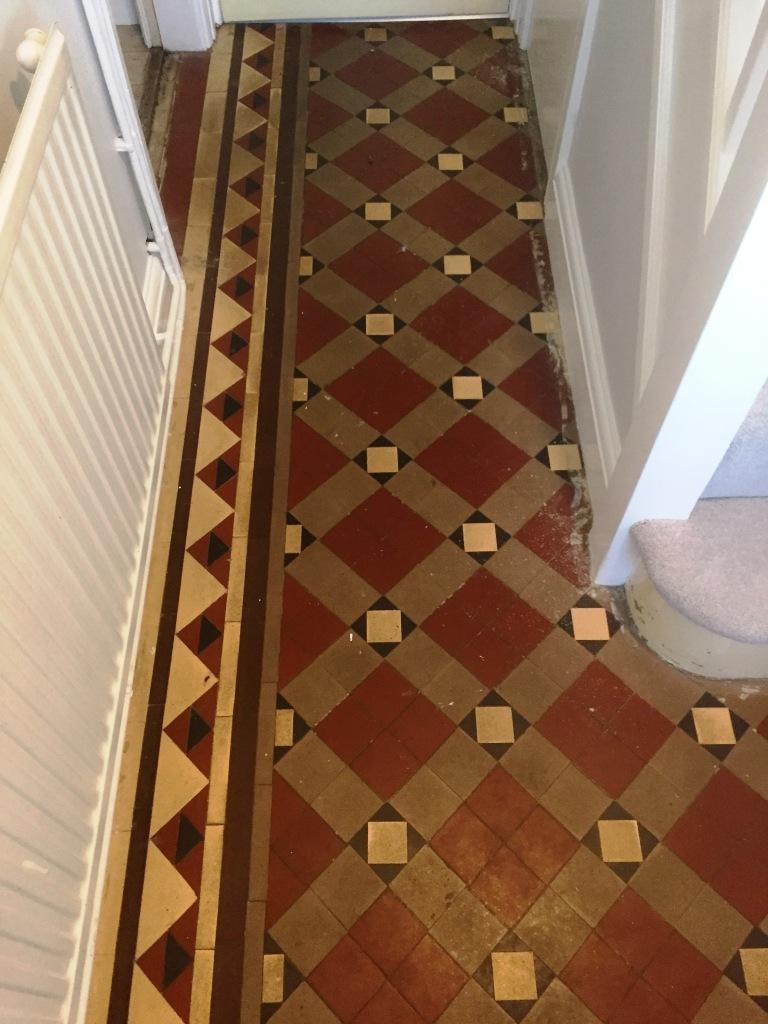
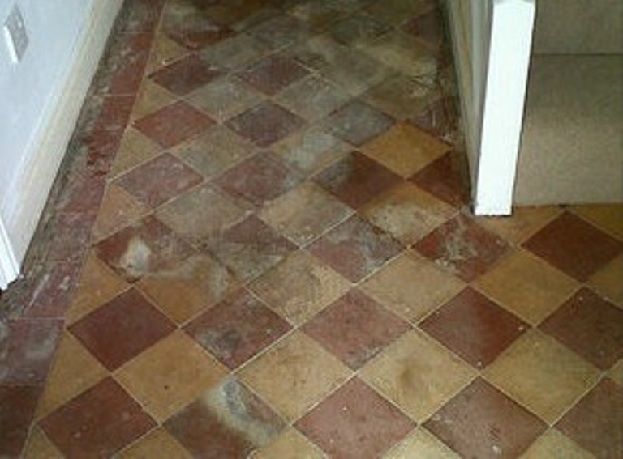
This is probably one of the oldest Victorian floors we have worked on, the house dates back to 1853 and is the second one we have covered on the same road in the leafy city of Carlisle . The whole street was owned by the council for several decades and the houses including floors have experienced all sorts of damage to them over the years. More recently the houses have been released to a private developer who called us in to handle the restoration and resurrect the hallway tiles which you will see on the pictures.
 
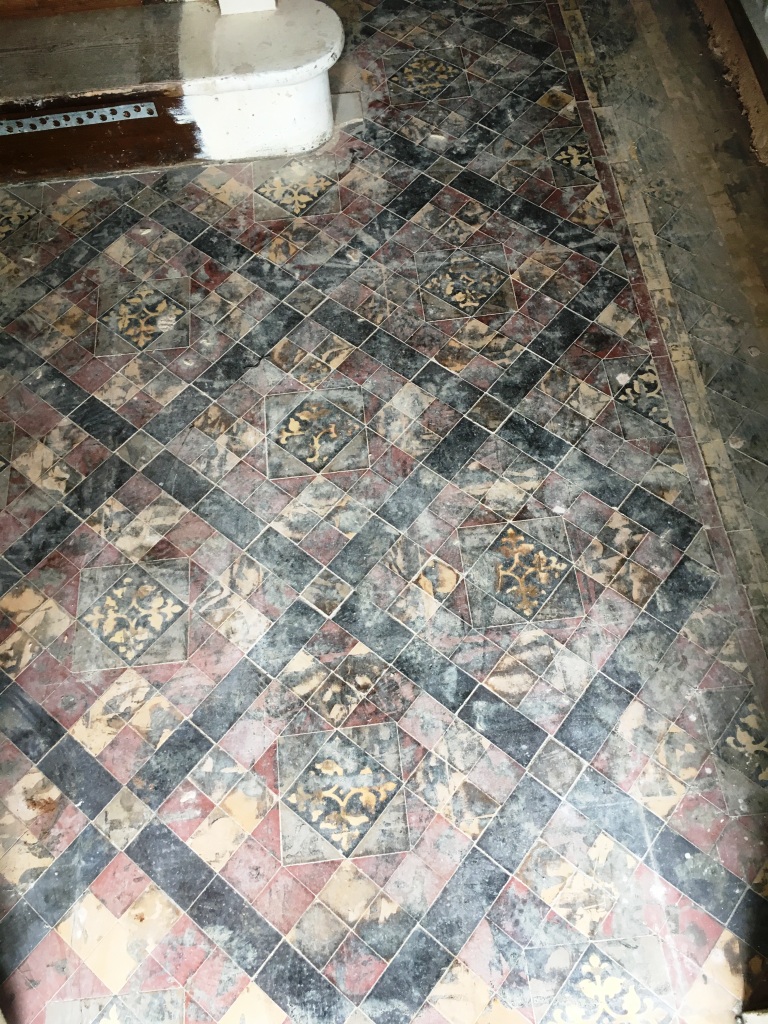
Period 1853 Victorian Hallway Floor Before Restoration Carlisle Period 1853 Victorian Hallway Floor Before Restoration Carlisle


Cleaning and Repairing a Victorian Tiled Hallway Floor

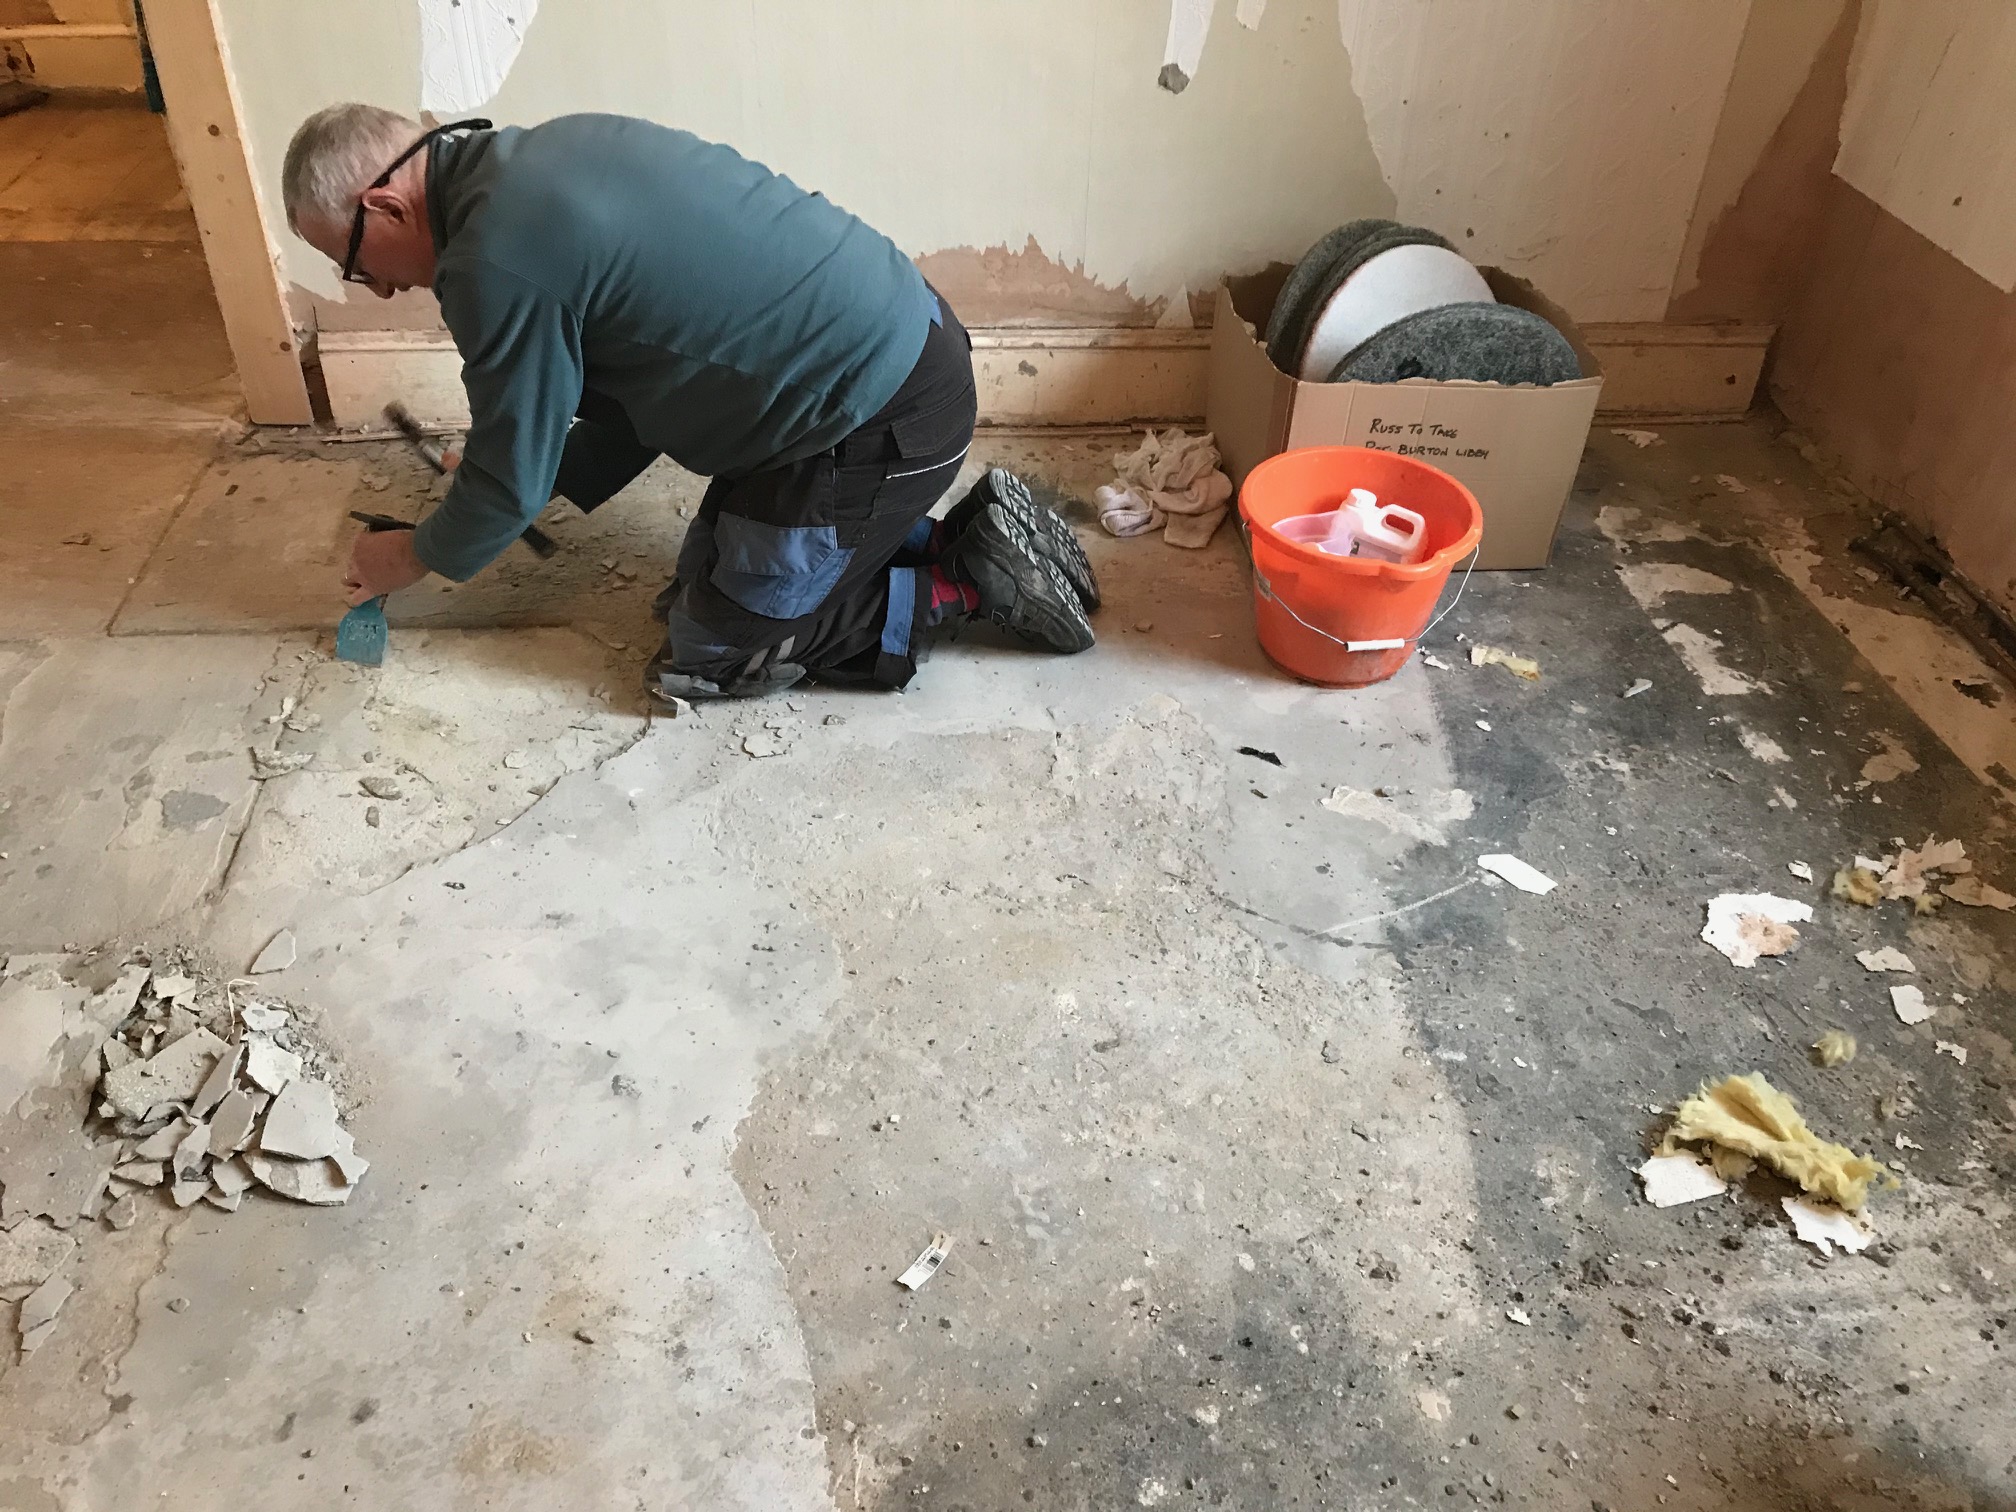
The first job for us was the tile repair, and this meant preparing the surface for the new tiles, which involved carefully knocking up all the loose and cracked tiles and then re setting them using matching replacements where necessary.
  Period 1853 Victorian Hallway Floor During Restoration Carlisle 
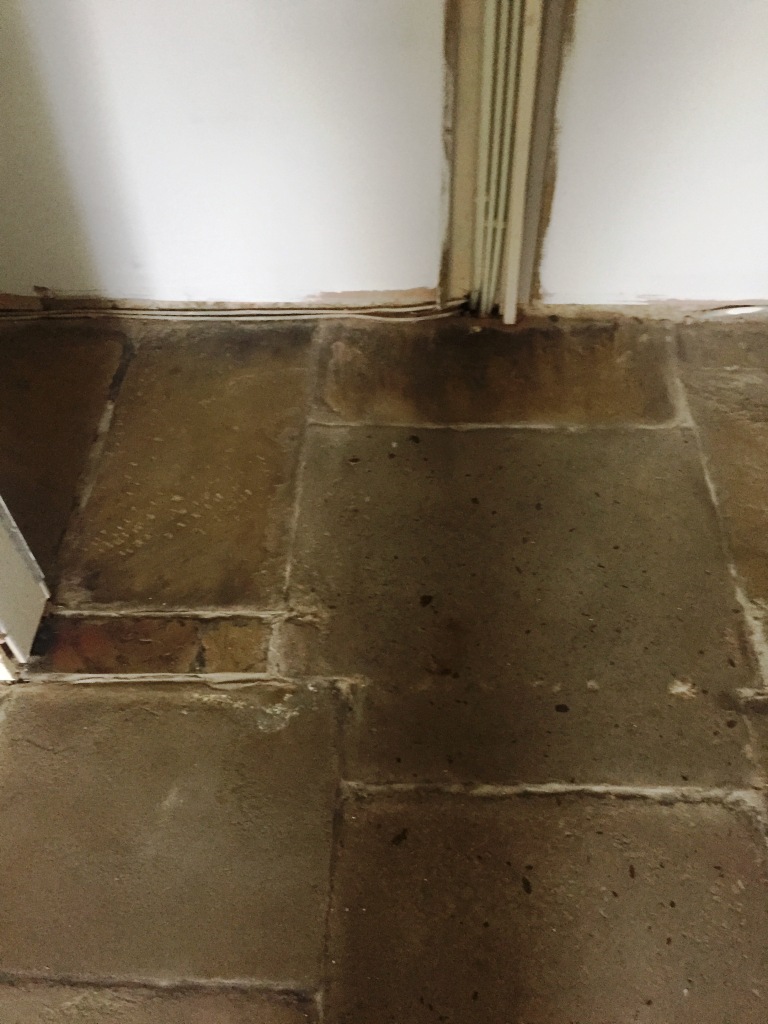
To do this I like to use a multi tool to score the grout and then break out the cracked tiles with a hammer and chisel or a power drill. The replacement tiles had to be re-sized to fit, oddly enough most of the damage was along the edge of the floor where air ducts used to be in place and then these had been concreted in. The main part of the floor though was still in good order even though it was 170 years old.
 
Period 1853 Victorian Hallway Floor During Restoration Carlisle Period 1853 Victorian Hallway Floor During Restoration Carlisle
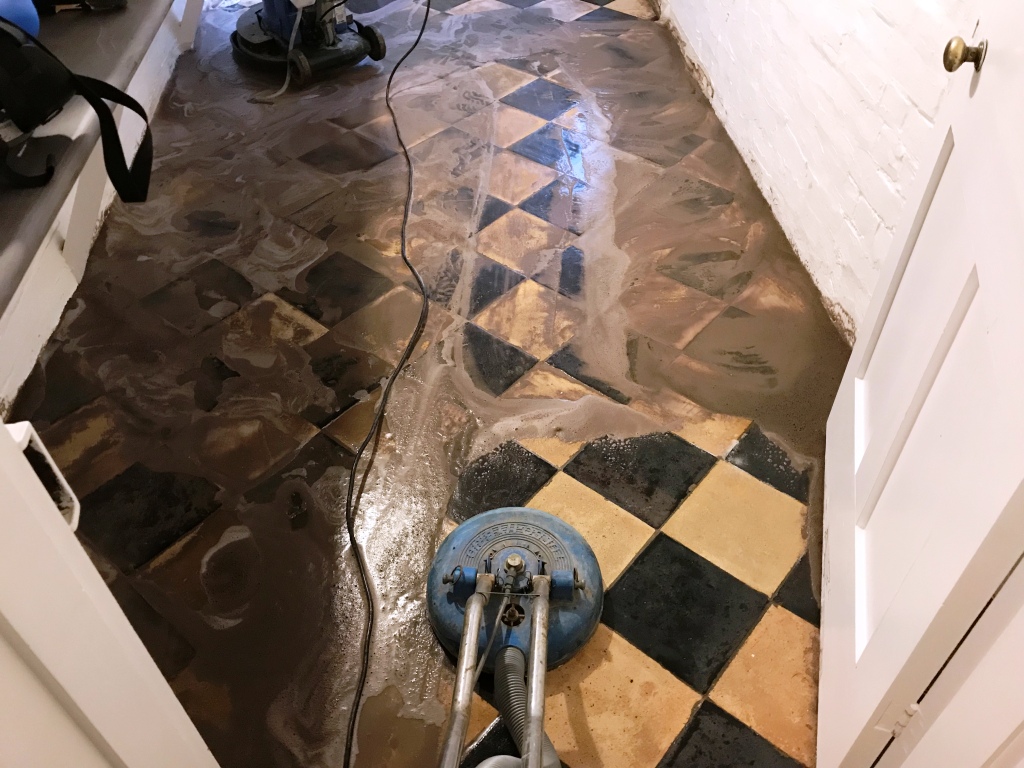
Once the replacement tiles were set, a low moisture cleaning technique was used to get the whole floor clean. This involves covering the tiles in Tile Doctor Oxy-Gel and leaving it to soak into the tile for ten minutes. Being a gel cleaner, it is easier to control and there is less water involved. The gel is then scrubbed in with a buffing machine fitted with a 100-grit milling pad. A little bit of water is added to help lubricate and scrub off the dirt and soiling. A wet vacuum is then used to remove the soil which is an essential piece of kit for this line of work.

After the initial clean the floor was given an acid rinse using Tile Doctor Acid Gel which was applied neat and as before scrubbed in using a pad, this time using a finer 200-grit milling pad. Again, a little water was used to aid in the clean up being careful not to flood the floor.

The reason for the low moisture clean is that there was a basement underneath the hallway and the client had nowhere else to put certain fabrics, furniture etc so with a low moisture clean we can minimise the chance of any water finding its way into the space below. The wet vacuum was deployed again to remove the cleaning products and water and the floor was left to dry.


Sealing a Victorian Tiled Hallway Floor

Once clean and dry the floor was sealed using two coats of Tile Doctor X-Tra seal which as the name suggests is a little bit extra as it's a very robust sealer, although mainly designed for outside areas it’s an oil-based formula that works really on Victorian tiles.

 
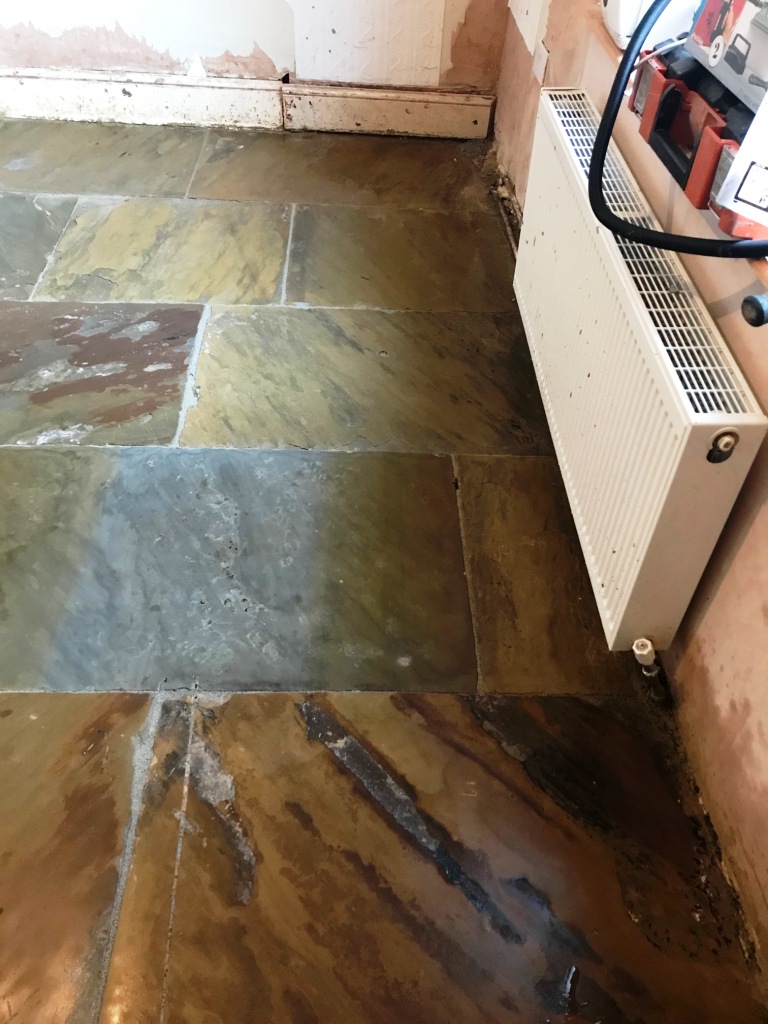
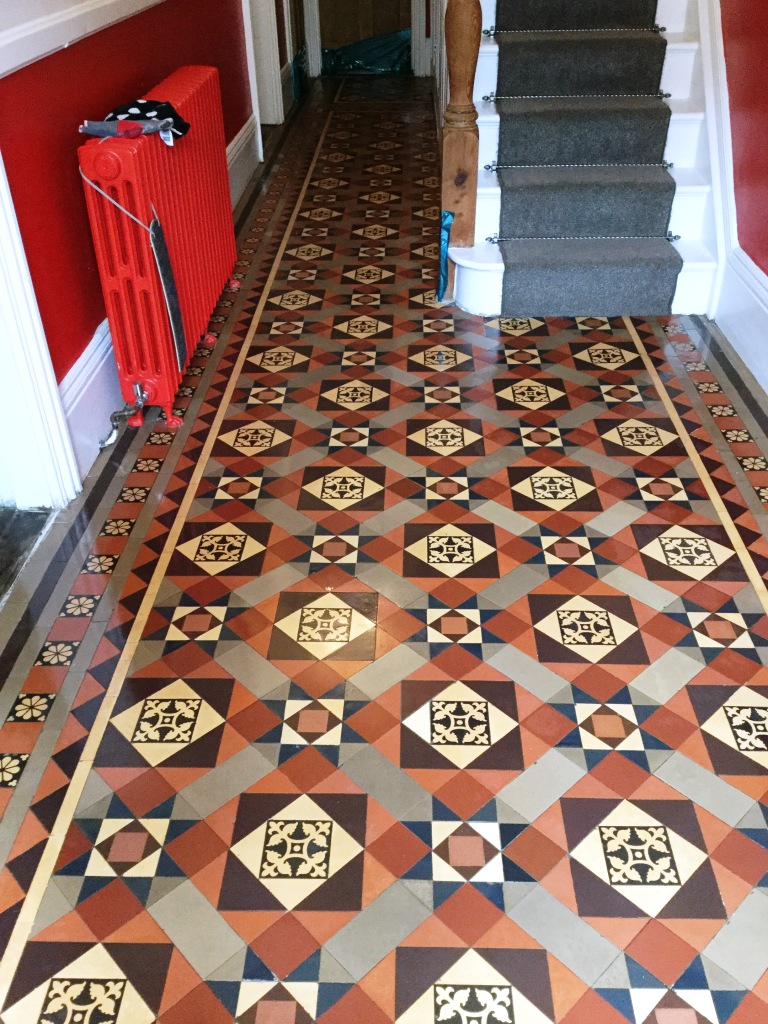
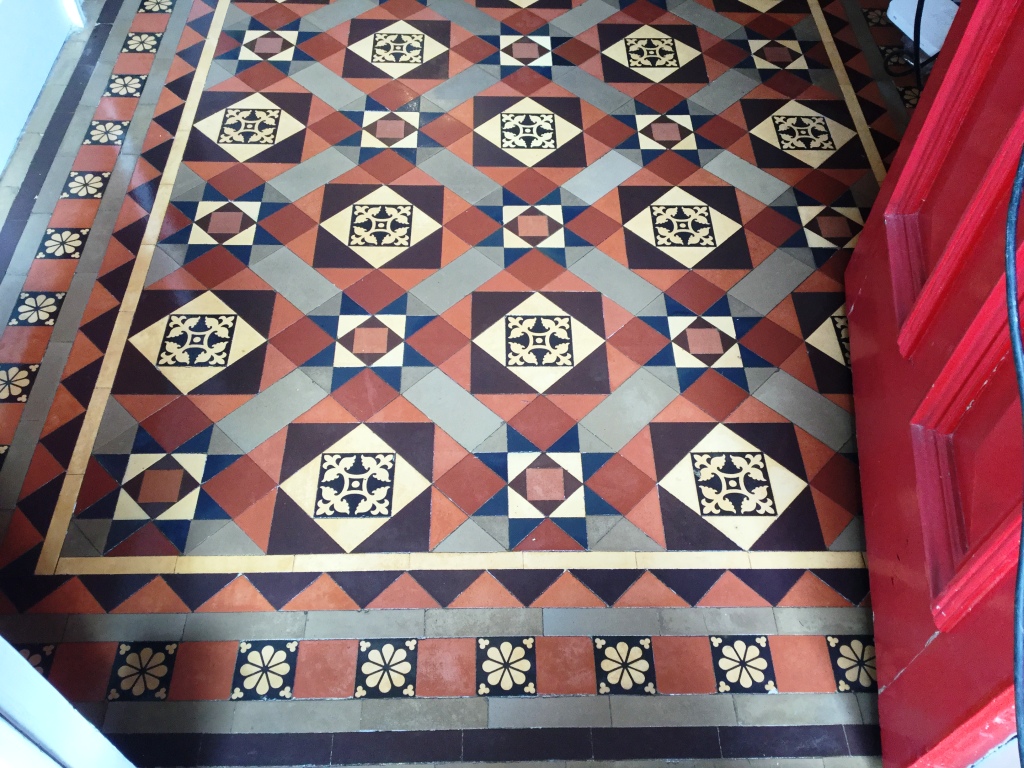
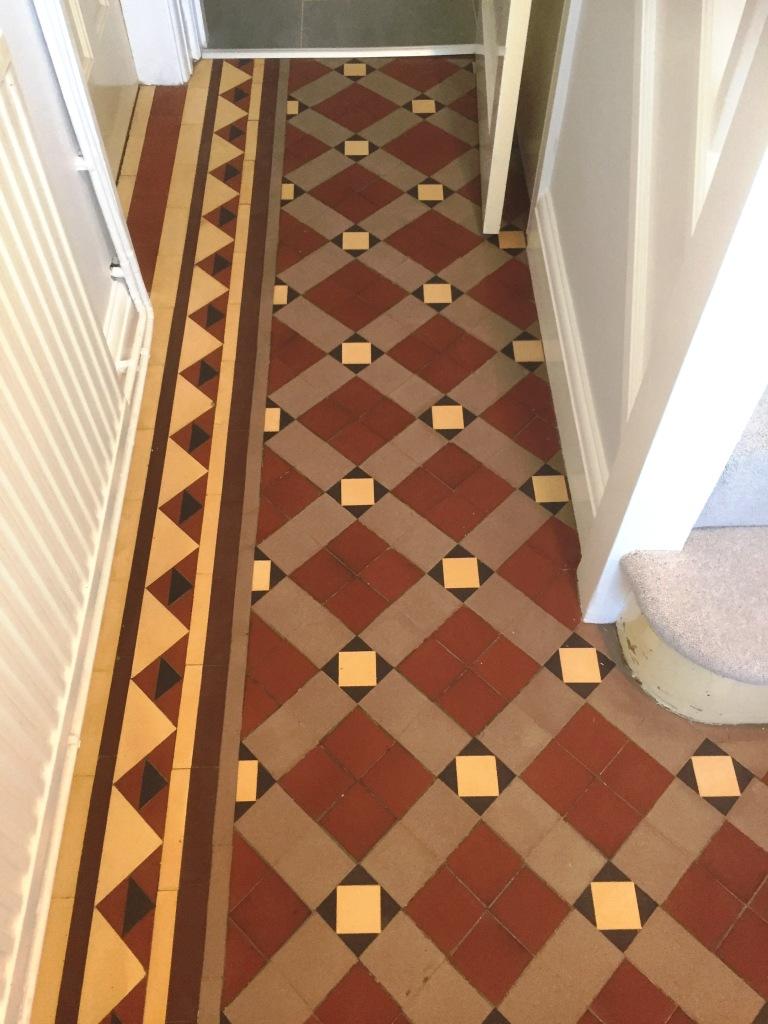
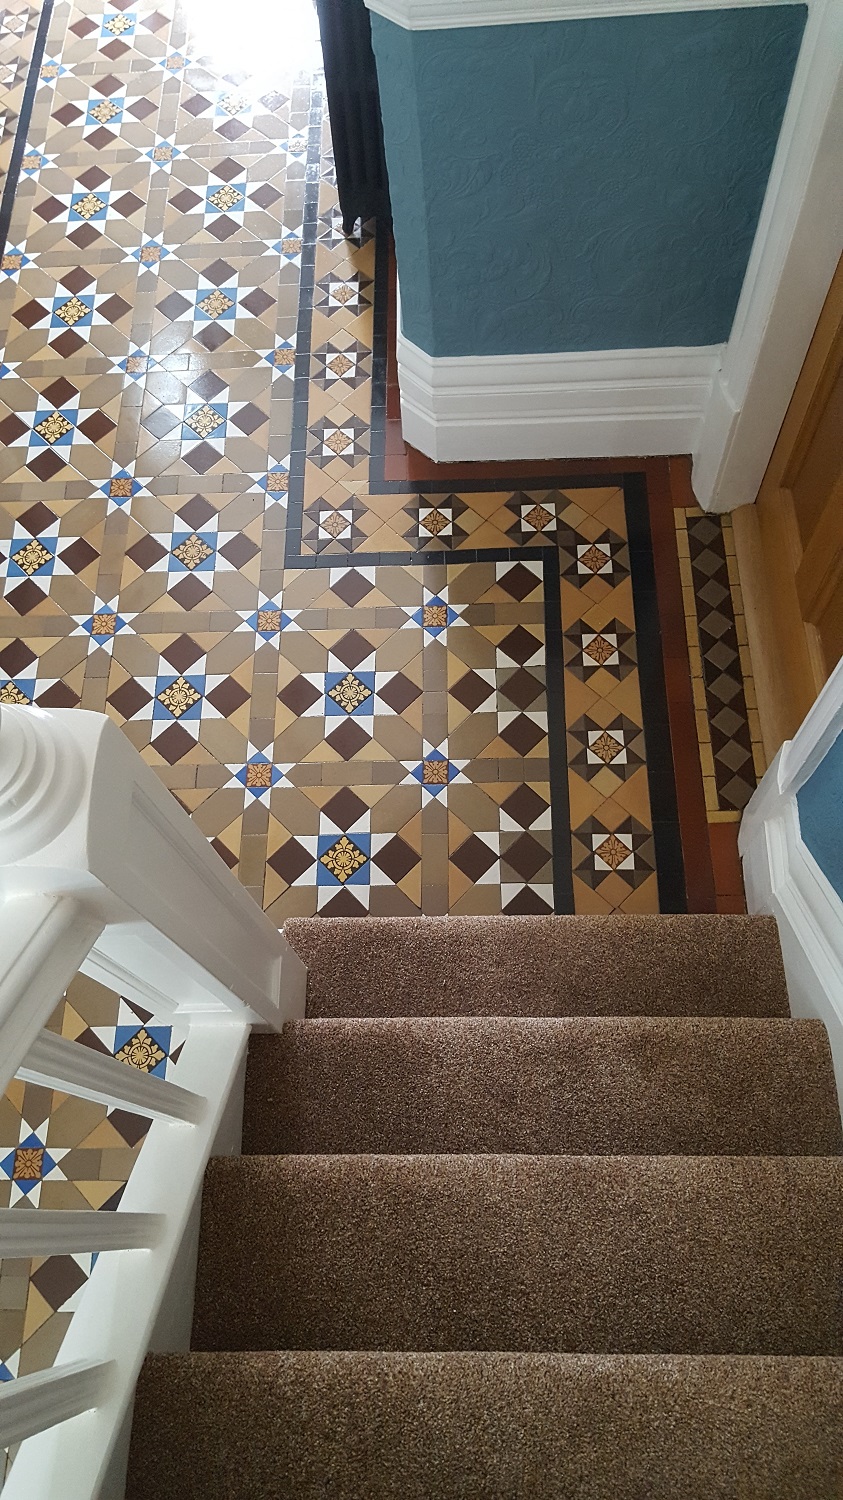
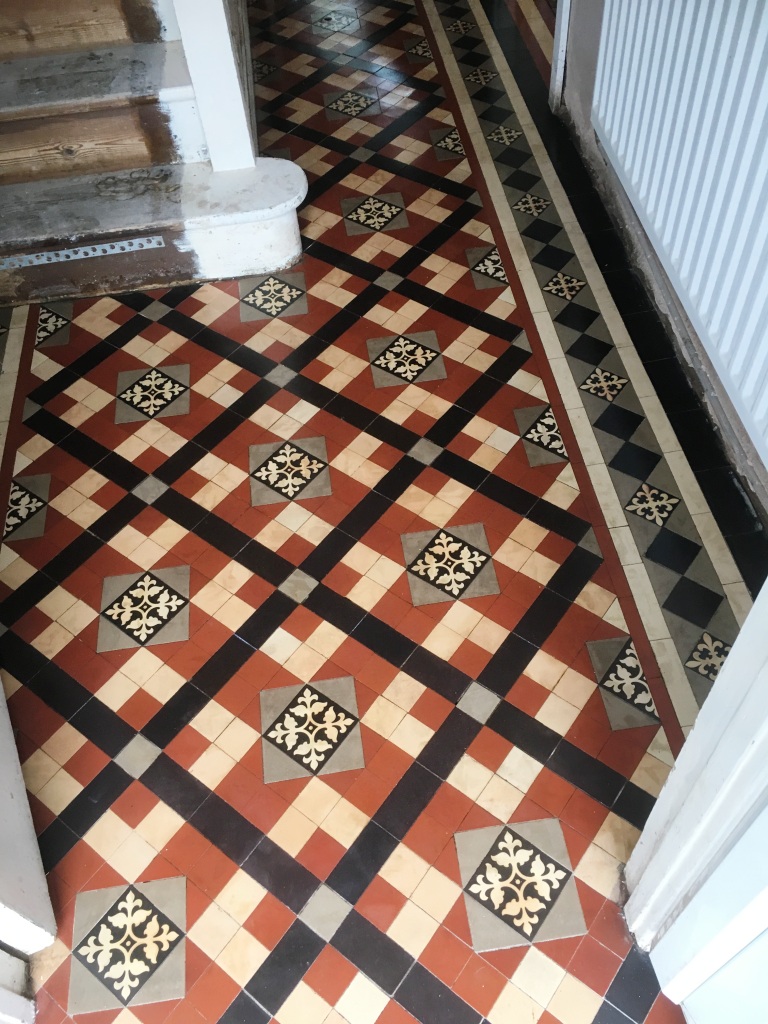
Period 1853 Victorian Hallway Floor After Renovation Carlisle Period 1853 Victorian Hallway Floor After Renovation Carlisle
One done the floor looked great, and the developer was very happy with the result.

Thursday, July 30, 2020

How to Remove Bitumen and Cement from Stone Flooring

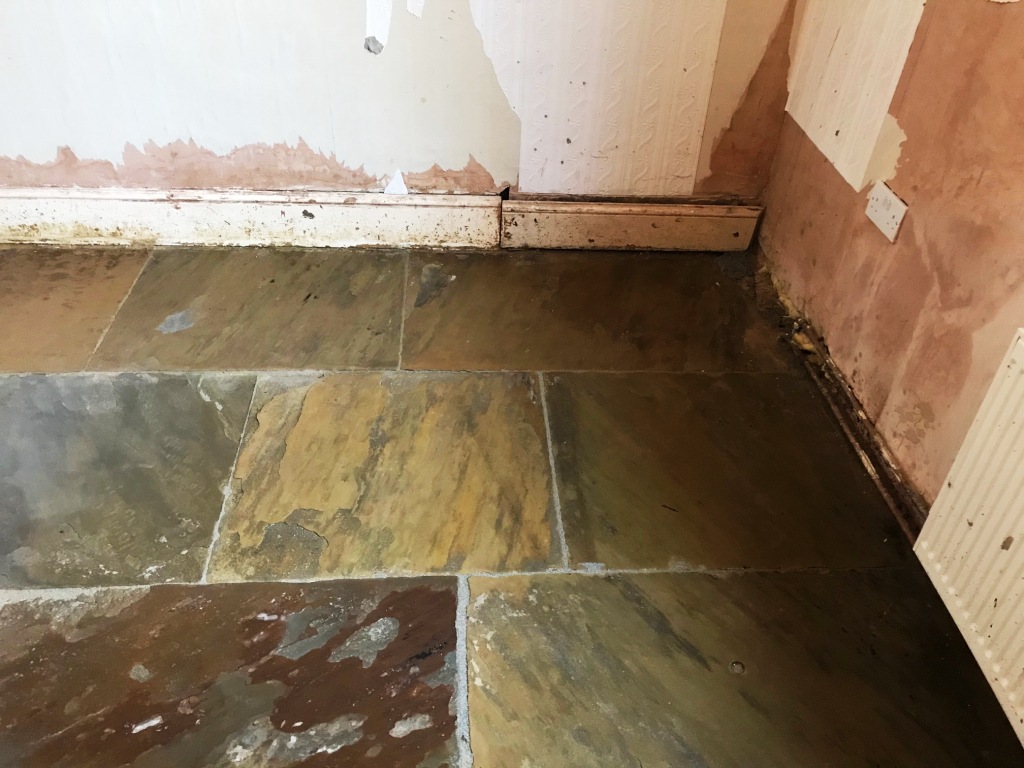
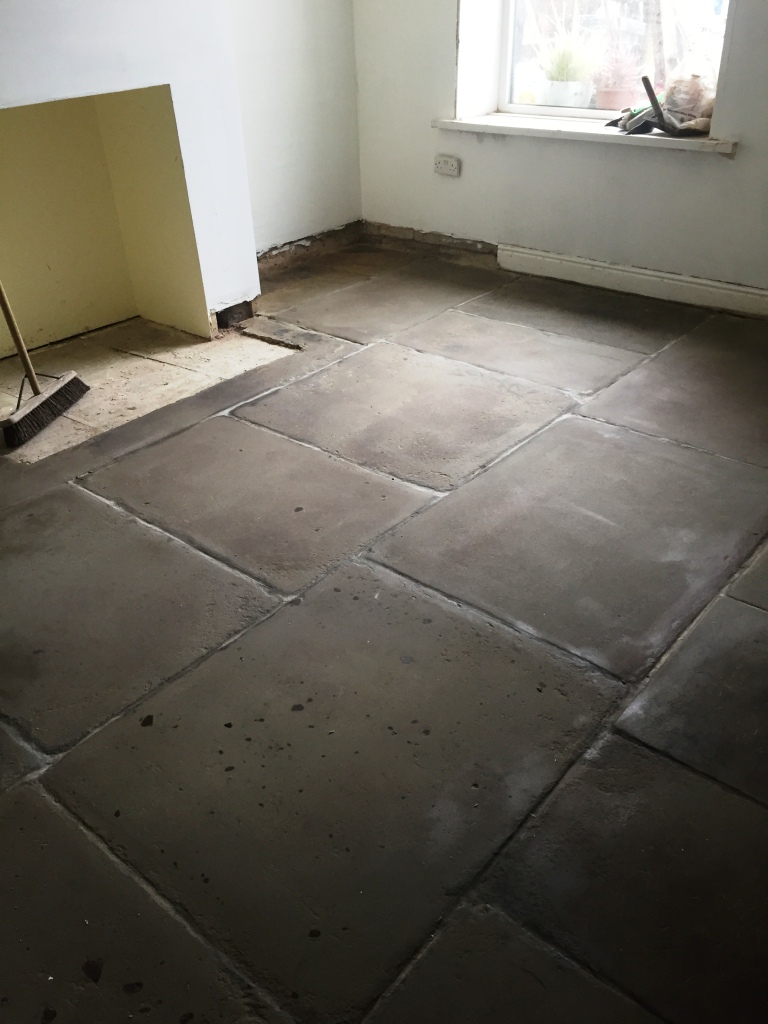
Late last year I was asked to survey a Flagstone floor in Morecambe which appeared to be beyond restoration. The floor had a long history and at some point in its past was covered with carpet which had been secured onto self-levelling cement with bitumen. All the companies that had visited before we got there said nothing could be done with it and recommended replacing the carpet or covering it with vinyl. As mentioned, it had been previously covered with carpet however this is an old floor and damp had been rising though the floor causing the carpet to rot. My client didn't want to entertain that as a solution and so kept on looking for a company that could restore the stone.

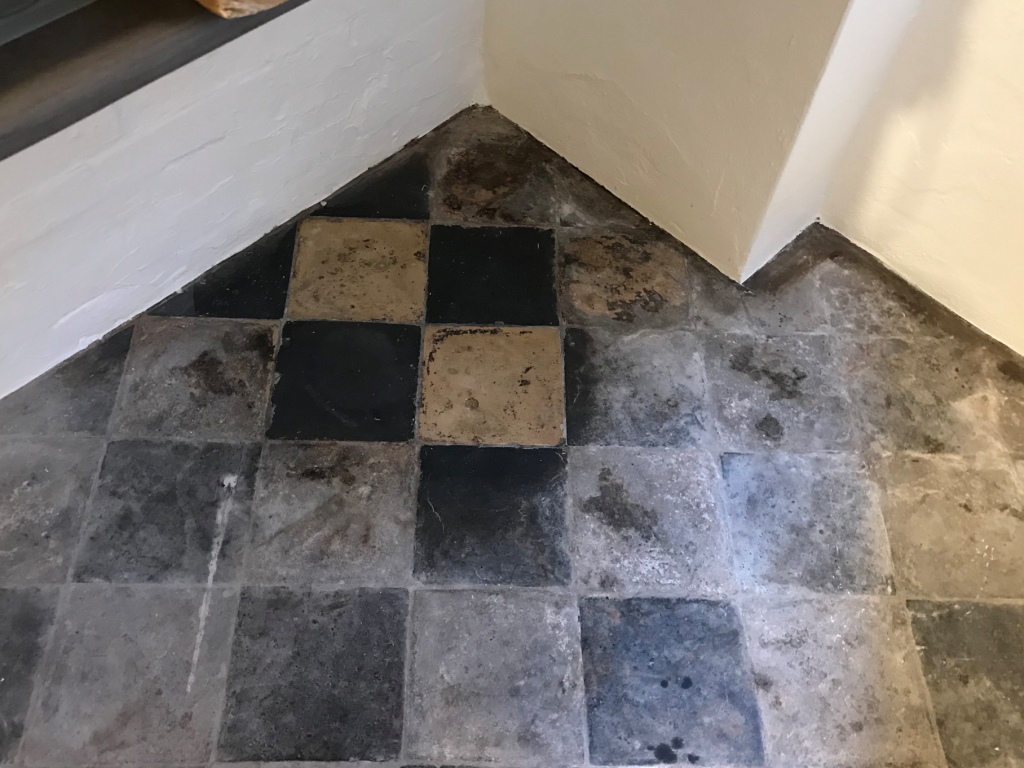
Flagstone Floor Before Restoration Morecambe Removing Self-Levelling Compound and Bitumen from Flagstones in Morecambe

Old houses like this one do not have a damp proof membrane installed under the floor and moisture rising through the stone needs to be allowed to evaporate or you will find damp spreads outwards towards the walls leading to rising damp. In this case I suspect the bitumen which acts as a water barrier had either failed or damp was coming up the wall and into the carpet and underlay. Certainly, in our experience, if you have an old natural stone floor like this it is best not to cover it with anything more than a rug.

 Having inspected the floor, I recommended restoring the appearance of the flagstones by grinding the surface down a few millimetres to reveal new stone. We can do this using several different grades of coarse diamond encrusted diamond pads, a process we call Milling.


Cleaning/Repairing a Flagstone Tiled Hallway Floor

After being given instructions to restore the floor we returned on the schedule date and began by removing as much of the loose cement and bitumen by hand using hand tools.

Removing Self-Levelling Compound and Bitumen from Flagstones in Morecambe

Milling the floor using a very coarse 50-Grit pad fitted with DRB segments (Diamond Resin Blocks). Cutting the surface of the stone like this is hard work and requires the use of a weighted floor buffer to apply the pads. The process is lubricated with water and generates a lot of slurry which is extracted off the floor with a wet vacuum. The 50-grit pad was followed with a 100-grit DRB pad and then 200-grit DRB pad which start the slow process of refining the surface. It’s a two-man job so I brought a colleague along, whilst one was milling the other could take a rest and help with the clean-up.

The milling did a great job of removing the Black Bitumen, Self-Levelling compound and old paint revealing the true beauty ` and colour of the Flagstones, in fact the stone had quite a variance of colour which was lovely to see coming through. Half the pointing was missing so after milling the stone we moved onto replacing what was left of the old pointing and replacing with a modern breathable product.

We called back the next day to finish the stone cleaning by further renovating the stone surface using finer grades of diamond encrusted burnishing pads of 400 and 800-grit. Again, you need to water to lubricate the process and rinse the slurry of the floor with water after each pad, then extract with a wet vacuum. This does leave the floor damp, so once we had finished it was left to dry out for a few days, old floors without a damp proof membrane can take longer to dry and especially so in the Winter months.


Flagstone Floor After Restoration Morecambe


Sealing a Flagstone Tiled Hallway Floor

Returning a few days later the stone was first checked with a damp meter to check it had dried out before sealing. The moisture readings were fine, so it was then sealed with a couple of coats of Tile Doctor Colour Grow which penetrates deep into the stone protecting it from within and enhancing the natural colours in the process.

Flagstone Floor After Restoration Morecambe

The flagstone floor was completely transformed by the process and our client was over the moon with the result. In fact, they have asked us back to do the same in the Kitchen as the vinyl in there has since been torn up and revealed the same stone.


Source: Stone Floor Cleaning and Restoration Service in Lancashire

Friday, January 17, 2020

How to Renovate Old Flagstone Flooring

I was contacted by the owner of this property in Leeds about renovating their old Flagstone floor. The couple who owned the house both worked long hours so after discussing the floor at length over the phone and after reviewing several photographs they emailed me to ask me to go ahead and start work. I normally prefer to do a site visit beforehand so I can provide an accurate quote, clearly however this wasn’t going to possible in this case.


The owner had arranged for his father in law to let me into the property so I could start work. I was aware from the phone calls we had that there was an issue with the pointing, and I was prepared for this, but it was worse than I had anticipated with most of the grout missing or loose. Interestingly the stone was quite yellow and so probably came from the Salts Mill area near Leeds. Sir Titus Salt was a 19th century industrialist and philanthropist built a large textile mill out of the stone. The mill is now a centre for art, dining and shopping and well worth a visit if your passing.


Cleaning and restoring a Flagstone Tiled Kitchen Floor

I decided to deal with the floor cleaning first and began by scrubbing the flagstones with a strong dilution of Tile Doctor Pro Clean using a rotary floor machine fitted with a scrubbing pad. The soil was then extracted using a wet vacuum and flagstones re-inspected. The remaining stubborn stains were spot treated using a repeat of the previous process until I was happy they were as clean as they could be. As the floor dried I took out all the loose pointing and re grouted the whole floor with a mid grey grout which matched the old flagstones quite well. The floor was now looking vastly improved. The floor was then left to dry fully overnight to ensure the seal could be applied.


Sealing a Flagstone Tiled Kitchen Floor

I returned the following morning and tested the floor with the moisture meter, I was satisfied the floor was within the accepted parameters and we could now apply the sealant. I selected to use a couple of coats of Tile Doctor Colour Grow, allowing each coat to dry before applying the next one. This product enhances the colour but leaves a matt finish. It will form a durable protective seal to the floor which will ensure the floor is easier to maintain.


I heard from the later that they were over the moon with the result and as part of the conversation we discussed the best way to maintain the floor going forward. Basically, this involves being careful with what you use to clean it as strong products can weaker the sealer. I recommend they use Tile Doctor Neutral Tile Cleaner which is pH neural and designed for the regular cleaning of sealed tiles.


Source: Flagstone Floor Cleaning, Sealing and Renovation Service in North Yorkshire

Friday, March 22, 2019

Dealing with Salt Damaged Kitchen Quarry Tiles in Droitwich-Spa, Worcestershire

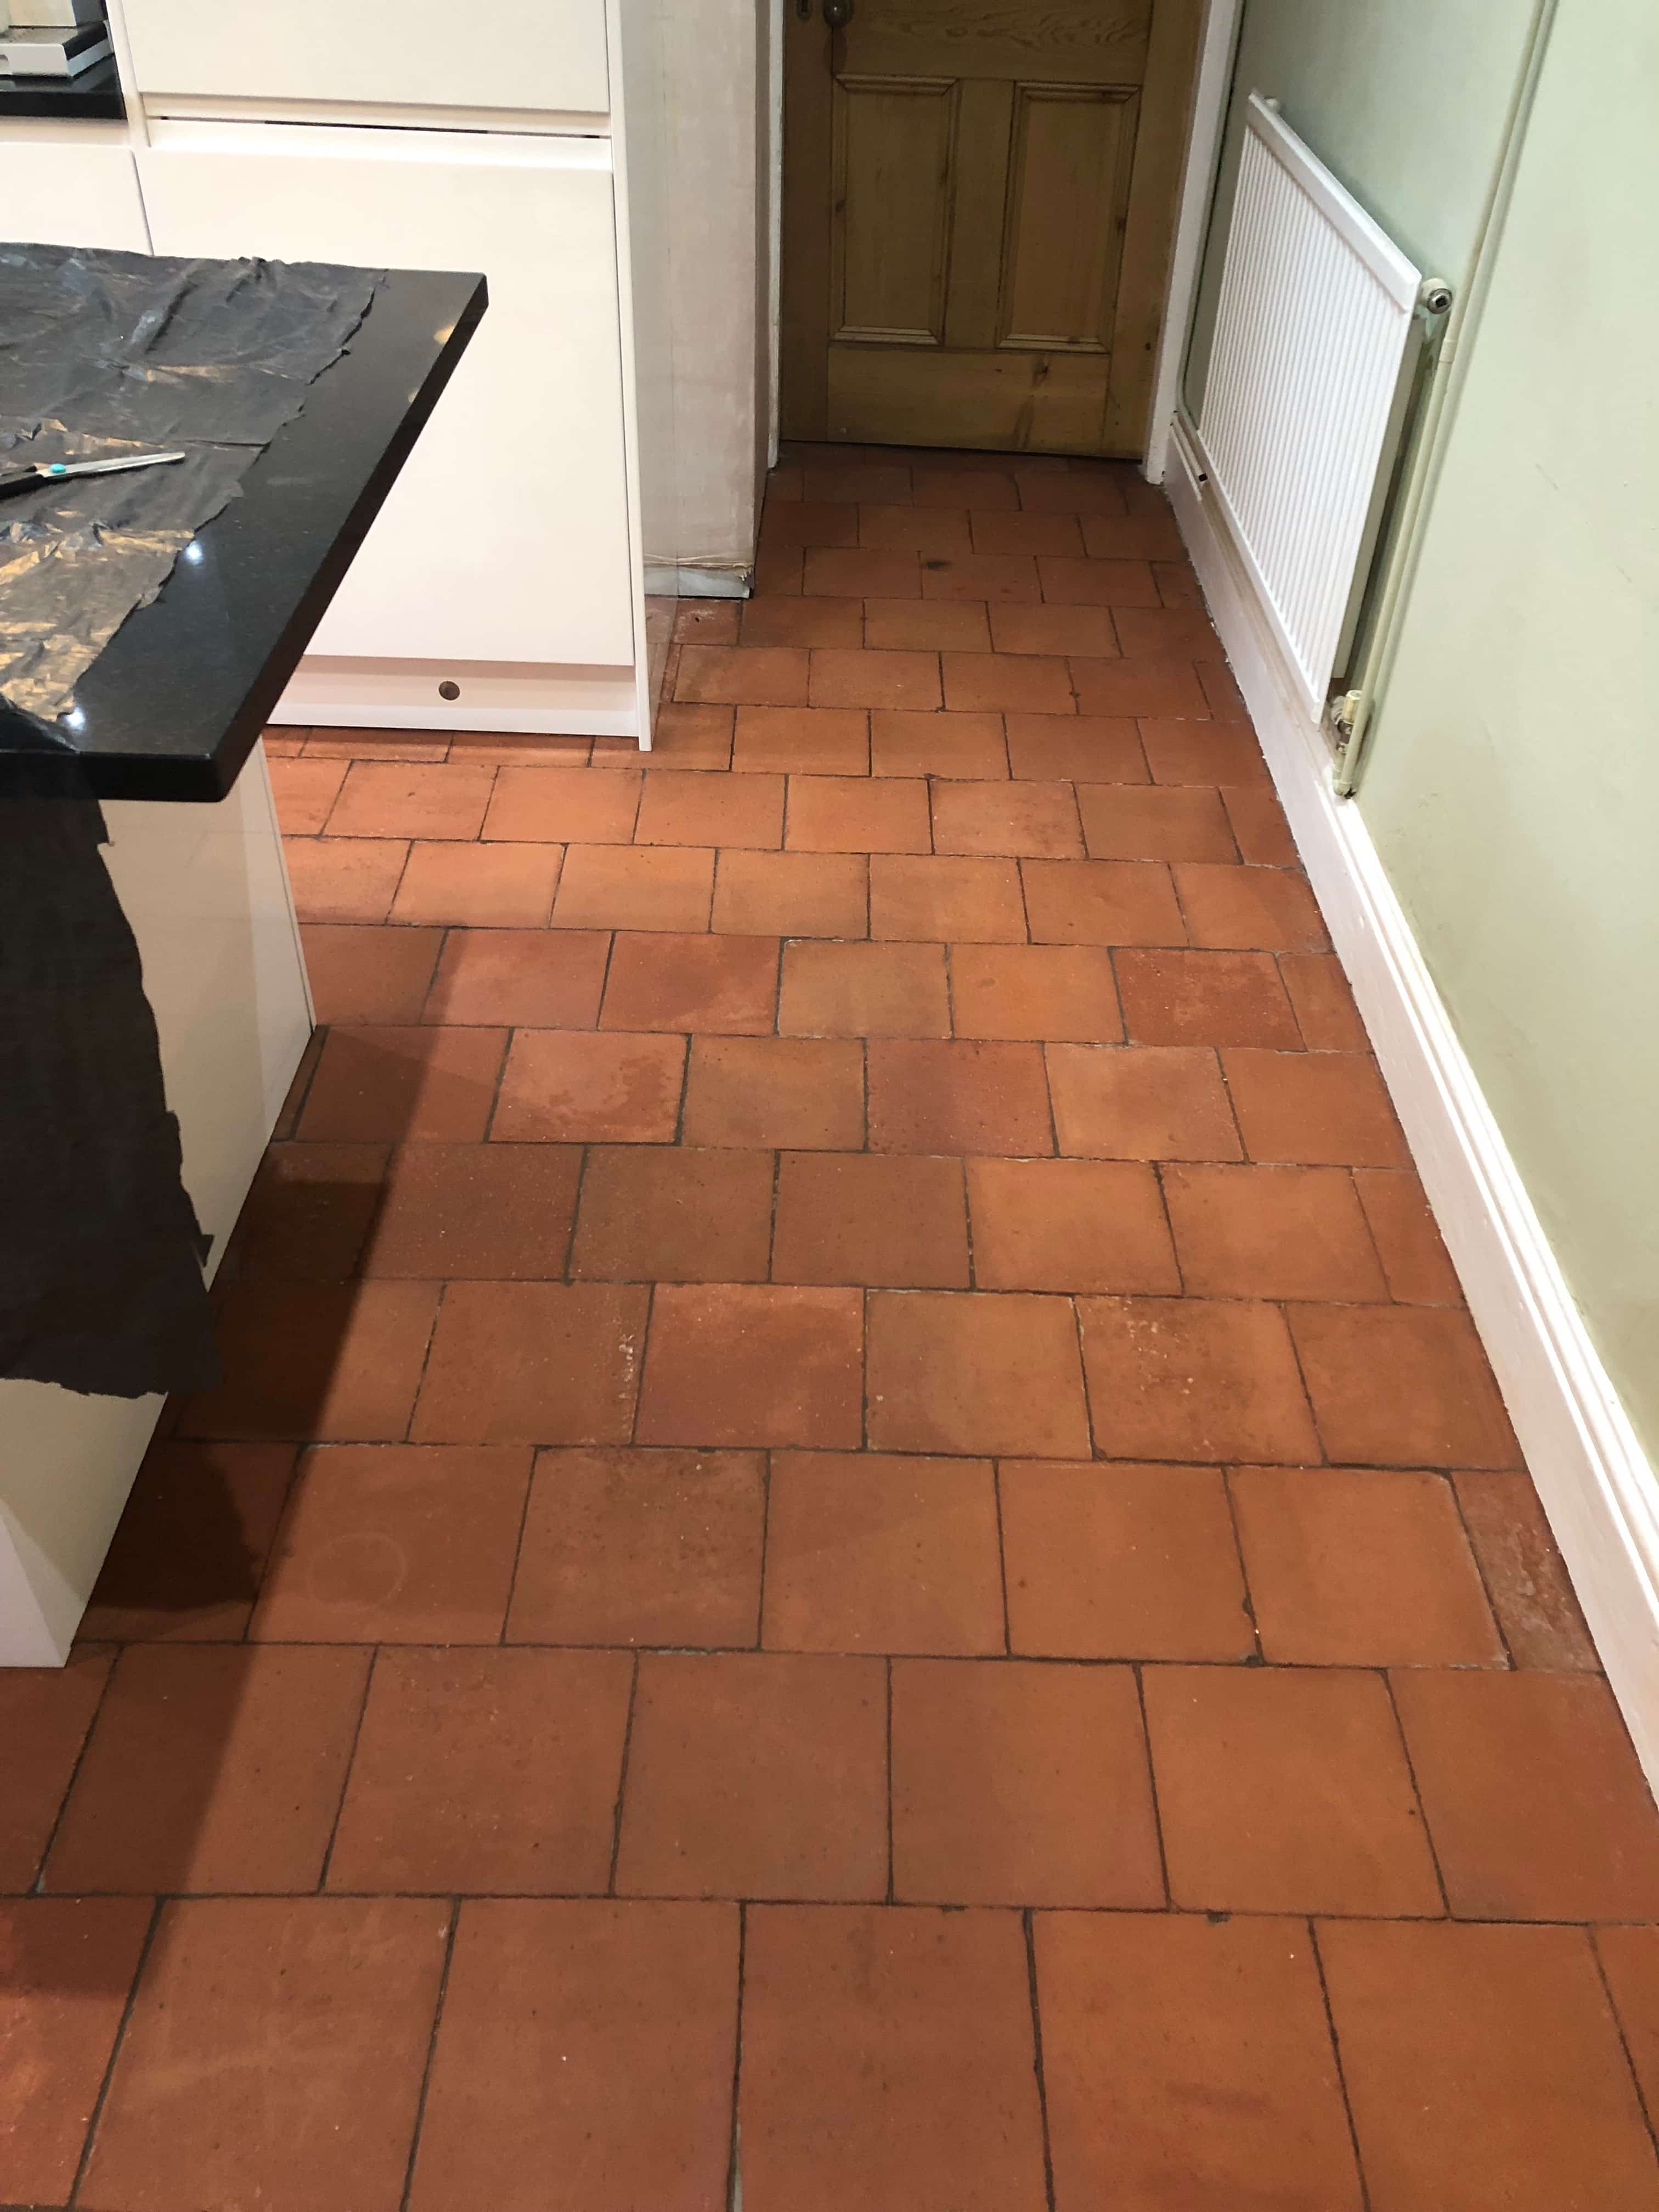
I was contacted to inspect a quarry tiled floor in the kitchen of a property in Droitwich Spa which was in need of repair and also in need of a clean and seal. Having spoken to the customer previously, I was aware there were several damaged tiles that would need replacing so before visiting the property to survey the floor I sourced potential replacements from several manufacturers so I could find one that would be a good match to the originals.

Once that was done, I went over with the samples to inspect the floor and whilst I was there marked all the damaged tiles that would need lifting and replacing. The house was quite old and many of the tiles had been badly affected by salt damage at some point in the past. Given the age of the property it could have been from efflorescence or it is possible it was flood damage as the property was about 700m from the River Salwarpe which has a history of overflowing. In fact, Droitwich Spa is known for its salt deposits and became a Spa town when the salt industry started to dwindle towards the end of the 19th century.

I worked out a quote to repair the floor, then clean and seal it which was accepted, and the work scheduled.


Cleaning and Repairing a Quarry Tiled Kitchen Floor

The first job was to remove the damaged tiles from the floor using various tools to prise the tiles away from the substrate. I then used a self-leveller to level the screed. All the new tiles would need cutting so I used a Bridge Saw with a diamond blade and proceeded to cut all the tiles to shape. The replacement tiles were then fixed in place using flexible adhesive and left to dry and then grouted.

Quarry Tiled Kitchen Floor During Tile Replacement Droitwich Spa Quarry Tiled Kitchen Floor After Tile Replacement Droitwich Spa

The following day I moved onto cleaning the tiles. Tile Doctor Remove and Go was used to tackle any previous sealers. leaving the product to dwell for the required time and then working it into the floor with a rotary scrubbing machine. I then used Tile Doctor Acid Gel to remove old grout smears and combat any efflorescence the floor was encountering, before vacuuming the remaining slurry with a wet vacuum. Once I was happy the floor was as clean as it could be, I left the tiles to dry overnight so they could be sealed the following day.

Quarry Tiled Kitchen Floor During Cleaning Droitwich Spa Quarry Tiled Kitchen Floor After Repair and Cleaning Droitwich Spa


Sealing a Quarry Tiled Kitchen Floor

I returned the next day and began by using a moisture meter to ensure the floor was dry. All was well so I proceeded to seal the floor using Tile Doctor Seal and Go Extra, a semi-gloss breathable sealer that will allow moisture to rise through the tile unimpeded which was important considering its history. The floor required five coats of sealer to completely seal the floor and the customer was very pleased with the result as indicated in the feedback below:

"We are very happy with the work that Mark carried out for us. Mark was very professional and always responded quickly to any enquiries that we had. We have recommended Mark to our friends and family. Thank you. Lydia B, Droitwich Spa"

Quarry Tiled Kitchen Floor After Sealing Droitwich Spa


Source: Quarry Tile Cleaning and Repair Service in Droitwich-Spa, Worcestershire

Wednesday, September 5, 2018

Stripping Wax of Hallway Tiles in Northamptonshire

This customer called me as she was concerned about the scratches on her hallway tiles, they were not only unsightly but were also starting to trap dirt. The Victorian property in Rushden which lies between Bedford and Kettering on the east side of Northamptonshire.

We always offer a site visit to take a look at the job before doing any work, that way we can discuss what the cleaning options are, and it also demonstrates to the customer that we know what we’re talking about.

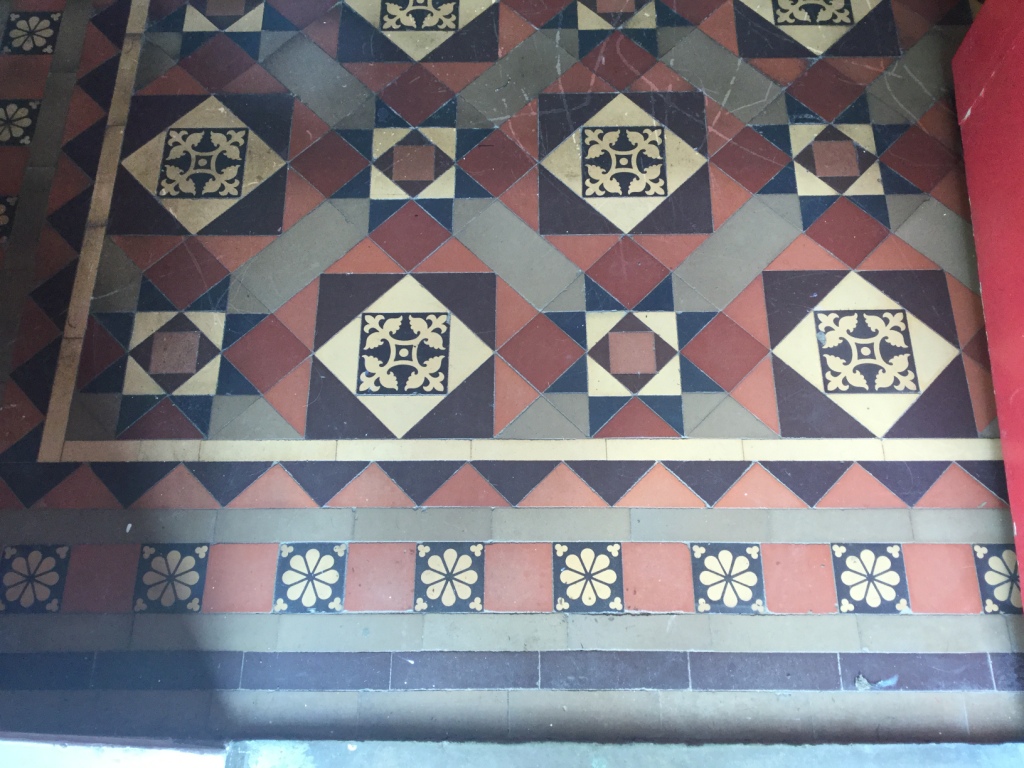
The hallway floor was a lovely and intricate example of Victorian tile installation and I could see that overall it was in good condition for its age. On closer inspection the customer was relieved to find out that it was the old wax sealant breaking down and not actually scratches on the tiles. I carried out a test on a small area to ascertain how difficult it would be to remove this wax. I realised I would be able to use Tile Doctors new product for the removal of the wax sealant, Tile Doctor Wax Away which is a fast and effective formula that is designed just for this type of job, it offers safe removal of wax and polish from tile and natural stone. We agreed the quote and the work was booked in for the following month.

Victorian Tiled Hallway Floor Before Wax Removal Rushden

Cleaning/Repairing a Victorian Tiled Hallway Floor

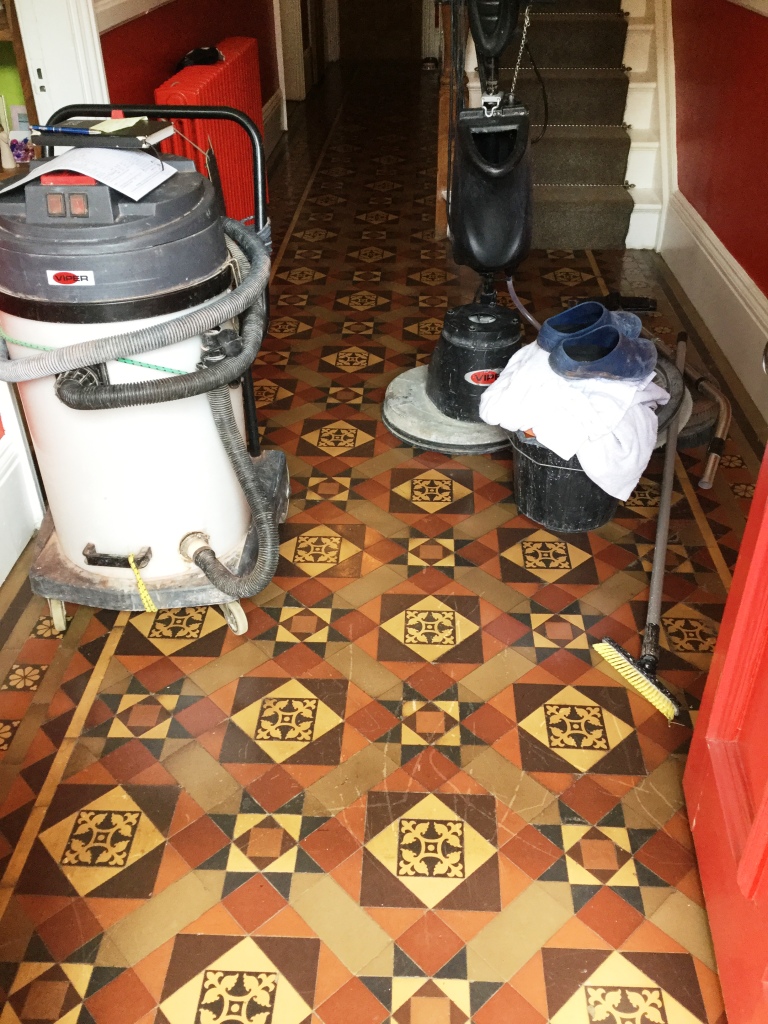
On our return we started to remove the wax coating using the Tile Doctor Wax Away product. It was applied neat and left to dwell for ten to fifteen minutes before working it into the floor with a small amount of water and a black stripping pad attached to a rotary machine. The resulting slurry was then removed using a wet vacuum. The floor was then inspected, and I decided to repeat this process with a hand brush in a couple of small areas and around the edges to ensure the old wax sealant was fully removed in these stubborn areas. The floor was then rinsed with water to remove any remaining slurry and trace of cleaning product and the wet vacuum was used to dry the floor again.

Victorian Tiled Hallway Floor During Wax Removal Rushden

My next course of action was to run over the floor with a 400-grit burnishing pad to remove imbedded dirt and stains from the tiles, this was followed by a second rinse with water. After removing the water with wet vacuum, the floor was then left to dry out fully for a few days aided by a large fan that I left on site. It’s important that the tiles are fully dry before applying a sealer and this is even more important on older floors where no damp proof membrane has been installed.

Sealing a Victorian Tiled Hallway Floor

I returned three days later and started by giving the floor a light vacuum and clean. I also took damp meter readings to check the floor was fully dry. Once I was satisfied I started to apply 2 coats of Tile Doctor Colour Grow Sealant, this is a breathable sealant which will allow the tiles to breath and allow moisture vapour from the sub floor to rise through the tiles which is important in these old houses where no damp proof membrane exists. Colour Grow is an impregnating sealer that works by occupying the pores in the tile thus preventing dirt from becoming ingrained there, the sealant enhances the natural colours in the tile and dries to a lovely natural matt finish.

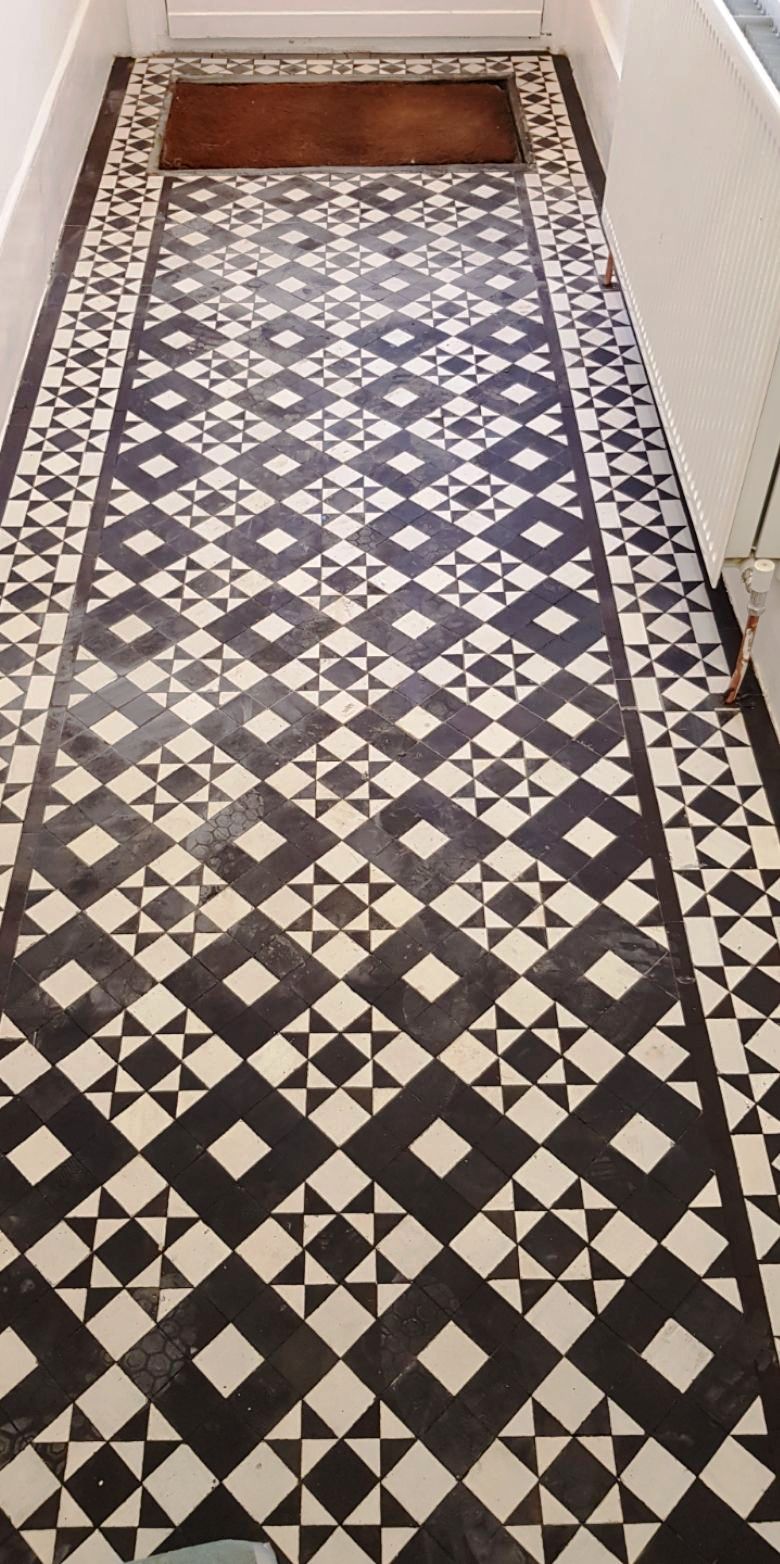
Victorian Tiled Hallway Floor After Cleaning Rushden

Once finished the floor looked great and the customer was hugely relieved that the tiles could be restored easily and cost effectively, she had thought the damage may have been irreversible. Moving forward it will now be easier for her to maintain and keep clean. The floor is now back to its’ true self and properly in keeping with the rest of the period features in the house.

Victorian Tiled Hallway Floor After Cleaning Rushden


Source: Tile Cleaning and Sealing Service in Northamptonshire

Thursday, May 10, 2018

Major Restoration of a Victorian Tiled Hallway in London

A customer in Winchmore Hill which is part of the London borough of Enfield was having major refurbishment works done to their home which included an upgrade to the central heating system. As part of the work a new radiator had been installed in the hallway however the utility company when putting in the new heating system had chased out two deep pipe channels in the central part of their beautiful Victorian tiled hallway floor.

Victorian Hallway Before Restoration Winchmore Hill Cropped Victorian Hallway Before Restoration Winchmore Hill

This was a real shame as the majority of the floor was in good condition; the owner of course wanted the floor restored so our brief was to do exactly that and carry out repairs to the pipe channels and to all the door thresholds that were either existing or new so they all matched in.


Restoring a Victorian Tiled Hallway

Our first task was to clean the tile and grout and strip off old sealers and waxes which we did by applying a dilution of Tile Doctor Remove & Go combined with equal part of Tile Doctor Pro-Clean. This was scrubbed into the floor with a black scrubbing pad fitted to a rotary machine and then rinsed off with water and extracted with a wet vacuum.

Victorian Hallway During Restoration Winchmore Hill

After deep cleaning we then carried out the tile repairs and replacements to pipe channels, missing and mislaid tiles to thresholds. Some or the tiles were replaced with matching reclaimed tiles and others were new sourced from Original Style who have a large range. Altogether we replaced circa 500 pieces of tile in order to repair the damage caused by the heating engineers and achieve a consistent pattern throughout the hallway.


Sealing Victorian Tiles

The cleaning and re-tiling work was carried out over three days and we returned on the fourth day to seal the floor with an initial two coats of Tile Doctor Colour Grow which is an impregnating sealer that enhances colour. We then protected the floor for a further week with cardboard cut to size, this allowed other trades to finish their work without messing up the floor. A week later we returned to lift the cardboard to apply the finishing seal using Tile Doctor Seal & Go which adds the final protection. Five coats were applied to reach the right level of protection and desired satin finish restoring the natural appearance and lustre of the tiles.

Victorian Hallway After Restoration Winchmore Hill Cropped Victorian Hallway After Restoration Winchmore Hill

The whole job allowing for the drying times of adhesive, grout and sealing took five days in total. It was worth it though as restored Victorian hallway really gives the property the Wow factor as you enter.

Victorian Hallway After Restoration Winchmore Hill


Source: Victorian Tile Cleaning and Sealing Service in London

Tuesday, March 27, 2018

Renovating very old Quarry Tiles in Berkshire

These Yellow and Black Quarry tiles are though to be original feature of this Victorian house in Reading and the owner was keen to get them renovated. The tiles were in basement of the house and over the years the tiles had suffered from water damage due to various small floods, they were now heavily soiled and the most challenging task would be to remove a large build up of mortar and cement.

Yellow and Black Quarry Tiles Before Cleaning Reading Yellow and Black Quarry Tiles Before Cleaning Reading

I ran a test clean in a corner of the smallest room to demonstrate the cleaning process and although confident I could significantly improve the appearance of the Quarry tiles. I had to explain to my customer that due to the years of neglect the outcome would not be perfect, however the test clean went well and the customer was happy with the outcome so booked me in to do the work.

Yellow and Black Quarry Tiles Before Cleaning Reading


Soiled Quarry Tile Cleaning

The first issue to tackle was to remove the dirt and ingrain soil which I did by scrubbing in a strong mix of Tile Doctor Pro-Clean which is a strong tile and grout cleaner. The solution was left to soak in before ten minutes before being agitated with a black scrubbing pad fitted to a rotary machine. I then rinsed off the now soiled cleaning solution off using a hot water truck mounted extraction system.

Yellow and Black Quarry Tiles During Cleaning Reading

Now the ingrained dirt was taken care of, the most difficult task was to remove the cement/mortar built up that was covering a high percentage of the tiles. I did this using a combination of Tile Doctor products including Grout Clean-Up, Acid Gel and 50,100 grit diamond pads. I started with Grout Clean-up but found that Acid Gel worked better on this occasion. To deal with stubborn areas I left the Acid Gel to dwell overnight covered with plastic sheeting so it wouldn’t dry out.

The Acid Gel worked wonders and I was able to complete the cleaning process when I came back the next day giving the floor another rinse with the hot water extraction system. With the quarry tiles now clear I able to do a final spot check and used hand held burnishing blocks and very coarse 50 grit milling pad followed by a 100 grit diamond pad and another rinse to finish it off.


Quarry Tile Sealing

After leaving the floor to dry out over the weekend it was ready to be sealed. We had agreed on giving the Quarry Tiles a matt finish so I used three coats of Tile Doctor Colour Grow which is a fully breathable colour enhancing sealer that works well on old clay tiles.

Yellow and Black Quarry Tiles After Cleaning Reading Yellow and Black Quarry Tiles After Cleaning Reading

I’m happy to say the floor turned out very well considering its condition, certainly my customer was very happy with the outcome and left the following feed back on the Tile Doctor Feedback system.

  “Fantastic job - completely revived our Victorian cellar tiles, the before and after photos accurately show the difference the work has made! Also impressed by Dennis's communication and responsiveness to our needs with the work”.


Yellow and Black Quarry Tiles After Cleaning Reading


Source: Quarry Tile Cleaning, Renovation and Maintenance Service in Reading, Berkshire

Tuesday, February 6, 2018

Renovating Victorian Tiled Hallway Oxford

The Victorian tiled hallway shown below had until recently been covered by carpet and was in surprisingly good condition for its age which is a testament to the durability of these floors. My client who lives in Oxford had managed to remove most of the glue that had been used to secure the carpet to the tile but found it had left an imprint on the floor. Unable to take the restoration any further we were asked to remove the ground in grime and seal the floor.

Carpet Covered Victorian Tiled Floor Before Cleaning Oxford


Restoring Victorian Quarry Tiles

My first task was to remove what was left of the carpet adhesive primarily with the aid of scraper which was used carefully along the edges. This removed the thicker parts of the glue but needed more work to remove all the traces; so a 50 grit disc fitted to a handheld machine was run around the edges of the whole floor to complete the job removing the residue and dirt in the process. I then used a 50 grit milling pad attached to a rotary floor machine to remove the ground in grime and clean the whole floor. The floor was then rinsed with water to remove the soil that was generated afterwards and then the process repeated this with a 100 grit and 200 grit milling pad to fully restore the appearance of the tile. This process took up most of the day so before leaving I gave the floor an acid wash using a mild dilution of Tile Doctor Grout Clean-up and then followed this with a good rinse and final clean with Tile Doctor Neutral Cleaner.


Sealing Victorian Tiles

Having finished cleaning the floor I left it to dry off completely for three days to ensure it was bone dry before returning to seal it. To seal I applied Tile Doctor Colour Grow which is an impregnating sealer that protects the tile from within by occupying the pores in the clay, it also enhances the natural colours in the tile in the process and leaves a matt finish.

Carpet Covered Victorian Tiled Floor After Cleaning Oxford

The finished floor looks a lot brighter now it’s now free of all the dirt and glue marks, the new sealer will also ensure it’s easy to clean and keeps its appearance for some time to come.


Source: Victorian Tile Cleaning and Renovation Service in Oxfordshire

Friday, January 26, 2018

Restoring the Appearance of Victorian Hallway Tiles in Norfolk

There are thousands of Victorian tiled hallways in and around Norwich and I often get called to work on them, however this was a particularly abused and neglected example I thought you might find interesting. The surface had clearly been both painted red at some point (possibly with an old lead-based paint) and then completely covered with rubber-backed underlay and carpeted, a thick layer of double-sided carpet tape remaining firmly stuck in patches around all the edges of the floor area.

Victorian Hallway Floor Tiles Before Cleaning Norwich


Cleaning a Victorian tiled floor

Firstly, we cleaned the whole area using a strong solution (1:3) of Tile Doctor Pro-Clean, which is a high alkaline stripper and cleaner, agitated with a black scrubbing pad fitted to a rotary machine. All products and slurry were then power rinsed and vacuumed away to reveal the improved floor. There were still a significant number of glue patches and paint spots around the edges of the floor, so these were tackled using Tile Doctor Remove & Go, which softened them enough to enable us to remove them with a sharp-bladed scraper. Unfortunately, the decaying rubber underlay had left a pattern on the tile surface which was most obvious at the doorway into the terracotta tiled kitchen. We almost completely removed this using Tile Doctor Oxy-Gel which being in gel form allows it work on the problem area longer. It was painted on a brush and kept moist for two hours under a layer of cling film which drew out virtually all the contaminant from the tile. The next concern was that an original Victorian floor of this age would almost certainly have no damp proof membrane and an area near the front door which showed evidence of efflorescence salts was treated with Tile Doctor Acid Gel in order to remove the white deposits and further inhibit the production of more in the future. The whole area was then lightly buffed using the rotary machine and a 1500 grit diamond pad with water in order to remove any remaining fine paint spots and restore a silky feel to the surface of the tiles before leaving the floor to dry overnight with assistance from our dehumidifier.


Sealing a Victorian tiled floor

When we returned the following morning, our damp meter showed us that the moisture content in the substrate was probably going to be too high to allow us to use an acrylic sealer to provide the sheen which the client had requested; so we decided to spray-buff the floor using a 3000 grit diamond pad on the rotary machine followed by the application of Tile Doctor Colour Grow, a colour enhancing penetrating sealer which sits just below the surface of the tile and leaves no visible finish. Finally, the whole floor was spray buffed to a low sheen with a white maintenance pad on the rotary machine and any resulting dust vacuumed away.

Victorian Hallway Floor Tiles After Cleaning Norwich

The Victorian tiles now look fantastic and have become a great asset to the property as original features like these are very sought after.


Source: Victorian Tile Cleaning and Restoration Service in Norfolk

Monday, January 22, 2018

Restoring an Old Brick Floor in Oxford

We were contacted by a customer living in Oxford who had a property with a brick floor in the living room that was in a bad state and in need of restoration. Brick has always been used as an alternative flooring material to stone due its durability and low cost. Oxford has a long history dating back over a thousand years so it not unusual to discover something like this in older properties. The owner believed the floor to be over 100 years old and had been patched up in numerous places in the past with holes filled in with modern bricks and concrete. I was confident we could dramatically improve the floor but naturally give its long history it would never look like it was new again.

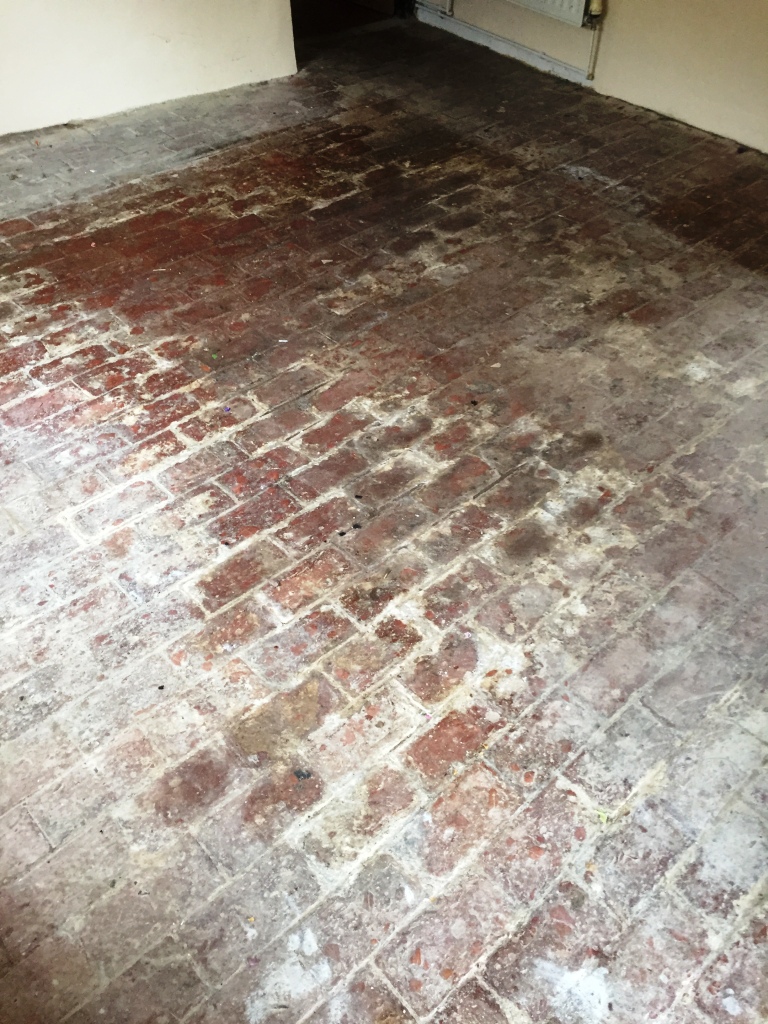
100 Year Old Brick Floor Before Cleaning


Restoring a Brick Floor

To remove the dirt I stated with the application of a strong dilution of Tile Doctor Pro Clean, a high alkaline product that is our go to cleaning product. I applied the product to the floor and left it to dwell for twenty minutes before scrubbing into the brick with a black scrubbing pad fitted to a low speed rotary machine. The soiled cleaning solution was then extracted using a wet vacuum and the floor rinsed with water. With a lot of the dirt removed I could see I would need to use something abrasive to remove the layers of concrete and give the floor a consistent appearance. Fortunately we a number of techniques we can use for dealing with these issues and in this case I opted to apply a series of coarse abrasive milling pads. I started with the 50grit grit pad which is applied by attaching it to a weighted floor buffer and lubricated with water. Then the floor is rinsed and the process repeated with a 100 grit pad and finally a 200 grit pad to finish the process. The pads use industrial diamonds to slowly grind down the surface and improve its appearance. After the final rinse I could see the floor was much improved, I then had to wait for the floor to dry off fully before I could seal it.


Sealing a Brick Floor

On my return the next day I checked the floor with a damp meter to make sure it had dried. All was well so I set about applying a sealer to protect the floor from staining going forward and also make it easier to clean. This sealer I opted for was Tile Doctor Colour Grow which protects the brick from within by become ingrained into the pores of the material and has the added benefit of enhancing the natural colour to bring back the redness of the brick in the process.

100 Year Old Brick Floor After Cleaning

I appreciate the photographs are not my best but hopefully you can appreciate the improvement, certainly the customer was very pleased with transformation and left the feedback for me below. In fact they were originally of the opinion that it probably wasn’t salvageable so this was a major bonus. We went from dirty old brick living room floor to shiny new (looking) floor in the space of two days. Barry called back immediately came round to have a look the same day then set a date and time and met every promise.


Source: Brick Tile Cleaning and Restoration Service in Oxford

Friday, October 6, 2017

Maintaining a Victorian Tiled Hallway Floor in Cheshire

The village of Grappenhall has a long history that goes all the way back to the bronze age and as a result has all periods of architecture including quite a lot of houses with Victorian tiled hallways . This particular floor at a house in the village had been well looked after well by the owner but had now lost its vibrancy, was looking dull and now needed a deep clean and reseal

Victorian tiles are porous and so need to be sealed to protect them from dirt becoming ingrained in the floor. However, hallway floors get a lot of foot traffic which over time wears down the sealer until it becomes so thin and patchy it’s no longer effective. As a result, you need to regularly top up the sealer or every three to four years it will need to be stripped off and reapplied.

Victorian Tiled Hallway Grapenhall Before Cleaning Victorian Tiled Hallway Grapenhall Before Cleaning


Deep Cleaning the Victorian Tiled Floor

I used clear plastic to protect the wood skirting boards from splashing and then gave the tiles a good scrub with a mixture of Tile Doctor Pro-Clean and Remove and Go to deep clean and strip off any remaining sealers. The cleaning solution was left to soak in for ten minutes before scrubbing it in with a black pad fitted to a heavy buffing machine.

Once the whole area had been scrubbed I rinsed off with water which was then extracted using a wet vacuum. With the floor now clear I was able to inspect it to ensure all the previous sealer and ingrained dirt had been removed. Any areas with stubborn stains were spot treated by reapplying the cleaning concoction I used earlier before leaving the floor to dry off fully overnight.

Sealing the Victorian Tiled Floor

When I returned the next morning my first job was to test the tiles for damp using a damp meter. This is important as damp tiles won’t take the sealer as well as dry tiles, however this time everything was fine. I then proceeded to seal the Victorian tiles with a single coat of Tile Doctor Colour Grow to enhance the natural colours in the tile before applying a further seven coats of Tile Doctor Seal and Go which leaves a sheen finish and is ideal for Victorian tiles.

Victorian Tiled Hallway Grapenhall After Cleaning Victorian Tiled Hallway Grapenhall After Cleaning

The hallway now looks fantastic and vibrant and then new sealer will protect them from ingrained dirt making them easier to clean and keep them looking good for some time to come.


Source: Victorian Tile Cleaning and Renovation Service in Cheshire

Tuesday, July 25, 2017

Grout Cleaning and Sealing in a Warwickshire Hallway

The owner of this house in Chaplefields near Coventry had bought this property as an investment and was keen to improve its appearance. As part of this work he had lifted the vinyl tiles in the hallway and discovered a lovely Edwardian tiled floor. Unfortunately, whoever had laid the Vinyl tiles had decided to use Tar as an adhesive and this had left a black mess all over the floor.

Edwardian Tiled Floor Covered In Tar Chaplefields Coventry Before Restoration

Realising the potential value an original feature such as this could add to the property he was keen to restore the tiles but not so keen to deal with the Tar, so we were asked to deal with the problem and restore the floor as close to its original condition as possible.

Repairing and Cleaning a Dirty Edwardian Tiled Floor

To get the tiles clean and remove the horrible tar I applied a strong dilution of Tile Doctor Remove and Go, which as its name suggest is great for removing coverings from tiles. I applied the Remove and Go with a mop, left it to soak in for a few minutes and then worked it in using a rotary machine fitted with a black scrubbing pad. The soil was extracted off the floor using a wet and dry vacuum and then the process repeated until I was happy all the tar was gone. I then gave the tiles an acid wash using Tile Doctor Acid Gel; this serves to break down alkaline mineral deposits such as cement and grout smears, it also counters any efflorescence problems which can be an issue with these old floors where no damp proof membrane has been installed. Finally, the floor was given a rinse with clean water and a steam clean to remove any trace of cleaning products and to neutralise the tiles in preparation for sealing.

Sealing a Edwardian Tiled Floor

I left the floor to dry off overnight and returned to the property to seal the tiles the next day. To seal the tiles, I used three coats of Tile Doctor Seal and Go which is a water based sealer that leaves a subtle sheen finish and being water based doesn’t leave a smell as it dries. The sealer will provide durable protection going forward preventing dirt from becoming ingrained into the pores of the tile and ensuring it remains easy to clean and keeping its appearance for some time to come.

Edwardian Tiled Floor Covered In Tar Chaplefields Coventry After Restoration

The floor now looks fantastic and gives a great impression when you come into the property which is exactly what the owner wanted.


Source: Edwardian Tile Cleaning and Restoration Service in Warwickshire

Tuesday, July 11, 2017

Restoring Old Flagstone Flooring in Lancashire

This customer in Great Harwood was so fedup with their Flagstone tiled flooring on the ground floor of their property. In fact they were ready to take up the floor, put a new concrete base in place and lay a wood floor down on top. However this is the original floor from when the house was built in 1894 so was not replaceable as such, and the customer really wanted to restore the floor back to its original condition, as well as other material's in the house, to recreate the Original Victorian feeling that had been missing for many years.

Flagstone Floor Before Restoration Great Harwood Flagstone Floor Before Restoration Great Harwood
We have completed quite a lot of this type of work for customers in the past and we publish all out work on our website and it was one job similar to this that convinced the customer that we had the answer to her problem.

Milling an Old Flagstone Floor

A few years ago Tile Doctor invented a system called Milling to deal with problematic stone floors like this one. The system uses very coarse Diamond pads fitted to heavy machinery to mill the stone until it is a smooth as possible. This action gets rid of years of traffic marks, ingrained dirt as well as old wax and sealers. There's nothing harder than Diamond so we find this system woks really well on an old damaged floor like this one. The process will leave the stone looking rough so once finished with the coarse pads we then apply a lighter Diamond grit pad to remove the scratch marks that the heavy diamond grits leave behind. The floor is rinsed between pads and a little water is also used to provide lubrication. After resolving the stone issues we re-grouted the whole floor and conduct one more final clean using Tile Doctor Neutral Clean before leaving it to dry out ready for sealing a few days later.

Sealing an Old Flagstone Floor

On our return the sealer we chose for these old flagstone was Tile Doctor Colour Grow, it penetrates into the pores of the stone protecting it from within and in the processes lift the natural colours in the Stone. Colour Grow is a breathable sealer which you need when sealing these old stone floors which won’t have a damp proof membrane installed. A wet look or polishing sealer will eventually spoil in damper wetter weather. Another advantage of Colour Grow is it leaves a Matt finish which is a more natural look for Sandstone Flagstones like these. They will also be easier to clean as the milling process made the stone much smoother to the touch, so it becomes a lot easier to maintain in the future.

Flagstone Floor Before Restoration Great Harwood Flagstone Floor Before Restoration Great Harwood

The results were fantastic, and the customer is really pleased that they will no longer have to replace the tiles. The appearance and condition of the Flagstone had been improved so much that most people would not believe it had been laid 123 years ago!


Source: Flagstone Tile Cleaning and Restoration Service in Lancashire