Showing posts with label Removing Bitumen. Show all posts

Monday, February 1, 2021

How to Restore Old Quarry Tiles Covered by Vinyl

The owner of this property in the South London suburb of Cheam got in touch about restoring a Quarry tiled floor that had been covered with Vinyl tiles. After surveying the floor, it became clear that some of the original Quarry tiled floor was missing and had been replaced with concrete before covering with Vinyl.
     
Vinyl Covered Quarry Tiled Floor Before Restoration Cheam Vinyl Covered Quarry Tiled Floor Before Restoration Cheam

To fully restore the Quarry tiles floor, it would therefore be necessary to dig out the concrete sections and tile with matching quarry tiles which had been supplied by the client. Once done we would then need to renovate both the old and the new sections of floor and seal them to achieve a consistent appearance. I was also asked to dig out an old matwell and prepare it for a new mat as part of the work.  

This was a large job, but following a site visit I was able to provide my client with an accurate price and arranged a time to carry the work out which would take five days.
    

Removing Vinyl Tiles

The first part of the job was to lift the existing Vinyl tiles which had been laid on top of the Quarry tiles. I used a heat gun to help loosen the adhesive and then assisted with a steamer scrubbed Tile Doctor HBU Nanotech stripper into the floor to remove the glue and bitumen from the surface of the newly exposed Quarry tiles.
    
Vinyl Covered Quarry Tiled Floor During Restoration Cheam Vinyl Covered Quarry Tiled Floor During Restoration Cheam


Restoring the Appearance of a Quarry Tiled Floor

The soiled solution was extracted with a wet vacuum and I followed up by giving the Quarry tiles an acid rinse using Tile Doctor Acid Gel. The Gel is applied to the tiles and then scrubbed in with a Black pad fitted to a rotary machine. This process removes old traces of cement and grout from the quarry tiles and further cleans them up. After this the floor was rinsed thoroughly and the soil extracted with a wet vacuum.
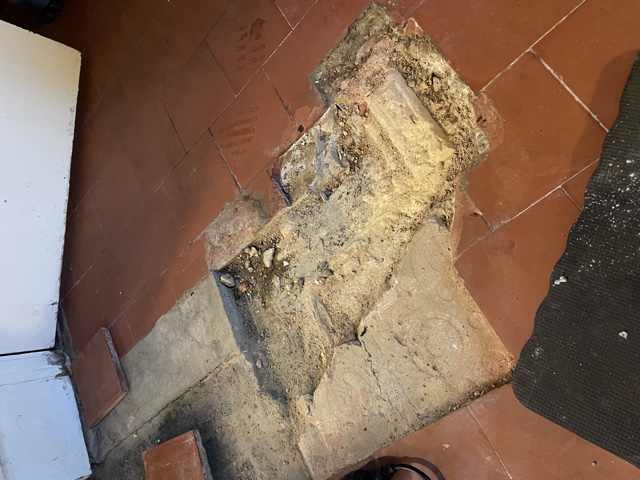
   
Vinyl Covered Quarry Tiled Floor During Restoration Cheam Vinyl Covered Quarry Tiled Floor During Restoration Cheam

The next focus was on digging out the concrete areas mentioned earlier and then preparing the subfloor for tiling with self-levelling compound, which of course needs time to set. Once ready the replacement tiles were fixed in place making cuts as necessary and placing them to follow the original floor pattern. This may sound quite this sound straight forward, but this part of the job took some time to complete. The floor was left for a couple of days so the new tiles could set and the whole area could dry out before sealing.

 
Vinyl Covered Quarry Tiled Floor After Cleaning Cheam


Sealing a Quarry Tiled Hallway Floor

I returned later to seal all the Quarry tiles with Tile Doctor Colour Grow which brings out the deep Orange colours in the tiles whilst adding protection from staining and ingrained dirt. This sealer works by occupying the pores in the tile so dirt cannot become ingrained there. Four coats of sealer where applied across the whole floor leaving a nice matt finish that was consistent across the whole floor.

Vinyl Covered Quarry Tiled Floor After Sealing Cheam Vinyl Covered Quarry Tiled Floor After Sealing Cheam

Before leaving I discussed with the client the best way to maintain the floor in the future and recommended the use of Tile Doctor Neutral Tile Cleaner which is a pH neutral cleaner. This is important as its gentle enough to use frequently and won’t strip off the newly applied sealer like many household floor cleaners will. Its supplied in concentrated form so a small amount of cleaner goes a long way.

The client was delighted with the results, they were very pleased to see the back of the tired Vinyl floor and pleased the floor now looked consistent throughout.

Monday, December 14, 2020

How to Remove Screed and Bitumen from Stone Floors

The owner of this Flagstone floor at a property in Carnforth was told by a damp specialist to remove the carpet and underlay and have the floor taken out and skipped. Then to install new hardcore and concrete put in place but with a Damp Proof Membrane installed in between, then once fully cured (four weeks at least) they could have a new carpet, tile or wood floor etc. installed. All good advice, however, the owner of the house wanted to keep as many original features as possible and wasn’t keen on the proposal.

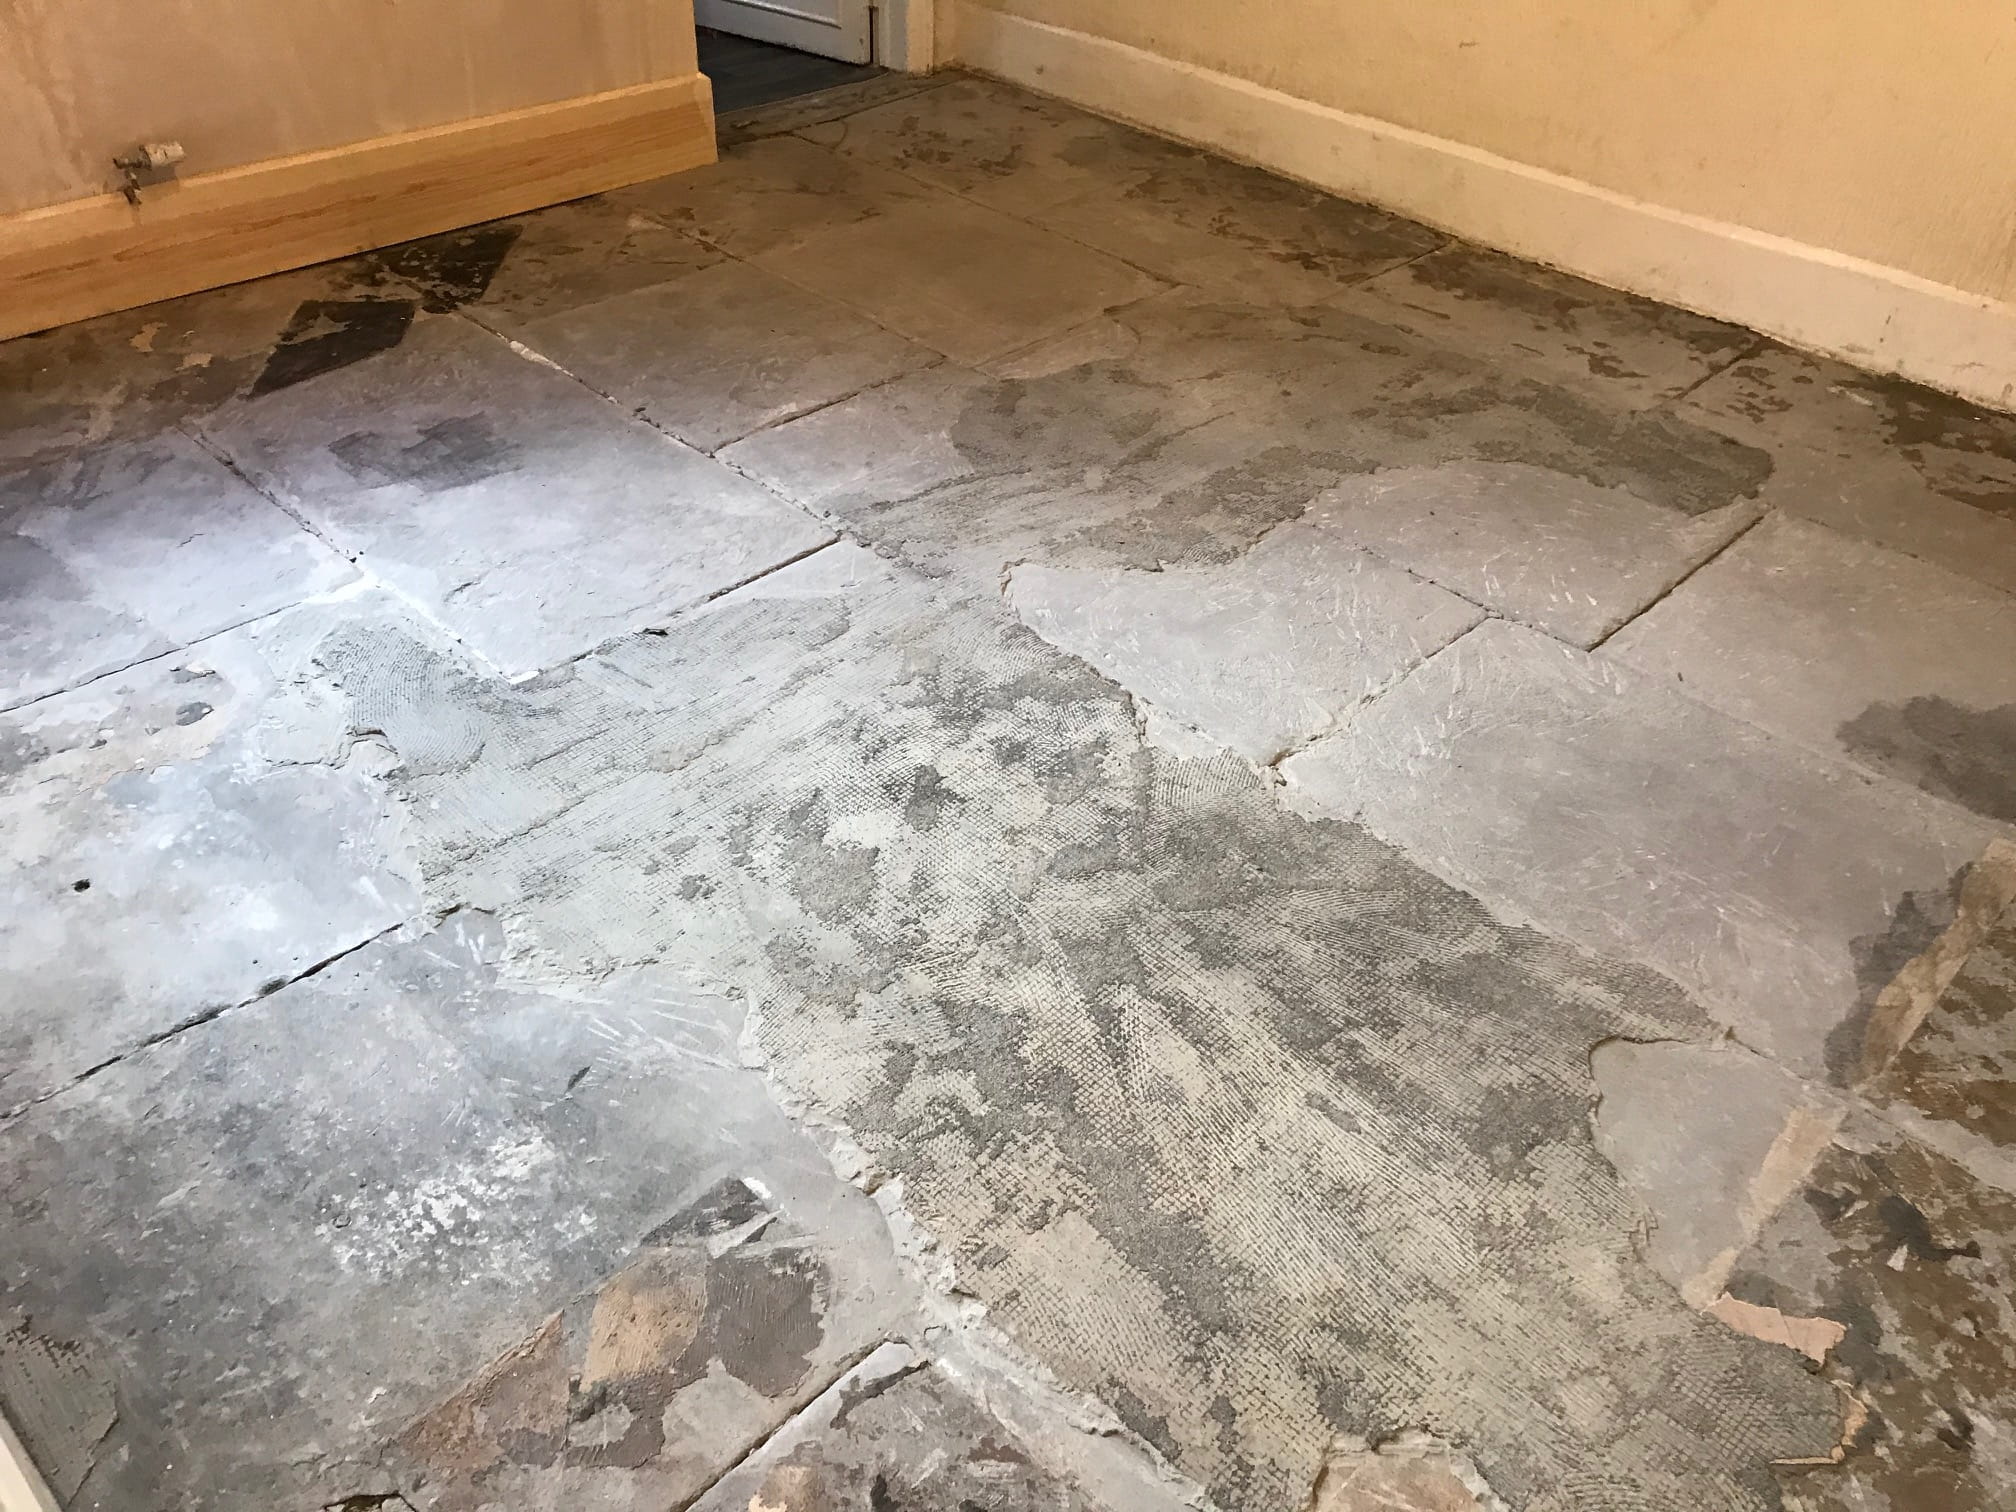
Looking for an alternative solution they reached out to Tile Doctor and so I went over to take a look. After surveying the floor, I came up with a completely different solution which involved milling the stone with coarse abrasive pads to remove the screed and bitumen and then resurface with diamond encrusted burnishing pads of medium and fine grits which would result in a smooth finish. Not only would this be much easier to clean going forward it would also be much more attractive, especially once sealed.

 
Flagstone Floor Before Renovation Carnforth Flagstone Floor Before Renovation Carnforth

Happy with our alternative we arranged a date to come and do the work which would take three days, two days to prepare the floor and a third to apply a sealer.


Cleaning a Flagstone Tiled Ground Floor

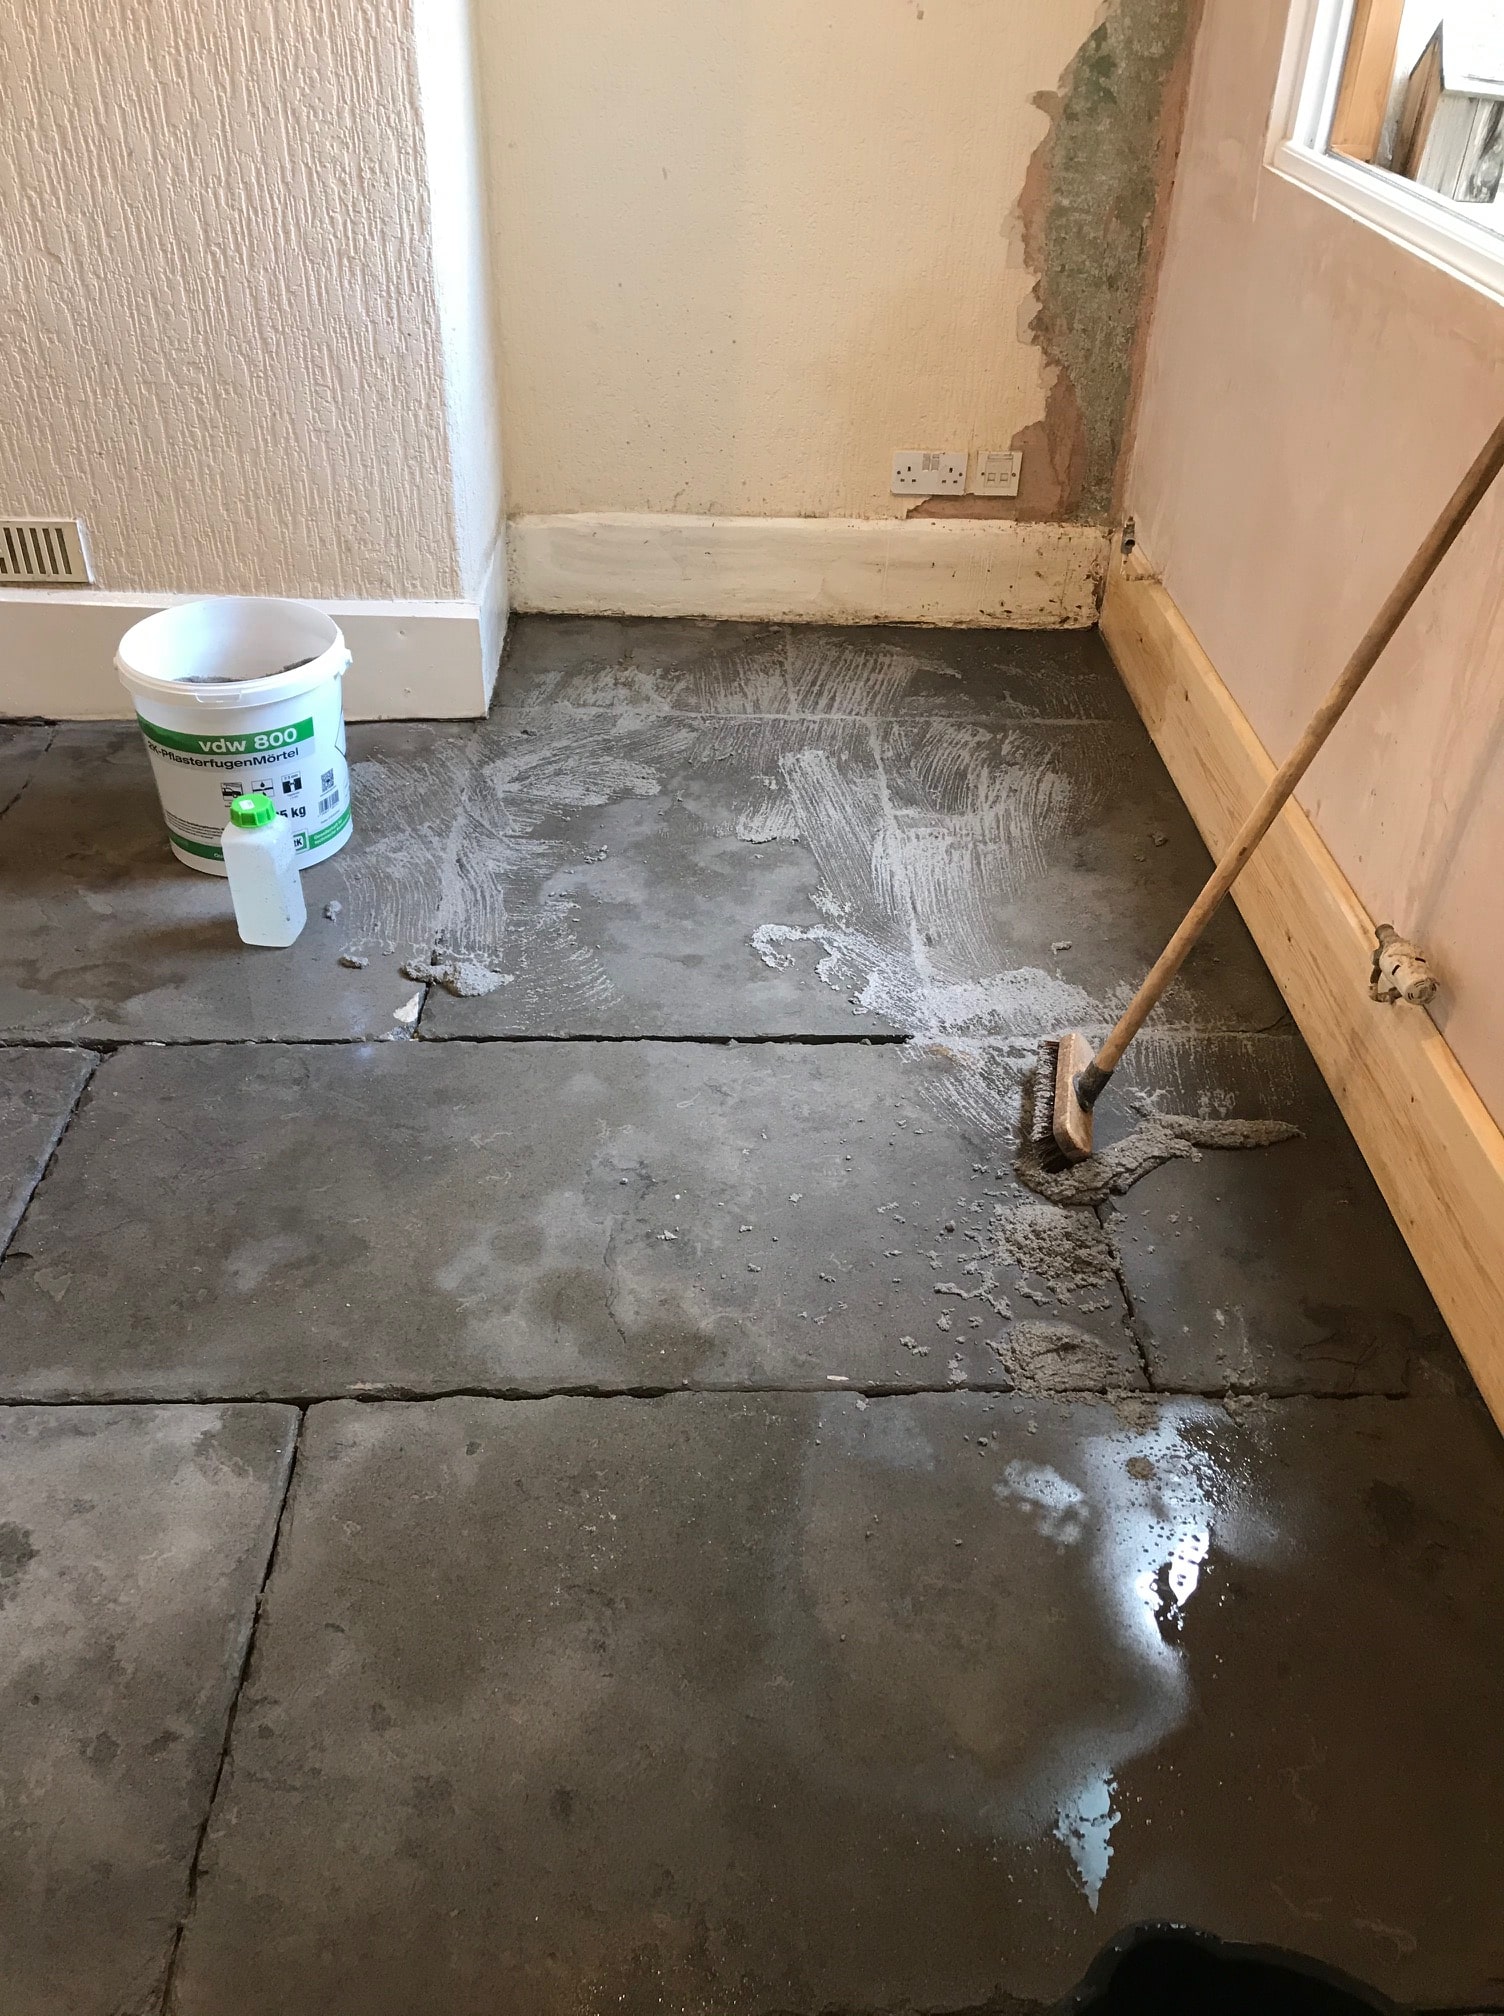
Milling a floor is arduous work and requires the use of a heavy rotary machine that can apply weight onto the stone so the milling pads can really get a bite into the surface. Because of this I roped in a colleague to help take some of the strain. Some of the areas of bitumen and screed were so prominent we used an SDS hammer action drill with a flat bit to chisel them off first, this can leave a few marks in the stone which we then level out with the milling pads starting with a 50 grit and go all the way up to a 400 grit.

Flagstone Floor During Renovation Carnforth Flagstone Floor During Renovation Carnforth

We used a lot of water during this process to help lubricate the abrasive action of the milling pads, this also helps to rinse off the soil that is created, all of which is extracted with a wet vacuum.

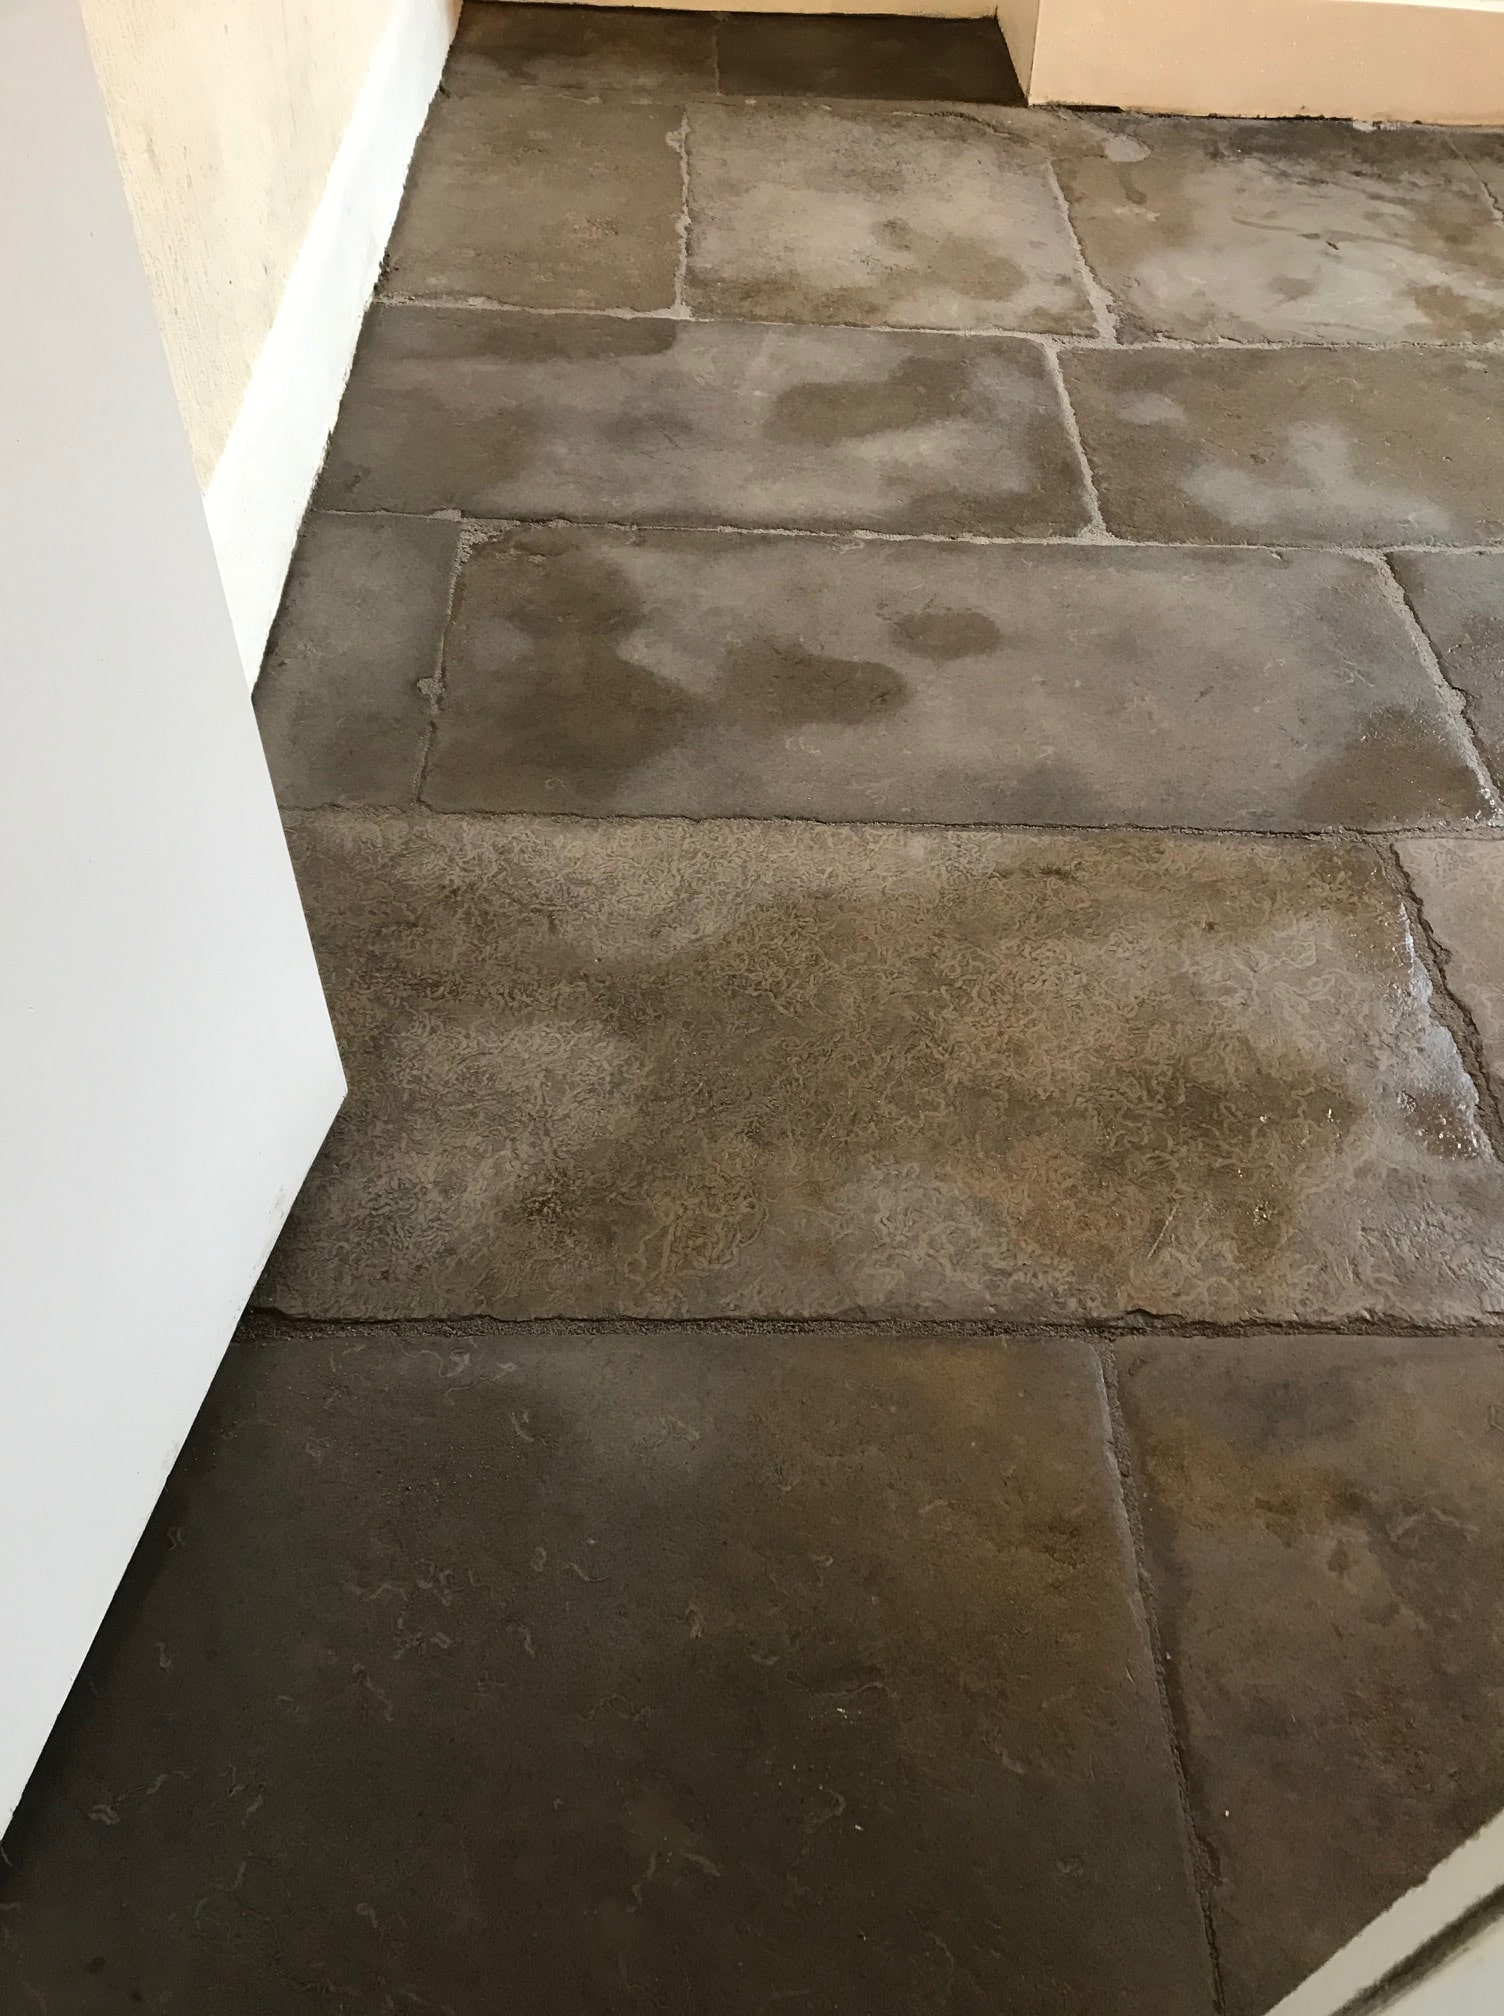
Next step is to give the floor an acid rinse with Tile Doctor Grout Clean-Up which is designed to neutralise any alkaline salts in the stone that could result in efflorescence later.

With the floor cleaned up the last step was to re-point between the Flagstones using a breathable pointing product called GFtK 800.

 
Flagstone Floor After Cleaning Carnforth Flagstone Floor After Cleaning Carnforth


Sealing a Flagstone Tiled Ground Floor

Sealing was the next step however the floor was still quite damp after the initial renovation, so it was left for a few days to dry out first.

We selected a fully breathable sealer for this floor, this is an important requirement for a floor with no damp proof membrane as it will allow moisture to rise through the flagstone and evaporate at the surface. The concrete screed and bitumen covering will have prevented this previously which is dangerous as a build up of moisture in the stone can lead to it crumbling and you risk moisture reaching out to the walls where it can lead to rising damp. 

Tile Doctor has three breathable sealers to choose from and in this case the customer decided to go with Tile Doctor Colour Grow which is an impregnating sealer that protects from within and enhances the natural colours in the stone.

 
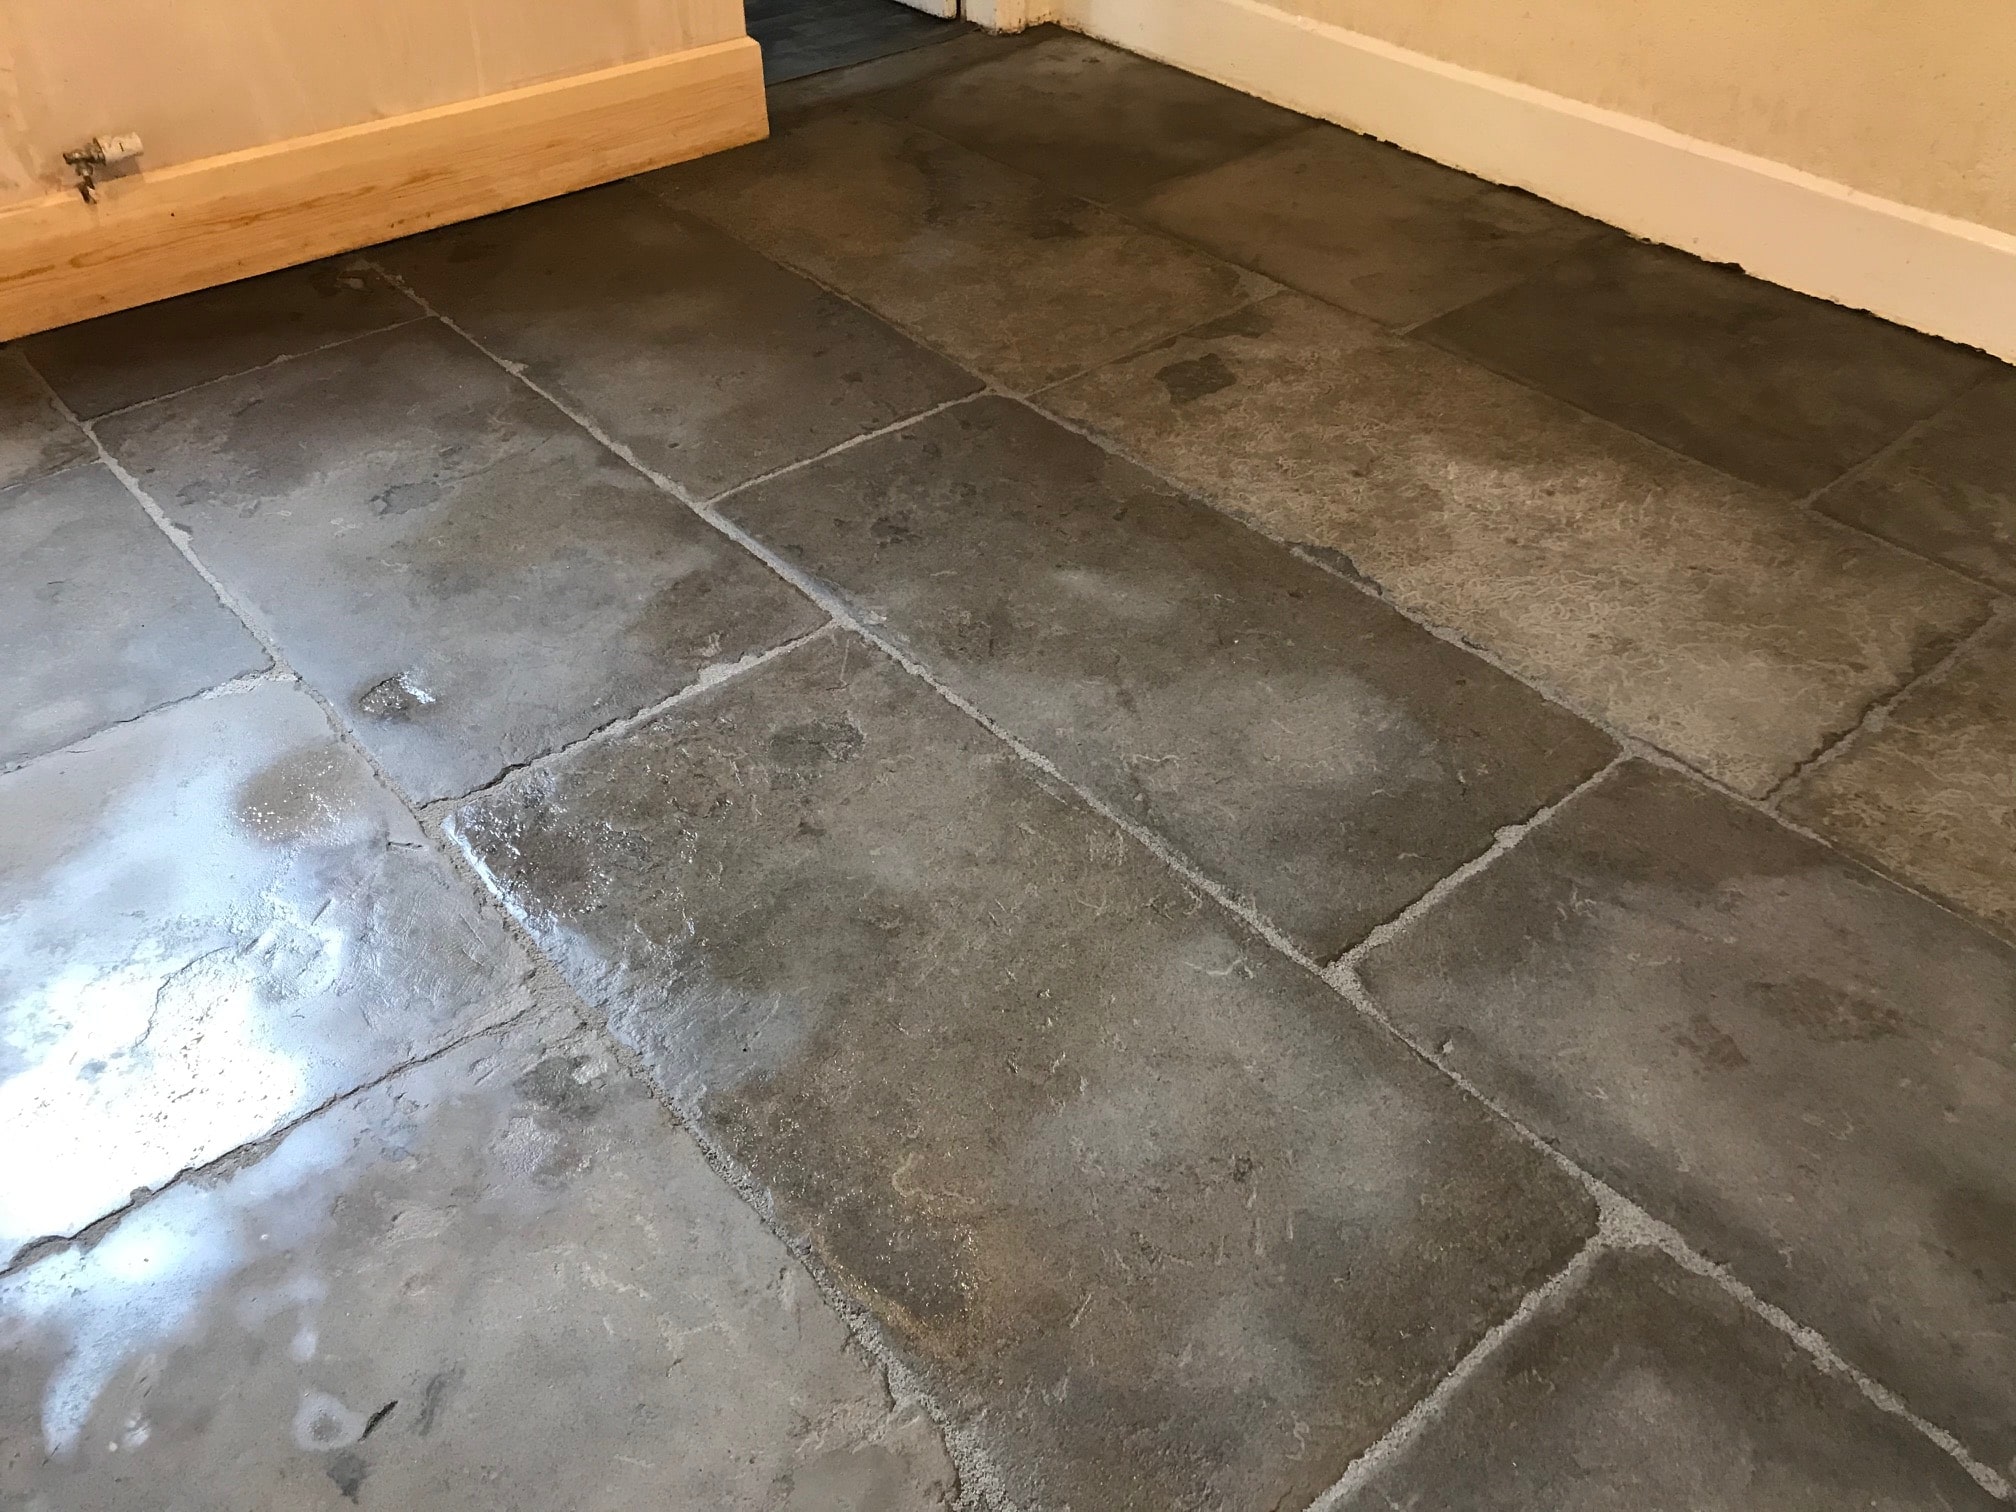
Flagstone Floor After Sealing Carnforth Flagstone Floor After Sealing Carnforth
The floor was completely transformed by the end of the third day, you would not have known it was the same floor. It was now clear of all the previous coverings and now looked like a characterful old Flagstone floor should.

Before leaving I recommended, they use Tile Doctor Neutral Cleaner for everyday cleaning, being pH neutral it won’t prematurely erode the sealer allowing it to work for longer. I also advised that it’s possible that parts of the stone may go a shade darker in winter and a shade lighter in summer due to the moisture rising through the floor.


Thursday, July 30, 2020

How to Remove Bitumen and Cement from Stone Flooring

Late last year I was asked to survey a Flagstone floor in Morecambe which appeared to be beyond restoration. The floor had a long history and at some point in its past was covered with carpet which had been secured onto self-levelling cement with bitumen. All the companies that had visited before we got there said nothing could be done with it and recommended replacing the carpet or covering it with vinyl. As mentioned, it had been previously covered with carpet however this is an old floor and damp had been rising though the floor causing the carpet to rot. My client didn't want to entertain that as a solution and so kept on looking for a company that could restore the stone.

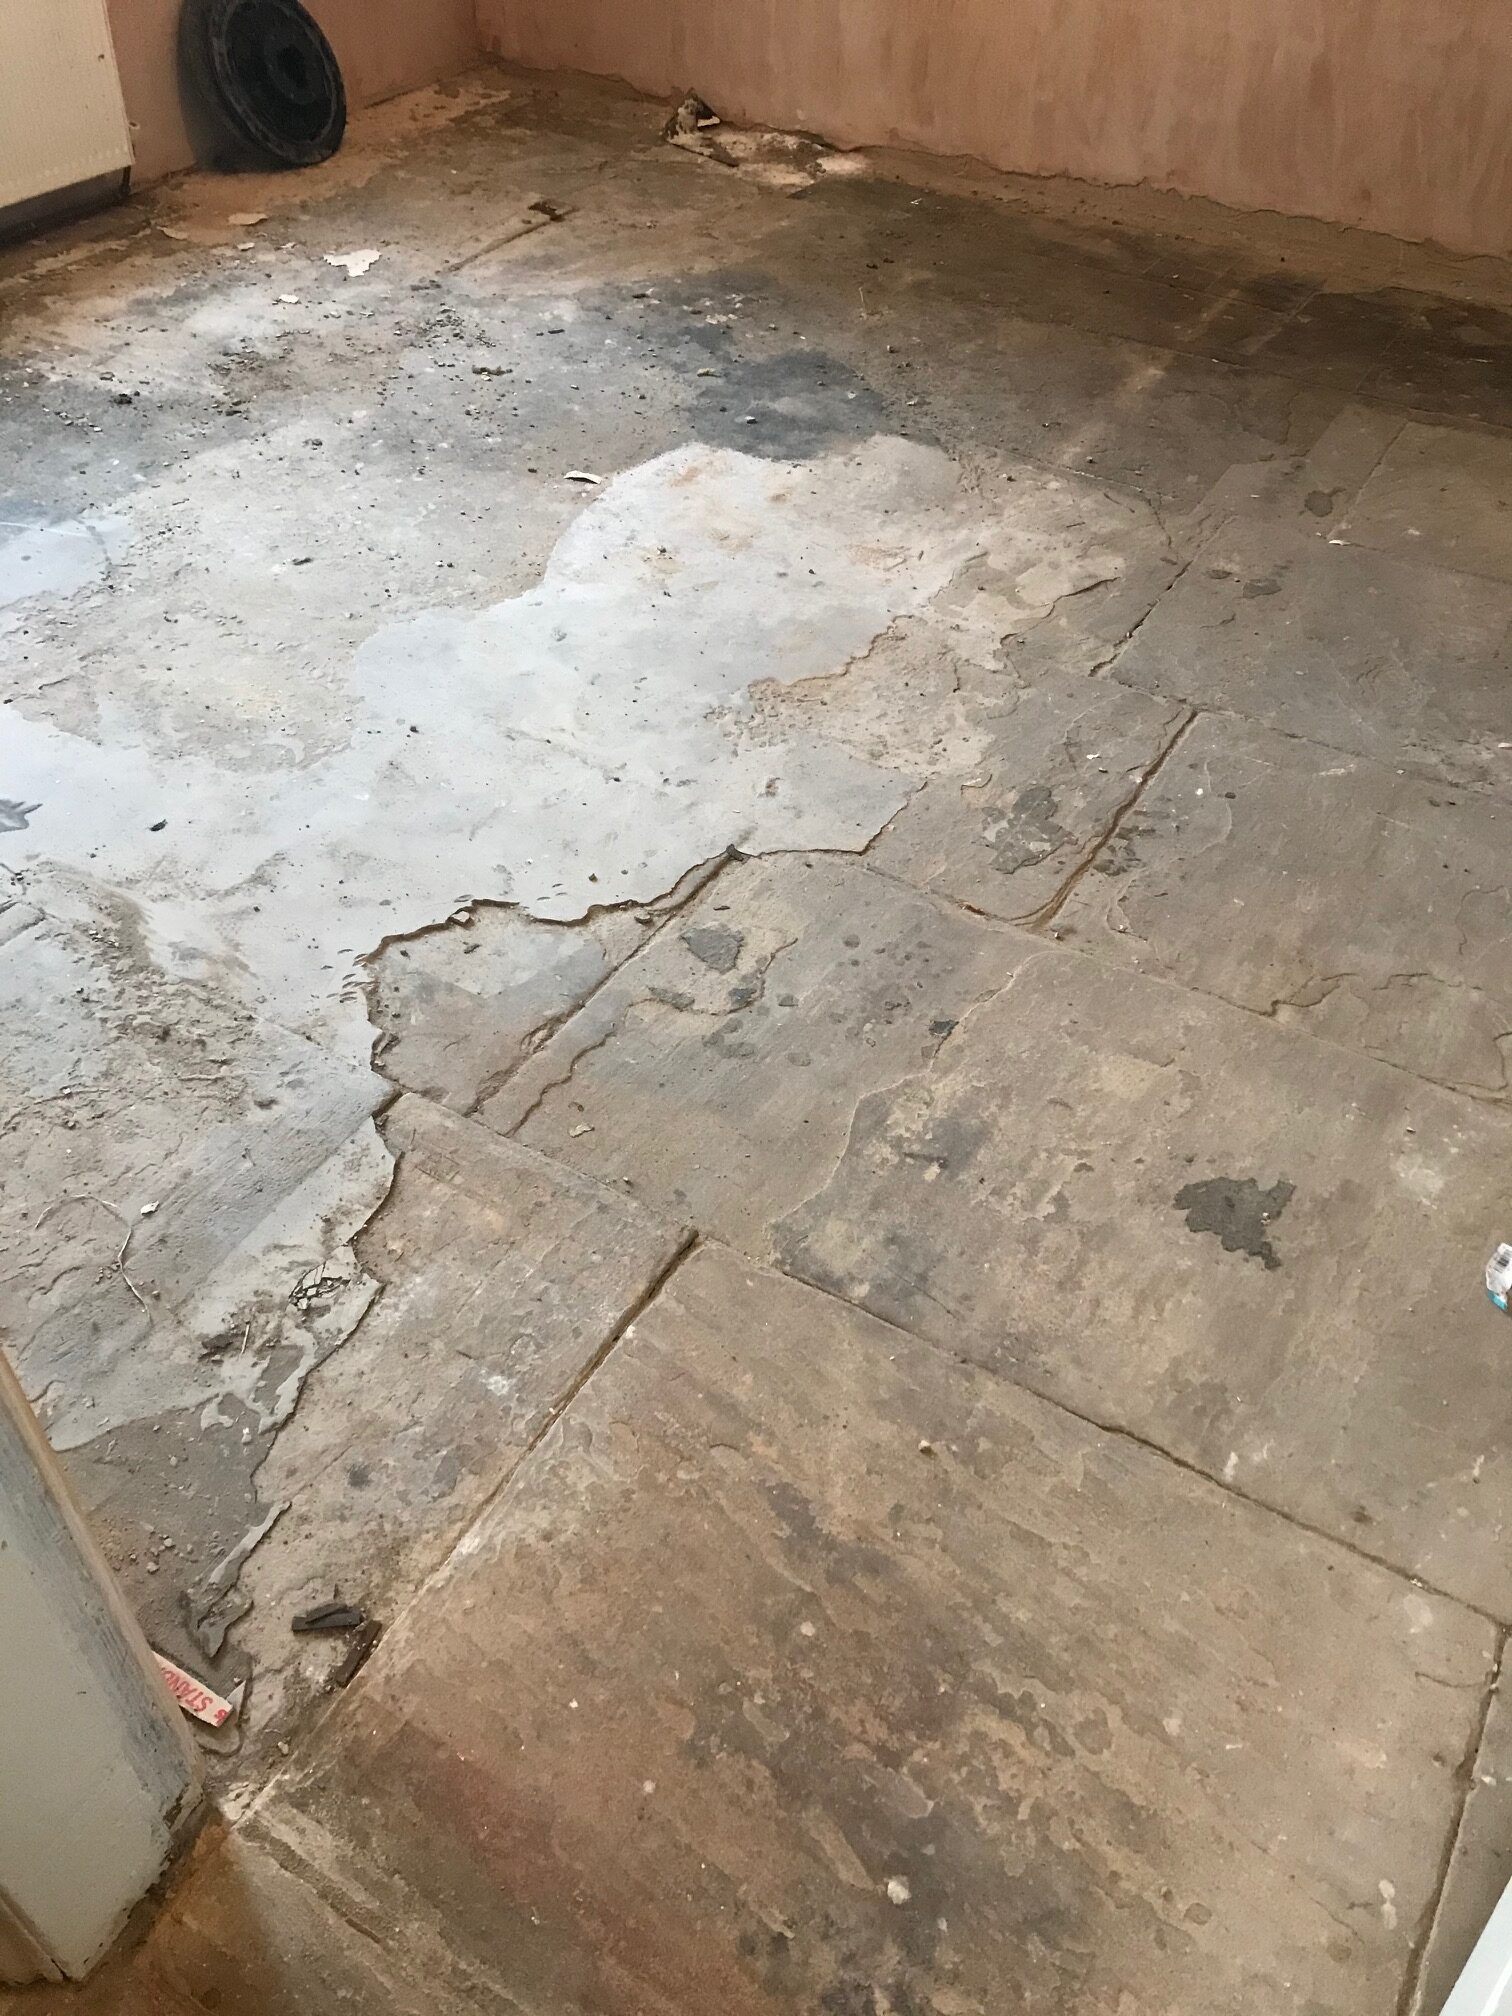
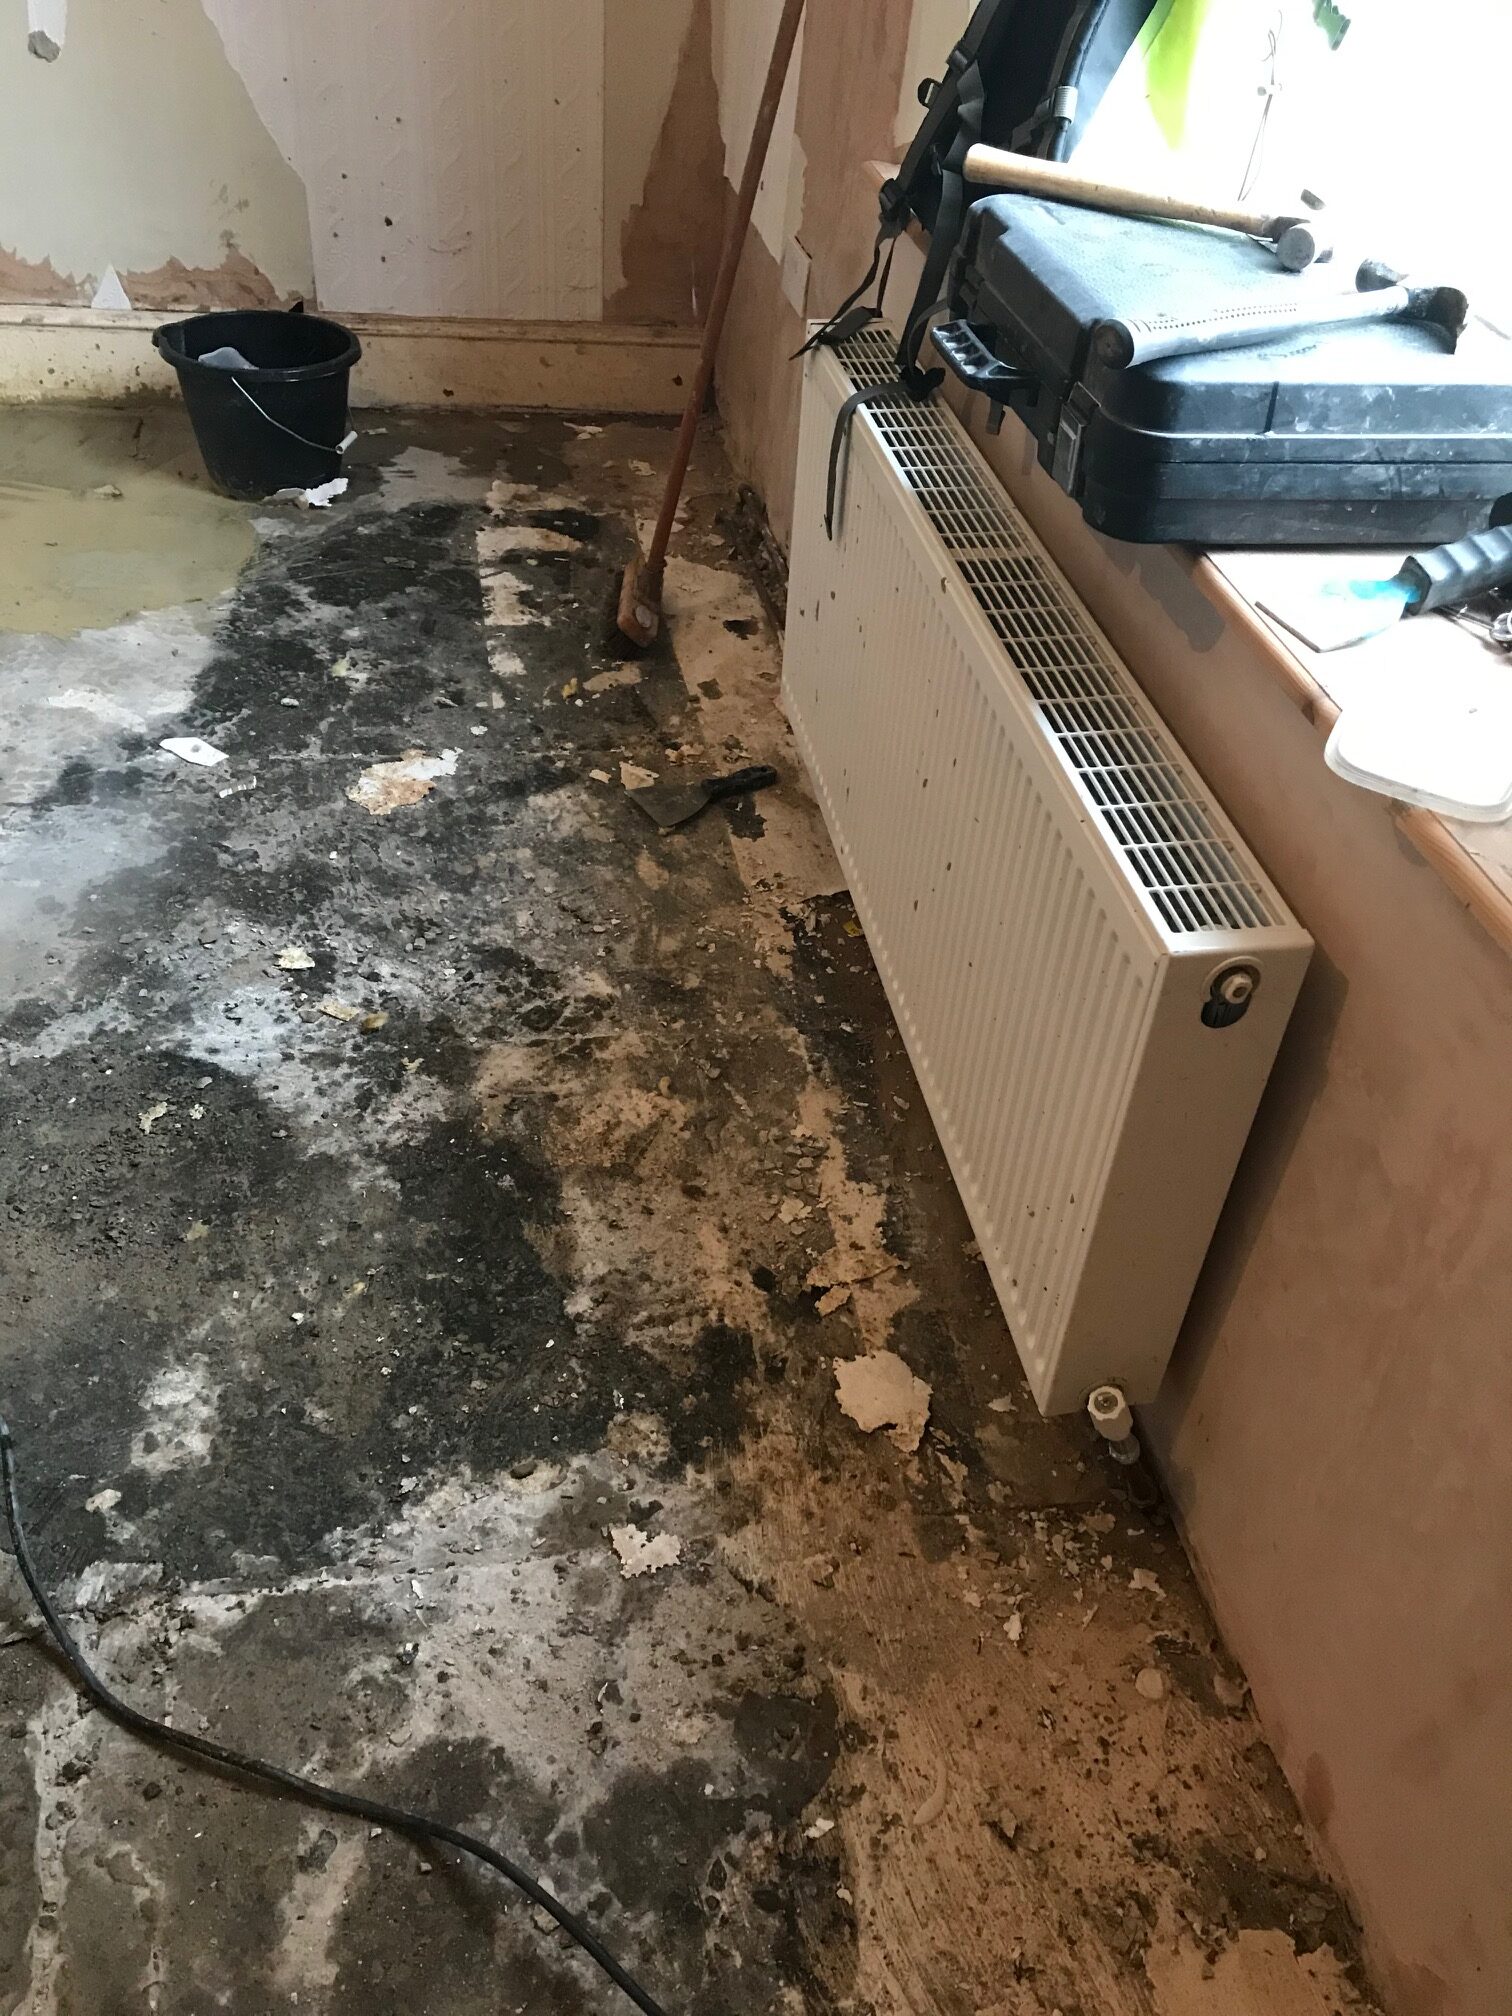
Flagstone Floor Before Restoration Morecambe Removing Self-Levelling Compound and Bitumen from Flagstones in Morecambe

Old houses like this one do not have a damp proof membrane installed under the floor and moisture rising through the stone needs to be allowed to evaporate or you will find damp spreads outwards towards the walls leading to rising damp. In this case I suspect the bitumen which acts as a water barrier had either failed or damp was coming up the wall and into the carpet and underlay. Certainly, in our experience, if you have an old natural stone floor like this it is best not to cover it with anything more than a rug.

 Having inspected the floor, I recommended restoring the appearance of the flagstones by grinding the surface down a few millimetres to reveal new stone. We can do this using several different grades of coarse diamond encrusted diamond pads, a process we call Milling.


Cleaning/Repairing a Flagstone Tiled Hallway Floor

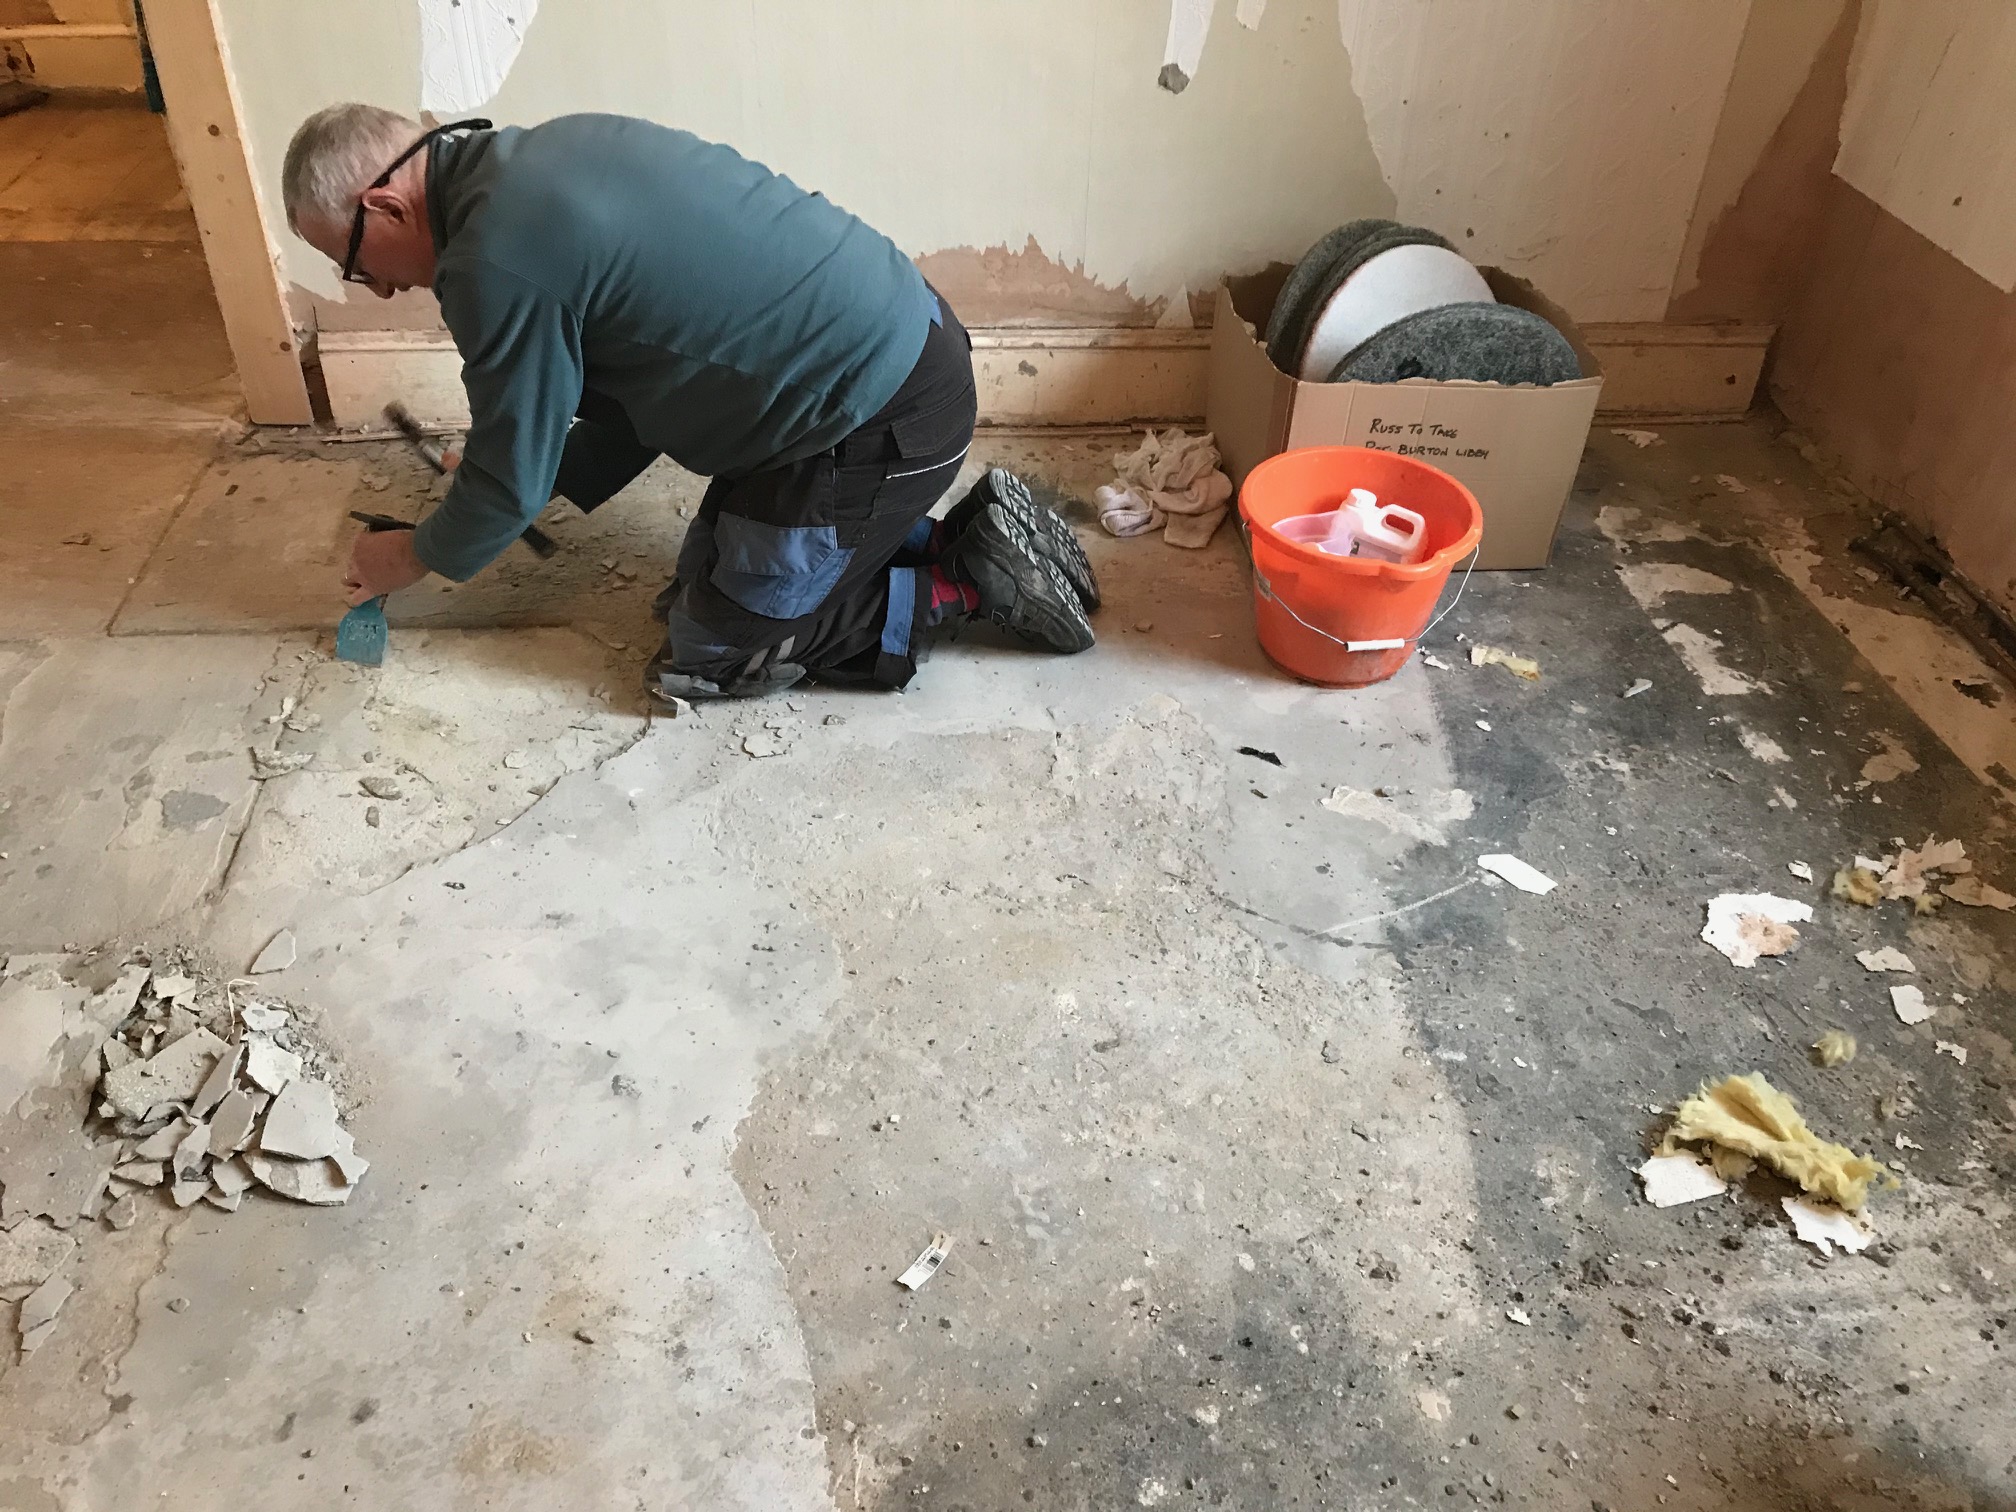
After being given instructions to restore the floor we returned on the schedule date and began by removing as much of the loose cement and bitumen by hand using hand tools.

Removing Self-Levelling Compound and Bitumen from Flagstones in Morecambe

Milling the floor using a very coarse 50-Grit pad fitted with DRB segments (Diamond Resin Blocks). Cutting the surface of the stone like this is hard work and requires the use of a weighted floor buffer to apply the pads. The process is lubricated with water and generates a lot of slurry which is extracted off the floor with a wet vacuum. The 50-grit pad was followed with a 100-grit DRB pad and then 200-grit DRB pad which start the slow process of refining the surface. It’s a two-man job so I brought a colleague along, whilst one was milling the other could take a rest and help with the clean-up.

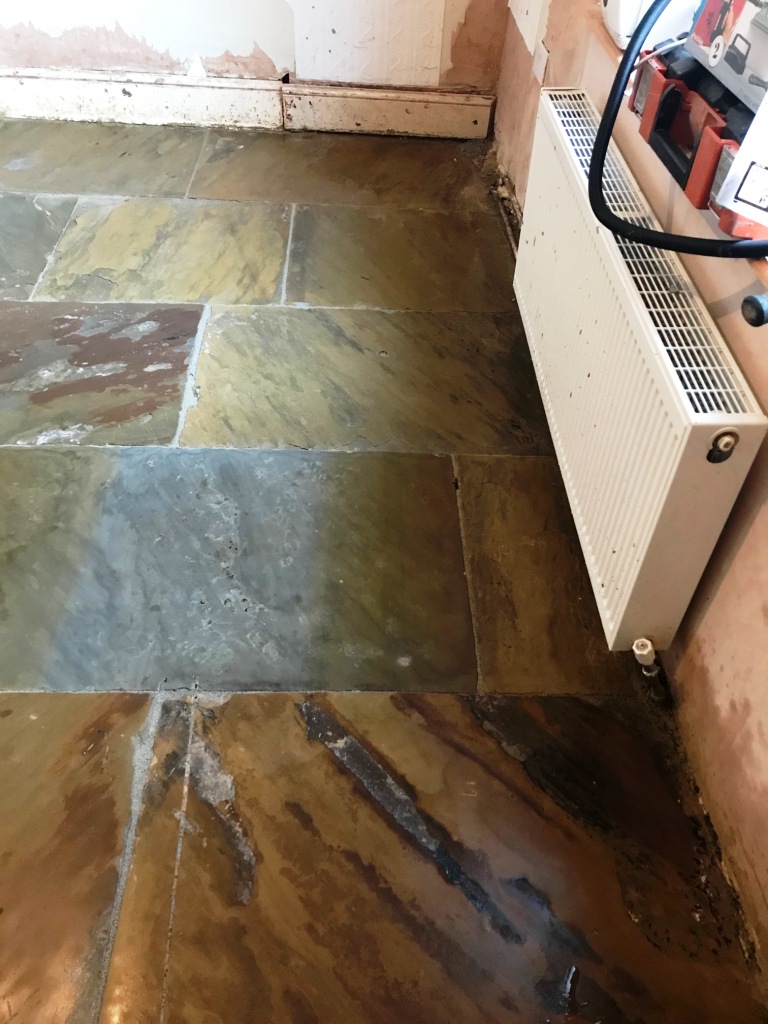
The milling did a great job of removing the Black Bitumen, Self-Levelling compound and old paint revealing the true beauty ` and colour of the Flagstones, in fact the stone had quite a variance of colour which was lovely to see coming through. Half the pointing was missing so after milling the stone we moved onto replacing what was left of the old pointing and replacing with a modern breathable product.

We called back the next day to finish the stone cleaning by further renovating the stone surface using finer grades of diamond encrusted burnishing pads of 400 and 800-grit. Again, you need to water to lubricate the process and rinse the slurry of the floor with water after each pad, then extract with a wet vacuum. This does leave the floor damp, so once we had finished it was left to dry out for a few days, old floors without a damp proof membrane can take longer to dry and especially so in the Winter months.


Flagstone Floor After Restoration Morecambe


Sealing a Flagstone Tiled Hallway Floor

Returning a few days later the stone was first checked with a damp meter to check it had dried out before sealing. The moisture readings were fine, so it was then sealed with a couple of coats of Tile Doctor Colour Grow which penetrates deep into the stone protecting it from within and enhancing the natural colours in the process.

Flagstone Floor After Restoration Morecambe

The flagstone floor was completely transformed by the process and our client was over the moon with the result. In fact, they have asked us back to do the same in the Kitchen as the vinyl in there has since been torn up and revealed the same stone.


Source: Stone Floor Cleaning and Restoration Service in Lancashire

Thursday, February 20, 2020

How to Remove Bitumen from old Victorian Floor Tiles

I was contacted by a client who recently bought a house in Leyton E10 and found an original Edwardian floor in the hallway under old lino. The house was built in 1908 making it well over 100 years old and from the Edwardian era.

The customer had decided to remove the linoleum, but it had been fixed down with bitumen which he struggled to remove as it is such a sticky substance. As well as the bitumen the floor was dirty with ground in dirt, I can only deduce the previous occupants must have decided just to cover it up with the lino rather than clean it. Also, there was some damage to the tiling in front of the stairs that needed repairing. It was clearly going to be more work and more involved than the new owner had initially thought so I was asked to take over the restoration.

Edwardian Floor Covered in Bitumen Before Restoration in Leyton E10 Edwardian Floor Covered in Bitumen Before Restoration in Leyton E10

After visiting the property for a site visit, I had a good idea of what would be needed and managed to find suitable replacement tiles from Original Style Tiles. They were keen to get the floor restored so they agreed my quote and I went ahead and purchased the replacement tiles on their behalf.

Edwardian Floor Covered in Bitumen Before Restoration in Leyton E10


Removing Bitumen and Repairing an Edwardian Tiled Floor

I used a combination of floor buffers, coarse 200-grit pads, hand scrapers and lots of Tile Doctor Nanotech HBU Remover to get the floor clean and clear of the bitumen. Rather a lot of elbow grease was required too! It was a long process which took up all of day one and continued into much of day two. The day ended by removing the damaged floor tiles and replacing with the newly sourced replacements. The floor was left overnight to dry and the new tile adhesive to cure before we could return to seal the floor.

Edwardian Floor Covered in Bitumen During Restoration in Leyton E10 Edwardian Floor Covered in Bitumen During Restoration in Leyton E10


Sealing an Edwardian Tiled Hallway Floor

I returned on Day 3 to seal the floor using a couple of coats of Tile Doctor Colour Grow. Old floors like these have no damp proof membrane and being fully breathable Tile Doctor Colour Grow will allow any moisture to rise through the tiles and not get trapped underneath where it could cause problems later. The sealer also gave the floor a nice natural sheen without being too shiny. Most importantly the new sealer would protect the floor going forward which is particularly necessary in a high traffic area such as the hallway.

Edwardian Floor Covered in Bitumen After Restoration in Leyton E10 Edwardian Floor Covered in Bitumen After Restoration in Leyton E10

My client was glad to see the floor restored back to its original state which I'm sure will add a lot of value to the property as original features are very sought after these days.

For aftercare I recommend they use Tile Doctor Neutral Tile Cleaner to clean the floor. It’s a pH neutral product so it will ensure that the newly applied seal stays in place and keep the new floor restoration looking good.

Edwardian Floor Covered in Bitumen After Restoration in Leyton E10


Source: Victorian Tile and Grout Cleaning and Renovation Service in East London