Wednesday, March 22, 2023

Amazing Restoration of a Victorian Path in South London

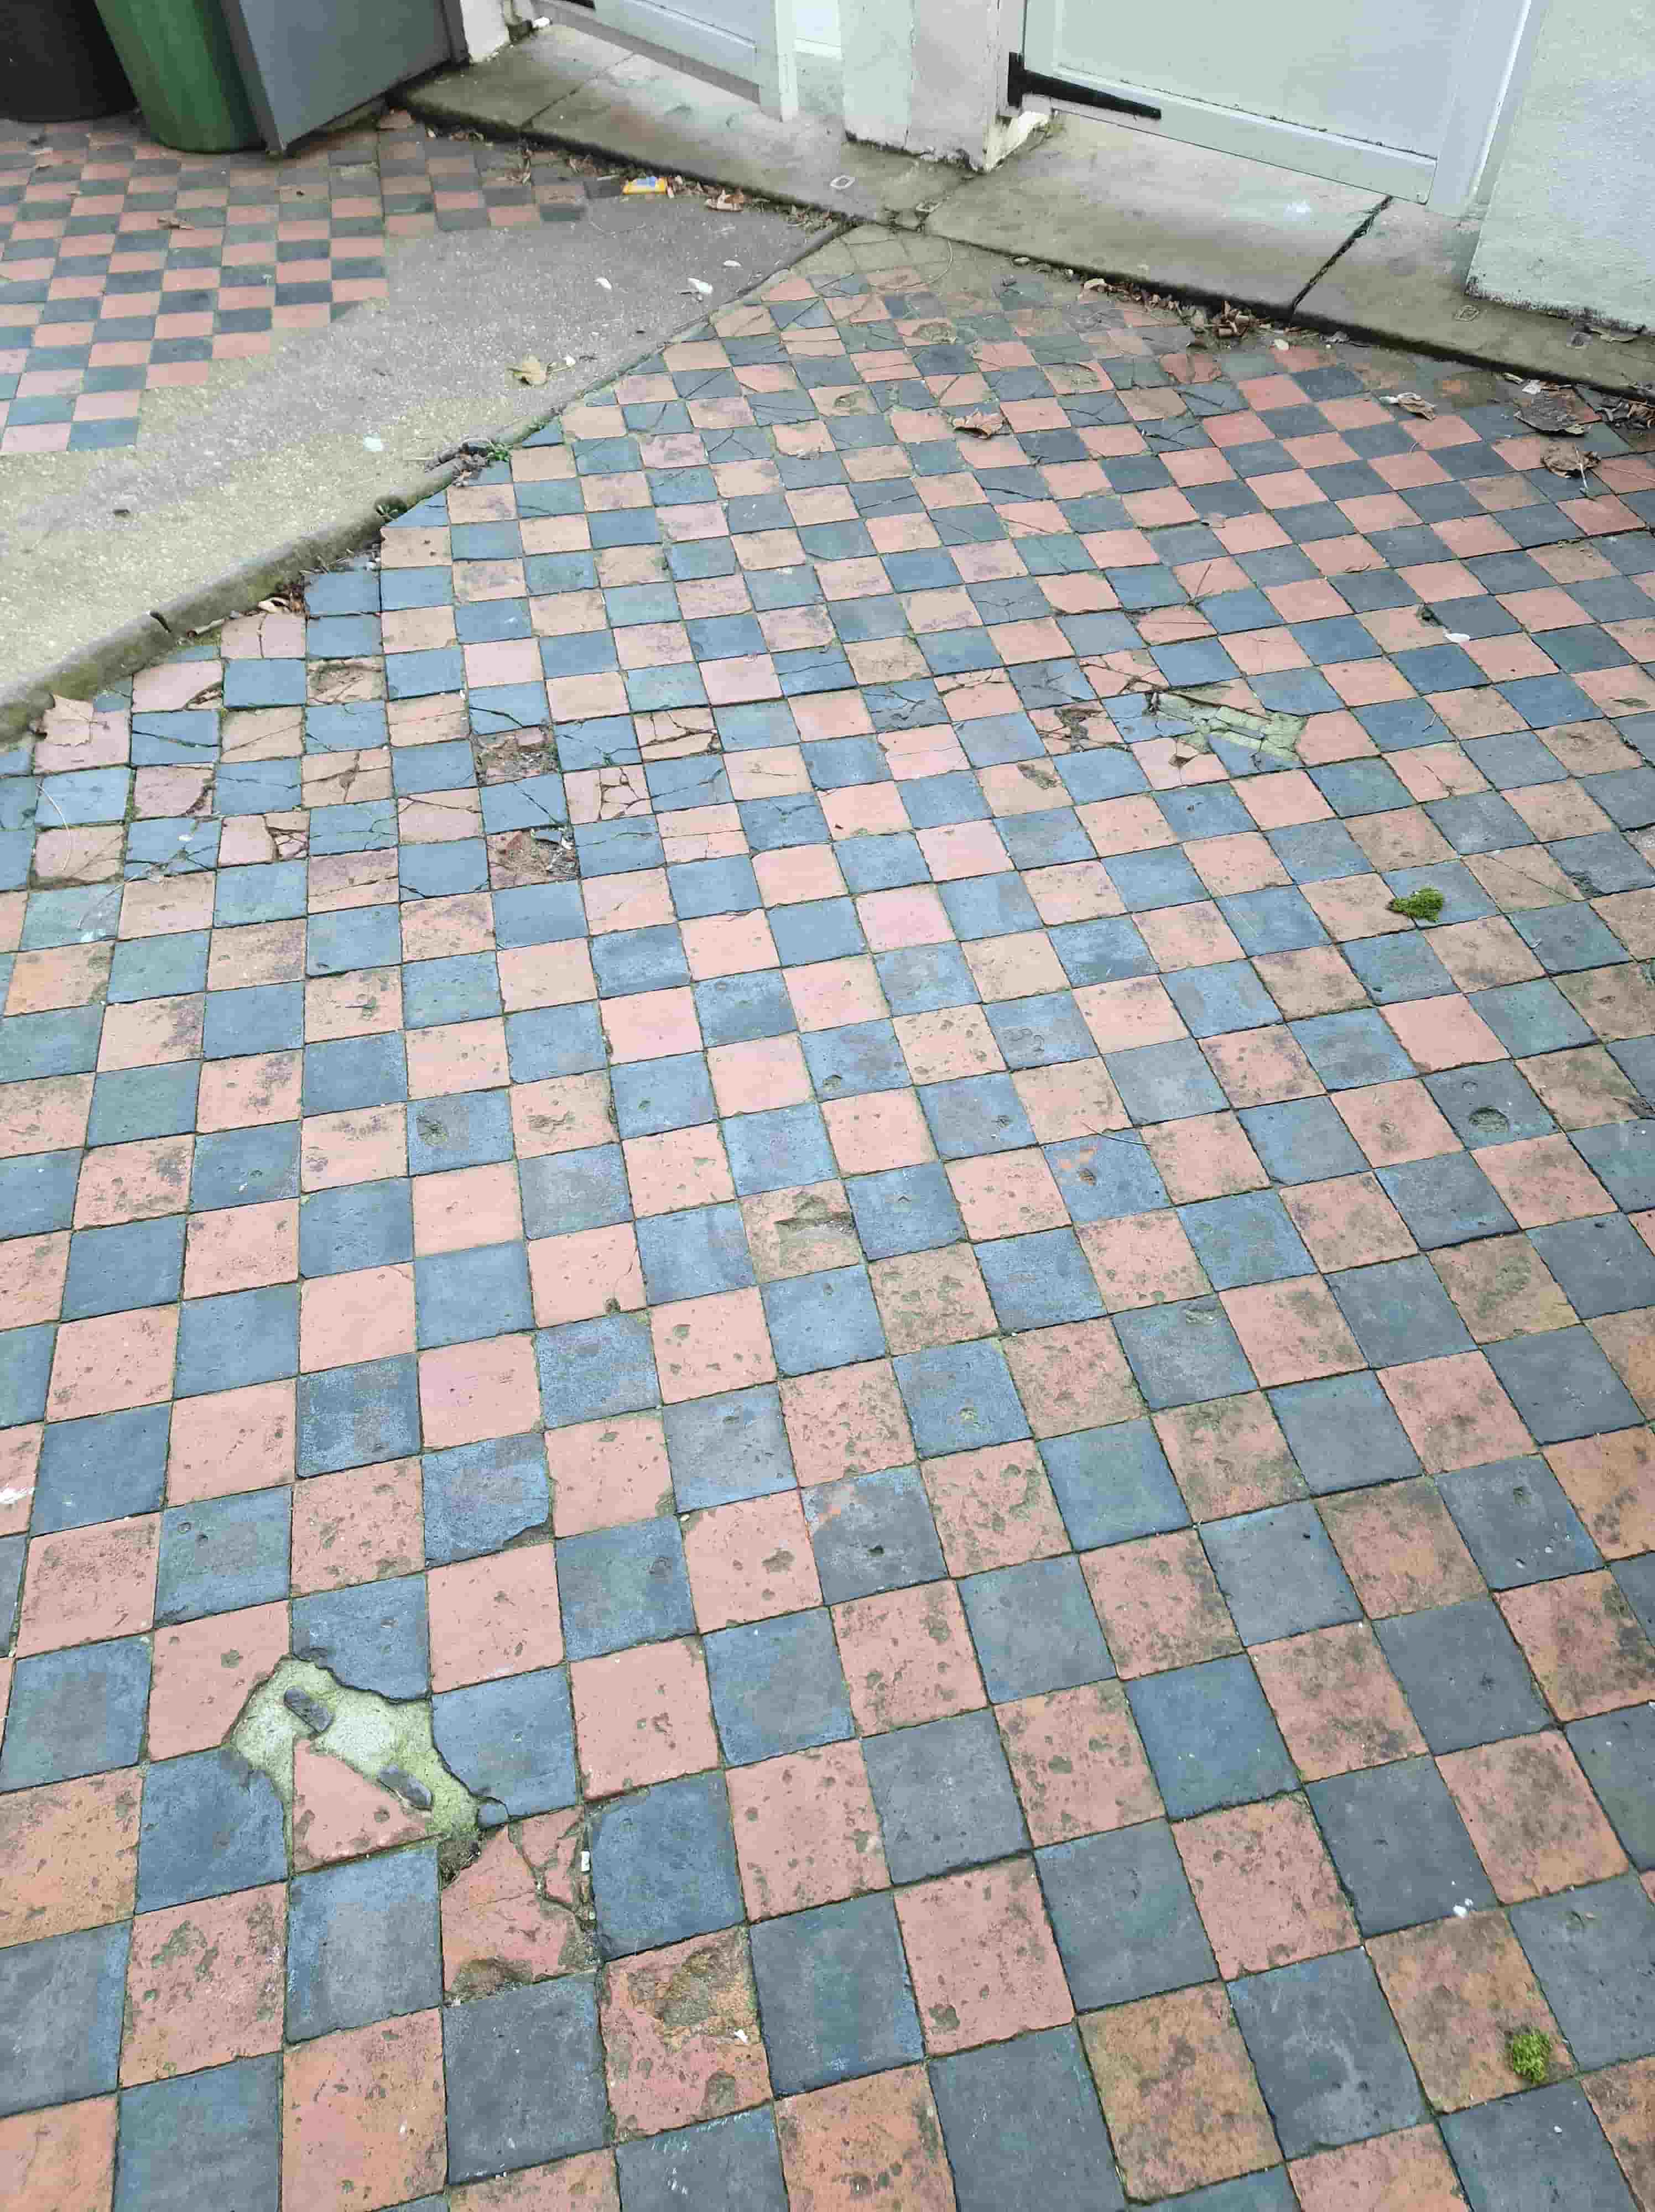
Here we have an old Victorian tiled path in front of a property in Battersea which was very much worse for wear. Tiled in a red and black diamond pattern it had seen a lot of use and weathering and the owner now wanted it renovating or improving at the very least.

 
Neglected Victorian Tiled Path Before Restoration Battersea

I was asked to pop over to the property, survey the path and provide a quote for its restoration. Hopefully you can appreciate from the photographs the numerous cracks and missing tiles. It was certainly going to need a lot of work to improve its appearance, which I was happy to do but I had to lower the expectations of the owner as it would never be perfect. We agreed a price for the work and booked the job in.

 
Neglected Victorian Tiled Path Before Restoration Battersea


Repairing a Victorian Tiled Pathway

Before starting work we tried to source salvaged tiles that would blend in with the originals, but unfortunately, we couldn't find any that were a close enough match, so had to make do with modern tiles. These are still suitable but the metric sizing makes it a little tricker.

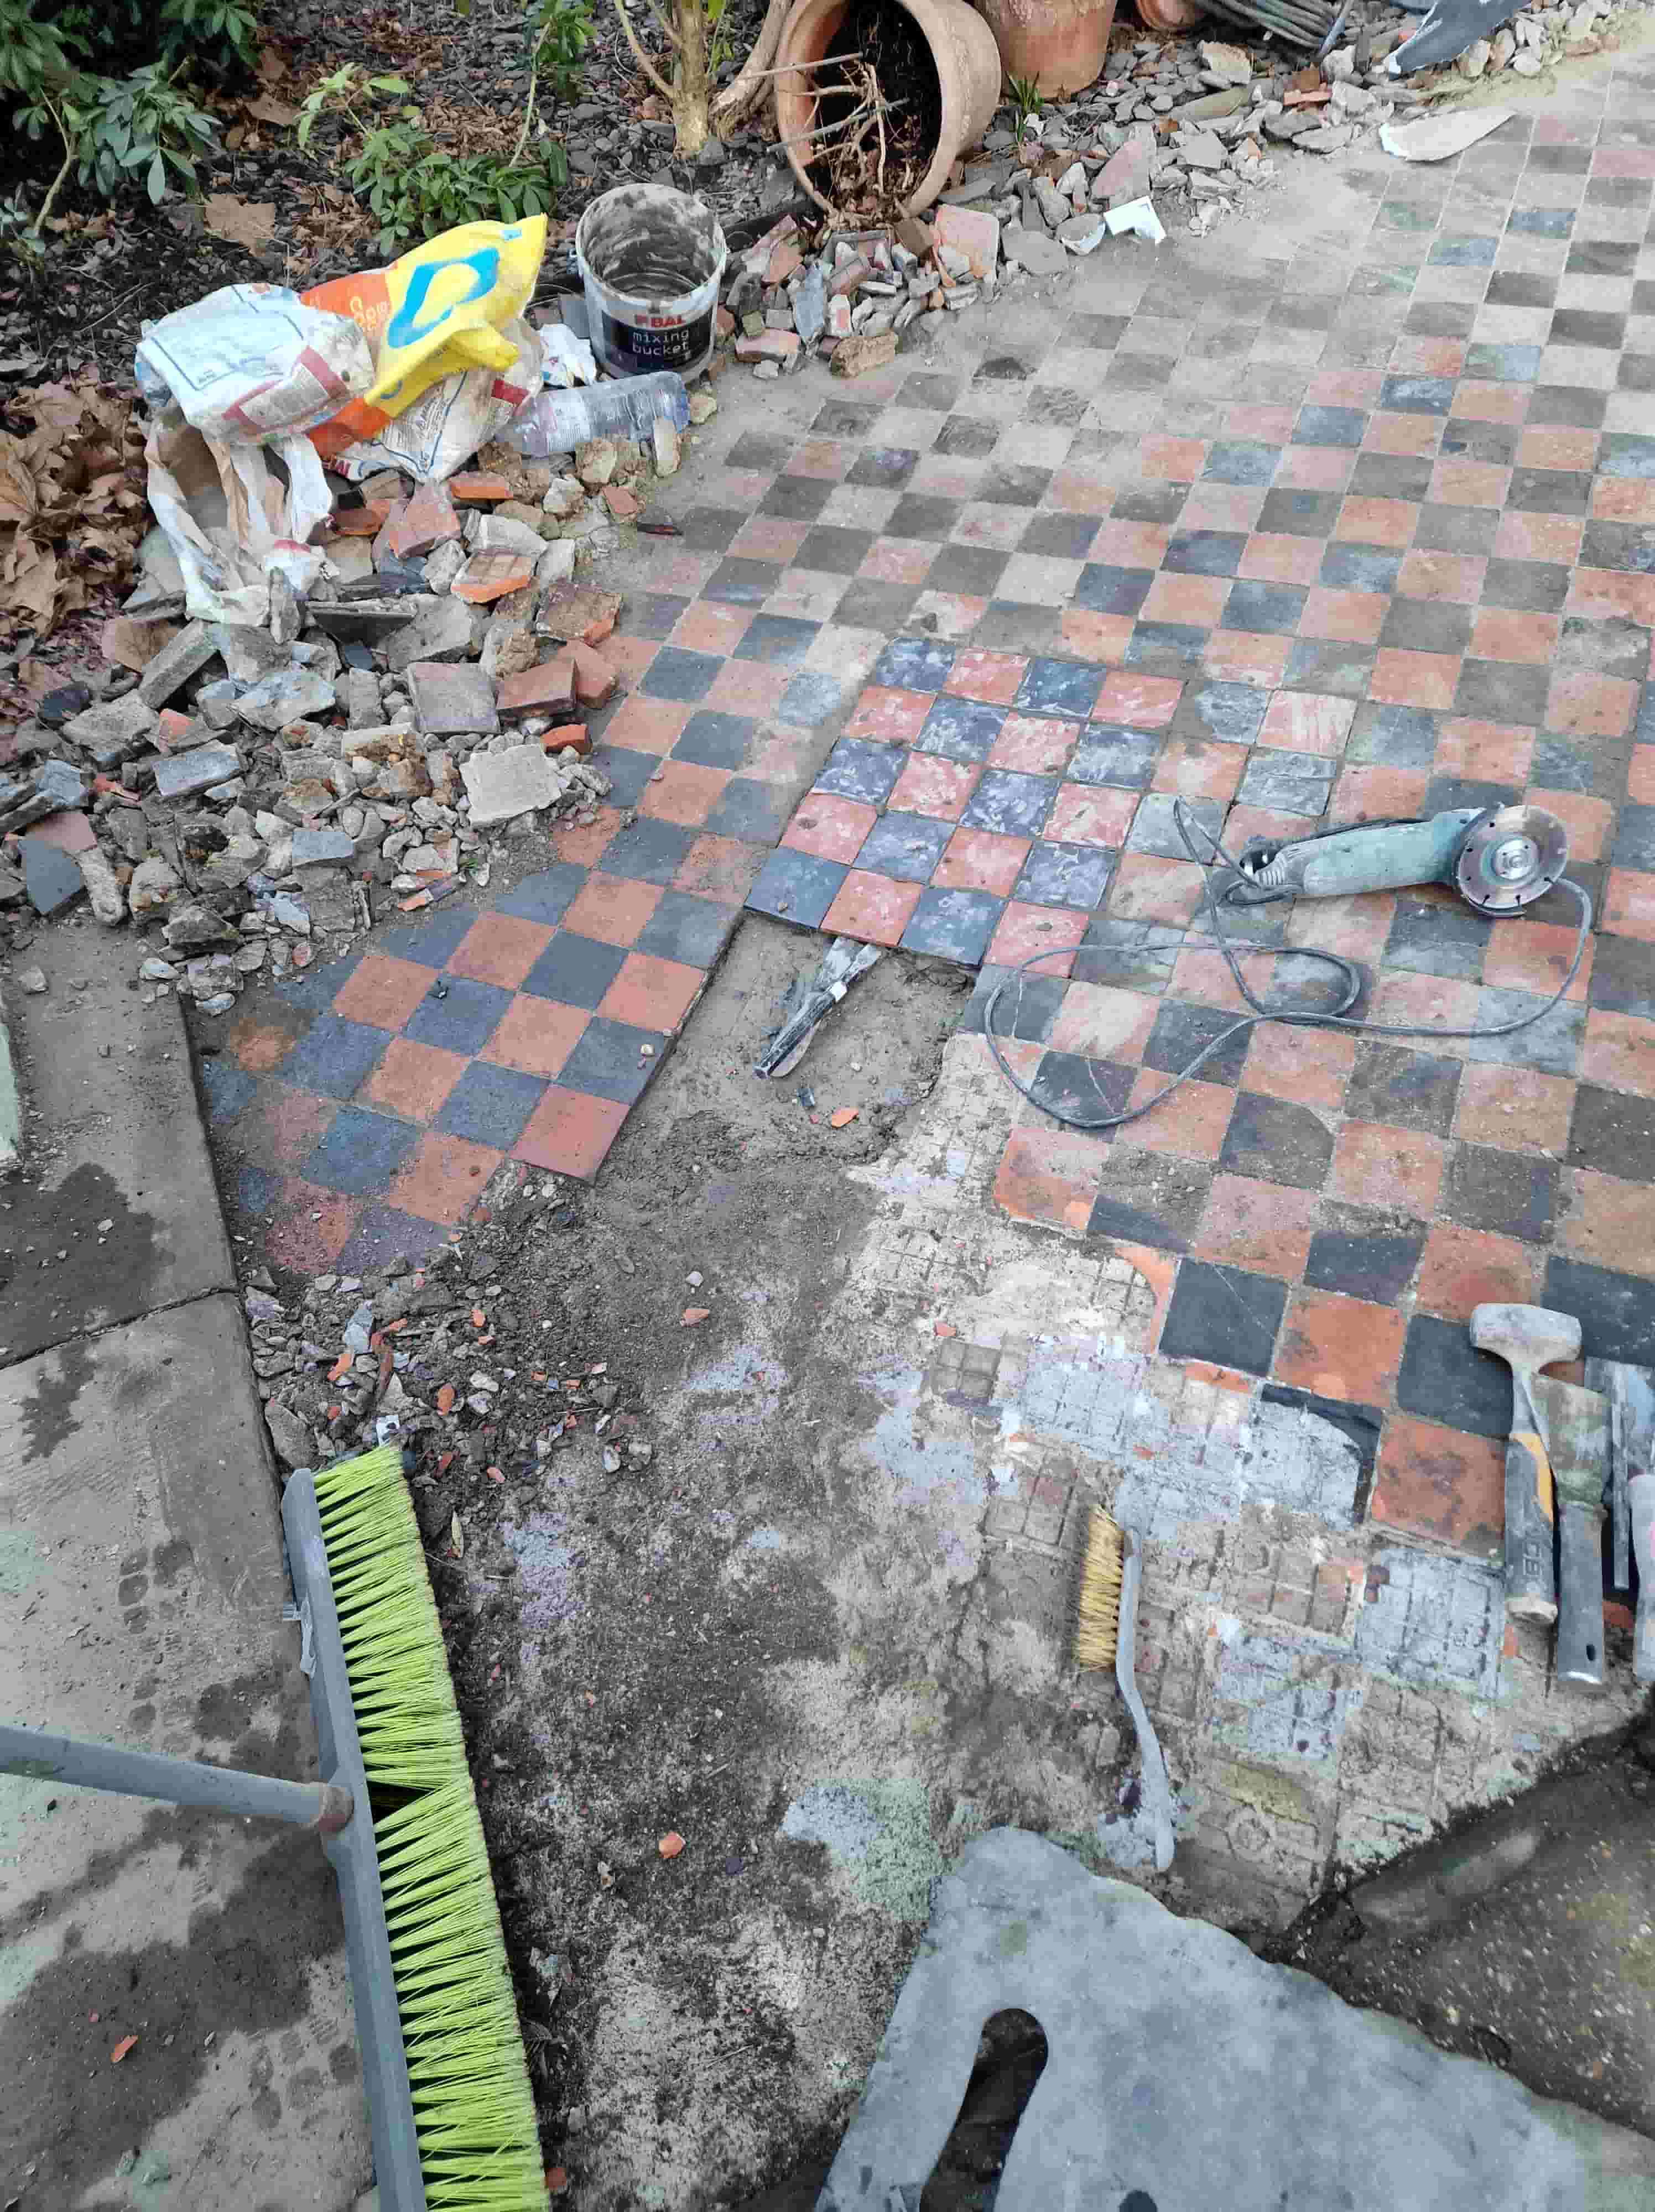
Work started by digging out the broken and loose tiles and then cleaning what could be salvaged. Once removed the base was then cleared of debris and where required rebuilt with cement. There were numerous affected areas, so it took quite some time to complete. Finally with the preparation done the tiles were re-laid using a mixture of original and new. The new tiles being metric had to be cut to shape as needed. The repair work was extensive and took two days to complete.

 
Neglected Victorian Tiled Path During Repair Battersea


Cleaning a Victorian Tiled Pathway

On day three the replaced tiles had set, and I was able to clean up the whole path by scrubbing in Tile Doctor Oxy-Gel which being a gel cleaner doesn't require a lot of water. This was then followed by giving the path an acid rinse using Tile Doctor Acid Gel which further cleans the tiles and again being in gel format doesn’t require a lot of water and is much easier to control. After each stage in the cleaning process the soils were extracted with a wet vacuum.

I recommend the use of gel cleaners on old tiles like this example as they were laid before the invention of the damp proof membrane and less water means it dries quicker. This was important as it was planning to apply a sealer the next day and the tiles must be dry to achieve the best result.


Sealing a Victorian Tiled Pathway

The weather held out and after leaving the path to dry overnight I confirmed they were dry the next morning with a damp meter. Two coats of Tile Doctor Colour Grow sealer were applied to the tiles which is a fully breathable sealer that works by soaking into the tile, occupying the pores and thereby preventing dirt from becoming ingrained there. With the dirt forced to remain on the surface they are much easier to clean. This product also contains a colour enhancing formula which helps improve the deep Red and Black colours in the tile.

 
Neglected Victorian Tiled Path After Restoration Battersea

The tiles responded very well to the treatment and transformed the appearance of the path. Expecting only a small improvement my client was over them moon with the difference.

Tuesday, March 21, 2023

Choices in Vinyl Flooring

Thinking about replacing the floor in your bathroom, kitchen or mudroom? If you are, you might want to consider vinyl flooring as an option. Sure vinyl flooring has been around for years, but even after all that time it still retains the practical characteristics that have made it a popular flooring choice for homeowners for years.

Consider that vinyl flooring is easy to install (both glueless sheets and self adhesive tiles are available), versatile (can be used in almost any room in your home and will blend with any color scheme), low maintenance (only needs sweeping and an occasional damp mopping) plus, it keeps its original appearance for along time.

Here's some insights on vinyl flooring.

Vinyl flooring comes in a number of formats

  • Traditionally vinyl flooring came in sheets 6' or 12' wide and was provided in rolls. Since the narrower stock is easier to work with, it’s probably more appropriate for a DoItYourself’er, but the wider 12' stock helps minimize seams and joints in a floor.
  • Vinyl floor tiles (12” or 18” squares) or planks (similar to laminate flooring) are now also commonly available. The planks are often made to look like hardwood, while the tiles come in a wide spectrum of colors as well as stone surfaces look alikes.

How it's made

  • The main components of vinyl flooring are PVC (Polyvinyl chloride) or plastic (a petroleum based product), and plasticizers that give the flooring it’s flexibility.
  • The PVC is laid onto a backing then covered with a clear 'wear layer' to help the flooring maintain its ‘like new’ appearance.
  • Different looks of the flooring are achieved by either inlaying colored vinyl particles directly onto the backing material (so the color goes right through the flooring), or overlaying a printed image onto the backing (similar to the process used to manufacture laminate flooring).

Wear layer makes it hard wearing and long lasting

  • The clear top layer or wear layer is what gives vinyl flooring its ability to resist wear and maintain its appearance.
  • Depending on where you plan to install your vinyl flooring (and the amount of use/abuse it will get), the wear layer classification can help you make the best (and most economical) choice for your particular application. There are three basic classifications of wear layers
  • Vinyl No-Wax is the least durable and may require some vinyl polish be applied periodically to maintain its appearance. This should be your least costly alternative and works well in a low traffic application like a laundry room perhaps.
  • Urethane finish. This labeling tells you the wear layer is made of hard wearing, moisture proof urethane that will provide great stain resistance as well as resisting scuffing and wear. Usually more expensive than vinyl no-wax it’s designed to be used in high traffic areas.
  • Enhanced coatings are available that provide even more wear protection than urethane. These wear layers use products such as aluminum oxide to provide an extremely hard wearing surface and provide the best choice for long life in high traffic areas like kitchens or mudrooms.


Wednesday, March 15, 2023

How to Repair a Cobblestone Floor

A cobblestone floor adds the beauty of the outside to the inside of your home with an old world charm. Floors made of cobblestone are known for handling an abundance of traffic without showing immediate signs of wear and tear. While these type floors are known for their enduring qualities, they are heavy and can be brittle in some cases. There are times that you may need to repair a section of your cobblestone floor. Doing the repairs yourself is not as difficult as you may think. With the proper instruction and tools, you can make repairs to your floor on your own.

What You'll Need:

  • Safety Goggles
  • Paintable Caulk
  • Artist's Paint Brush
  • Acrylic Paint
  • Grout
  • Grout Saw
  • Hammer
  • Small Chisel
  • Sponge
  • Rubber Grout Float

Step 1 - Repairing Grout

One of the most common issues with cobblestone floors is the cracking of the grout between the stones. This can happen because of the natural movement of your house or earthquakes. Cracks start out small and are often overlooked and attention is not immediately given to them. When water seeps into the cracks, they become larger and will need fresh grout.

Use a grout saw to remove the damaged grout from around the stones vacuum up the debris. Mix the new grout in accordance to the manufacturer's directions. Use the rubber grout float to pour the grout onto the affected area around the stones and smooth out with your finger. Once the grout is in place, allow it to rest for 30 minutes and use a damp sponge to wipe the excess grout from the surface of the stones.

Step 2 - Repairing Stone Tile

If you have a cobblestone floor that is tile instead instead of grout placed around actual stone, you may experience one or more spaces in your floor where the tile has cracked. If the crack in the tile is small, you will be able to repair it by using a paintable caulk to seal the crack in the tile. Once the caulk is applied and dried, use an acrylic paint as close to the color of the tile as possible and paint the tile. Using an artist's paintbrush will allow you to paint the caulk easier.

Step 3 - Replacing Stone Tile

If the crack in your tile is too large, your only option is to replace the tile. If you have tile leftover when you laid your cobblestone tile, having an exact match won't be an issue. However, if you have no tile leftover, you should consult the place that you purchased your tile and purchase the exact matching tile or you may have to order the match.

Use a hammer and small chisel to remove damaged tile from the floor. Ensure that you hammer the chisel carefully so as not to damage neighboring pieces of tile. Once the tile is removed, you will need to put the new tile in place and grout it. The new grout will be obvious around the new tile. Staining the grout after it has dried is a solution to make it look like the rest of the grout.

Monday, March 13, 2023

How to Renovate Old Victorian Quarry Tiles by Lancaster Expert

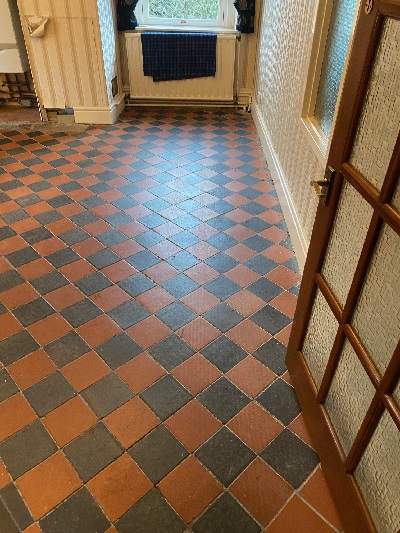
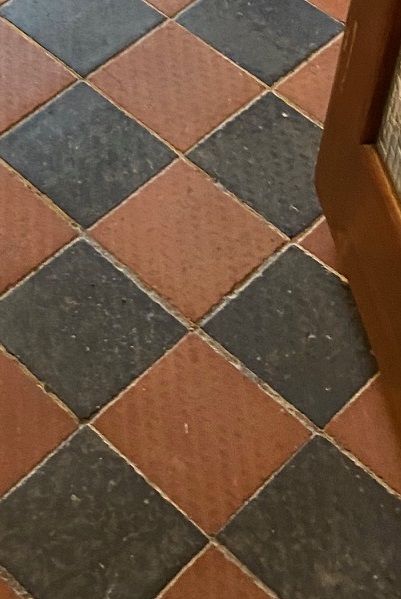
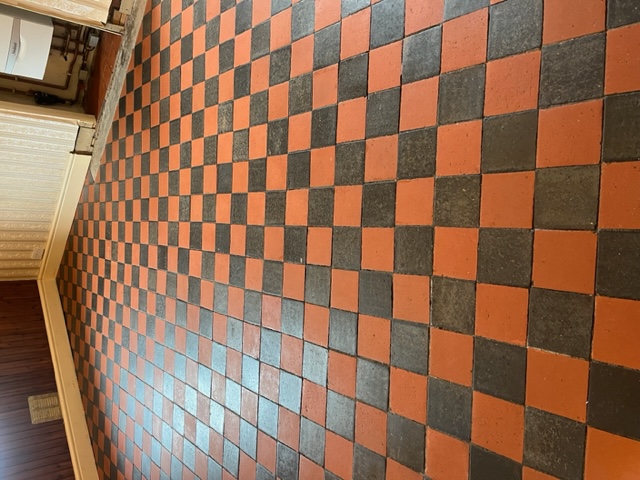
A first glance you might not notice much improvement in this Quarry tiled floor that we recently worked on at a Victorian house in Caton near Lancaster. However, look closer and you will see that a pattern has been worn into the tiles from a previous covering most likely carpet underlay. The sealer on the floor was also due to be replaced so having surveyed the floor on my initial visit I worked out a plan to renovate the Quarry tiles which would include deep cleaning the tile and grout, removing the underlay patterning, and then re-sealing the tiles to keep them protected.

 
Quarry Tiled Floor Before Cleaning Caton Lancaster

Deep Cleaning a Quarry Tiled Floor

To start neat Tile Doctor Oxy-Gel was applied to the floor and left to soak in for twenty minutes giving it time to break down soils etc. Then a 200-grit Diamond burnishing pad was attached to floor buffing machine which was a heavily weighted for extra grip and run a few times over the tiles. These pads are very aggressive and ideal for cleaning off the pattern left by the carpet underlay. Oxy-Gel was chosen for this as being in Gel form its more manageable and holds itself against the clay Quarry tile for longer allowing the product work to a much harder, whereas a liquid cleaner generally soaks away into the clay and underneath meaning you need to use more water to remove it later resulting in longer drying times.

 
Quarry Tiled Floor Before Cleaning Caton Lancaster

After the gel has been scrubbed into the tiles (no water needed at this stage) a wet vacuum Is used to remove the soiling generated during the process. After this initial clean a small amount of water is added to the floor and we go over with the same 200-grit diamond pad extracting the water off the tiles within five minutes of it being applied. With the Oxy-Gel removed the floor was given and acid rinse using Tile Doctor Acid Gel using the same process as before but this time using a Black scrubbing pad and only allowing it to dwell for 10 minutes. Acidic products are quicker acting on clay and so need less dwell time for it to work. Water was then added and after brushing it in to the floor it was removed using the wet vacuum within five minutes. I sometimes do this job twice as this is the last of the deep cleaning process and will ensure the tiles are free from any debris and dirt before we allow the clay tiles to dry out before sealing. Before finishing for the day, I took time to apply matching grout where it was missing which was mainly around the edges and sponged off the excess. With this done the floor was left to dry off overnight.


Sealing Quarry Tiles

The next day we conducted a damp test, but despite the use of Gel cleaning products it was still too damp to seal. My client however wanted to seal how the tiles would look with the sealer we were planning to use which was Tile Doctor X-Tra Seal, so to do this three tiles were force dried using an Air blower and a Heat Gun. With the sealer approved the floor was left for two days so it could fully dry out, the damp test showed a much better reading and we were able to crack on applying the sealer to the whole floor. Only one coat of X-Tra Seal was needed, it’s a thick Oil based product that soaks into the pores of the tile protecting it from within, it also fully breathable so ideal for old floors like this one that don’t have a damp proof membrane. Lastly it contains a colour enhancing formula that in this case improved the deep Red and dark Black colours in the tile.

 
Quarry Tiled Floor After Cleaning Sealing Caton Lancaster

Lastly for aftercare I recommended Tile Doctor Neutral Tile Cleaner which is a gentle but effective tile and grout cleaning product. You have to be careful when choosing an cleaning product for use on sealed tiles as many are bleach based and simply too strong.

Saturday, March 11, 2023

Hardwood: A Stylish Alternative to Carpet

Hardwood floors can seem dull compared to the color and texture options of carpeting. Wood floors are more than the waxed oak planks of yesteryear, though. Choices of species, finishes and accents provide as many style options as carpeting.

Hardwood Species

Choosing a species of wood for hardwood floors is as basic a decision as choosing a color for carpet and can have the same impact on the look of the room. The most common species is oak, which can be laid with a natural finish or a variety of stains. Cherry, maple, birch and walnut all bring unique color and grain characteristics to a room.

More exotic species are joining ash and pecan in specialty hardwood floors to make a different style statement. Kona, cabreuva, pradoo and Brazilian cherry give floors tints and colors that used to be the territory of carpet. Kona is a dark coffee color and pradoo is red. The style comes at a price, though. More exotic hardwoods are more expensive than the oak and maple.

For a unique style, consider mixing planks of different species in a room, or using a species with a natural variegation in the wood grain.

Hardwood Finishes

Like the height of a carpet nap, the choice of matte or gloss finish on a hardwood floor depends partly on personal taste, and part on function. Matte and gloss finishes protect the wood equally. Gloss finish shows scuffs and scratches more readily and tends to give a more formal look to the room than matte.

The individual strips or planks of a hardwood floor can be cut with a square edge to fit neatly together. Make a bolder style statement with beveled edges on the wood pieces. The beveled edges create a groove between the planks, subtly emphasizing the lines of the wood floor. Beveling can also be used to create a less formal look to a room with hardwood floors

Hardwood Accents

The geometric patterns of parquet flooring make a bold statement in an entryway. The most common parquet style uses 1 inch by 6 inch blocks in a herringbone pattern, but many custom parquet designs are available. Marquet is similar to parquet, except marquet floors use curves in the wood inlay designs.

If a full parquet floor overwhelms a room, consider an artistic wood inlay border to add some style. Hardwood floor borders are usually six inches to a foot wide and the length units depend on the border design. Inlay borders are useful for separating spaces in a great room and creating a visual boundary between rooms or zones in a room.


Source: www.DoItYourself.com