Friday, July 23, 2021

Cheshire Expert Details how to Remove Mould and Completely Renovate a Ceramic Tiled Shower Cubicle

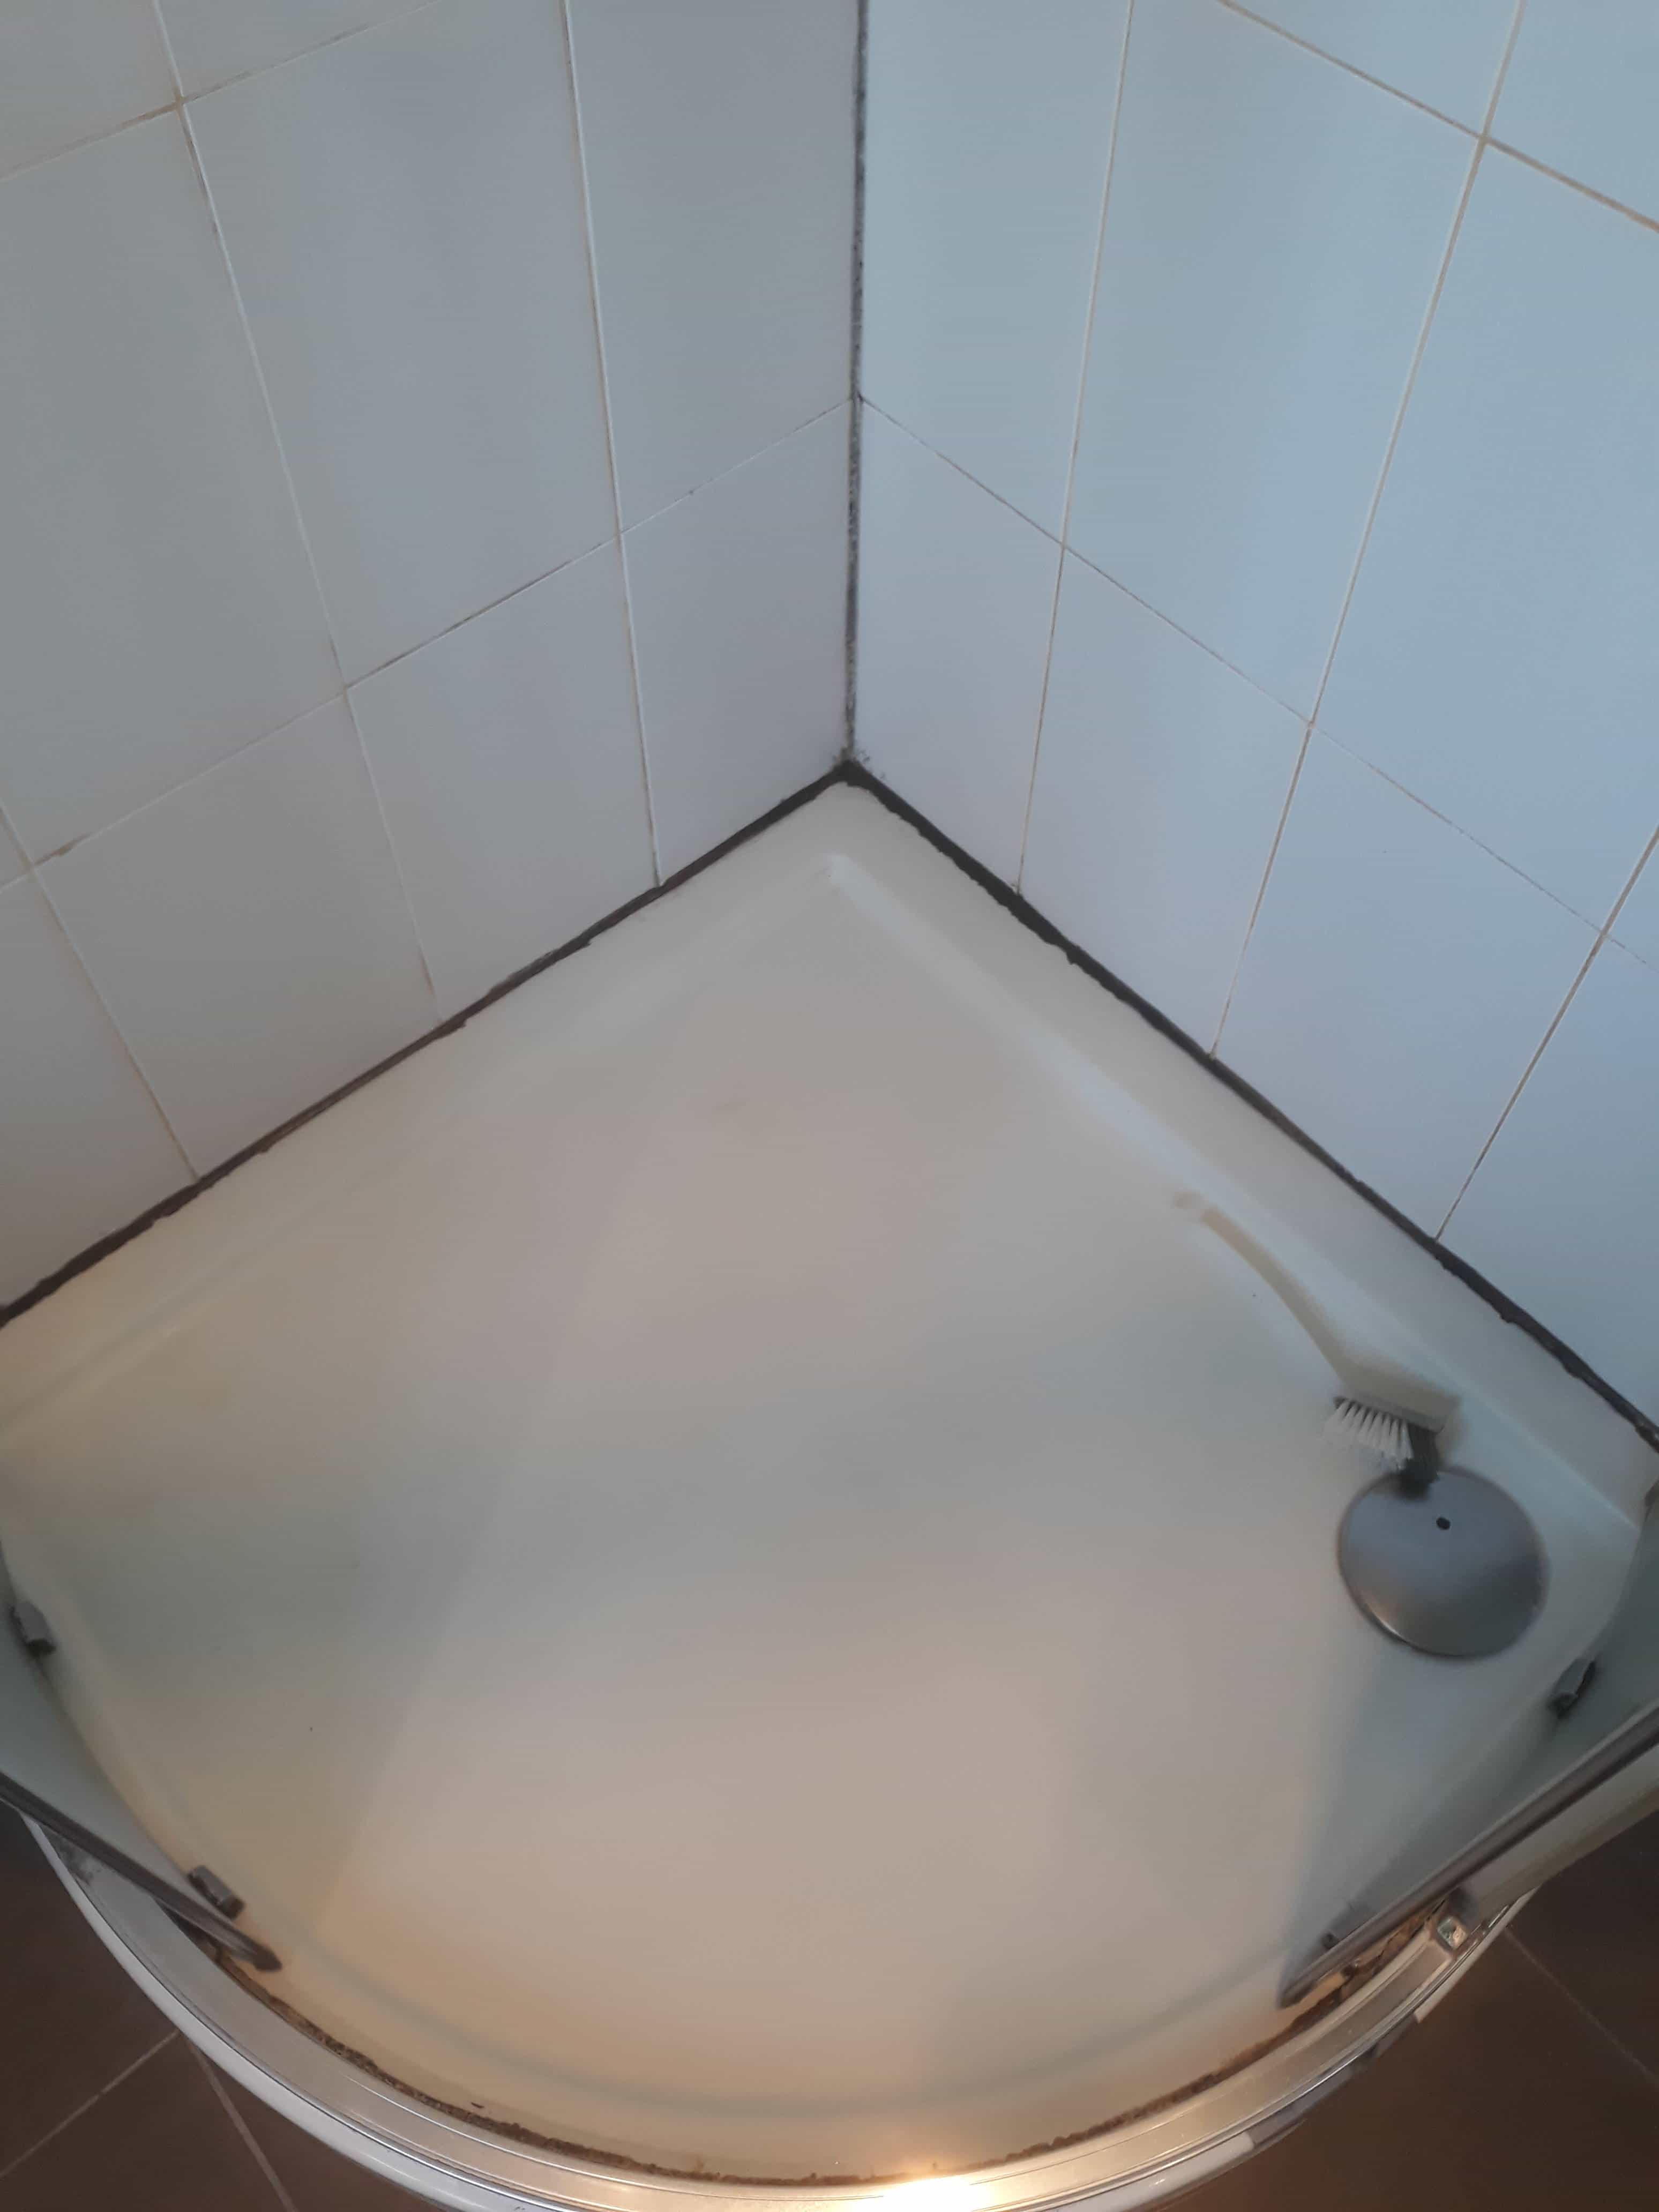
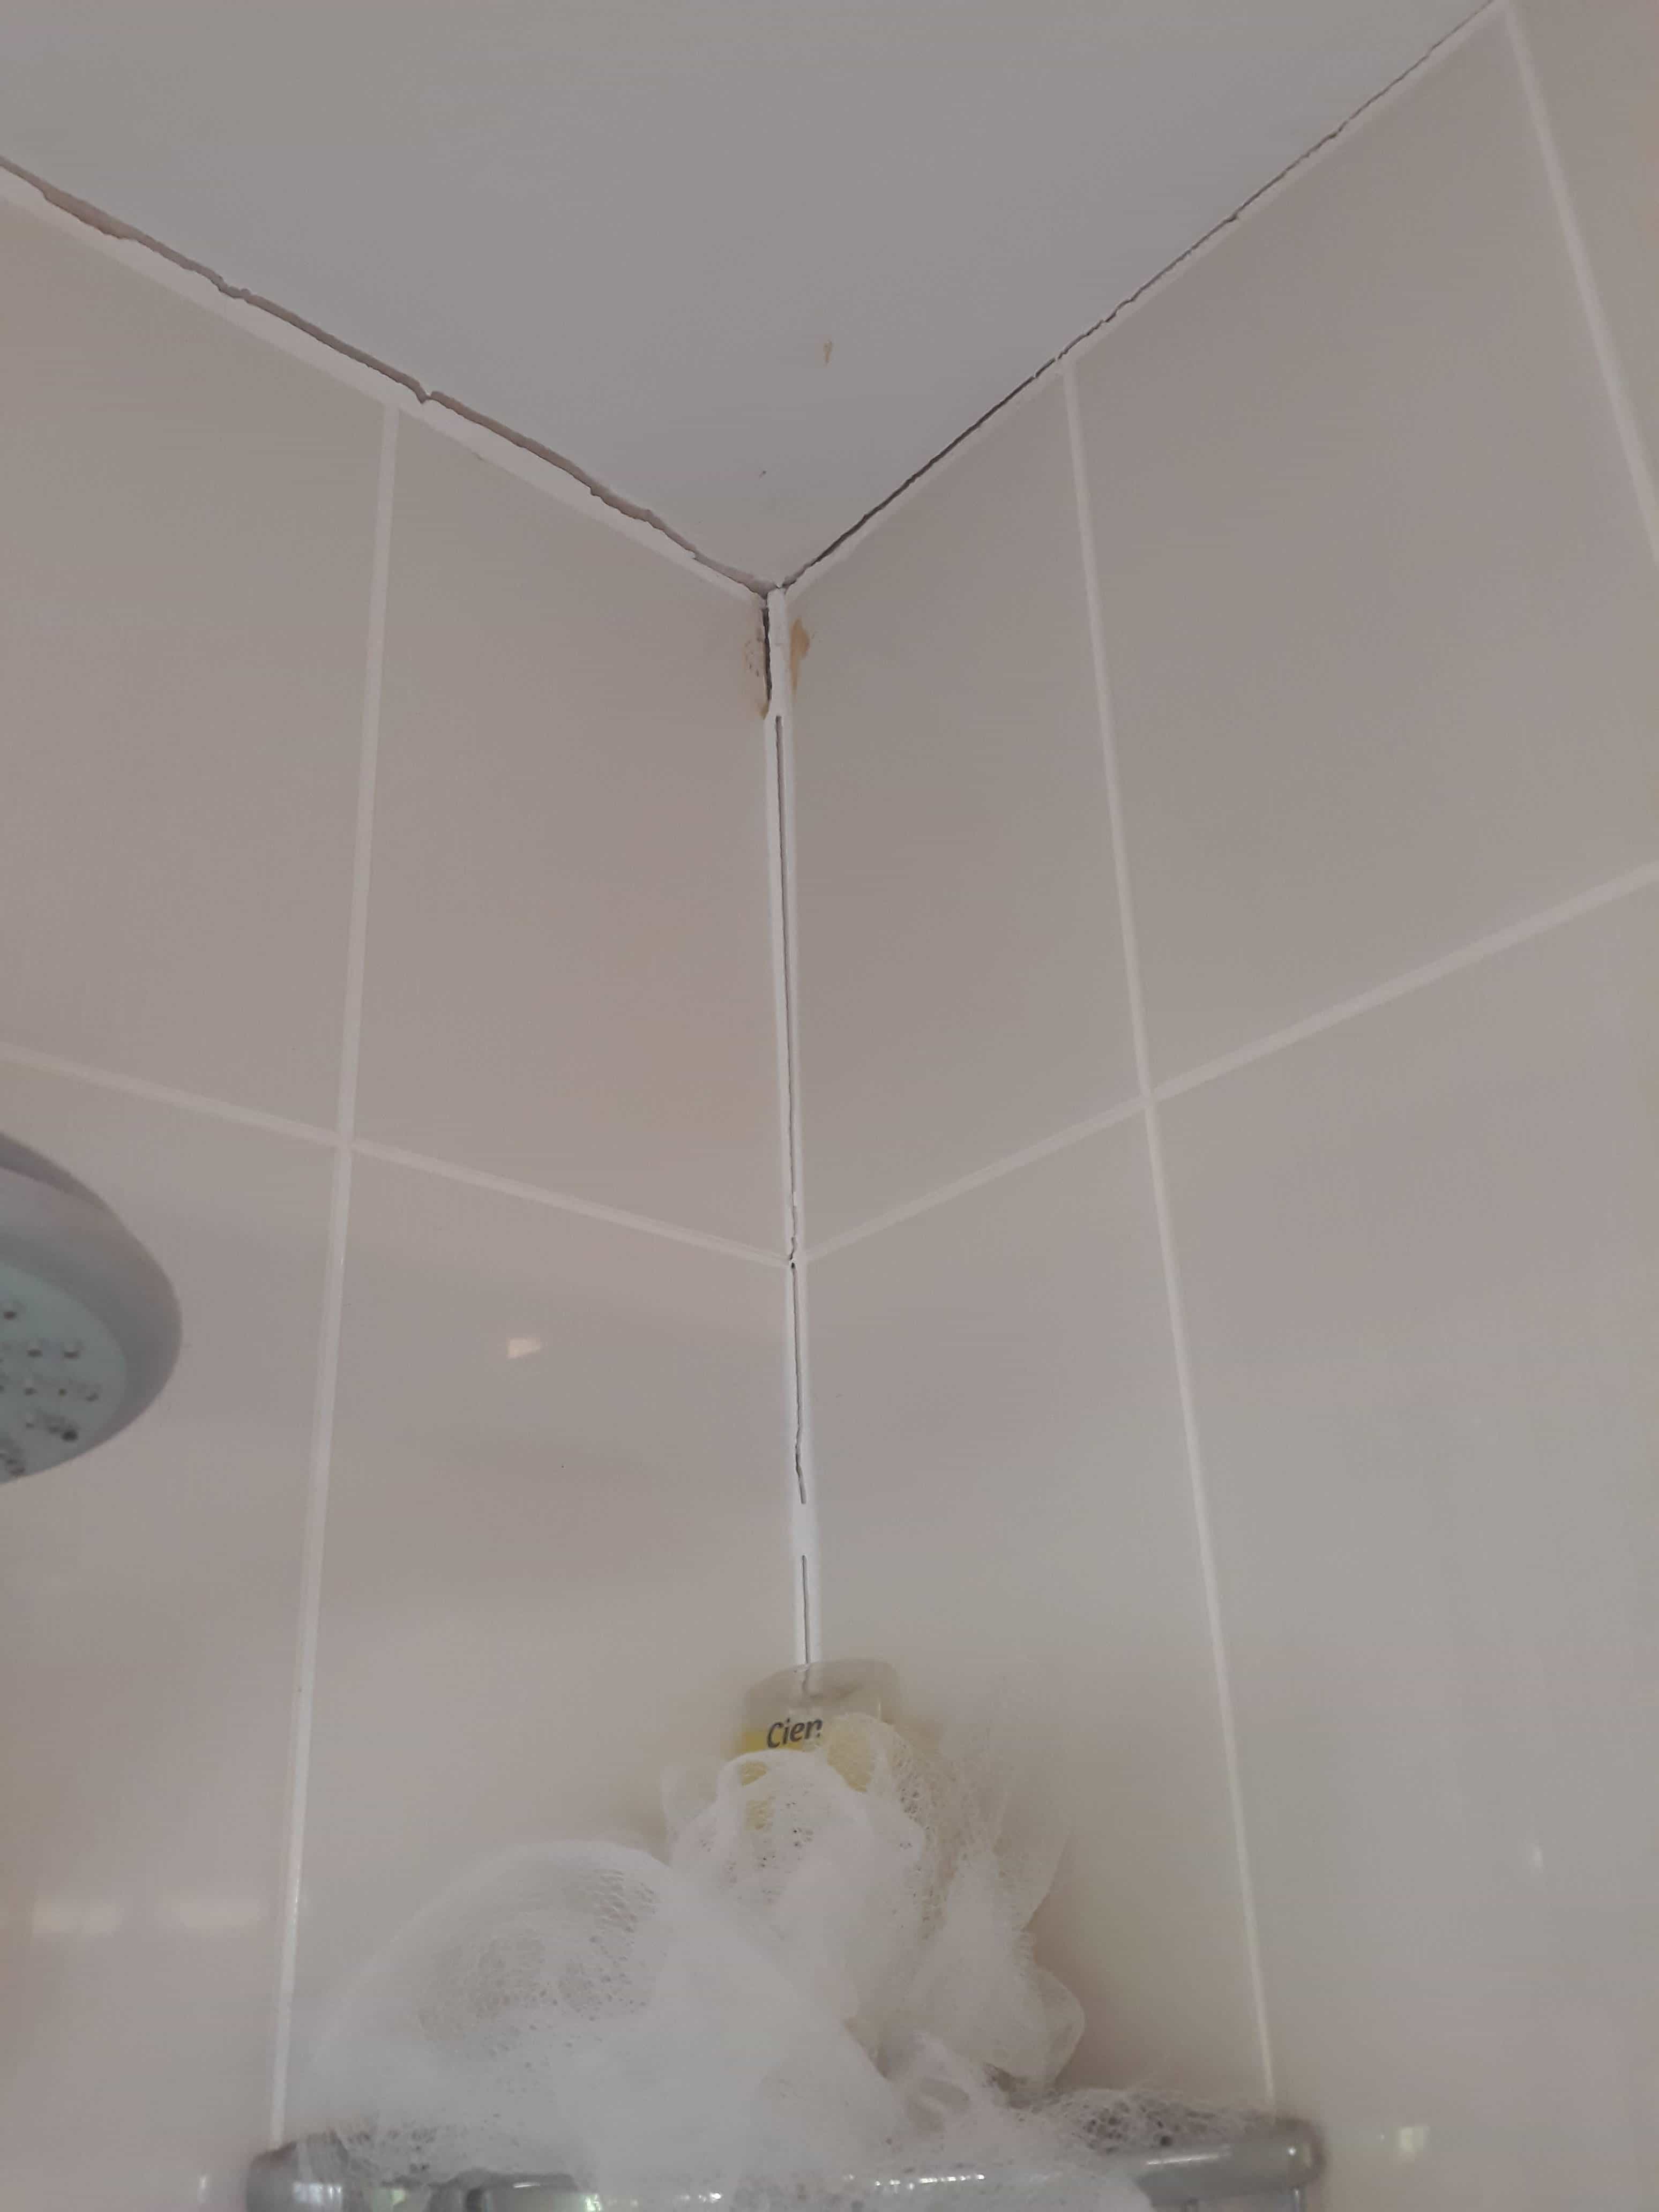
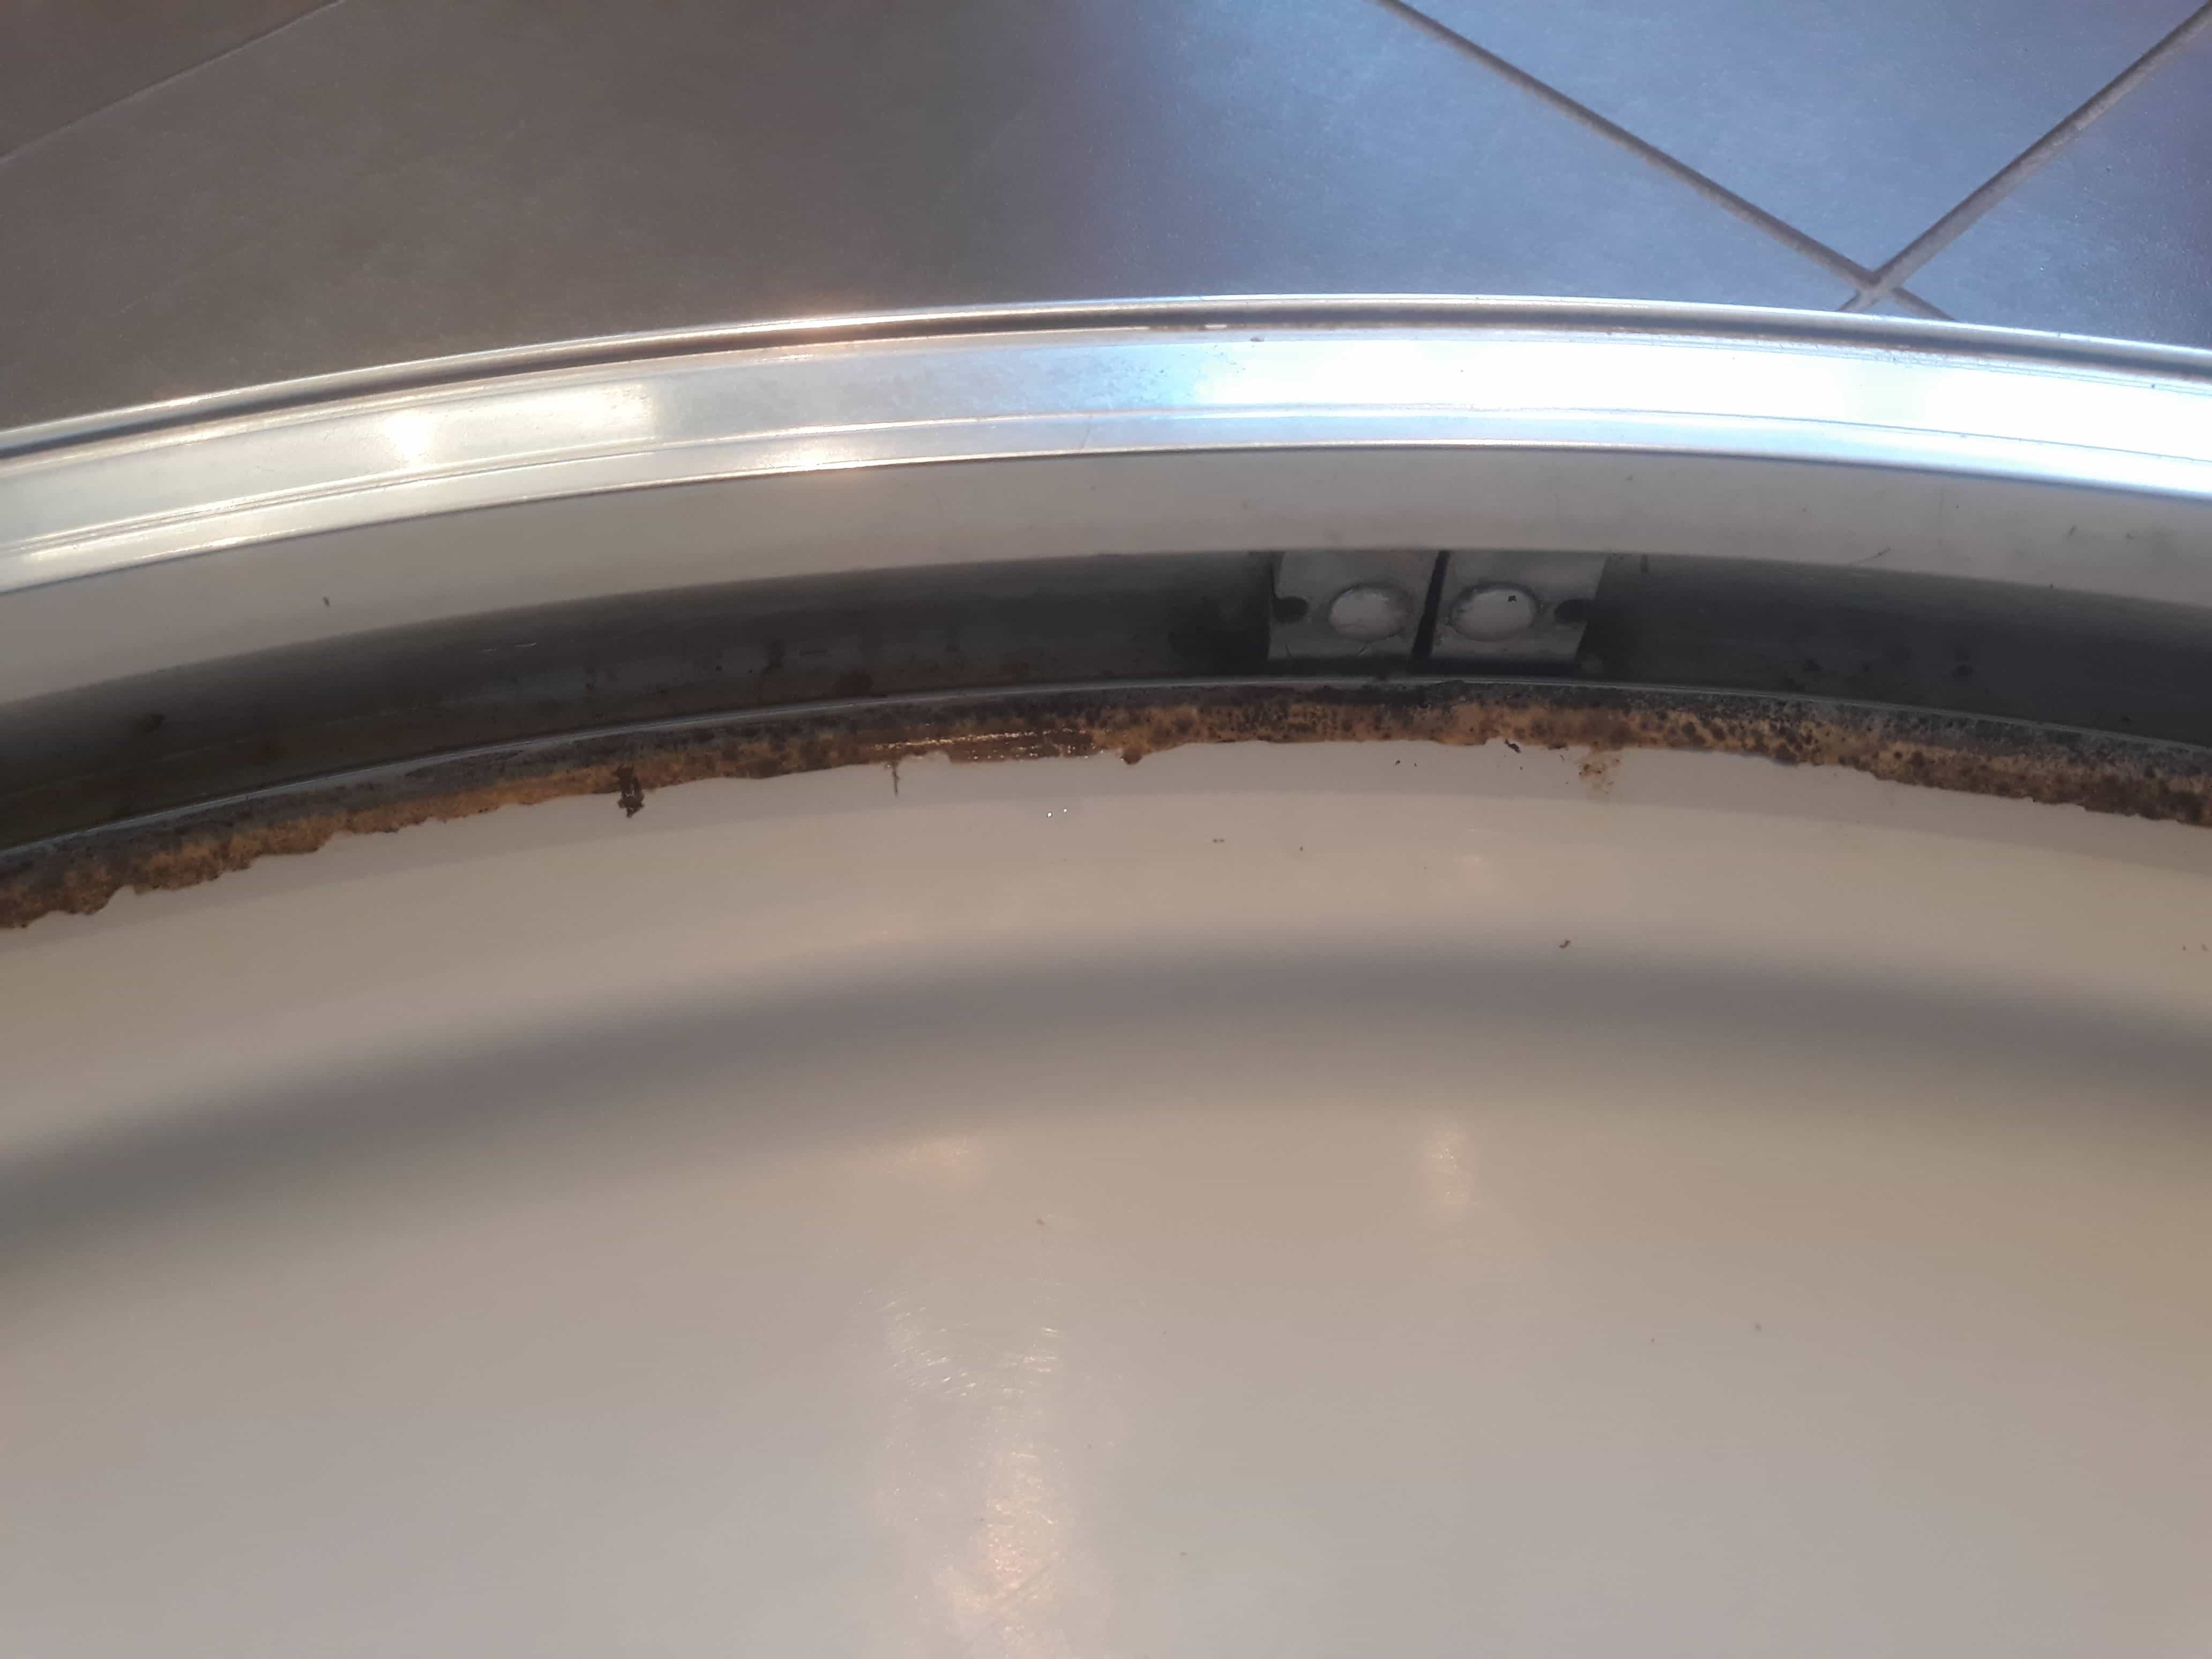
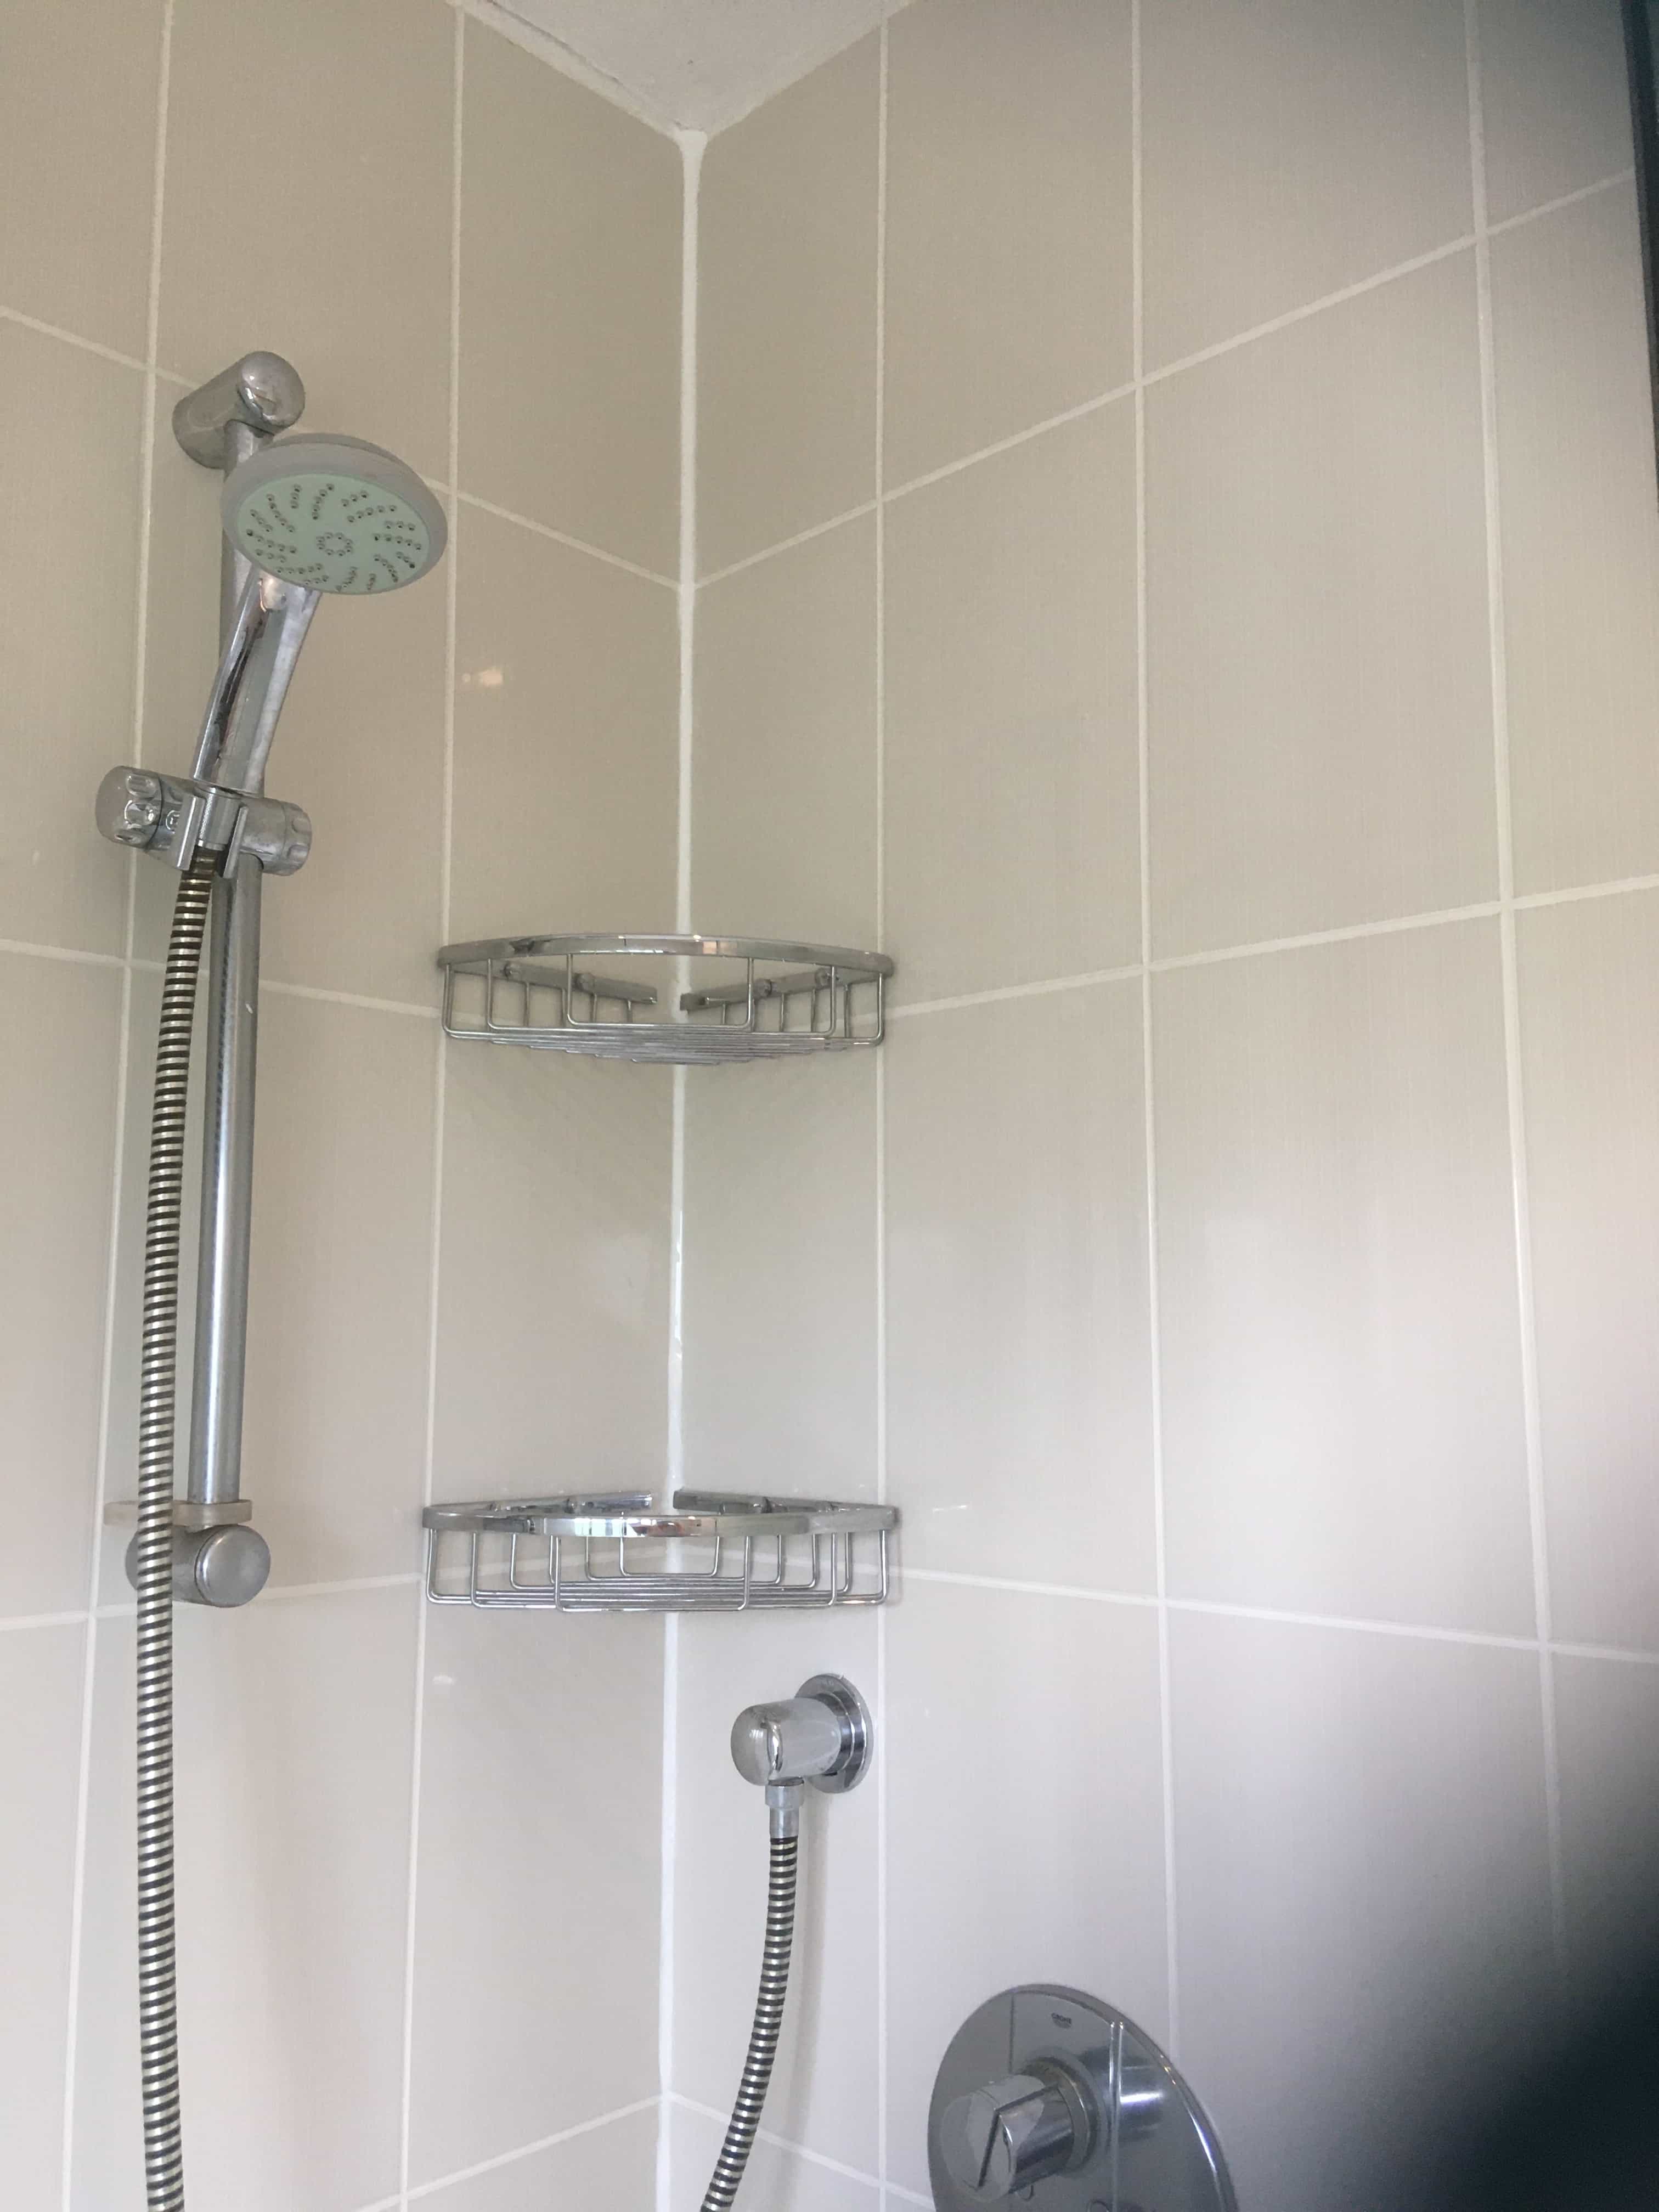
I was asked by a Chelford homeowner (near Alderley Edge) to renovate their Ceramic Tiled Shower Cubicle which had an unsightly mould problem. They say pictures speak louder than words, so I’ve added some photos on this page which show how the grout and silicone sealant had become discoloured with mould over the ten years since it was installed.

 
Mouldy Ceramic Tiled Ensuite Shower Cubicle Before Renovation Chelford Mouldy Ceramic Tiled Ensuite Shower Cubicle Before Renovation Chelford

Mould likes damp warm areas and shower cubicles make a perfect habitat for it, grout especially can be a problem due to its cementitious rough surface that mould can get a grip on. In this case the ventilation in the ensuite was inadequate and ideally there should have been an extraction vent over the cubicle itself. My advice in these situations is to leave doors and windows open after showering and to run the cold water afterwards.

 
Mouldy Ceramic Tiled Ensuite Shower Cubicle Before Renovation Chelford Mouldy Ceramic Tiled Ensuite Shower Cubicle Before Renovation Chelford


Removing Mould from a Ceramic Tiled Shower Cubicle

To renovate the Tile and Grout I sprayed on Tile Doctor Duo-Clean which was left to soak into the grout line for ten minutes before being scrubbed in by hand. The Ceramic tiles cleaned quite easily but the grout had to be scrubbed hard and needed several applications before I was satisfied.

The whole shower needed treating in this fashion and once rinsed and dried I set about stripping out all the old silicone sealant that had also been badly affected by mould. This is done carefully using a sharp knife. I removed the debris and moved onto applying a fresh mould resistant silicone sealant.


Sealing a Ceramic Tiled Shower Cubicle

Last step before leaving was to spray the Ceramic tile and especially the Grout and Silicone with a can of Tile Doctor Aerosol Grout Sealer. This doesn’t last as long as other sealants in the Tile Doctor range but its quick to apply, especially on wall tiles. The sealer ensures water will run straight off the walls into the shower tray and it also makes the shower easier to clean later.

 
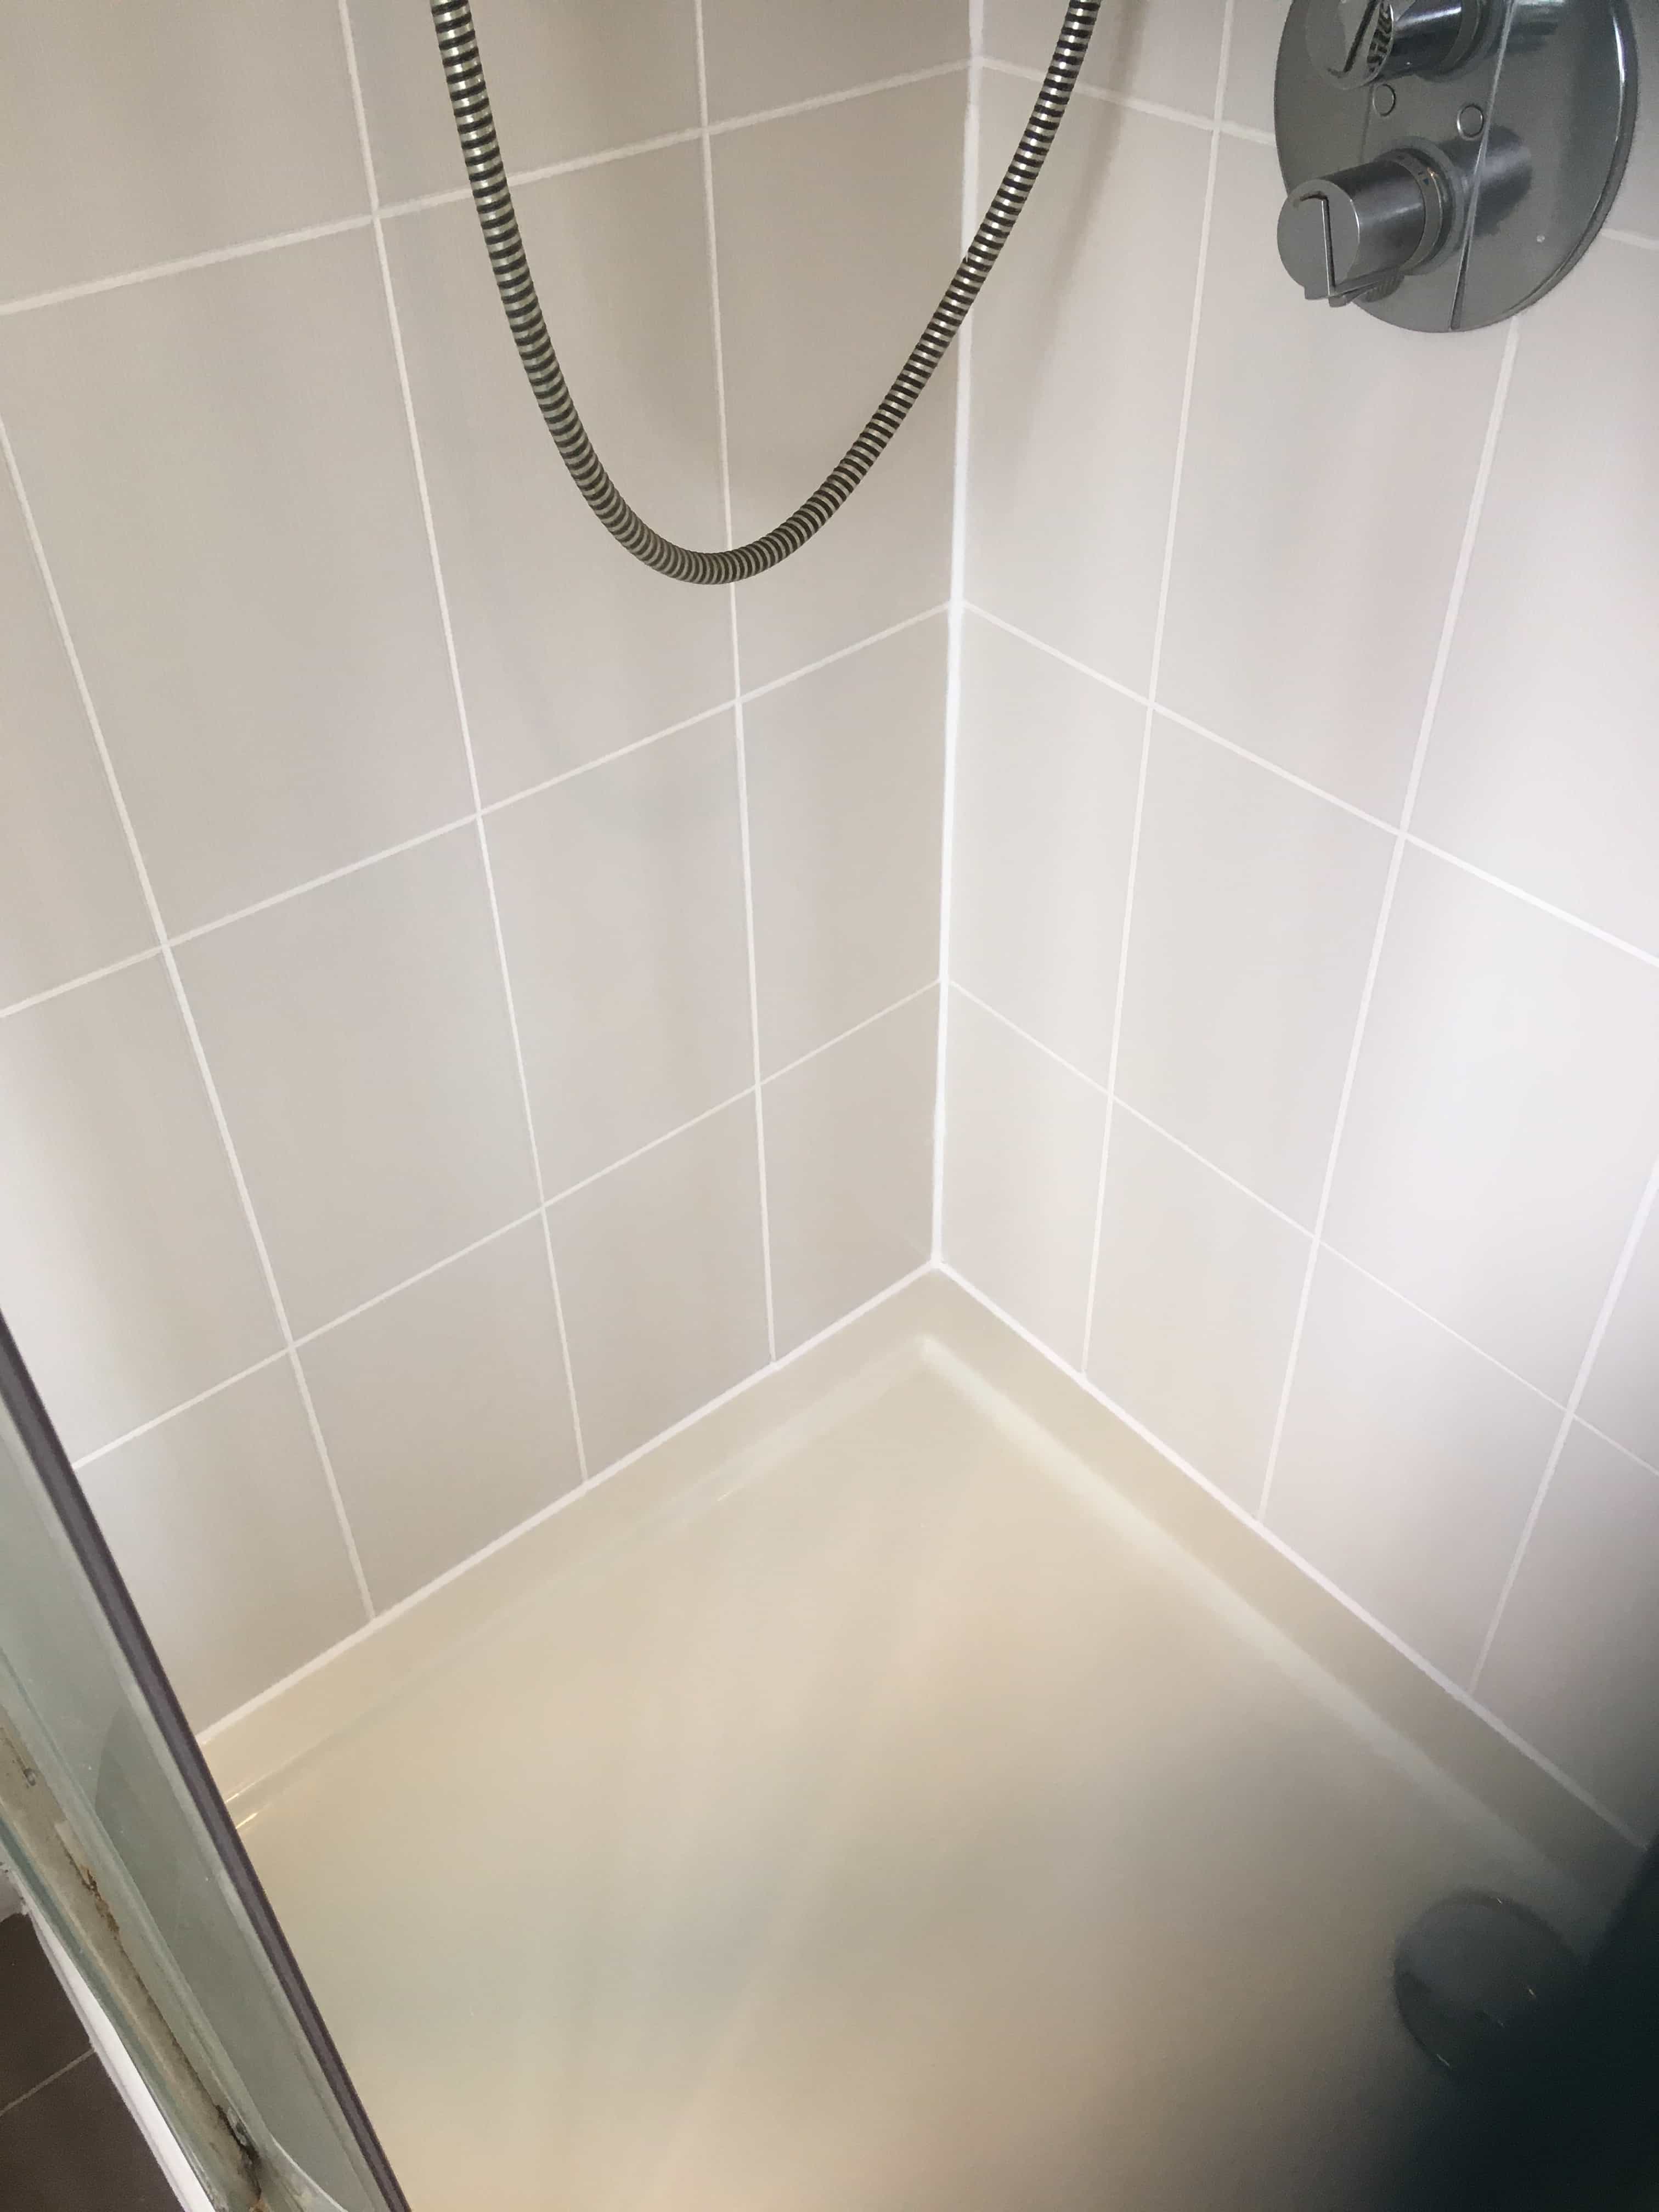
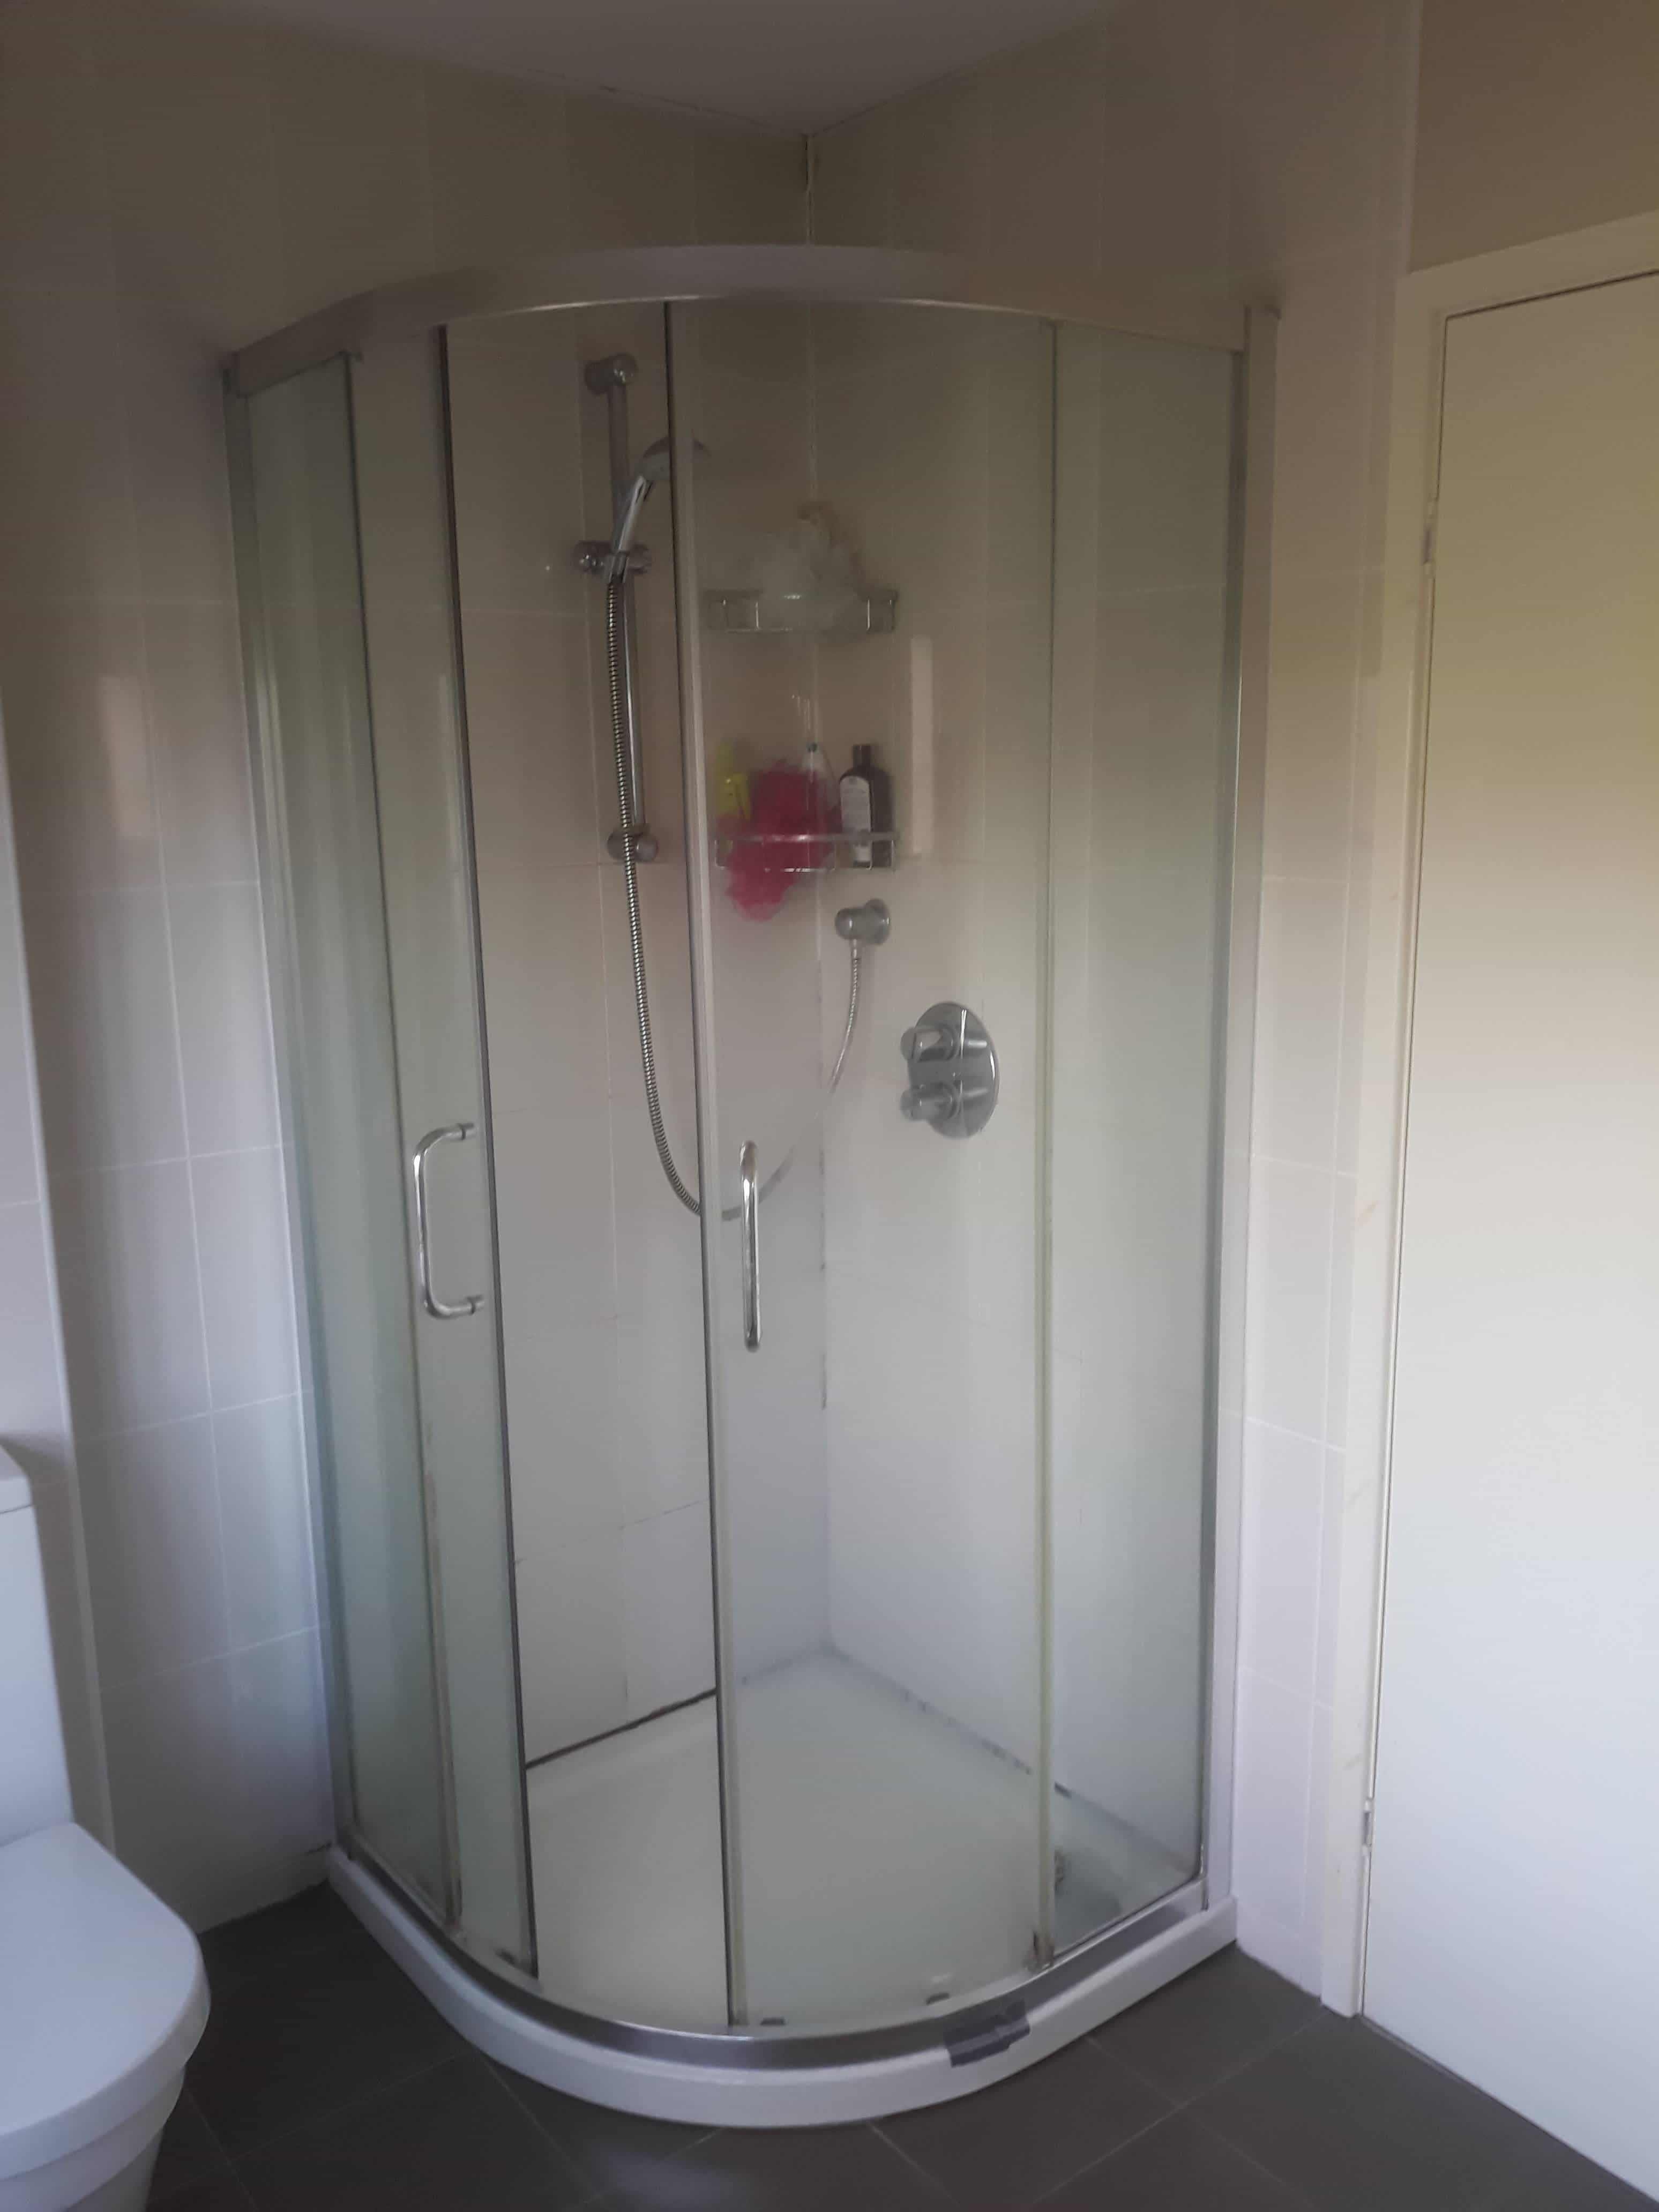
Mouldy Ceramic Tiled Ensuite Shower Cubicle After Renovation Chelford Mouldy Ceramic Tiled Ensuite Shower Cubicle After Renovation Chelford

The shower looked like a new installation by the time I had finished, and my client was delighted with the transformation. He was also thankful that I had replaced the silicone, this was something he had considered doing himself but applying it does take practice and you can get yourself into a mess. 


Tuesday, July 20, 2021

9 Ways You're Ruining Your Wood Flooring

You’ve spent the time, the money, and the effort putting in that new hardwood floor—and it shows! Protect your investment by following a few simple rules, and keep that floor looking showroom-worthy for years to come.

1. An Un-Welcome Entry

You’re probably ready to invite friends and neighbors over to ogle your newest project, but before you do, roll out the Welcome Mat. Literally. This simple thing is more than a gesture to let your guests know they’re welcome in your home. It’s also a reminder to wipe your feet before coming inside. Besides the obvious dirt and grime that can enter your home, smaller pieces of grit can get ground in, causing your floor to age prematurely. And who wants to look older than they are?

2. No Shoes, No Entry!

Yes, we know. Wear and tear is bound to happen, but some things cause wear and tear to happen much quicker—high heels, for instance. So, we’d like to offer a suggestion. For some, it might sound extreme, but it’s a common custom in many cultures around the world. If you’re comfortable doing so, now's the time to institute the “no shoes in the house” rule. It’s probably more convenient if you live in a climate where "slippahs" are the norm, but it’s still a good practice in general.

Aside from the regular foot traffic and high heels that can wear down the floor, keeping shoes out of the house also prevents the possibility of tracking dangerous chemicals like arsenic or lead into your home. These chemicals are sometimes present in the soil of homes near refineries. Check with your local university extension services for information on how to test the soil for these chemicals.

3. Using Wrong Floor Cleaners

They may all sound alike, but they aren’t all made the same. The wrong cleaner can contain abrasives, waxes, or harsh chemicals, which can either strip or cause a waxy buildup that can dull the floor. Verify with the installer or manufacturer what types and methods of floor cleaning are best for your particular product.

4. Unprotected Furniture Feet

Attaching felt pads under the feet of your furniture is a must. Even small adjustments made to straighten out the coffee table or push a sofa away from the wall are enough to mar the surface. These pads are inexpensive and attach to the bottom of the feet with a peel-and-stick adhesive side to keep them in place.

5. Too Much Sunlight

Just like you don’t want the sun’s rays to hit your skin without proper UV protection, the same goes for your floor. Direct sunlight can fade the finish and cause discoloration, which becomes obvious when you move the furniture or rugs to expose those previously protected sections. Keep direct sunlight to a minimum by closing blinds or drapes during those times of the day. And consider rearranging furniture now and then to allow you to clean the neglected spots and hidden areas and offer shade to those areas that were once exposed.

6. Wrong Rug Pad

A nice area rug adds warmth and coziness to a room in addition to protection from sun exposure and foot traffic. Keep you and your guests safe by installing non-slip padding underneath. Rubber-backed mats have great non-slip qualities, can dull the finish. Consider rug pads that contain a combination of felt and rubber to keep those rugs from moving around and causing tripping hazards.

7. Improper Vacuum Attachment

The beater brush used for rugs is—ahem—for rugs. The floor attachment is a less aggressive cleaning method that sucks up the never-ending amount of grit and dust bunnies that seem to escape no matter how much sweeping and vacuuming we do.

8. Pet Nails

It’s not just the nails of large, heavy dogs that can scratch up the floor. Your little fur babies might not have the weight behind them, but they have claws, and if they can scratch up your skin, they can do the same to the floor. Keeping those nails trimmed reduces the likelihood of damage while increasing your sanity by reducing the infernal clicking of their toes when they walk around at night!

9. Put the Brakes on Those Wheels

The convenience of a home office has never been so important as it has been in the past year. A dedicated space must include the all-important rolling office chair. Put a rug or padded mat under that chair to keep scratches at bay. Trust us—we’ve already suffered through the heartache of this tragedy. Please learn from our mistake.

With your new floor in place, keep wear and tear to a minimum by following these simple rules so you can enjoy the new look without worrying about every new scratch that happens.


Source: www.DoItYourself.com
Friday, July 9, 2021

How to Refinish Marble Tiles

 Marble tiles make a beautiful accent to any home. However, they need to be regularly cleaned and buffed to bring out the natural beauty of their finish. Like any other flooring material, they are susceptible to scratches and discoloration that may dull the finish. It is easy to refinish marble tiles using a few simple tools and cleaning products that you can purchase at the hardware or home improvement store. Remember to wear appropriate clothing and to use safety equipment such as gloves and goggles when handling chemicals and power tools.


What you’ll need

  • Variable speed angle grinder
  • Buffing compound and polyester buffing pad
  • Water
  • Detergent
  • Sponge
  • Tile or marble stone sealer
  • Terry cloth towel


Step 1 – Clean the Marble Tiles

Clean the marble tiles using water and mild detergent. Agitate the area using a soft sponge to safely remove dirt, oil and stains on the surface. Let the surface dry before proceeding.

Step 2 – Buff the Surface

Apply an appropriate amount of buffing compound or marble refinishing compound to the buffing pad and use the angle grinder to buff the surface of the marble tile. Apply plenty of water on the marble tiles to provide better lubrication for the buffing pad. Work in a small area at a time. Follow the directions stated on the container of the buffing compound to find the right amount of compound required.

Concentrate the grinder for at least 30 seconds on each tile to thoroughly remove scratches and other contaminants on the surface. Apply more water as needed. Move the grinder in small circular motions to polish the entire surface evenly.

Step 3 – Clean the Area

Pour additional water on the buffed surface to remove excess compound. Wipe the area dry with a terry cloth towel. Pay special attention to the surrounding areas and fixtures that may have been splashed with the buffing compound during the buffing process. Remove any excess compound with a wet towel or sponge and wipe it dry.

Step 4 – Apply Sealer

Use a soft paint brush to seal the marble tiles after refinishing. This will help protect the surface against stains and mild scratches. When using chemical based compounds, follow the directions on the packaging of the marble sealer. A single coat is enough to protect the surface, but applying two coats of sealer is highly recommended. Let the first coat dry before applying a final coat.

Open surrounding windows and doors when using sealers to enhance indoor ventilation. This will help prevent the inhalation of harmful vapors and fumes that may lead to allergic reactions and other health related concerns. Wear a mask when working with sealers and other chemical based compounds. Protective eyewear is also recommended to prevent irritation.


Source: www.DoItYourself.com