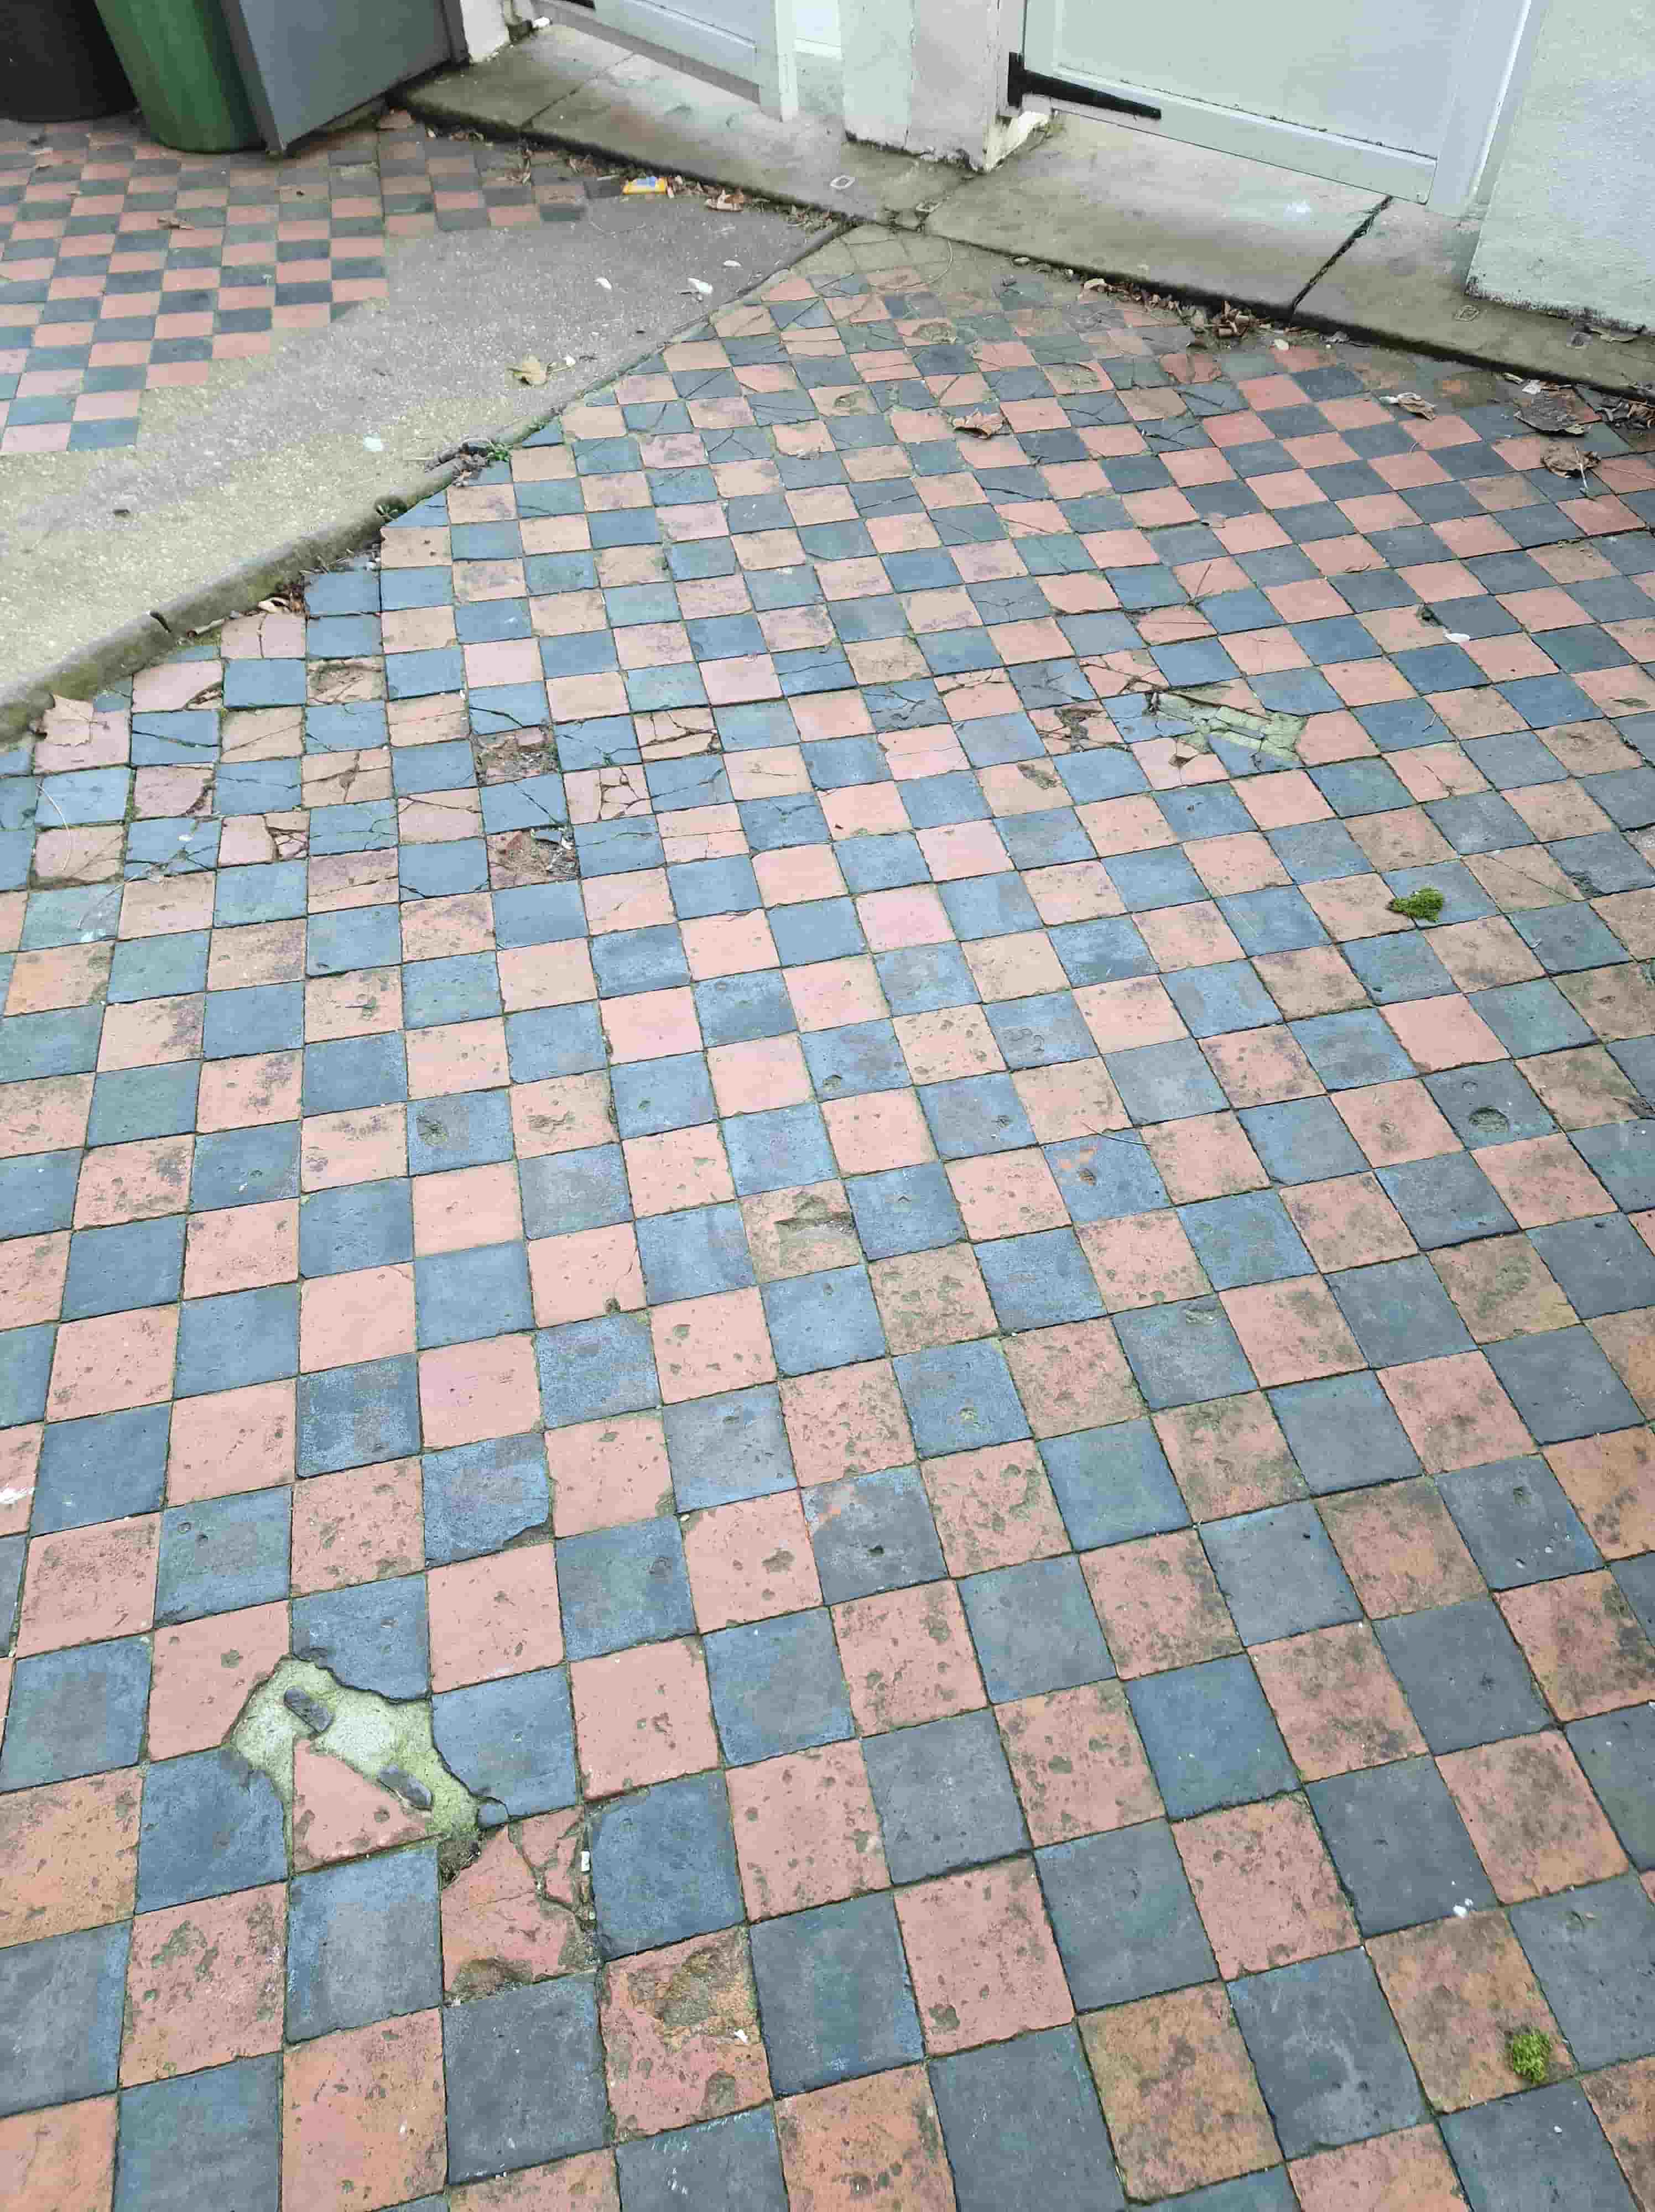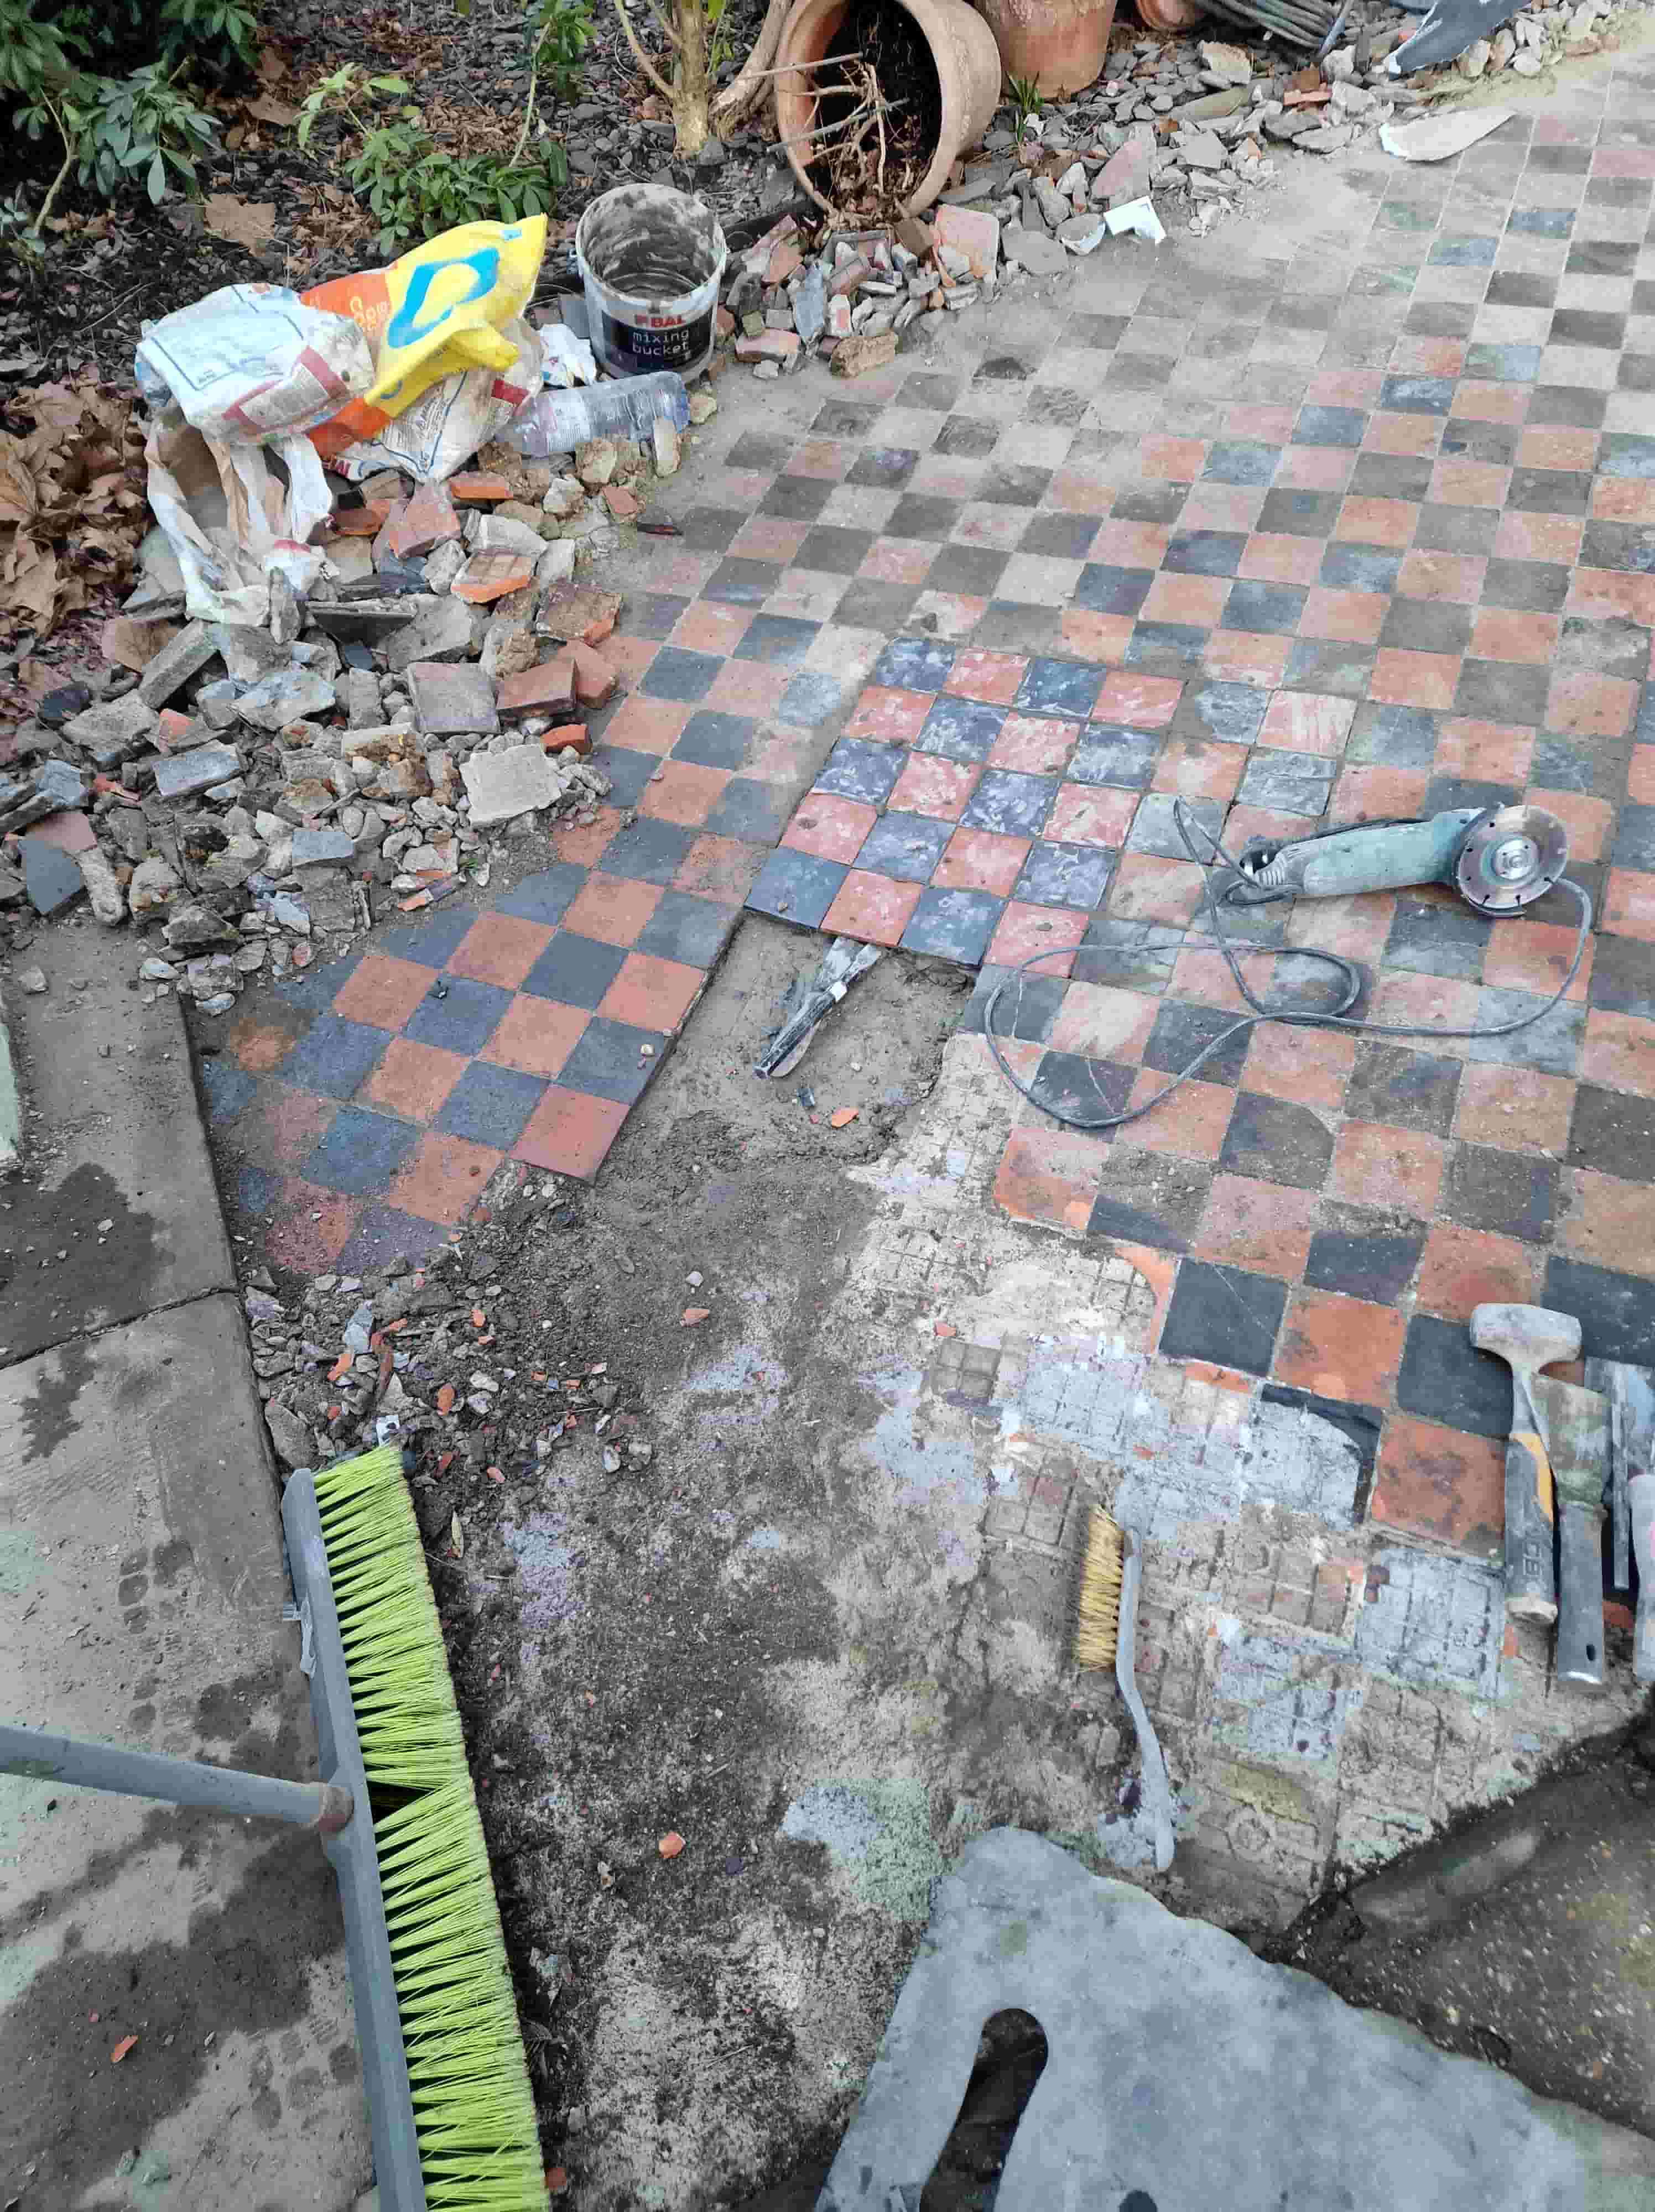

Repairing a Victorian Tiled Pathway
Before starting work we tried to source salvaged tiles that would blend in with the originals, but unfortunately, we couldn't find any that were a close enough match, so had to make do with modern tiles. These are still suitable but the metric sizing makes it a little tricker.Work started by digging out the broken and loose tiles and then cleaning what could be salvaged. Once removed the base was then cleared of debris and where required rebuilt with cement. There were numerous affected areas, so it took quite some time to complete. Finally with the preparation done the tiles were re-laid using a mixture of original and new. The new tiles being metric had to be cut to shape as needed. The repair work was extensive and took two days to complete.

Cleaning a Victorian Tiled Pathway
On day three the replaced tiles had set, and I was able to clean up the whole path by scrubbing in Tile Doctor Oxy-Gel which being a gel cleaner doesn't require a lot of water. This was then followed by giving the path an acid rinse using Tile Doctor Acid Gel which further cleans the tiles and again being in gel format doesn’t require a lot of water and is much easier to control. After each stage in the cleaning process the soils were extracted with a wet vacuum.I recommend the use of gel cleaners on old tiles like this example as they were laid before the invention of the damp proof membrane and less water means it dries quicker. This was important as it was planning to apply a sealer the next day and the tiles must be dry to achieve the best result.
Sealing a Victorian Tiled Pathway
The weather held out and after leaving the path to dry overnight I confirmed they were dry the next morning with a damp meter. Two coats of Tile Doctor Colour Grow sealer were applied to the tiles which is a fully breathable sealer that works by soaking into the tile, occupying the pores and thereby preventing dirt from becoming ingrained there. With the dirt forced to remain on the surface they are much easier to clean. This product also contains a colour enhancing formula which helps improve the deep Red and Black colours in the tile.
