Showing posts with label X-Tra Seal. Show all posts

Monday, July 20, 2026

Restoring a Badly Stained Norfolk Clay Brick Floor in Attleborough Norfolk

Detailed below is the restoration of a heavily stained Clay Brick floor that I completed earlier this year. The floor was in the porch of an ex-farm labourer’s cottage in Attleborough which is an attractive market situated between Thetford and Norwich.

The owner had asked me to sort out the floor which as you can see from the image below was heavily contaminated with general dirt and thick efflorescence salts. The dirt was hiding all the natural vibrant colours of the Norfolk clay bricks and was well overdue a deep clean.


Clay Brick Porch Floor Before Cleaning Attleborough

It was a small area which I was confident in being able to renovate in a day however its size and awkward shape meant a lot of cleaning would need to be done with more time-consuming hand tools. I worked out a detailed quote for the renovation which was accepted and a date set.


Cleaning and repairing a Brick Style Tiled Floor

To release the dirt from the clay bricks I started with a strong dilution of Tile Doctor Pro-Clean which was spayed onto the floor and left to soak in for a good ten to fifteen minutes. It was then worked in repeatedly with a 120-grit carbide brush fitted to a Klindex Rocky rotary and lots of hand scrubbing. Afterwards the floor was rinsed with water and a wet vacuum deployed to extract the soiling; any stubborn areas were then re-treated as needed.

To treat the efflorescence Tile Doctor Acid Gel was pasted onto the brick, left for five minutes and then worked in with a firm nylon brush. The acid in the product dissolves the salts and being a gel minimises the water use on the floor. Again, once done the product was removed with more rinsing and the wet vacuum.

An industrial fan heater was then deployed to speed up drying the floor which would allow it to be sealed later that afternoon.


Sealing a Brick Style Tiled Floor

Once the floor had fully dried out, I applied a combination of two Tile Doctor sealers called Colour Grow and X-Tra Seal in an 80:20 ratio. Both these sealers are fully breathable which is essential when dealing with old floors like this one with no damp proof membrane. They both bring different characteristics to the finished floor leaving and brought out the natural colours in the brick. Both these sealers are impregnators which work by soaking into the brick, occupying the pores and thereby prevent dirt from residing there. This ensures dirt will remain on the surface where it can be easily cleaned away going forward. The sealer was then left to dry and then buffed with a white pad.

Clay Brick Porch Floor After Renovation Attleborough

The result was way beyond what the clients thought possible and they were so pleased that they promptly booked us in to renovate their much larger living room.

For aftercare cleaning I recommended Tile Doctor Neutral Tile cleaner which is a pH neutral tile that will clean the floor without harming the sealer which can be the problem with the stronger products you find in the supermarket.


Source: Brick Floor Cleaning Service in Attleborough Norfolk

Thursday, November 13, 2025

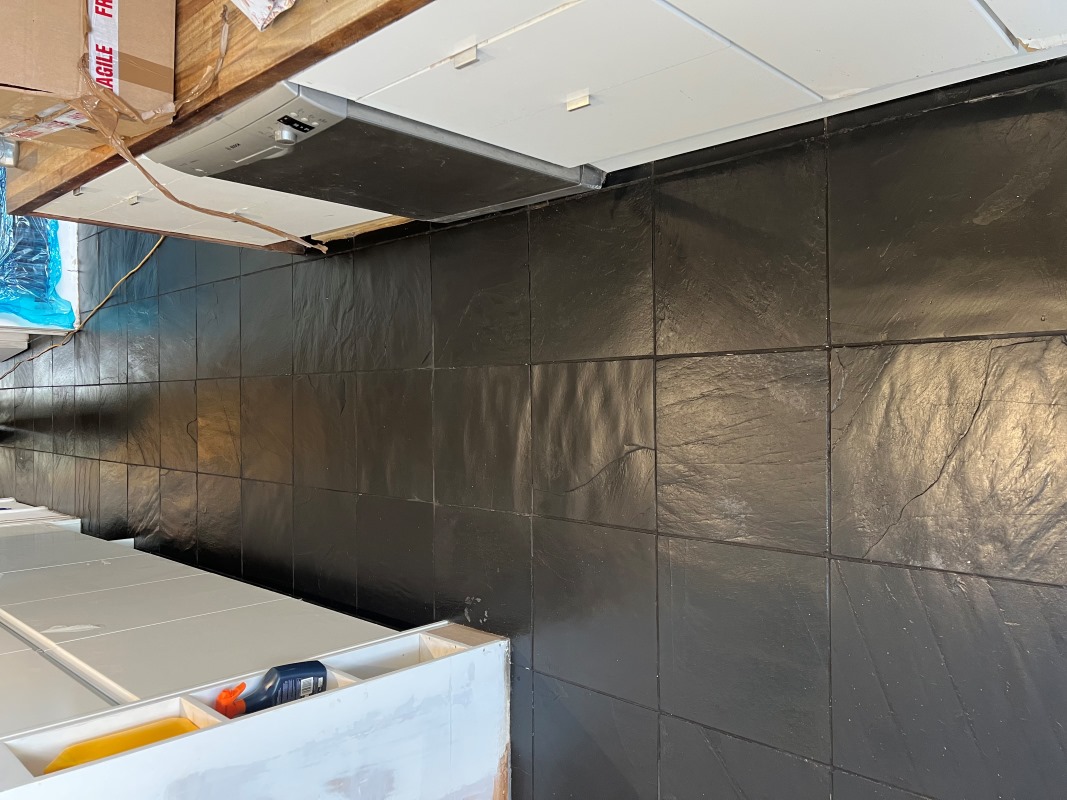
How to Remove Staining and Renovate Black Slate Flooring

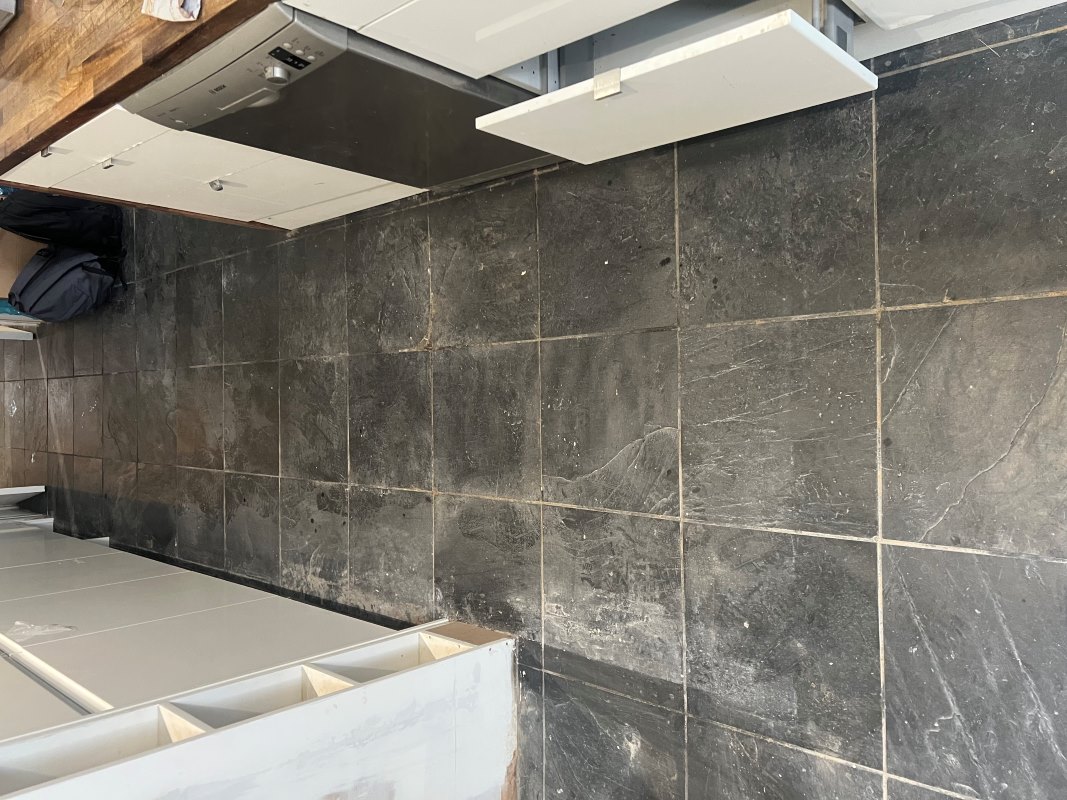
We received an enquiry from a property developer who had been renovating a property in Acton and needed our help to renovate the Black Slate tiles that had been installed throughout the ground floor. The slate floor had been down over 20 years and ran throughout the downstairs living space. Due to all the work being carried out the black slate had become very dirty with building material and had turned white with staining in many areas. They were uncertain if the floor could be restored but were reluctant to consider relaying it due to the expense.

Slate Floor Before Renovation Acton

As usual I went over to the property to understand the nature of the staining and work out the best products and processes for the renovation. There were multiple floors that needed attention so I measured up and worked out a detailed quote that included all the materials that would be needed. After reviewing the quote, I was given the go ahead and a date agreed for the work to start.

Cleaning a Slate Tiled Kitchen

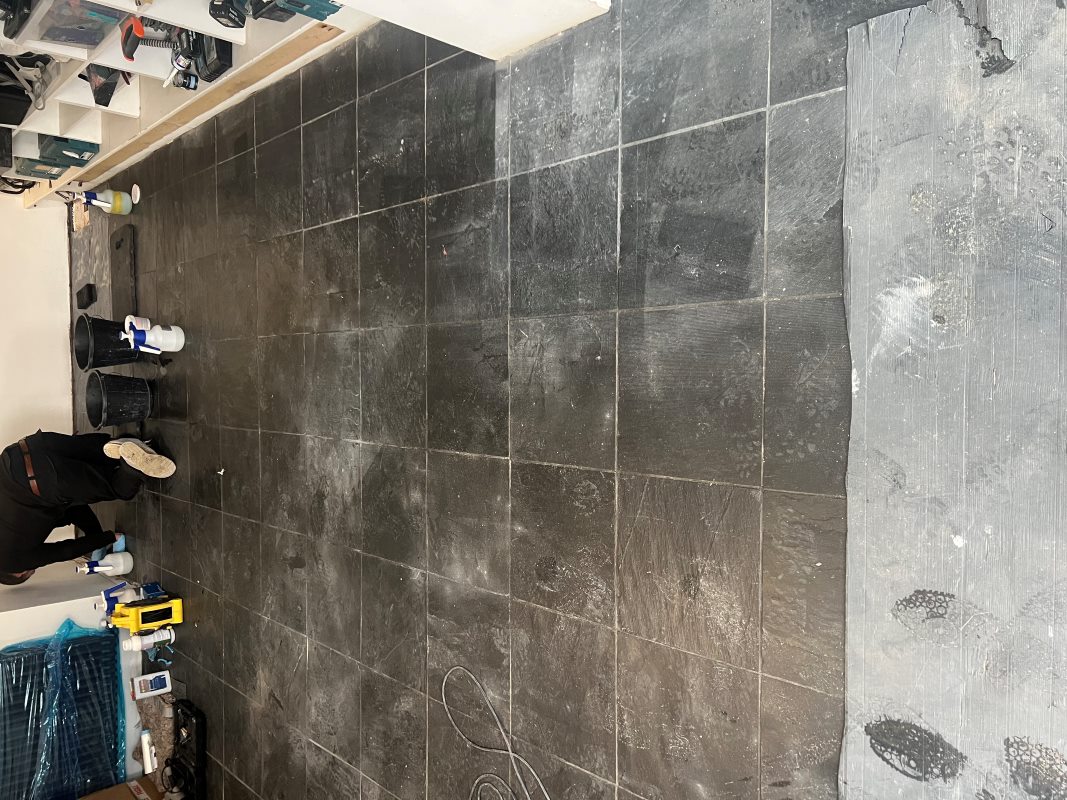
To clean the floor, a strong solution of Tile Doctor Pro-Clean was applied to the floor and then scrubbed in with a black buffing pad fitted to a rotary machine. These pads can struggle to reach into the grout lines so they were given an extra clean using handheld scrubbing brushes. This combination brought the dirt out of the floor to the surface where it could be extracted with a wet vacuum.

Slate Floor During Renovation Acton

Tougher stains on the tiles were spot treated using more Pro-Clean and some of the grouting had to be scrubbed harder with wire brushes until the whole floor was consistently clean throughout.

Slate Floor During Renovation Acton

Once done the floor was rinsed with a very weak dilution of Tile Doctor Grout Clean-Up to further clean the floor and neutralise it following the use of Pro-Clean which is a strong alkaline. The solution was then extracted with a wet vacuum and floor left to dry.

Sealing a Slate Tiled Kitchen

Once dry it was time to seal the floor which will protect it from ingrained dirt and enhance the finish. For this Tile Doctor Stone Oil was applied which being oil-based really improves the texture and dark colour of the stone.

The sealer is applied using a microfibre cloth and any excess product is wiped off before buffing with a white buffing pad on the rotary machine. This left a nice sheen to the tile and a consistent look throughout.

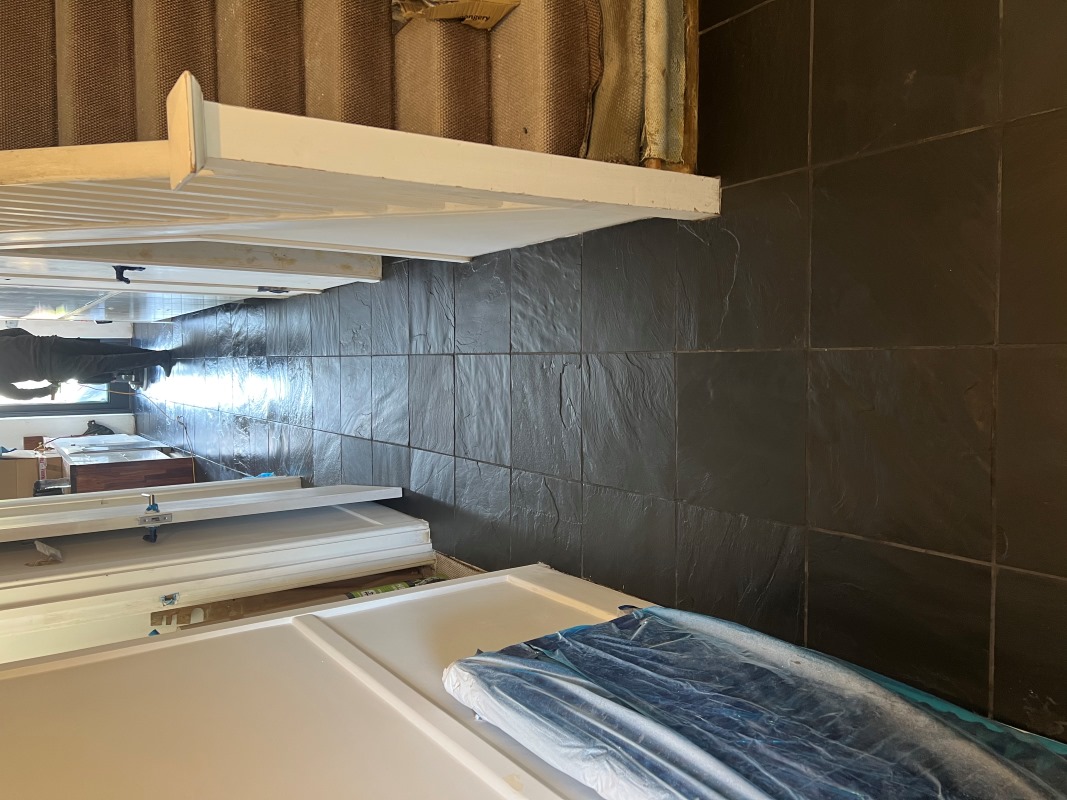
Slate Floor After Renovation Acton

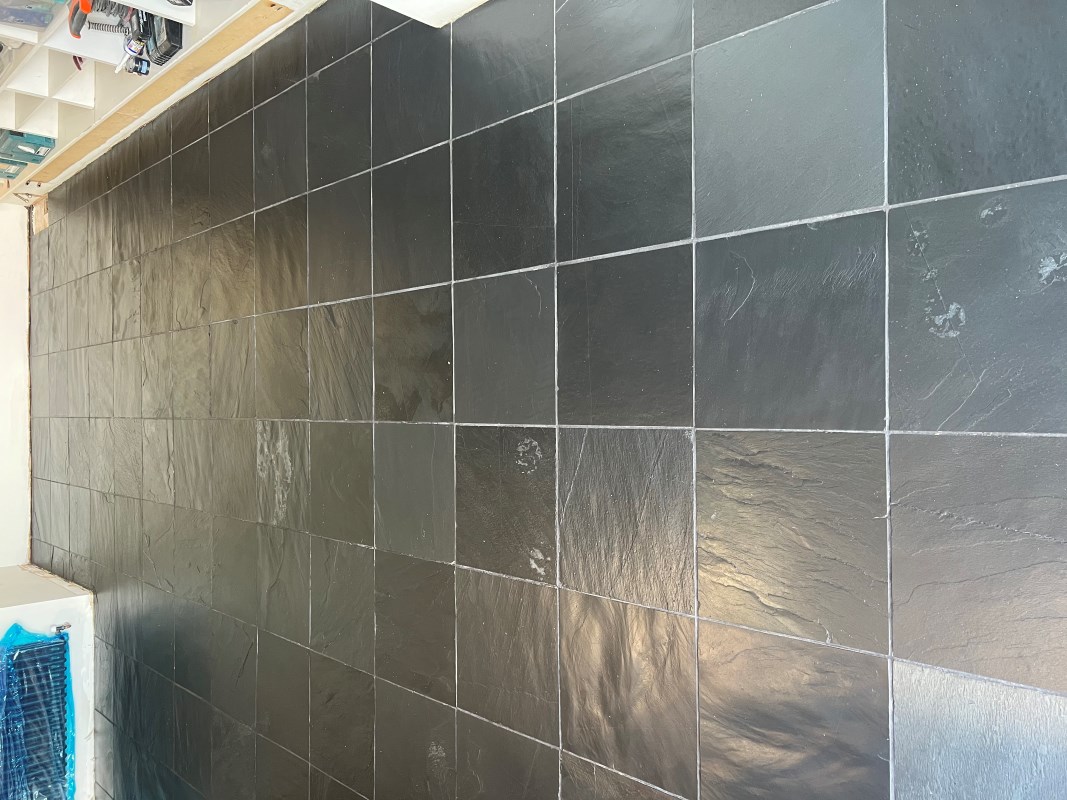
Our client was very happy with the finish, the Slate and Grout had been transformed and the sealer had really enhanced the look of the slate. For aftercare we recommended using Tile Doctor Neutral Cleaner which will provide effective cleaning whilst not impacting the seal.

Slate Floor After Renovation Acton


Source: Black Slate Floor Cleaning and Sealing Service near Acton London

Thursday, November 2, 2023

Buckinghamshire Tiling Expert Reveals How to Remove Stains from Encaustic Floor Tiles

The pictures below were taken at a property in the old town of Marlow which had modern Encaustic tiles installed in the downstairs WC. Although they may appear on first appearance to be perfectly fine the owner had called us in to deal with the staining around sink area around toilet.

The tiles had only been installed six months earlier and after surveying the floor it was clear to me that the tiler hadn’t applied enough protective sealant following installation. I quoted for deep cleaning the floor with diamond burnishing pads and then re-sealing with a stronger sealer which given the small size of the floor should be completed in a day.
  Modern Encaustic WC Floor Tiles Before Renovation Marlow

Deep Cleaning an Encaustic Tiled WC Floor

To remove the original sealer and deep clean the encaustic tiles I started with a 200-grit burnishing pad lubricated with water. The floor was too small for a buffer machine so I used 6-inch pads fitted to a hand buffer. This action cuts back the tiles removing the stains in the process.

After rinsing and extracting the soiling that was generated, I checked the floor to confirm the staining was gone. I could see that the 200-grit pad had done the job and there was no need to apply a coarser 100-grit so I followed up with finer 400 and 800 grit pads. Again, water was used to lubricate the process and the floor was rinsed and extracted after each pad. I went over the floor slowly to ensure each tile had a deep clean and to avoid creating any swirl marks.

Once the 400 & 800 grit pads had been applied, I buffed the tiles with a White rag to remove any excess water and get it ready for the next pad which would enhance the deep blue colours in the floor. Once the floor was dry a very fine 1500-grit pad was applied to compete the burnishing and add a slight shine to the tiles, this also leaves the floor nice and dry and ready for sealing.

Sealing an Encaustic Tiled WC Floor

To seal the floor, I used an oil-based sealer called Tile Doctor X-Tra Seal, which is rated for internal and external use. I allowed it to soak into the encaustic tiles which would allow the colours to really darken after the use of the burnishing pads.

After about thirty minutes I rubbed off the excess with a White cloth and then proceeded to apply a 3000-grit buffing pad to leave a smooth surface and an even shine all over the floor. I finished off with a further coat of X-Tra Seal and left for 30 minutes and repeated the same process giving a deep colour finish and leaving the floor well protected.
  Modern Encaustic WC Floor Tiles After Renovation Marlow 
The customer where very happy with the result and recommended us to friends of theirs who had the same tiled floor. Before leaving I spent a few minutes to discuss aftercare cleaning, which for this floor I recommend Neutral Tile Cleaner.

Wednesday, May 10, 2023

Lancashire Stone Expert Details how to Resurface Old Flagstones using Coarse Milling Pads

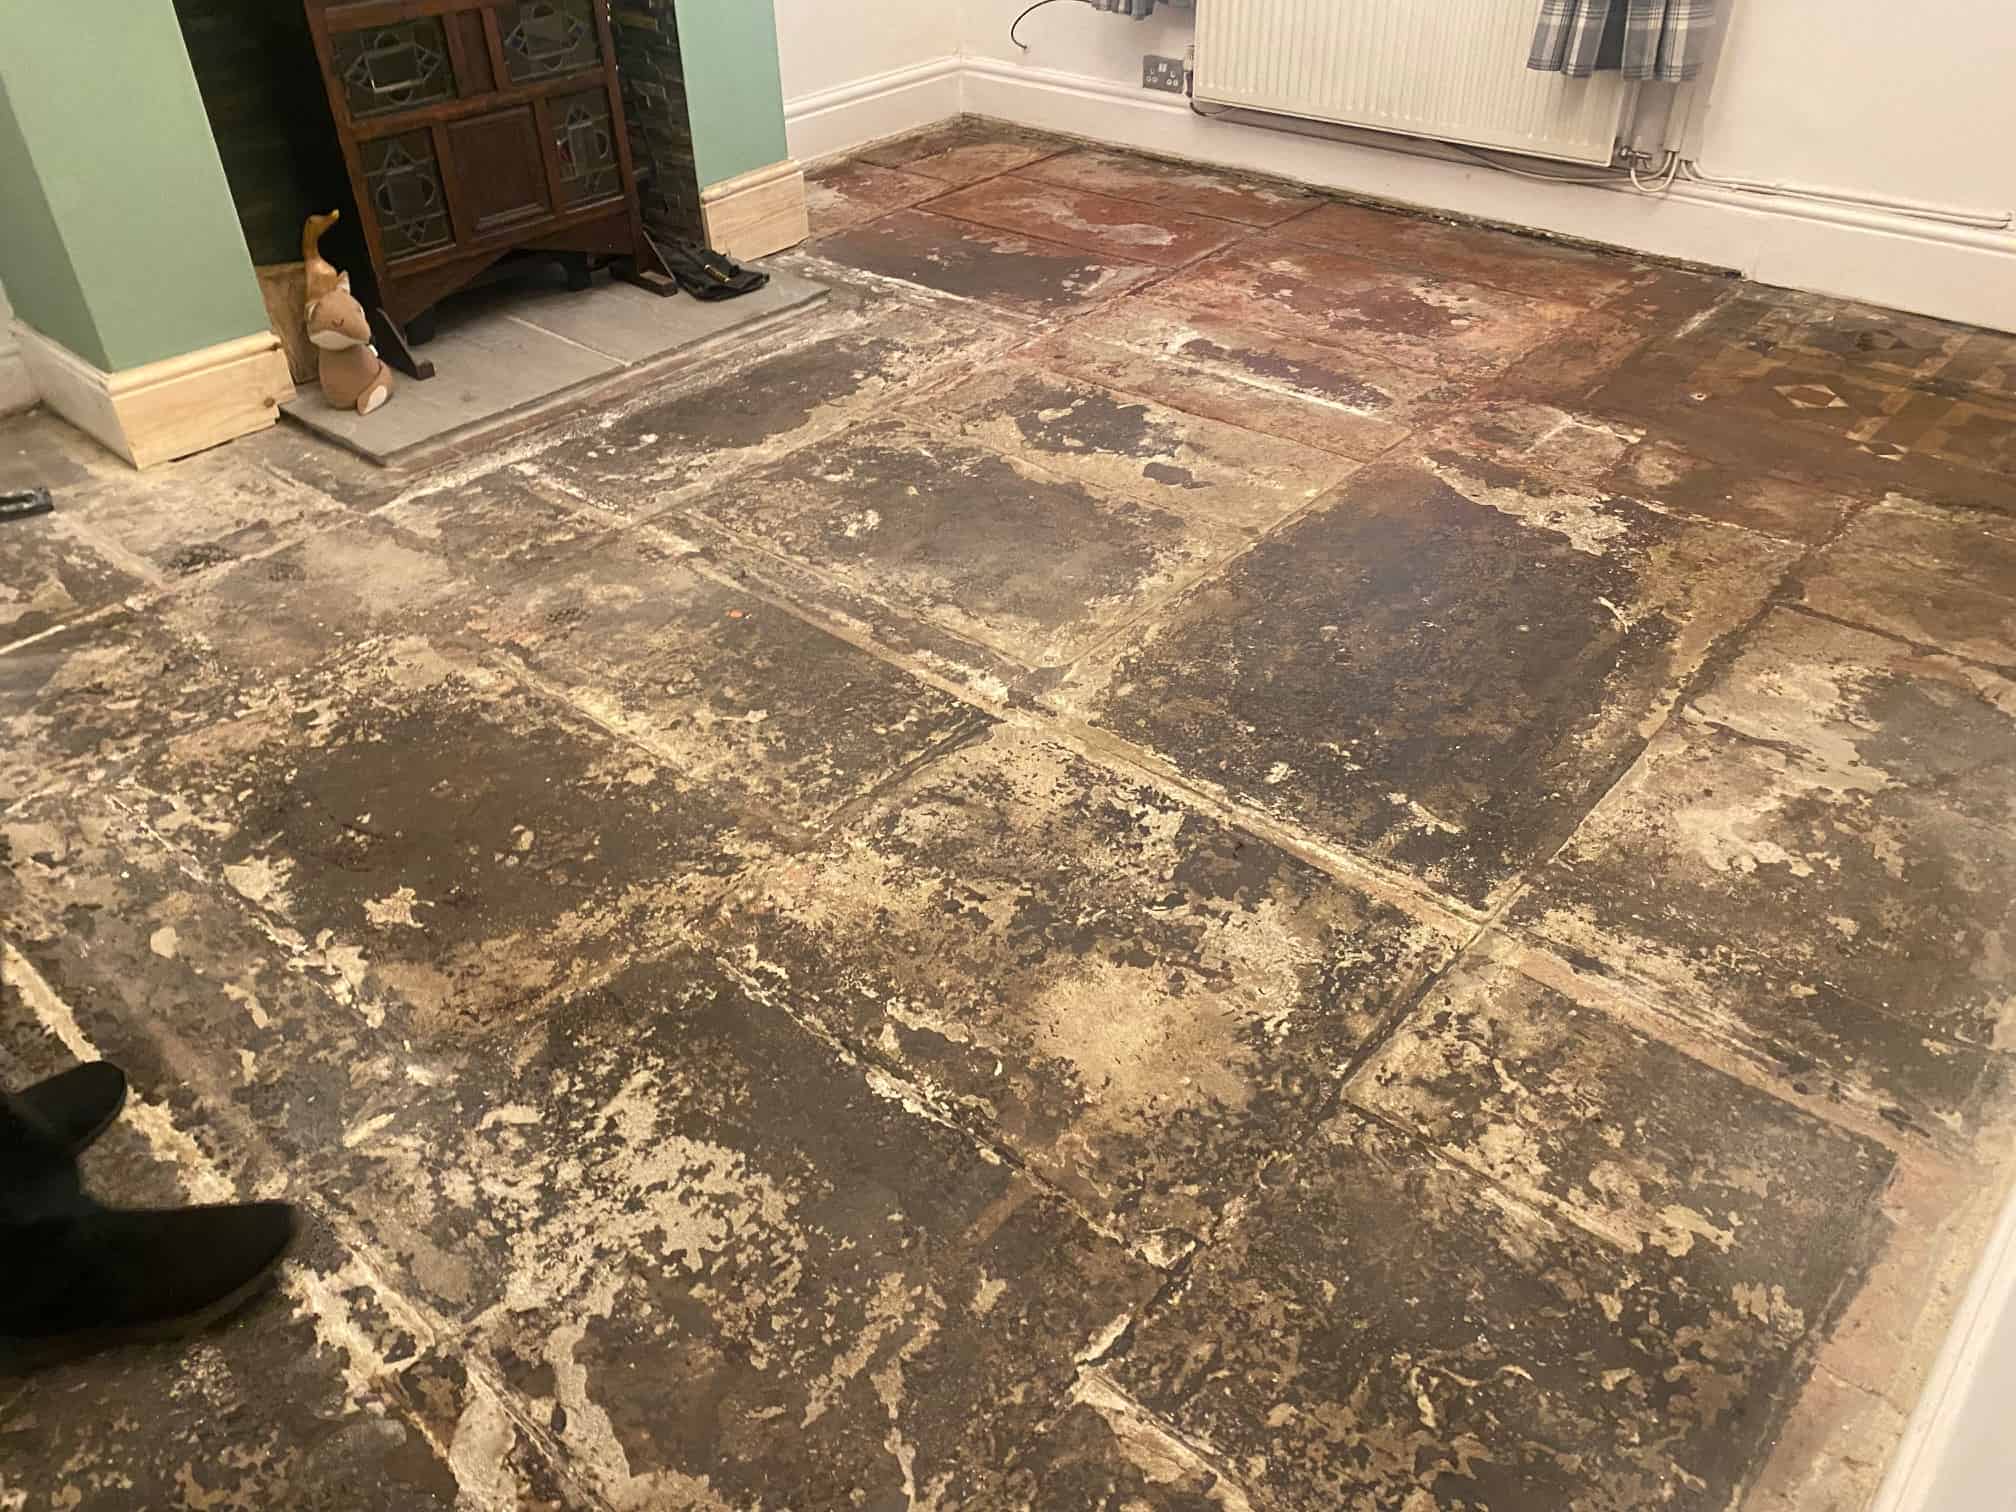
 The client said when he moved into this house in Lytham St Annes late last year that this room had a really bad smell of damp. The Flagstone floor was covered in carpet and he had the impression that the previous owner’s cat had been known to use it as place to pee!

  Flagstone Floor Before Restoration Lytham St Annes 

The smell was rank and probably bad for your health so he decided to remove the carpet and the thick underlay underneath. Under that there was some old Vinyl flooring which all came out to reveal the original flagstone floor. As you can see from the pictures it was in a poor state covered in red and white paint, bits of bitumen here and there and the pointing had been lost in several areas of the floor. Additionally, all those layers over the stone would have prevented any moisture from naturally evaporating at the surface thereby resulting in damp.
 
Flagstone Floor Before Restoration Lytham St AnnesFlagstone Floor Before Restoration Lytham St Annes

The client had seen what we could do on our website and sent us some pictures of his floor which covered approximately 16m2. I priced for milling the flagstone as a deep clean would not resolve the shaling issues on its own and only a good mill of the stone would do that. Also, it needed all the pointing that was still in place knocking out and new flexible breathable pointing put back in place.
 

Cleaning and Repairing a Flagstone Tiled Hallway Floor

Milling stone is not a low-cost option, but it is a lot more cost effective than pulling up the whole floor and putting in a modern subfloor. Milling involves using a weighted buffing machine fitted with different grits and grades of coarse Diamond encrusted pads which cut into the surface of the stone to reveal new stone underneath, you then apply finer pads to hone and refine the surface.

In this case I used a set of Tile Doctor Milling Pads applied in sequence starting with 50-grit, 100-grit and then 200-grit. Water is used to lubricate the process and keep the dust down, it’s also important to rinse the stone off after each pad and extract the slurry that is generated with a wet vacuum.

The floor was then cleaned with Tile Doctor Remove and Go allowing the product to soak in for ten minutes to loosen deep seated paint staining. The Tile Doctor Remove and Go was then worked in with another 200-grit pad before another rinse and extract again with the wet vacuum.

Older floors like this were installed before the invention of the damp proof membrane so moisture is always a concern. To counter any issues that might develop later such as Efflorescence the last step in the cleaning process was to give the floor an acid rinse using Tile Doctor Grout Clean-up, this neutralises any latent salts trapped in the subfloor.
 

Sealing a Flagstone Tiled Hallway Floor

The milling, re-pointing and cleaning work took two days and we returned for a third day to apply a breathable sealer called Tile Doctor X-Tra Seal. This product is fully breathable and a great choice for any floors where damp can be a problem as it will allow for moisture to rise through the stone and evaporate at the surface. Being oil-based it also adds character to natural stone and adds an appealing low satin finish.
 
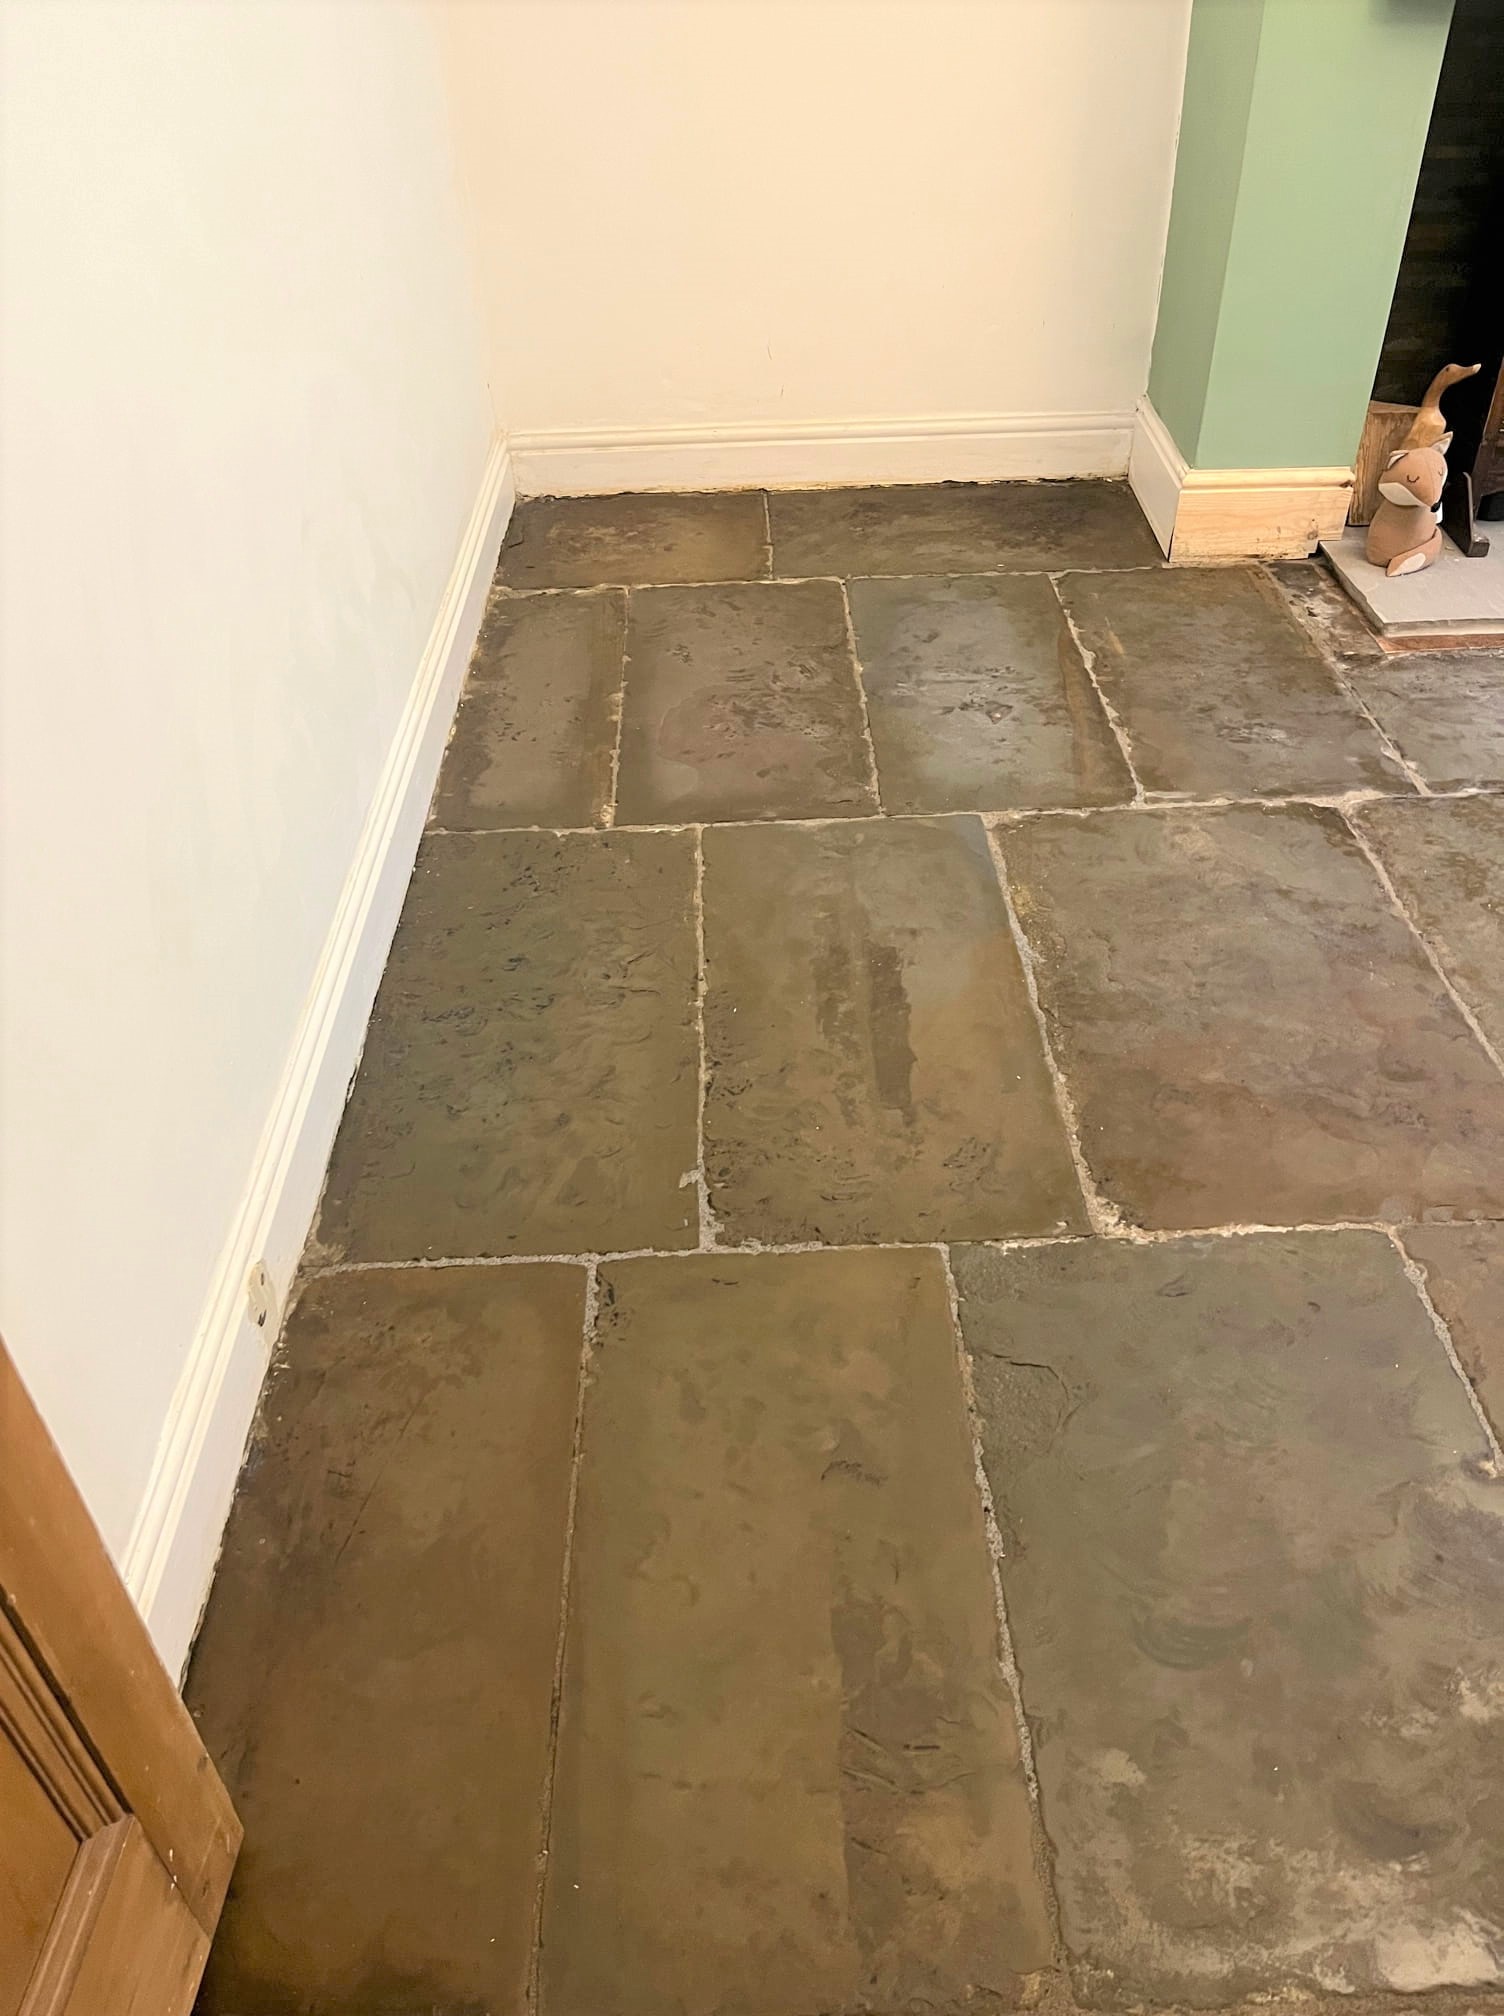
Flagstone Floor After Restoration Lytham St AnnesFlagstone Floor After Restoration Lytham St Annes

The whole process completely transformed the appearance of the flagstone floor and really suits the property which was a late Victorian four-story house with a basement. Original features like this are very sought after so it makes sense to restore them as it will add value.
 
Flagstone Floor After Restoration Lytham St Annes

An additional advantage of the milling process is it also reduces the roughness of the stone surface makes it smoother and easier to clean. On the topic of cleaning its worth mentioning that you should never use a strong bleach-based tile cleaning product on a sealed floor as it will erode the sealer prematurely. For a floor like this you need to use a product like Tile Doctor Neutral Cleaner which is a mild but effective cleaning product designed for use on sealed tile and stone.


Sunday, January 29, 2023

Nottinghamshire Floor Restoration Expert Details How to Restore Painted Brick Flooring in Ollerton

We were asked by our client in Ollerton, near Sherwood Forest, to renovate a couple of original brick floors that dated to the Georgian period. The floors were in a recently renovated cloakroom and the utility room and had been left to the end of the works.

 
Georgian Brick Floor Before Renovation Ollerton Nottinghamshire

Both floors had been painted at some point in their long history hiding some of the original features of the property. We can improve old floors like these, but I do have to set the expectations of the client. We can definitely make big improvements, but floors of this age can rarely not be restored to their original appearance. The other problem of course is its impossible to see what we are dealing with until all the paint is removed, and the floor is uncovered. The client was very keen to try and gave us the go ahead to do the renovation, they agreed to my quote and we booked in a suitable date in to carry out the work.

 
Georgian Brick Floor Before Renovation Ollerton Nottinghamshire

18th century floors like these do not have damp proof membranes and can be laid directly onto compacted soil, as a result efflorescence where moisture rises through the floor can be a common problem. Normally I use a lot of water to clean a floor but in this case, I didn't want to exacerbate any damp issues and introduce more moisture into the sub flooring, so I used gel cleaning products.


Removing Paint from Georgian Brick Flooring

To remove the numerous latest of paint from the bricks they were covered in a strong paint stripper and then covered with a plastic sheet, leaving it overnight. The following day with the paint softened the bricks were deep cleaned with Tile Doctors Oxy-Gel and Acid Gel combined and worked in with light diamond abrasive pads. This stripped the paint from the brick flooring along with old worn coatings allowing it to be lightly rinsed with water and the soiling removed with a wet vacuum.

The process had to be repeated in a couple of areas that were particularly stubborn but eventually we got there. The floor we uncovered was quite different and was then to dry out for a few days before we could tackle the sealing.

 
Georgian Brick Floor During Renovation Ollerton Nottinghamshire

Sealing Georgian Brick Flooring

On our return the day the brick flooring was sealed with Tile Doctor X-Tra Seal to saturation point. This is a colour enhancing impregnating sealer that forms a protective breathable finish that will cope with the excess moisture and help manage the efflorescence problem.

 
Georgian Brick Floor After Renovation Ollerton Nottinghamshire

For aftercare I left the client with a bottle of Tile Doctor Neutral Tile Cleaner and advised them how to maintain. This product is pH neutral so will not damage the newly applied seal unlike some of the household cleaners on the market. It should keep the floor in good condition and ensure that maintenance is minimal moving forward. Our client was very happy with the work we carried out and delighted with the improvement of the floor particularly the colour!

Friday, October 7, 2022

Deep Cleaning Old Quarry Tiles in Devon with Tile Doctor Remove and Go

This client called us out to look at their grubby Quarry tiled lobby at the front of their property in Kenton near Exeter. Being the main entrance to the property it saw a lot of foot traffic so once the sealer had worn down it wasn’t long before the dirt started penetrating the pores of the tile and became difficult to keep clean.

 
Quarry Tiled Lobby Kenton Before Renovation

The property was originally a school and dated back over 200 years. The Quarry tiles in the entrance lobby were probably as old as the building and as mentioned earlier were looking worse for wear having been partially covered for years. They weren’t sure how old the tiled floor was, but they were keen to see it restored. They were therefore desperate to get the floor deep cleaned and a fresh seal applied. They agreed to my quotation, and we arranged a convenient date to carry out the work.


Cleaning a Quarry Tiled Hallway Floor

I started by taping up the skirting to protect it from the cleaning products we would be using. I then applied Tile Doctor Remove & Go to the floor and covered the area with plastic sheets to stop the evaporation of the products so that I could achieve a longer dwell time. This would really get to the deep-seated dirt and loosen it so it can be lifted from the pores of the tiles.

I then worked the floor with 200-grit carbide brush fitted to a rotary machine to remove the dirt ingrained in the clay pores of the tile. Some of the grout was loose and dislodged in the process, however my client was expecting this and had already arranged for his tiler to complete a full re-grout once we had finished cleaning. The soiling released by the cleaning process was rinsed off the floor with water and extracted with a wet vacuum.


Sealing a Quarry Tiled Lobby Floor

I wanted to seal the floor the next day so I left a couple of driers in place overnight to speed up the drying process. The next morning when I returned, I first checked the floor to make sure it was dry with a moisture meter.

The dryers had worked their magic so I was able to begin sealing the floor with Tile Doctor X-Tra Seal which is an effective interior and exterior sealer. With the lobby being a high traffic area, I applied four coats to ensure a durable seal. The benefit of this sealer is it gave the floor a nice sheen really bringing out the depth of colour in the tiles, and with the newly applied grout the floor looked great.

 
Quarry Tiled Lobby Kenton After Renovation

For aftercare I recommended the use of Tile Doctor Neutral Tile Cleaner. This is a pH neutral product which is gentle enough for daily use. It won’t compromise the newly applied sealer which can be a problem with the stronger bleach-based products you find in supermarket products.

The work completely transformed the Quarry tiles and my client was very happy with the completed job and told me they wished they had tackled it sooner.

Monday, June 20, 2022

New Low Moisture Cleaning Technique used on the Restoration of Vintage Victorian Flooring in Carlisle Cumbria

This is probably one of the oldest Victorian floors we have worked on, the house dates back to 1853 and is the second one we have covered on the same road in the leafy city of Carlisle . The whole street was owned by the council for several decades and the houses including floors have experienced all sorts of damage to them over the years. More recently the houses have been released to a private developer who called us in to handle the restoration and resurrect the hallway tiles which you will see on the pictures.
 
Period 1853 Victorian Hallway Floor Before Restoration Carlisle Period 1853 Victorian Hallway Floor Before Restoration Carlisle


Cleaning and Repairing a Victorian Tiled Hallway Floor

The first job for us was the tile repair, and this meant preparing the surface for the new tiles, which involved carefully knocking up all the loose and cracked tiles and then re setting them using matching replacements where necessary.
  Period 1853 Victorian Hallway Floor During Restoration Carlisle 
To do this I like to use a multi tool to score the grout and then break out the cracked tiles with a hammer and chisel or a power drill. The replacement tiles had to be re-sized to fit, oddly enough most of the damage was along the edge of the floor where air ducts used to be in place and then these had been concreted in. The main part of the floor though was still in good order even though it was 170 years old.
 
Period 1853 Victorian Hallway Floor During Restoration Carlisle Period 1853 Victorian Hallway Floor During Restoration Carlisle
Once the replacement tiles were set, a low moisture cleaning technique was used to get the whole floor clean. This involves covering the tiles in Tile Doctor Oxy-Gel and leaving it to soak into the tile for ten minutes. Being a gel cleaner, it is easier to control and there is less water involved. The gel is then scrubbed in with a buffing machine fitted with a 100-grit milling pad. A little bit of water is added to help lubricate and scrub off the dirt and soiling. A wet vacuum is then used to remove the soil which is an essential piece of kit for this line of work.

After the initial clean the floor was given an acid rinse using Tile Doctor Acid Gel which was applied neat and as before scrubbed in using a pad, this time using a finer 200-grit milling pad. Again, a little water was used to aid in the clean up being careful not to flood the floor.

The reason for the low moisture clean is that there was a basement underneath the hallway and the client had nowhere else to put certain fabrics, furniture etc so with a low moisture clean we can minimise the chance of any water finding its way into the space below. The wet vacuum was deployed again to remove the cleaning products and water and the floor was left to dry.


Sealing a Victorian Tiled Hallway Floor

Once clean and dry the floor was sealed using two coats of Tile Doctor X-Tra seal which as the name suggests is a little bit extra as it's a very robust sealer, although mainly designed for outside areas it’s an oil-based formula that works really on Victorian tiles.

 
Period 1853 Victorian Hallway Floor After Renovation Carlisle Period 1853 Victorian Hallway Floor After Renovation Carlisle
One done the floor looked great, and the developer was very happy with the result.

Thursday, June 2, 2022

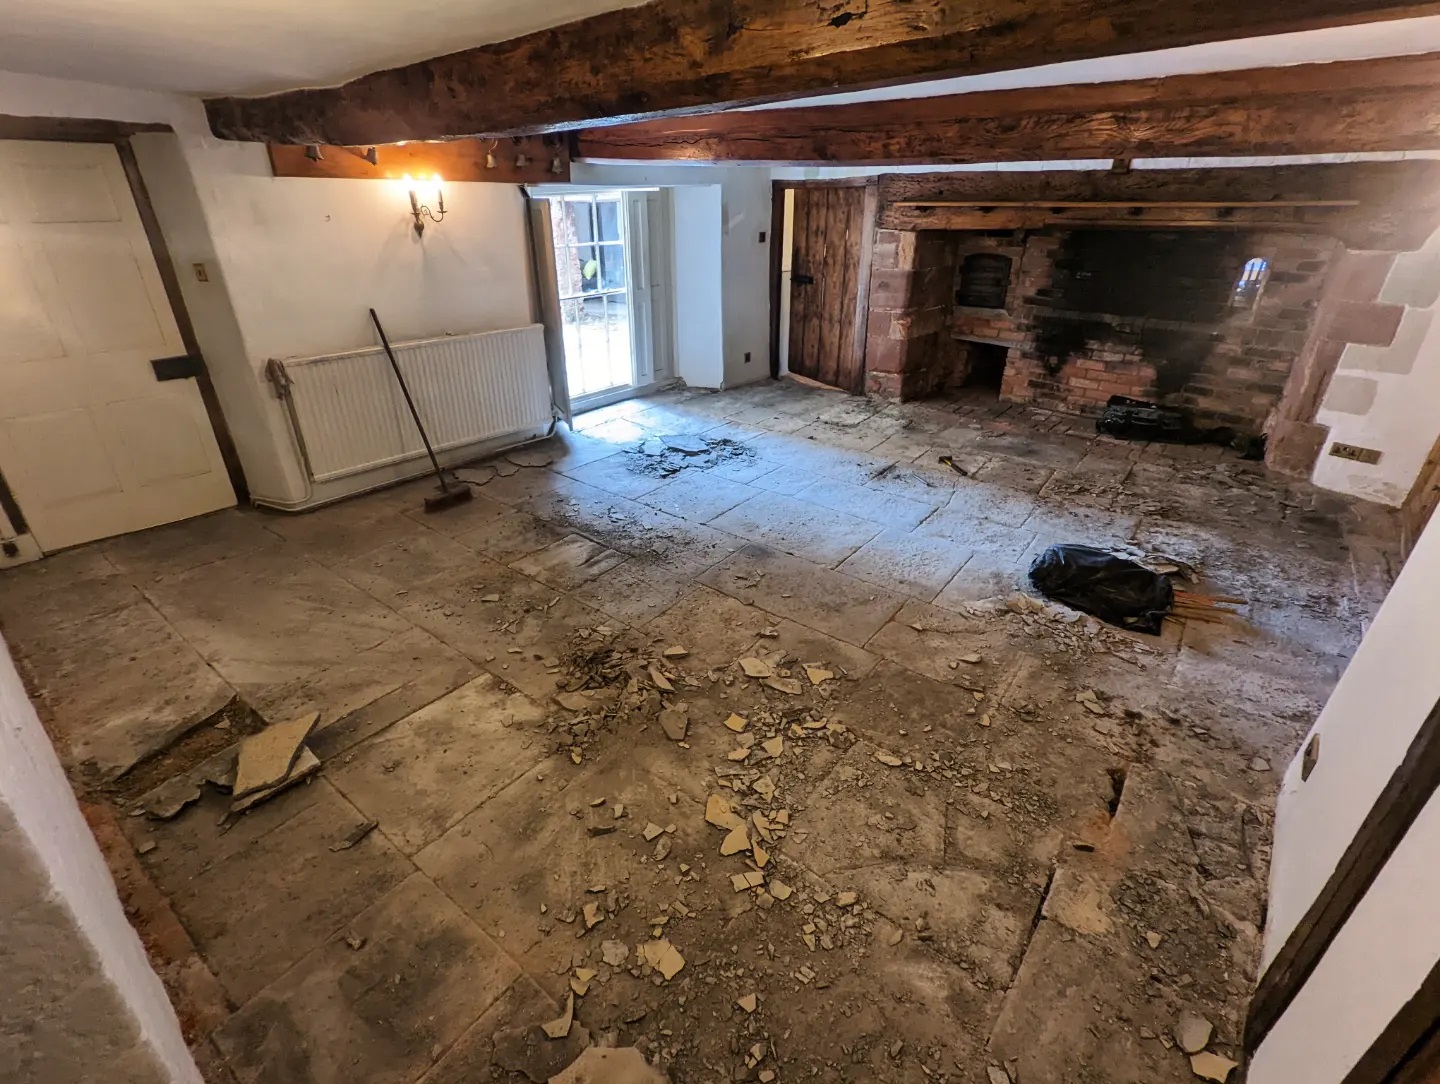
How to Restore the Appearance of a 500 Year Old Floor by Devon Stone Restoration Expert

A customer in Tiverton uncovered this extremely aged and tired Blue Lias Limestone floor during renovation work. The floor was approximately 80m2 in size and they were keen for me to come and survey the large flagstones to find out if anything could be done to renovate it. They were keen to restore it, but really did not know where the start. The property in dated back to the 15th century and had a several period features that wanted to restore.

Blue Lias Stone is actually quarried in southern and western England including South Wales and has been used as a flooring and building material for over a century. These days you don’t come across it very often due to the large variety now available in the stone market.

 
Blue Lias Limestone Floor Before Restoration Tiverton

I headed over to the property to take a look and it was immediately apparent the floor would need a great deal of work to fully restore it. I could see some of the flagstones had heavily flaking and shaling in places, others were so damaged they would need replacing and the whole floor would need re-pointing. In addition, with the floor being so large I could see if would take a significant amount of time to restore.


Deep Cleaning and Repairing a Blue Lias Limestone Floor

To reveal the true beauty of the Limestone I had to remove a thin layer of stone from the surface. This was done by cutting back the stone using a very coarse 100-grit milling pad fitted to a Viper rotary buffer machine that was heavily weighted. This method also flattens the surface of the stone removing any excessive shaling in the process. Once I had a cleaner stone to work with, I set to work removing old jointing which needed replacing and then removing a couple of the broken stones.

Fortunately, I had been able to source replacement stones which were a close match to the original before starting work. They were then bedded in and then pointed with the rest of the joints with a German product called VDW800.

The next step was to deep clean the whole floor, removing deep seated stains and any remaining dirt and grime. For this I decided to go with Tile Doctor Remove & Go which is a powerful cleaning and coatings remover. The product is sprayed onto the floor, left to soak in for then minutes and then scrubbed in using a black scrubbing pad fitted to the rotary buffer. Once done the soiling is removed using a high-pressure industrial cleaning system that is mounted in my van; it’s a powerful machine which jets water out at 1000psi and then simultaneously vacuums up the dirty water and debris leaving behind clean, bare stone. This keeps the mess made to a real minimum and ensures the tiles are cleaned efficiently. The process had to be repeated three times before I was satisfied the floor was clean after which is was left to dry out thoroughly before sealing.


Sealing a Lias Limestone Tiled Floor

After the floor had dried over the course of a few days, we returned to seal the floor. The first job was to use a damp meter to check the moisture levels in the stone and verify it was dry enough to seal. Damp can be a big issue with older properties with no damp proof membrane and the stone has been laid directly onto soil. Satisfied with the readings I was happy to go ahead with the sealing process.

The sealer used on this floor was Tile Doctor X-Tra Seal, it’s a fully breathable formula which will allow any moisture under the floor to be able to rise through the Limestone and not become trapped where it could cause long term problems. It’s also an impregnating sealer which basically means that it soaks into the stone thereby occupying the pores and preventing dirt from becoming ingrained there. Lastly X-Trea seal has an oil-based resin formula which really improves the structure and colour of the stone.

 
Blue Lias Limestone Floor After Restoration Tiverton

With the application of the fresh sealer the floor really came alive, and the 15th Century Blue Lias limestone floor was transformed. The customer was delighted with the renovation and could not believe how well the floor had come up I only wish I had remembered to take more photographs.

For aftercare cleaning I recommended the use of Tile Doctor Neutral Tile Cleaner, this is a mild tile and grout cleaner which is pH balanced, so it will ensure the integrity of the newly applied sealer and will keep the floor in top condition.