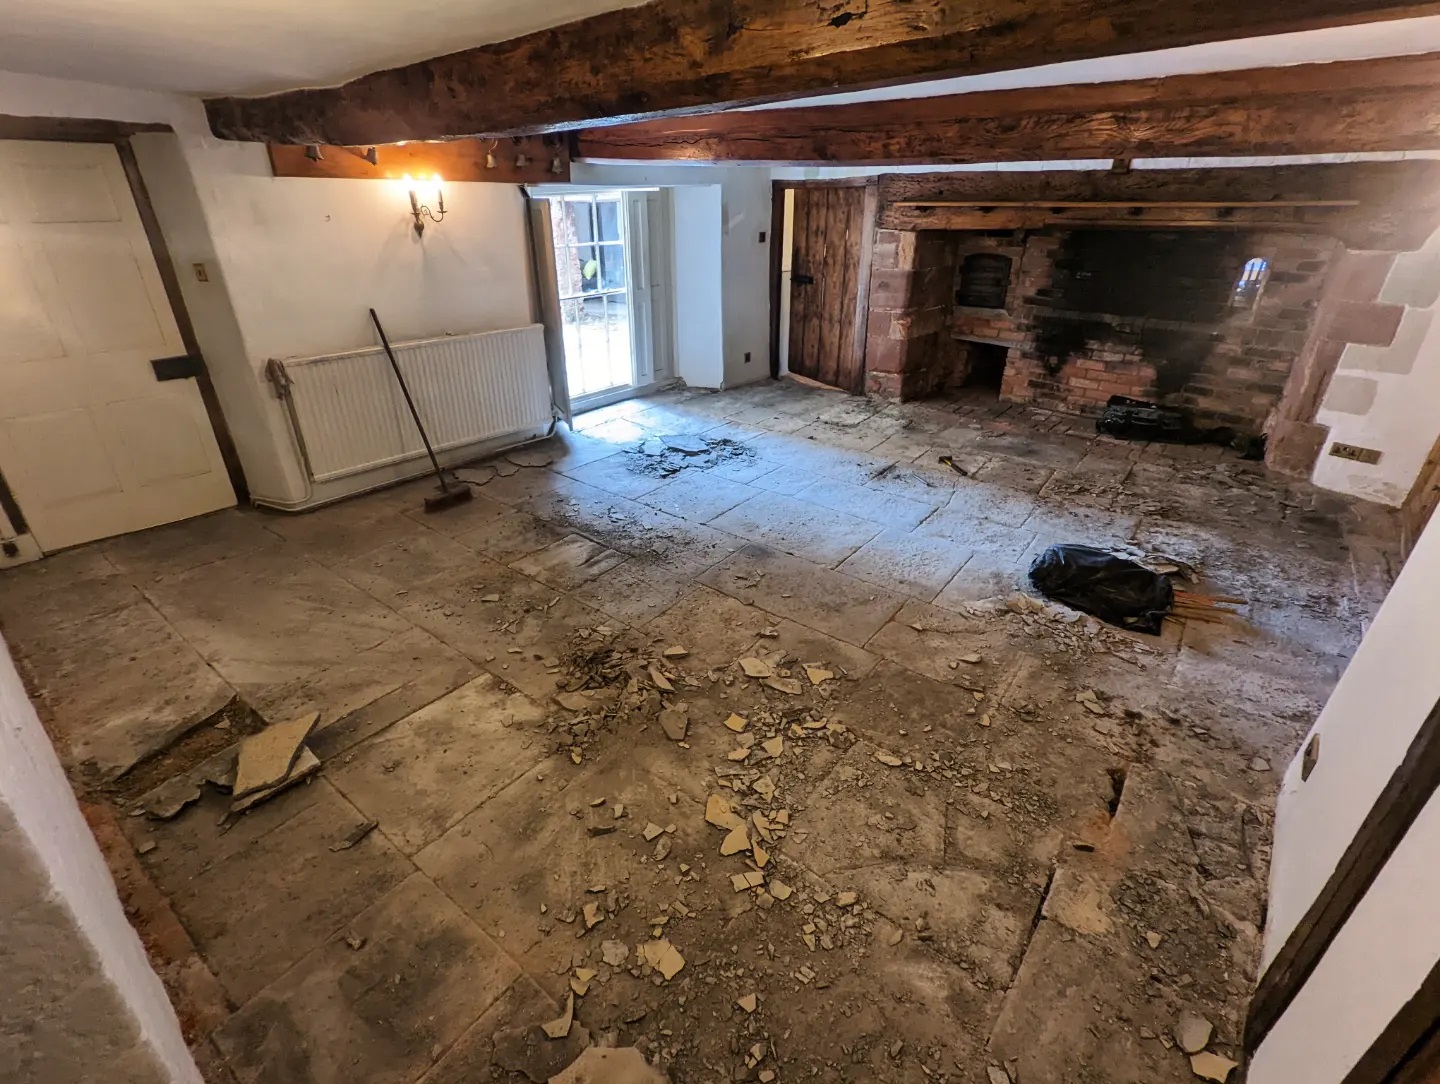
Blue Lias Stone is actually quarried in southern and western England including South Wales and has been used as a flooring and building material for over a century. These days you don’t come across it very often due to the large variety now available in the stone market.

I headed over to the property to take a look and it was immediately apparent the floor would need a great deal of work to fully restore it. I could see some of the flagstones had heavily flaking and shaling in places, others were so damaged they would need replacing and the whole floor would need re-pointing. In addition, with the floor being so large I could see if would take a significant amount of time to restore.

With the application of the fresh sealer the floor really came alive, and the 15th Century Blue Lias limestone floor was transformed. The customer was delighted with the renovation and could not believe how well the floor had come up I only wish I had remembered to take more photographs.

Deep Cleaning and Repairing a Blue Lias Limestone Floor
To reveal the true beauty of the Limestone I had to remove a thin layer of stone from the surface. This was done by cutting back the stone using a very coarse 100-grit milling pad fitted to a Viper rotary buffer machine that was heavily weighted. This method also flattens the surface of the stone removing any excessive shaling in the process. Once I had a cleaner stone to work with, I set to work removing old jointing which needed replacing and then removing a couple of the broken stones.Fortunately, I had been able to source replacement stones which were a close match to the original before starting work. They were then bedded in and then pointed with the rest of the joints with a German product called VDW800.
The next step was to deep clean the whole floor, removing deep seated stains and any remaining dirt and grime. For this I decided to go with Tile Doctor Remove & Go which is a powerful cleaning and coatings remover. The product is sprayed onto the floor, left to soak in for then minutes and then scrubbed in using a black scrubbing pad fitted to the rotary buffer. Once done the soiling is removed using a high-pressure industrial cleaning system that is mounted in my van; it’s a powerful machine which jets water out at 1000psi and then simultaneously vacuums up the dirty water and debris leaving behind clean, bare stone. This keeps the mess made to a real minimum and ensures the tiles are cleaned efficiently. The process had to be repeated three times before I was satisfied the floor was clean after which is was left to dry out thoroughly before sealing.
Sealing a Lias Limestone Tiled Floor
After the floor had dried over the course of a few days, we returned to seal the floor. The first job was to use a damp meter to check the moisture levels in the stone and verify it was dry enough to seal. Damp can be a big issue with older properties with no damp proof membrane and the stone has been laid directly onto soil. Satisfied with the readings I was happy to go ahead with the sealing process.The sealer used on this floor was Tile Doctor X-Tra Seal, it’s a fully breathable formula which will allow any moisture under the floor to be able to rise through the Limestone and not become trapped where it could cause long term problems. It’s also an impregnating sealer which basically means that it soaks into the stone thereby occupying the pores and preventing dirt from becoming ingrained there. Lastly X-Trea seal has an oil-based resin formula which really improves the structure and colour of the stone.

For aftercare cleaning I recommended the use of Tile Doctor Neutral Tile Cleaner, this is a mild tile and grout cleaner which is pH balanced, so it will ensure the integrity of the newly applied sealer and will keep the floor in top condition.