Dry foam carpet cleaning is a good way to clean your carpets with minimal moisture. Many people are switching to this method because it is effective and dries quickly.
What You'll Need:
- Dry foam carpet cleaner (rental)
- Dry foam
Dry foam carpet cleaning is a good way to clean your carpets with minimal moisture. Many people are switching to this method because it is effective and dries quickly.
Hardwood floor medallions are an elegant and distinctive way to add to the home décor. Medallions are purchased separately from other flooring and come in round, rectangular and oval shapes.
Before beginning with medallion installation, note that the medallion should be maintained in conditions that control the temperature and humidity for at least one full day (24 hours) before installation. Before and after the installation, use either a built-in or portable humidifier to maintain a humidity of 40 to 60 percent. Be especially vigilant in the winter, when dry air is common. Failing to control the humidity leads to warping, cracking, and gapping with medallions and wood floors.
In rooms with an existing hardwood floor: Decide on the location for your medallion. If you are installing a square or rectangle medallion, use a template to trace the outline onto the installed wood floor.
If the floor is not yet installed, mark the medallion shape on the subfloor.
If you are installing a medallion on an existing hardwood floor, skip this step.
Using the manufacturer’s instruction, install the wood floor around the medallion area. Overlap the medallion area by ½ to 1 inch all around so that you will create a tight cut and leave no gaps. Keep nails away from the medallion install area.
Line up the template with the lines you have traced on the floor and temporarily tape it down with painter’s tape, double-sided tape, or small staples, and be sure that it completely covers existing flooring.
Using a piece of wood along the line as a guide, use a router in several passes, cutting about 3/16” each pass. Cut down to the subfloor. Repeat for the other sides.
For a round medallion, use a jig, pivoting around a center point that is ½ the diameter of the medallion circle to create a perfect circle, or use a wood template. Again, use several passes and cut to the subfloor.
Use a vacuum then a damp rag to thoroughly clean any wood dust from the area. Put a piece of tape under the medallion area, test fit it into the hole to be sure it is largely flush with the floor, then remove the medallion.
Using flooring adhesive of moisture cure urethane adhesive, cover the medallion area. Place medallion in the hole, and put heavyweight that is evenly distributed on the medallion. Bags of sand and concrete on top of an old blanket both work well.
Clean off excess glue immediately and allow the glue to cure according to suggestions by the manufacturer. There is normally a 24 hour curing period.
If your floor and medallion are pre-finished, your task is done! If not, sand the medallion and floor to ensure an even fit. Fill any gaps with wood putty, then finish the medallion in concert with the rest of your flooring.
Source: www.DoItYourself.com
Installing floor insulation will save you money on heating and cooling costs. If you live in an older home and notice that the floors are usually cold, then that cold air is radiating into the room. Your heating costs will be much higher during the colder seasons. When you install floor insulation it will protect your floor from moisture, and keep the cold air from reaching the floor.
Installation of floor insulation is a very straightforward process. If the house is new construction, or you are adding an addition, it is easily done before the subfloor goes down. If you live in an older home, then the process is a little trickier, but still easy to do.
With your tape measure, determine how much floor insulation you will need. Measure the width and length of the room and multiply them together to give you the square footage of the room. Take this with you when you order the insulation. You will also want to determine the R-factor of the insulation. The R-factor is the amount of insulation your home has. The higher the number, the more efficient it is. Insulation is also sold in rolled batts. If you know how many square feet you need, then you can simply purchase the appropriate number of rolls.
There are two ways to install floor insulation. If you are in a new home that does not have any flooring down yet, you can lay the insulation in between the exposed joists. Starting at one end of the room, work your way to the other corner. Fold out the paper flaps along the side of the insulation and staple them to the joist. Staple the insulation every six inches or so. Lay down the water barrier over the insulation and staple it to the joists.
In an older home, the process is basically the same, but you will have to insulate below the floor in the basement or crawl space. Again, start in the corner of the room and unroll the insulation. You will have to lift up the insulation in between the joists and staples. Place metal supports on the joists to help hold the insulation up. Continue until you have completed the entire floor.
If you are remodeling your room in the near future, it would be better to wait until you tear up the floor to add the floor insulation. Once you get to the subfloor, pry it up to expose the joists and lay the insulation as you would in the first example. Reinstall the subfloor over the vapor barrier and finish with your floor remodel. Now when you walk out onto the floor in the dead of winter your feet will be warmer because of the floor insulation.
Source: www.DoItYourself.com
Brazilian teak wood is one of the most beautiful woods for adding flooring to your home. Hardwood floors not only add beauty to your home but also add real dollars to your resale value as well. Wood floors are also very easy to clean and require only minimal maintenance. Prefinished lumber is already stained and cuts quite a bit of time from the installation process.
Unless you are going to try and match existing hardwood, prefinished lumber is the way to go. Though not the job for everyone, you can install a Brazilian wood floor with a few purchases from your local home improvement store.
You have already determined which type of lumber you want but you have to make sure that you buy the correct amount. Measure the room and account for the square footage. Add 10-15% extra for the occurrence of incorrect cuts and odd-sized pieces.
Make sure to check the subfloor before you lay down any lumber. Your subfloor should be at least ¾” thick. If not, it is best to pull up the subfloor and lay another one. If you notice any squeaky places, take a drywall nail and drive it through the subfloor into the joist. This will eliminate the squeaking. Remove the shoe molding and thoroughly clean the floor.
Lay down 15-pound tar paper. This is very inexpensive. Make sure to allow for a 4” overlap on all sides. Mark the wall at every point where there are joists. This will act as a guide.
Start on the longest wall and begin with a long piece of wood. Remove the shoe molding and snap a chalk line on the wall 3/8” inches from the baseboard. This allows for the wood to expand and contract when the humidity and climate changes. Aligned with the chalk line, place the first piece of wood. When you lay the first row makes sure to nail at each point that there is a joist. Use a nail punch to push the nails below the surface. Continue to put the boards in by hand until you are far enough from the wall to use the pneumatic nail gun. This will make the process easier and faster. Once you get back to close quarters you will have to nail the pieces by hand again.
You will have to make some special cuts along the baseboards and threshold. The boards along the baseboard will have to be installed by hand and depending on the opening, those at the threshold may have to be manually installed as well.
Assess the floor and determine if you need to fill any gaps. You probably will. Fill the nail holes with matching wood putty. Fill the hole with putty and wipe off the extra. That’s it. You have an exotic wood floor and you did it yourself. Congrats!
Source: www.DoItYourself.com
One thing that makes bamboo flooring stand out for homeowners is its environmentally-friendly properties. Even still though, questions have arisen as to just how “green” it is and whether bamboo flooring is the best choice for your home or not.
As with any investment, there are many factors that affect the decision to make the switch. We checked out some common questions about the product to help you make an executive decision that’s right for you, your family, and your home.
Bamboo is an attractive, resilient, and cost-effective flooring style that’s booming in popularity for renovations and new homes. Compared to other hardwoods bamboo is much denser, making it an ideal option for homeowners - but the real decision depends on choosing a product you’ll love to live on in years to come.
Initially, people are drawn to the natural warmth of the bamboo material, which tends to inject a comfortable feeling into a home, and the color consistency it boasts compared to timber floors. Combined with its style variety and flooring options, easy-care maintenance, climate sustainability, and cost-effectiveness, bamboo flooring tends to be an easy choice for homeowners.
Bamboo flooring is extremely versatile and can be installed in any room of your home either as a floating floor, fixed floor, or glued directly onto the subfloor. Like any hardwood flooring, bamboo can be damaged if excessive water is left to puddle for an extended period of time, so wet rooms such as bathrooms and laundries are best tiled instead.
Whilst bamboo flooring can be installed over existing tiles, timber, or concrete, it’s ideal to check for potential issues and if they’re covered in the installation warranty. In most cases, bamboo flooring combined with your current flooring style will work fine if the right glue is used to bond the two together. Tiles will require cleaning and sanding to help with this process.
Just consider how the combined height of your existing flooring in addition to the bamboo boards will impact areas such as full-length windows, door frames, and kitchen benches.
The type of bamboo flooring you purchase will determine the installation process and whether or not you will have to leave the home. Bamboo flooring can be purchased either as pre-finished panels or raw panels which will be sanded and polished on site.
Pre-finished bamboo requires no sanding or polishing in your home so there is no need to leave or be concerned about bad fumes. Whilst there can be a faint smell of the bonding glue for the first day, it’s not harmful and will stop once the floors dry. Sanding and polishing the floors on-site is the dustier alternative but still, depending on the installation company, it’s relatively clean and quick and the faint smell of glue will disappear after the first day or two.
Throughout Europe and Australia, strict guidelines are in place to ensure the glues used are manufactured to a safe level. Manufacturing companies that are reputable will always abide by these guidelines and test their products before distributing them.
The health and safety of you and your family are important so it pays to ask how your floor is impacted by any nasty chemicals. Whilst bamboo is an eco-friendly flooring solution, like a finished floor the glues and products used can emit toxins into your home. Formaldehyde is an organic compound commonly found in these products and is associated with health risks - but the amount of chemicals emitted will vary depending on how the planks are manufactured.
Reputable bamboo flooring companies will only use a very small amount of glue that has been safely tested during the manufacturing process. It’s not uncommon for overseas manufacturers to take shortcuts with the process so when it comes to your health, it’s best to ask how much is used and if the products meet the standards.
The environmental impact of bamboo flooring is huge and offers green-conscious homeowners many benefits. As we are becoming more concerned about the sustainability of products we use around the home, bamboo flooring is like a breath of fresh air. In comparison to other woods, bamboo replenishes itself much quicker than grass – making it a highly renewable source.
Bamboo is not threatened by forestry, like hardwood, because cutting the stalks actually promotes faster growth. Thus it’s one of the more sustainable flooring solutions. Most flooring is made from Moso species, different from what pandas and other animals eat – enabling the food sources for wildlife to be protected.
The durability of bamboo flooring depends on three factors, stalk construction (for example, woven strand bamboo flooring), materials added (adhesives), and the overall quality of the bamboo.
Homeowners often find it hard to comprehend just how durable bamboo flooring is compared to other hardwoods because it’s not actually wood itself. Its durability tends to come from the compression used when manufacturing and producing bamboo. The most hardwearing form of bamboo goes under 2000 tonnes (the equivalent of two jumbo jets) of pressure to make for an incredibly dent-resistant surface.
Bamboo flooring can be prone to cupping and warping when exposed to humidity. In an environment that is very dry, the bamboo floors can shrink and expand, causing the bamboo to crack.
How your bamboo flooring reacts to humidity and exposure to moisture depends on its durability and board design. Despite excessive moisture having the ability to ruin any wood floor, bamboo is more advantageous in humid climates because it doesn’t swell and contract as much.
Source: www.DoItYourself.com
With patience and the right tools, you can learn how to replace a cracked or chipped ceramic floor tile. The idea of tile flooring need not be abandoned if one or a few of the tiles should happen to break. If you're considering installing a ceramic tile floor, it's always a good idea to get extra tiles. If there's a problem with breakage, the tile can be matched correctly. It's also easier to match the tile if a broken piece can be taken to the home improvement center or hardware store.
Safety glasses and work gloves are very important. Shards of ceramic tile and grout can be sharp enough to cut skin or cause eye damage. Pets and children should also be kept away from the work area, tools, and materials.
Using the awl and hammer, gently chip away the grout surrounding the piece of tile, being careful not to chip the surrounding tiles. Use the chisel and the hammer to pry the tile up from the floor until the entire piece has been removed.
Use the hammer and chisel to chip away as much of the adhesive from the subfloor as possible. The new tile piece will stay in place much better if the subfloor is smooth before installation.
Apply the tile adhesive to the back of the tile using the notched trowel or a putty knife. This is referred to as "buttering" the tile. Place the new piece of tile onto the prepared floor, using even pressure to be sure that the new piece is level with the existing floor. Follow the directions on the adhesive itself to know how long to wait before applying the grout.
Using the putty knife, apply the grout around the new tile piece. Refer to the directions to know how long to wait before removing the excess grout, usually about fifteen minutes.
Use a damp sponge or rag to gently wipe off the excess grout. The sponge or rag should not be too wet, otherwise, the water will displace the grout. Moving in a diagonal direction across the tile is the easiest way to remove excess grout from the surface, without dislodging too much.
If desired, a grout sealer can be applied over the new grout to protect it from stains and mildew. Refer to the directions on the sealer to know how long to allow the grout to dry before application.
As simple as that, the floor is repaired and looking its best. This isn't a speedy process, but one that is worth taking the time and patience to complete as thoroughly as possible.
Source: www.DoItYourself.com

 |
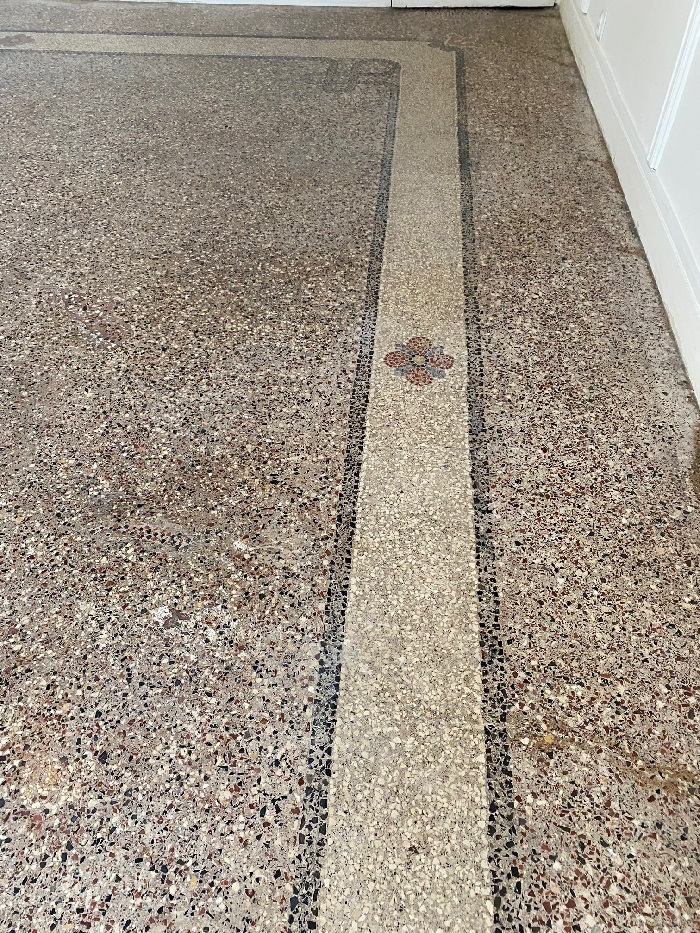 |
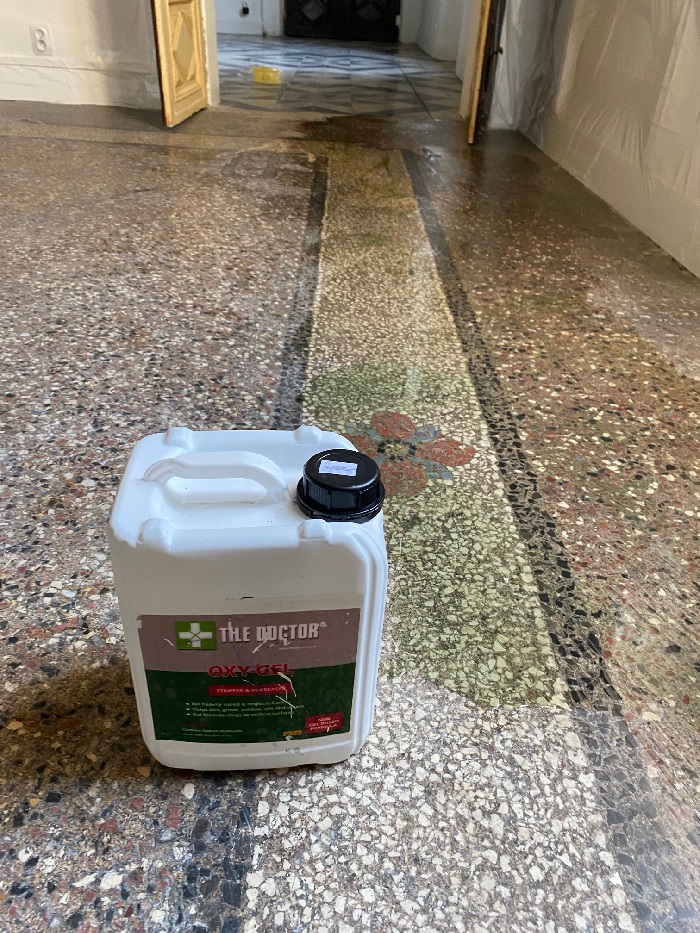
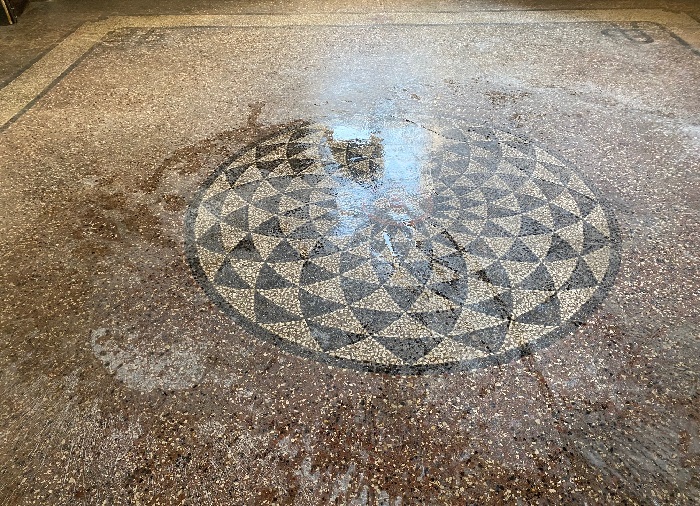
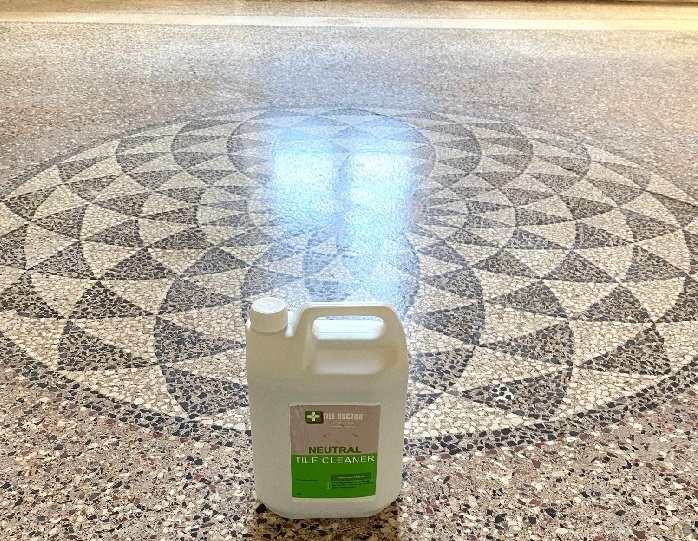


Using floor sealant on a tile floor can present you with several benefits. Although tile is a very hard floor, it is porous. The grout surrounding the tile is also very porous and can stain easily. Therefore, sealing it all up properly will help you avoid any problems with staining in the future. It will keep your tile look new longer and be easier to clean. Here are the basics of how to seal your tile floor properly.
 |
 |
 |
 |
Installing non-slip floor covering can provide you with a much safer flooring surface to walk on. This is essential for many elderly people that are in danger of falling on a slick floor. Here are a few options that you have for non-slip floor covering.
Carpet is one of the most basic forms of non-slip floor covering available. You can get in a variety of different styles and colors and it is one of the least expensive options. There is even outdoor carpet that you can use if you are worried about falling in an outdoor space.
Another great option that you have for non-slip floor covering is to use tile. Many ceramic and porcelain tiles have very rough finishes that would be ideal for a non-slip flooring surface. Some tiles are even made with tiny ridges with this in mind. This is going to be more expensive than carpet.
Another great option for a non-slip flooring surface is rubber flooring. Rubber flooring provide you with great traction and durability. Many people use this in garages and workout rooms. Rubber flooring is very heavy and will be a little more difficult to install than some of your other options that are available.
Source: www.DoItYourself.com
If you plan on doing it yourself, you will need several supplies to tile a floor. Here are a few of the most commonly used supplies for a tile installation.
One of the most important tools for you to have is a wet saw. A wet saw is a type of saw that is specifically designed to cut tile. It shoots a stream of water onto the tile while you are putting it so it will not chip or break.
A trowel is another tool that you are going to need for this job. A trowel will be necessary to spread out the tile adhesive on the floor. You can also use a trowel to apply the grout after you are done installing the tile.
In order to install tile, you are going to need some adhesive. You could potentially use thinset or mastic depending on your preference. Mastic comes pre-mixed in buckets and most thinset comes in large bags that you have to mix with water. In most cases, thinset is going to be less expensive.
Tile spacers are something else that you are going to need in order to lay tile. These are used to ensure the proper spacing between the tiles.
Source: www.DoItYourself.com
Hardwood floor replacement is nearly always necessary after suffering severe water damage, follow these steps to check the sub-floor below the hardwood floor for damage, repair and replace sections of the sub-floor as needed, and then replace the hardwood floor.
The beauty and efficiency ofbamboo click flooringmay depend on the installation process on some levels. At the onset of the development of bamboo floors, staples and glues were used to keep the floor in place. However, because of the evolution of technology, it is now very easy to install bamboo click flooring like a pro. Your flooring receives a professional touch without the professional price. All you have to consider is the space for the expansion in the bamboo planks.
As observed and attested by those who have already triedbamboo click flooring, installing them is quite easy and the following steps can help you further.
The area of the house where you would like to install yourbamboo click flooringshould be free from dust and debris. It should be meticulously cleaned with a broom or a vacuum cleaner. You should also remove nails, screws, pins, and other materials that might have stuck in the corners or side edges of the room. If there are noticeable gaps on the floor, it is necessary to fill these gaps with leveling compounds to even out the surface.
There should be a moisture barrier on the concrete sub-floors. This structure is needed to thwart the water from leaking and damaging the bamboo. It is advisable to have at least a six-millimeter layer of plastic. On the other hand, it is no longer necessary to use this layer of plastic if you have wooden sub-floors.
Check the moisture barrier. It should be evened out. After checking, spread a sheet of foam padding if you have a concrete sub-floor.
It is always good to start at the corner of your room. When you place thebamboo click flooring, make sure to use tile spacers so that they are placed close to the wall. After the measurement, place the first cut of bamboo flooring in the angle. A point that you should remember with bamboo flooring is that it expands more than the standard laminate so the gap between the bamboo tiles should be a little bit bigger.
Take the second piece of bamboo flooring and place its smaller end next to the head of the first piece. Glide the second piece carefully into the furrow on the next board. As you vigilantly place it, wait until you hear it click into place. Again, be reminded to make use of spacers to keep enough distance from the wall.
Cut your third tile using the table saw. This will help you create a staggered but beautiful natural look on yourbamboo click flooring. If you are done cutting, place the cut end of the tile in front of the wall. It should be lengthwise next to the first board. Then place the tongue into the furrow and gently lower it until it fits into place. Use a mallet or hammer to fasten the tile in place.
Place the fourth tile beside the second board. Gently lower it in place as you slot the tongue into the furrow on the second board. Slip it along the groove until it runs a bit against the third board. The fourth tile should slip into the head of the third board. Then pat it in place using a mallet.
Repeat the same process interchanging tiles from one row to the other until you arrive at the next wall. Cut the boards and shape them if needed. Do the tiling row by row until you reach the last part of the room. Always be mindful of the spaces between the tiles for expansion.
Source: www.DoItYourself.com
Installing new laminate flooring on stairs is a good idea when covering stairs making them easier to maintain and keep clean than stairs covered in carpet. You should be warned though that laminating steps can make them more dangerous as they can be quite slippery (especially when wet) if you choose laminates of lower grade rating meant for lesser traffic areas.
There are a few ways to get around the slip and fall hazards by using a higher and more abrasive grade, another being the installation of an additional anti-slip device onto the threads. This being said, your laminate stair threads will hold up well and will not need to be replaced as frequently as carpet stairs.
What You'll Need:

 |
 |
 |
 |
Gluing engineered hardwood floors is not a difficult job. If you take your time and have everything ready, you should be able to lay a room in a day. Don't skimp on adhesive, buy a good hardwood floor glue.
Remove your baseboards as they will not usually be the right height to slide the new floor. Make a chalk line on the floor 31 inches from, and parallel to the longest wall (across the floor beams). Pre-sort the boards according to color according to your likes. You may need to trim the door casing if it will not swing easily over the new floorboards.
If you are installing your engineered floor over tiles, use a grinder or sander to smooth down the surface of the tiles and allow the glue to adhere to them. Sweep or mop up any dirt before filling in any holes or gaps. Vacuum any dust. If you are starting with a linoleum floor, remove the linoleum first.
Take a straight-edged piece of plywood and nail it into place along the chalk line, on the inside of the line.
Trowel glue on a 20-inch strip according to the directions on the adhesive can, using the trowel. Don't spread more glue than you can cover within the open time of the glue or there will be a poor bond. It is better to do smaller areas at a time. If you get glue on your fingers, clean them immediately with solvent or you could get stuck to the wood. It will not come off easily when it has dried.
Kneeling in the 31-inch area, line up the tongues of the boards against the straight edge. Working from left to right, press the board into the glue. Before you use each piece, discard any ones that are warped or you are not happy with. If necessary, tap the boards into place with a rubber mallet. Make sure you only glue the bottom of the boards, the boards will not fit tightly if the grooves are filled with glue. Don't line up two end splices at the same place, they should be 6 inches apart. Cut the pieces at the end using the miter saw.
When you have finished the main section, remove the original straight edge and install the flooring to fill the gap. You will now be fitting groove into your tongue instead of the other way round as you work in the opposite direction.
There should be a rolling weight value on the adhesive can. It will probably be around 100 pounds. Don't let the glue get too dry before you roll. Rolling seats the wood firmly into the glue and squeezes out blobs; this is difficult if the glue has dried.
Cover the rollers with tape or foam sheets to avoid damaging the floor.
Source: www.DoItYourself.com
The subject of bamboo flooring hardness is commonly debated in the market. Some people say that bamboo is extremely hard and durable. Others argue that it is easy to dent and is not very hard. Here are a few things to consider about the hardness of bamboo flooring.
When looking at the hardness of bamboo or hardwood flooring, the industry uses a tool called the Janka scale. This is a scale that is used to compare the hardness of wood flooring against each other. In order to perform this test, they drop a steel ball bearing on the floor from a particular height. Depending on how it reacts to having a ball dropped on it, it will achieve a score on the scale. The higher the score, the harder the wood is.
One type of bamboo that many people consider is carbonized bamboo. Carbonizing bamboo is a process that is used to change the color of the bamboo. If you see a dark, caramel color bamboo, generally it was made this way by carbonization. When a bamboo goes through this process, it is going to make it softer. This is the softest type of bamboo that you can purchase. On the Janka scale, it has a score of 1180. This is softer than red oak, as it has a score of 1290. This means that it is the most susceptible to dents and scratches of all of the different kinds of bamboo on the market.
Another type of bamboo is natural bamboo. This is a very common type of bamboo that you frequently see in the market. You will be able to tell that it is natural bamboo by the yellowish, gold color in the floor. Natural bamboo is a little bit harder than carbonized bamboo. On the Janka scale it has a value of 1380.
The hardest and most durable form of bamboo flooring is called strand woven bamboo. This type of bamboo flooring is made differently than traditional bamboo flooring. In order to construct this, they use small slivers of bamboo fibers. They take the pieces of bamboo and mix it together with a strong adhesive and resin. They take this mixture and press it together very tightly. It is constructed under extreme heat as well. Once the mixture is pressed together, they allow it to dry and it forms a very hard board. On the Janka scale, it can achieve values as much as 3000. This is comparable to some of the hardest hardwoods in the world.
Although people use the Janka scale to compare hardness, there are other factors that you need to consider as well. Pieces of bamboo are held together with adhesive. If something sharp drops on the surface of the bamboo, it will be much more likely to scratch or dent when compared to a hardwood with an equal Janka scale rating.
Source: www.DoItYourself.com
In order to lay tile properly, there are a number of steps that have to be followed. Laying tile is something that most people can do if they have the proper knowledge. Here are the basics of how to lay tile properly.
Start out by measuring the room in which you are going to install the tile. You need to get the dimensions of the room. Multiply the length and the width to get the square footage of the room. You will then need to add 10 percent to that number to allow for waste.
You will need to move everything out of the room and take up any old floor. You need to get down to the subfloor. If you have a concrete subfloor, you can lay the tile directly onto it. If you have a wood subfloor, you are going to need to install a concrete board. Put some tile adhesive on the bottom of the concrete board and then nail it down to the floor.
In most cases, you are going to want to lay the tile from the center of the room out towards the wall. This is going to center the tile and make it look more professional. In order to do this, you need to measure the center point of both walls and snap a chalk line in both directions. Where the lines cross is where you should start laying your tile.
You will now want to spread out some of the adhesives onto the ground. Using your trowel, place some tile adhesive on the ground and spread it out evenly. Make sure that there are no uneven spots in the adhesive.
Take your first tile and press it down into the adhesive firmly. Make sure that there are no gaps in the adhesive underneath and that it is solidly down in the adhesive. Put a tile spacer on each corner of the first tile.
Take your next tile and press it directly up against the tile spacers from the first tile. Make sure that the second tile is pressed firmly down into the tile adhesive. Place tile spacers around the second tile as well. Continue putting tiles up against the previous tile and using the spacers for alignment.
When you get to a wall or the cabinet, you are going to need to make a cut. In order to do this, measure the appropriate size that you need and then place the tile in your wet saw to make the cut.
After the entire floor has been laid, you are going to want to allow the adhesive to dry overnight.
You will then need to remove the tile spacers and start grouting. Use your grout float to apply the grout to the grout joints. When you are done, use a sponge and water to clean the tops of the tiles. This will remove any extra grout and smooth everything out. Let the grout dry overnight before anyone walks on it.
Source: www.DoItYourself.com
Walnut flooring is a great way to add beautiful detail to your home. The strongest type of walnut flooring is Brazilian flooring which is ideal for kitchen flooring. Brazilian walnut flooring is more durable compared to the standard black walnut flooring. It is also three times more durable than oak.
Applying finish to your walnut flooring will increase the lifespan of your walnut flooring as well as protect it from damaging elements such as water. Below are the materials that you need along with the instructions on how to finish walnut flooring.
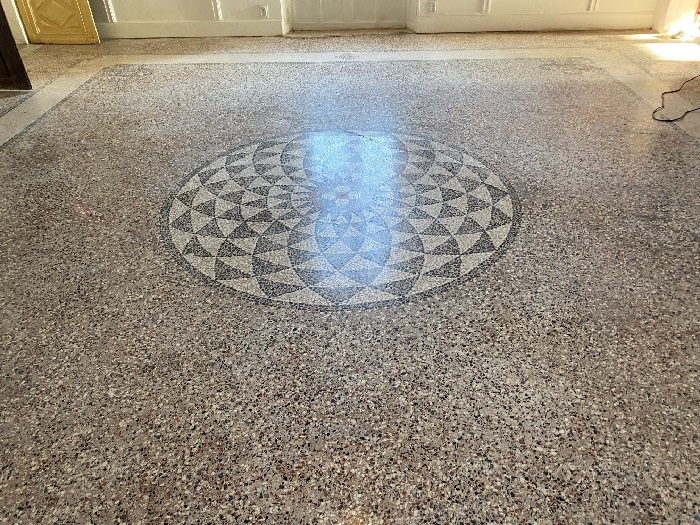
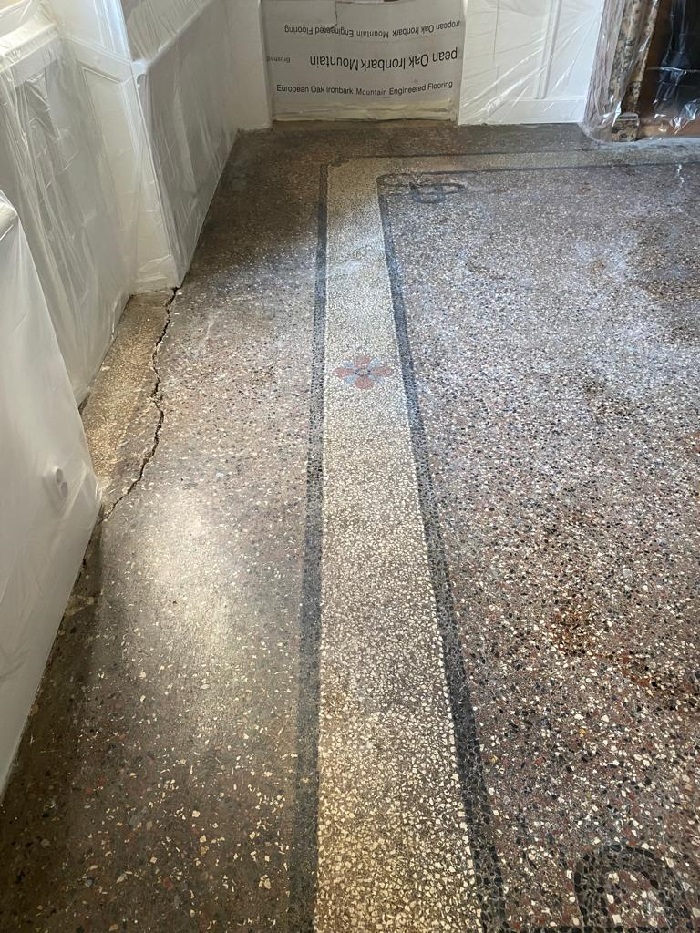
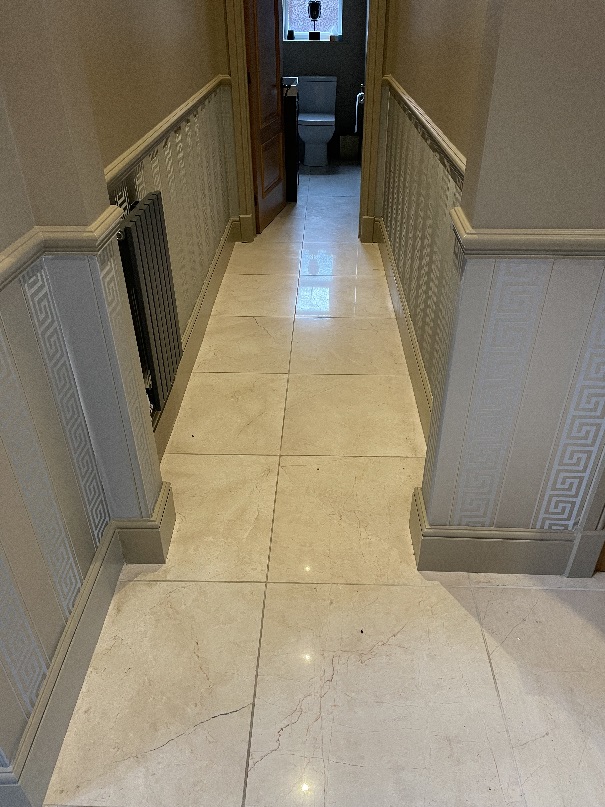
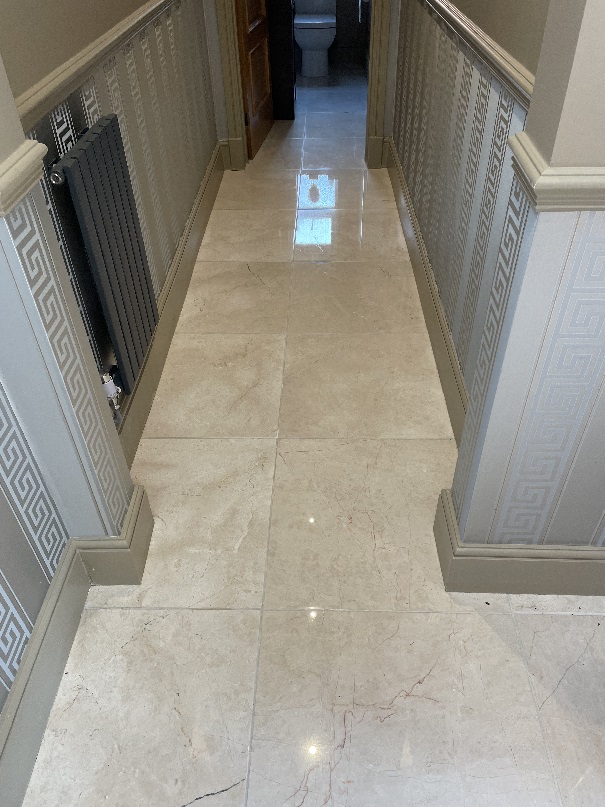
The client said when he moved into this house in Lytham St Annes late last year that this room had a really bad smell of damp. The Flagstone floor was covered in carpet and he had the impression that the previous owner’s cat had been known to use it as place to pee!
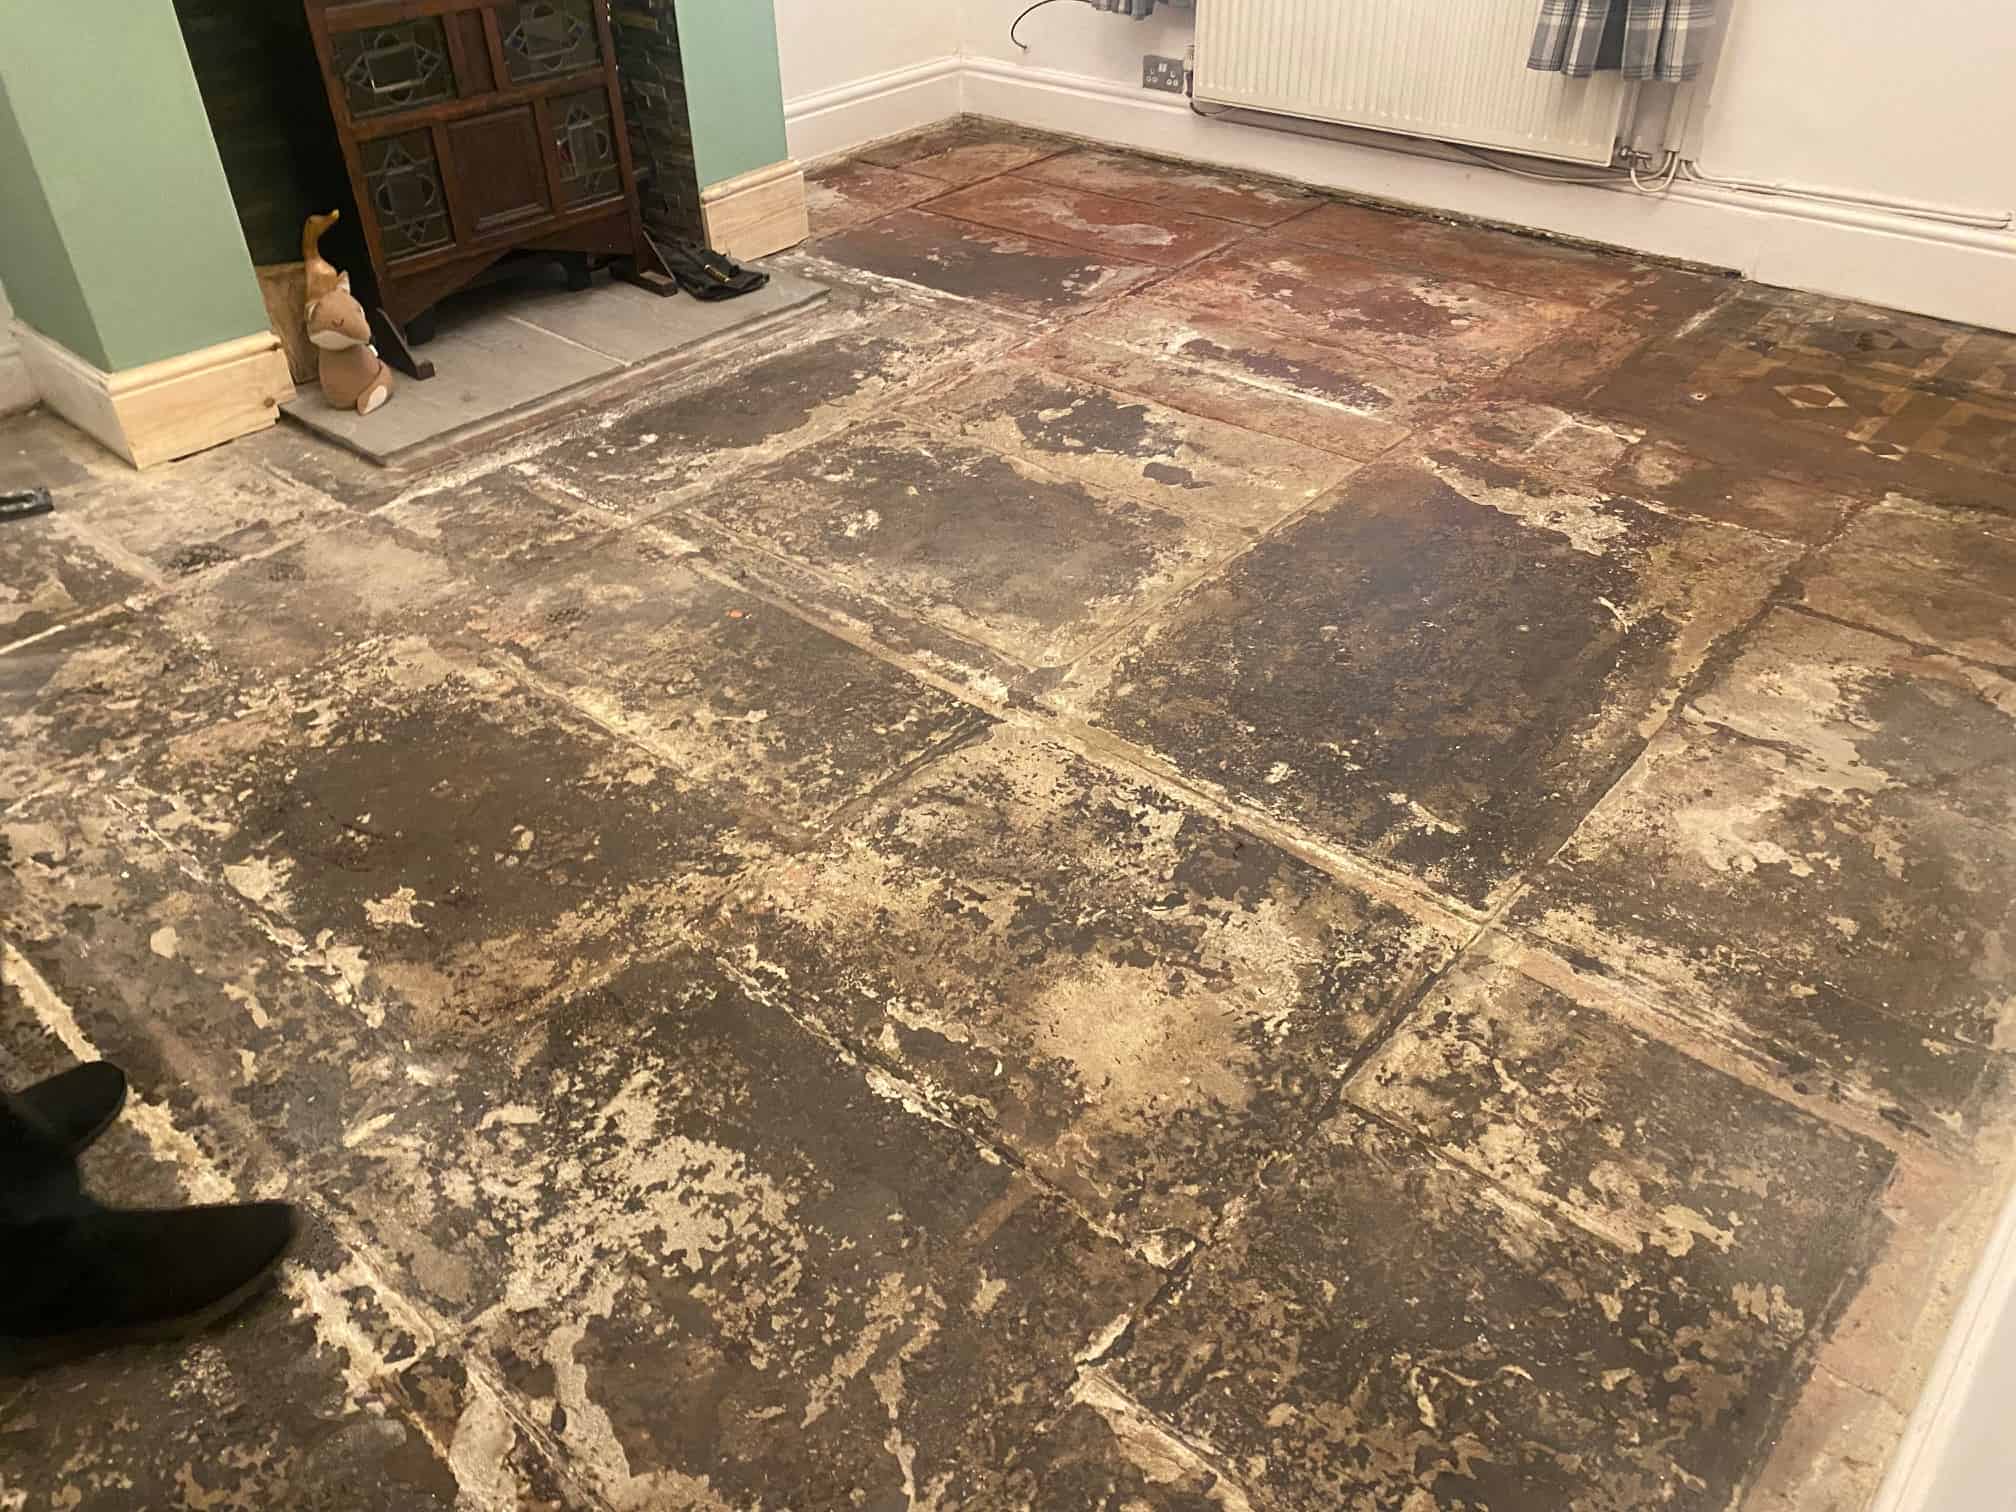
 |  |
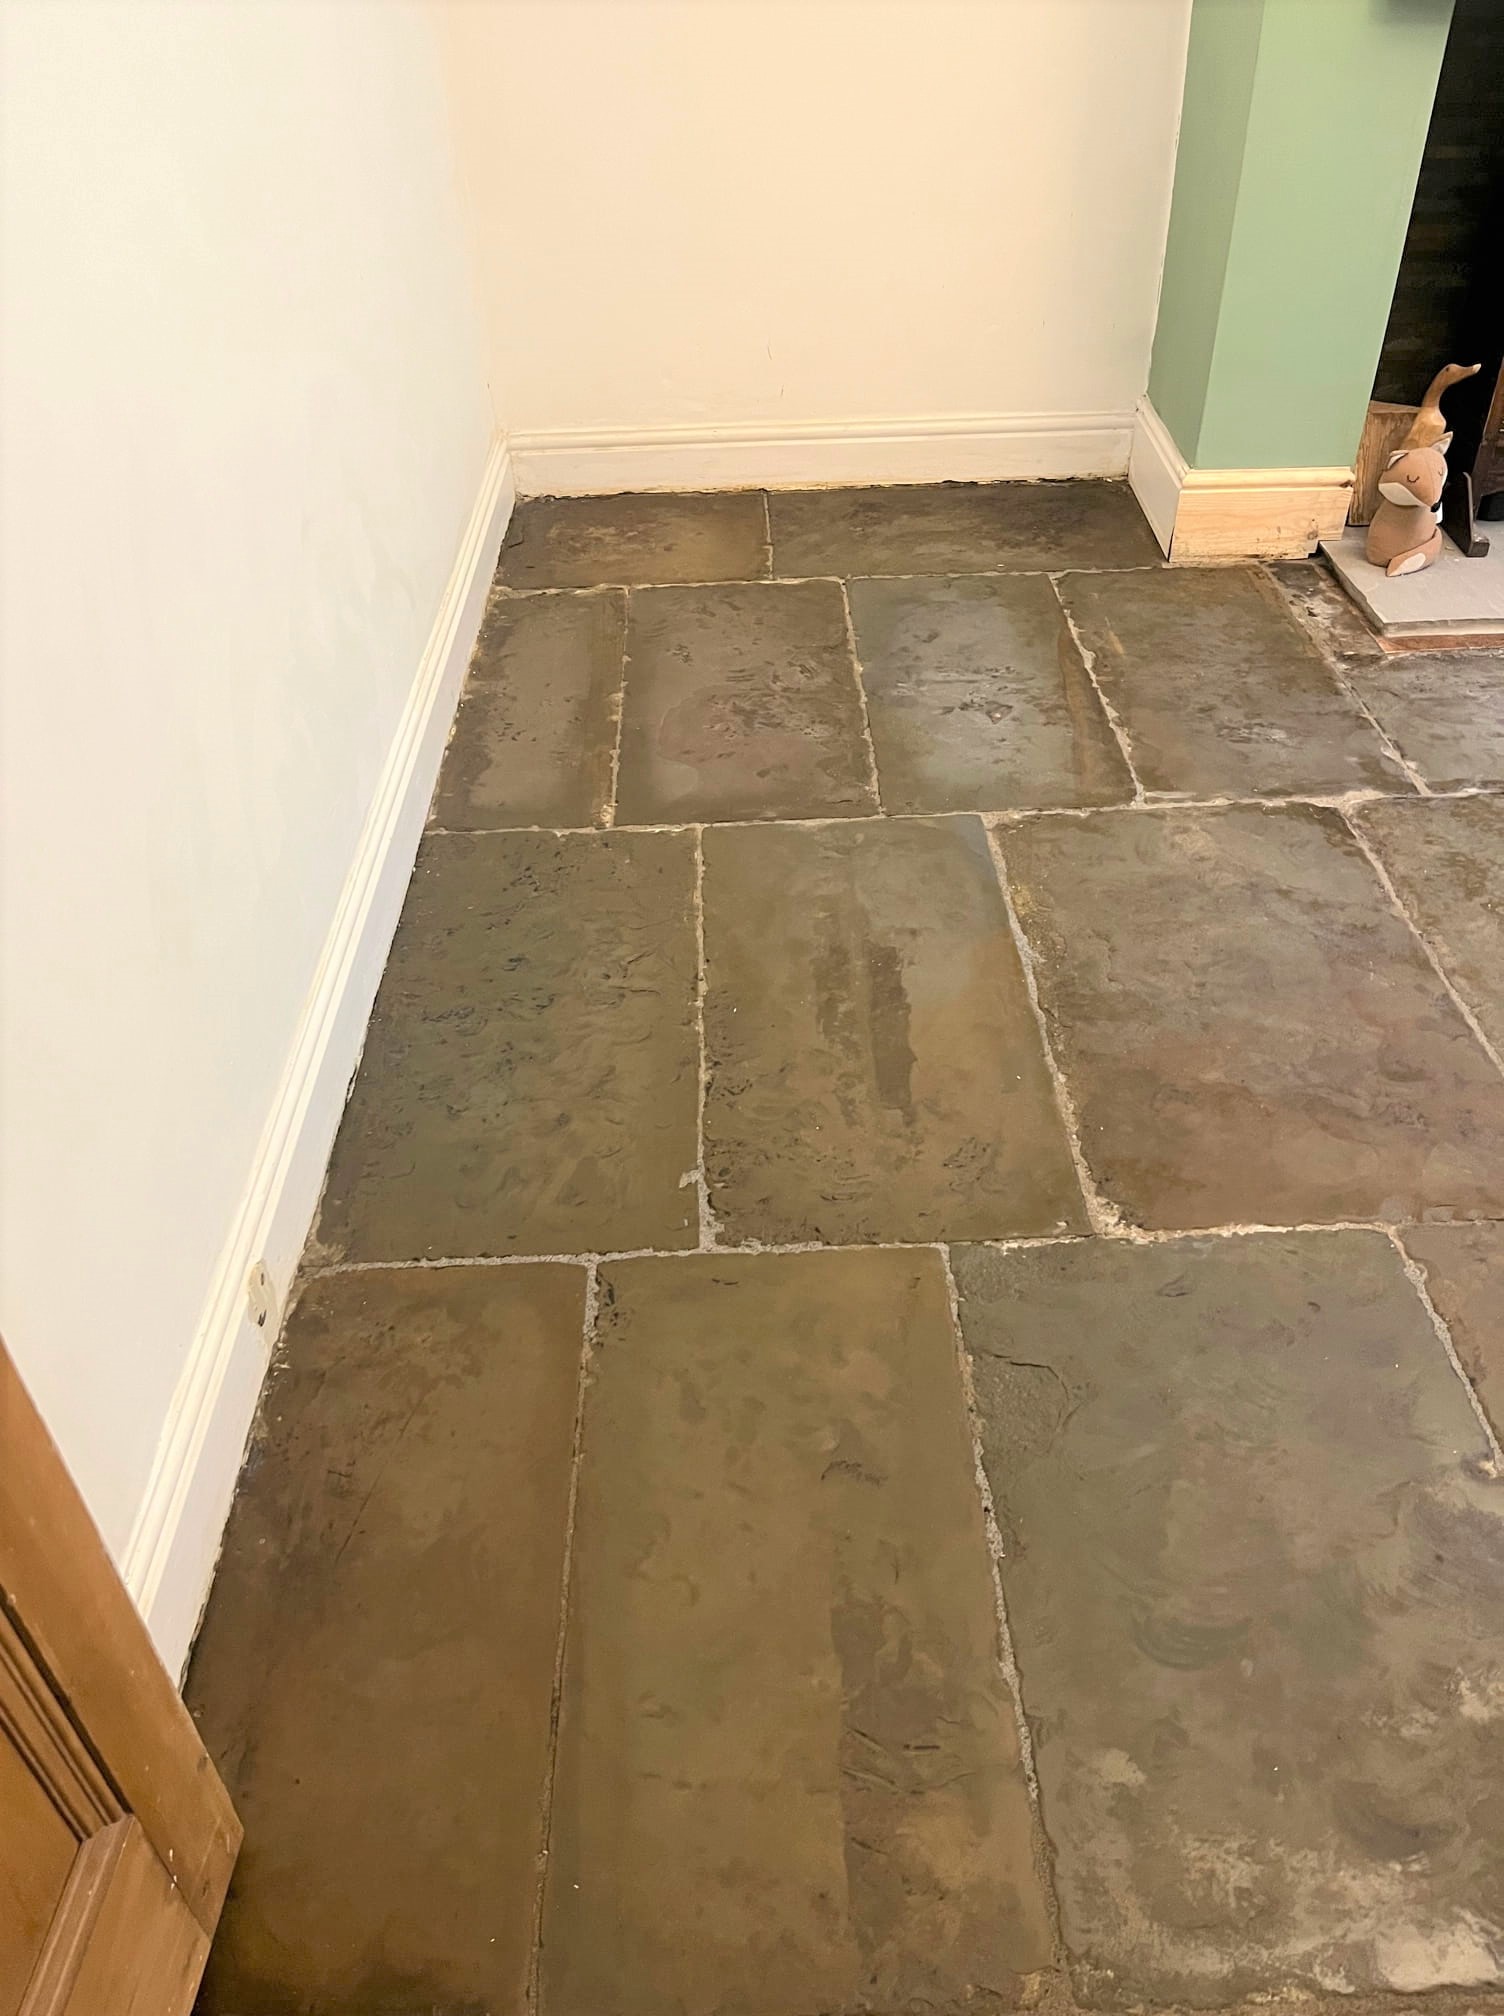 |  |

Winterizing your home is a necessary project to take on if you live in colder temperatures. Failing to do so puts home owners at risk of facing costly repairs and consequences come spring. In order to prepare your home for the dropping temperatures, we spoke to experts in the wood renewal and plumbing industries to learn essential tips.
Hardwood Floors - Dave Murphy, Training Director for N-Hance Wood Renewal, a national franchise that is the trusted partner of The Home Depot for the renewal of hardwood floors and kitchen cabinets, provided us with tips on how to protect wood floors:
Rock salt can cause severe damage to hardwood floors. Not only can it stain the floor, but the rough crystals can scratch it up. Some people say that salt stains can be cleaned with vinegar and water. However, this method should be avoided. Vinegar can leave residue and excess water can ruin hardwood floors.
To help prevent the problem in the first place, place a sturdy mat both inside and outside of every entrance of your home and have guests remove their shoes upon entering. Furthermore, homeowners should sweep frequently, and mop when needed with a neutral floor cleaner to help protect floors from salt buildup.
During the winter, in the air dryness and temperature change can cause hardwood floors to shrink, which creates spaces between boards. If the humidity is not right, it can cause a lot of damage to the floors. Homeowners should have a humidifier on hand and keep the humidity level as constant as possible throughout the year. The same goes for temperature. Huge swings in temperature cause the wood to shrink and expand.
In order to prevent your garden hoses and air conditioner pipes from freezing, be sure to always drain them before the cold temperatures arrive. A frozen garden hose can become the source of various issues, such as a decrease in water pressure or a weakening in the lining of the hose, while a frozen air conditioner line can cause leaks or breaks in the unit. Also, make sure you turn off the AC water shut-off valve.
By insulting pipes, you will not only help prevent them from freezing, but it can potentially allow you to save money on bills. It will reduce the amount of time it takes for your water to heat up and will raise temperatures by a couple degrees. The most important pipes to insulate are ones located in areas of your house that aren’t heated, such as in the garage or attic.
It is essential to make sure your gutters are cleaned before freezing temperatures hit your area. If water can’t flow freely through your gutters, icicles can form causing damage to shingles and backing up the gutter. This leads to clogs, water leaks and various other unexpected issues.
Source: www.DoItYourself.com
Marmoleum flooring is the newest ‘green’ floor choice among many homeowners today. The materials that go into this type of floor are natural, they do not emit toxins. That makes it an environmentally-friendly floor choice. It is durable, soft, and comfortable to walk on, which does not require much maintenance and does not attract dust. It is also resistant to spills and stains, very easy to clean, and is anti-bacterial. Installing Marmoleum flooring is environmental-friendly as solvent-free adhesives can be used. Follow the step-by-step guide below to install Marmoleum flooring.
