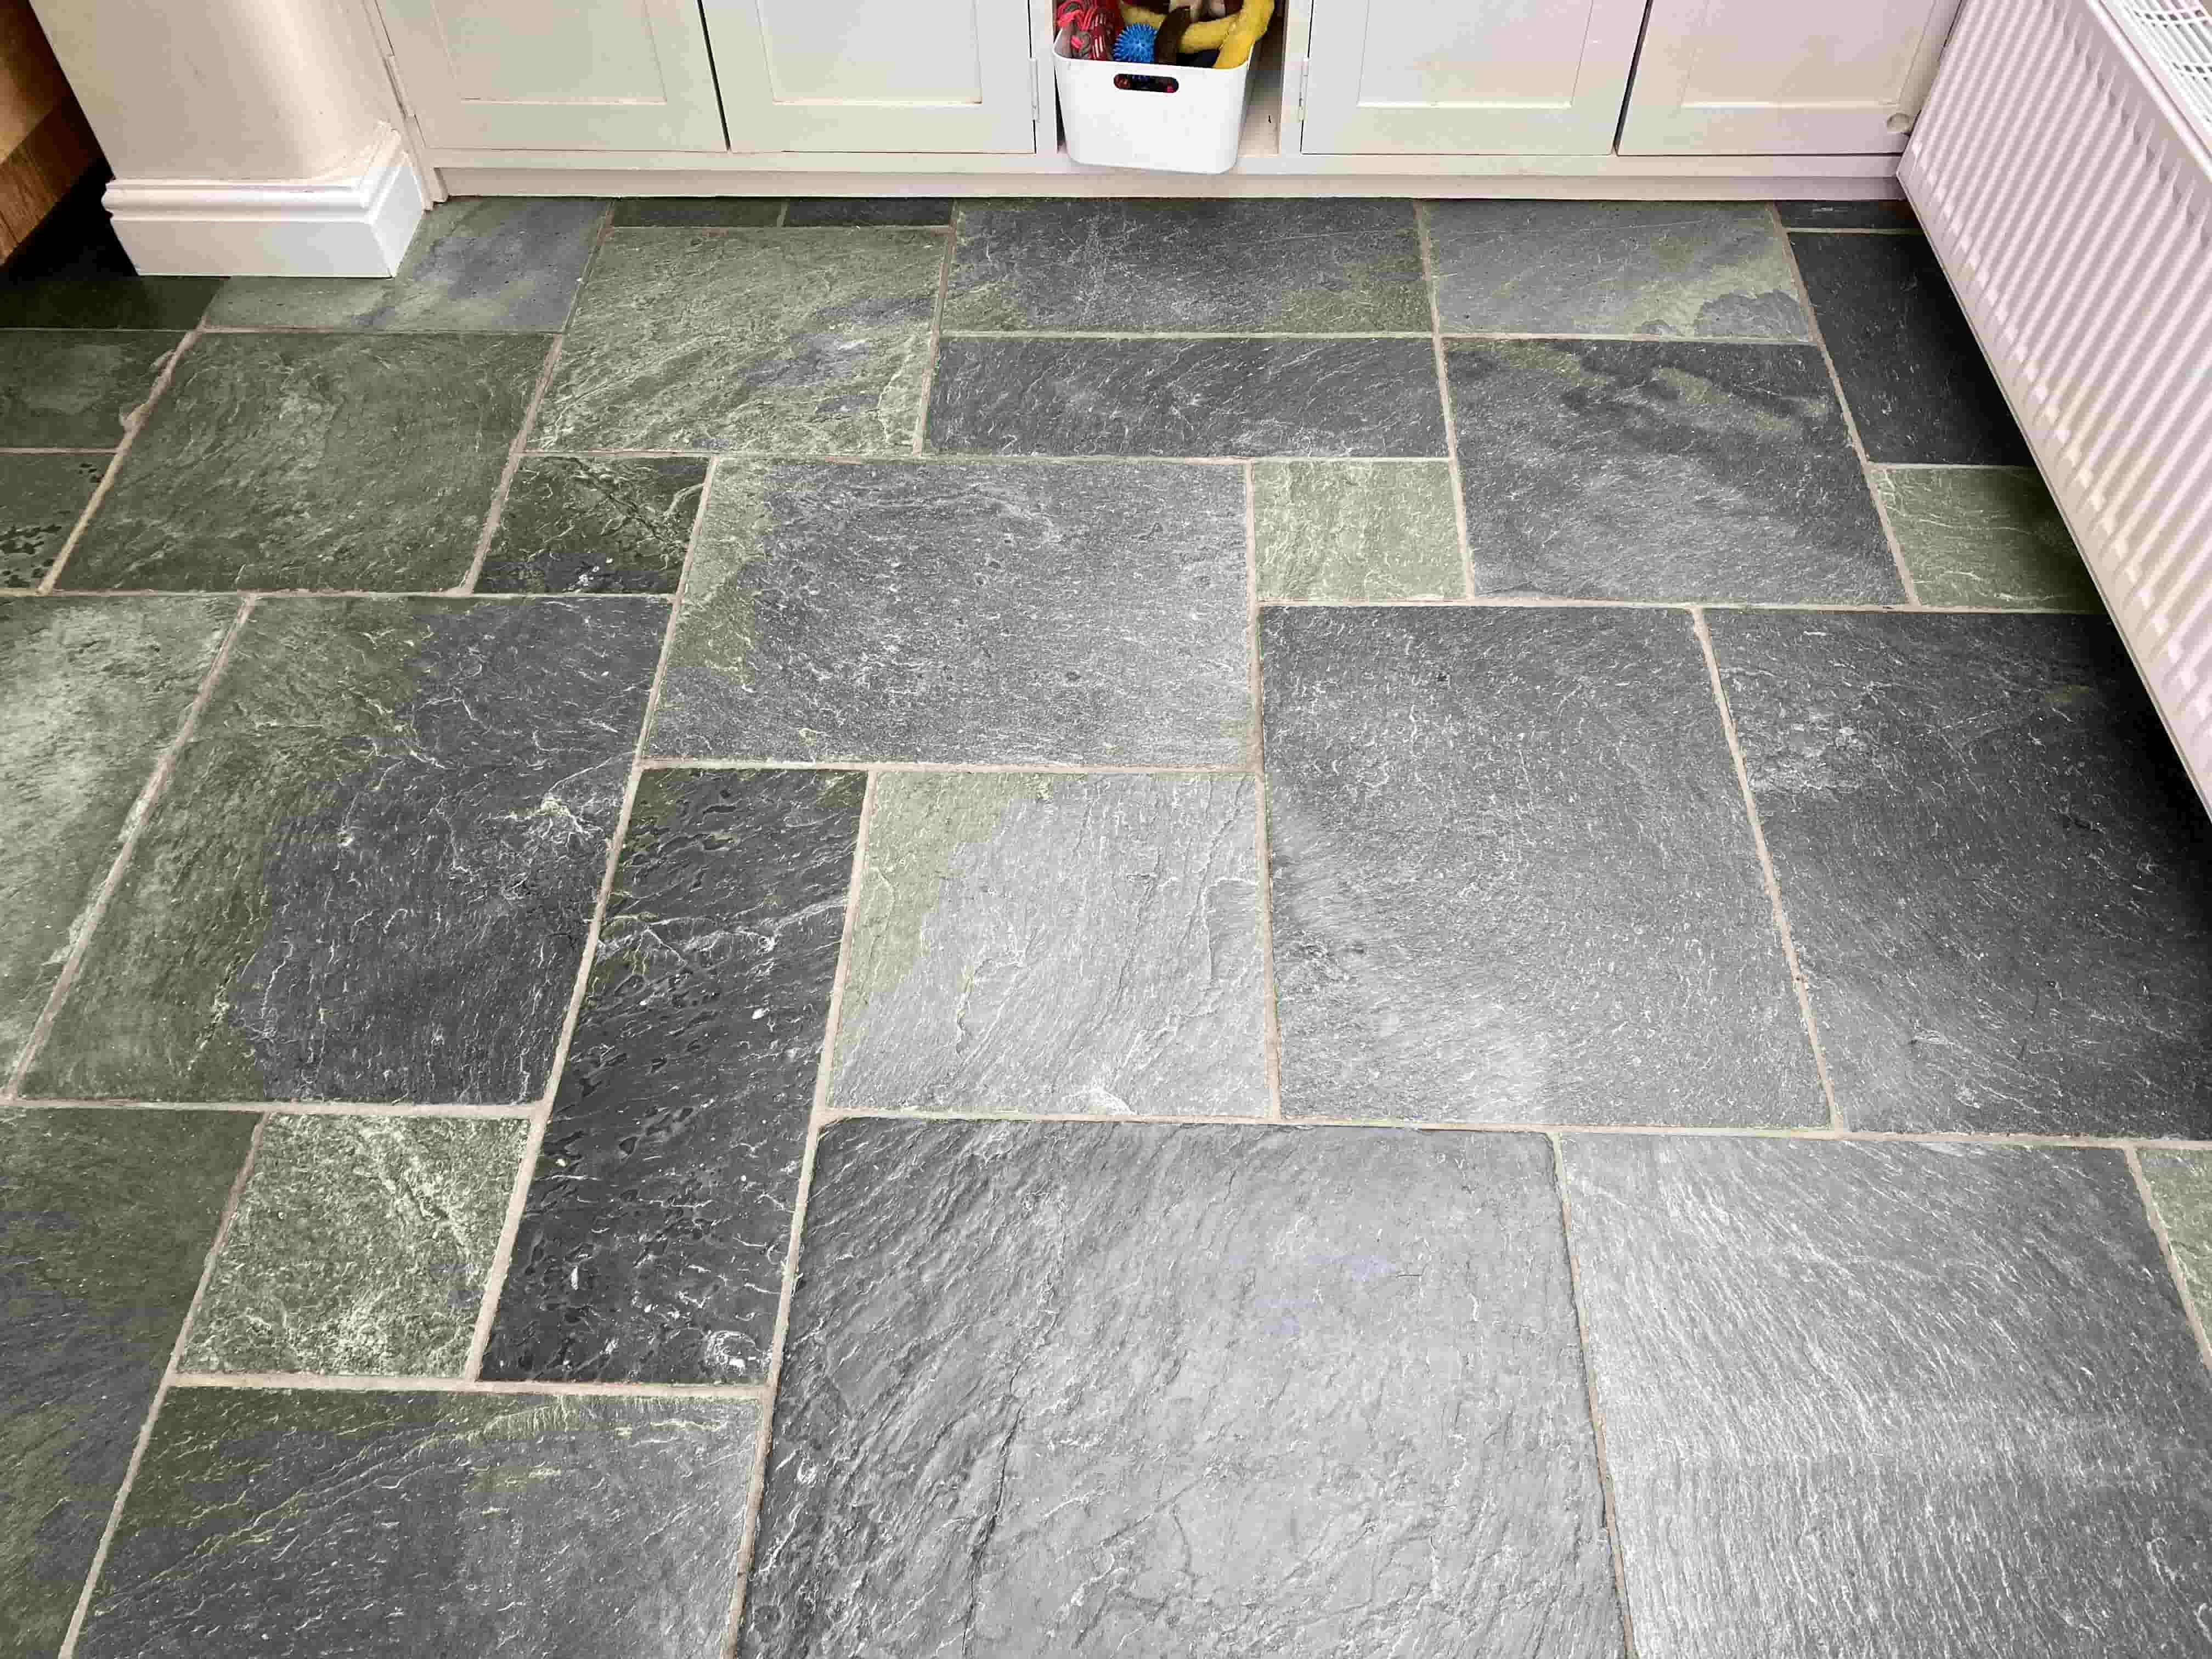
Showing posts with label Seal and Go. Show all posts

Wednesday, August 28, 2024

Newport Tile Doctor Details the Restoration of Victorian Floor Tiling

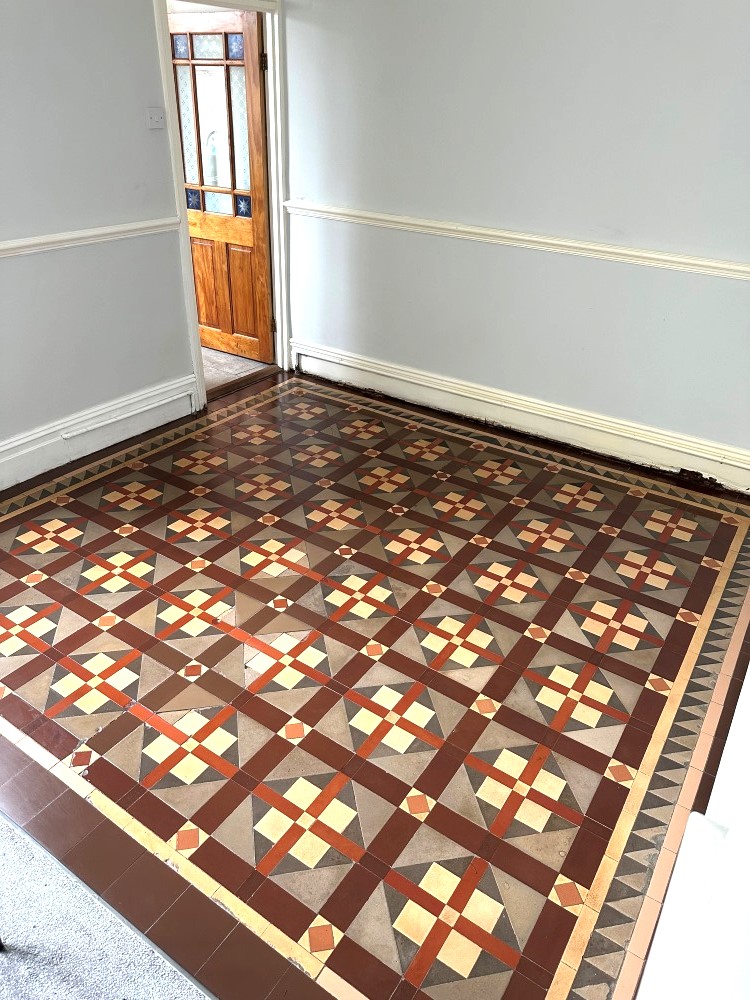
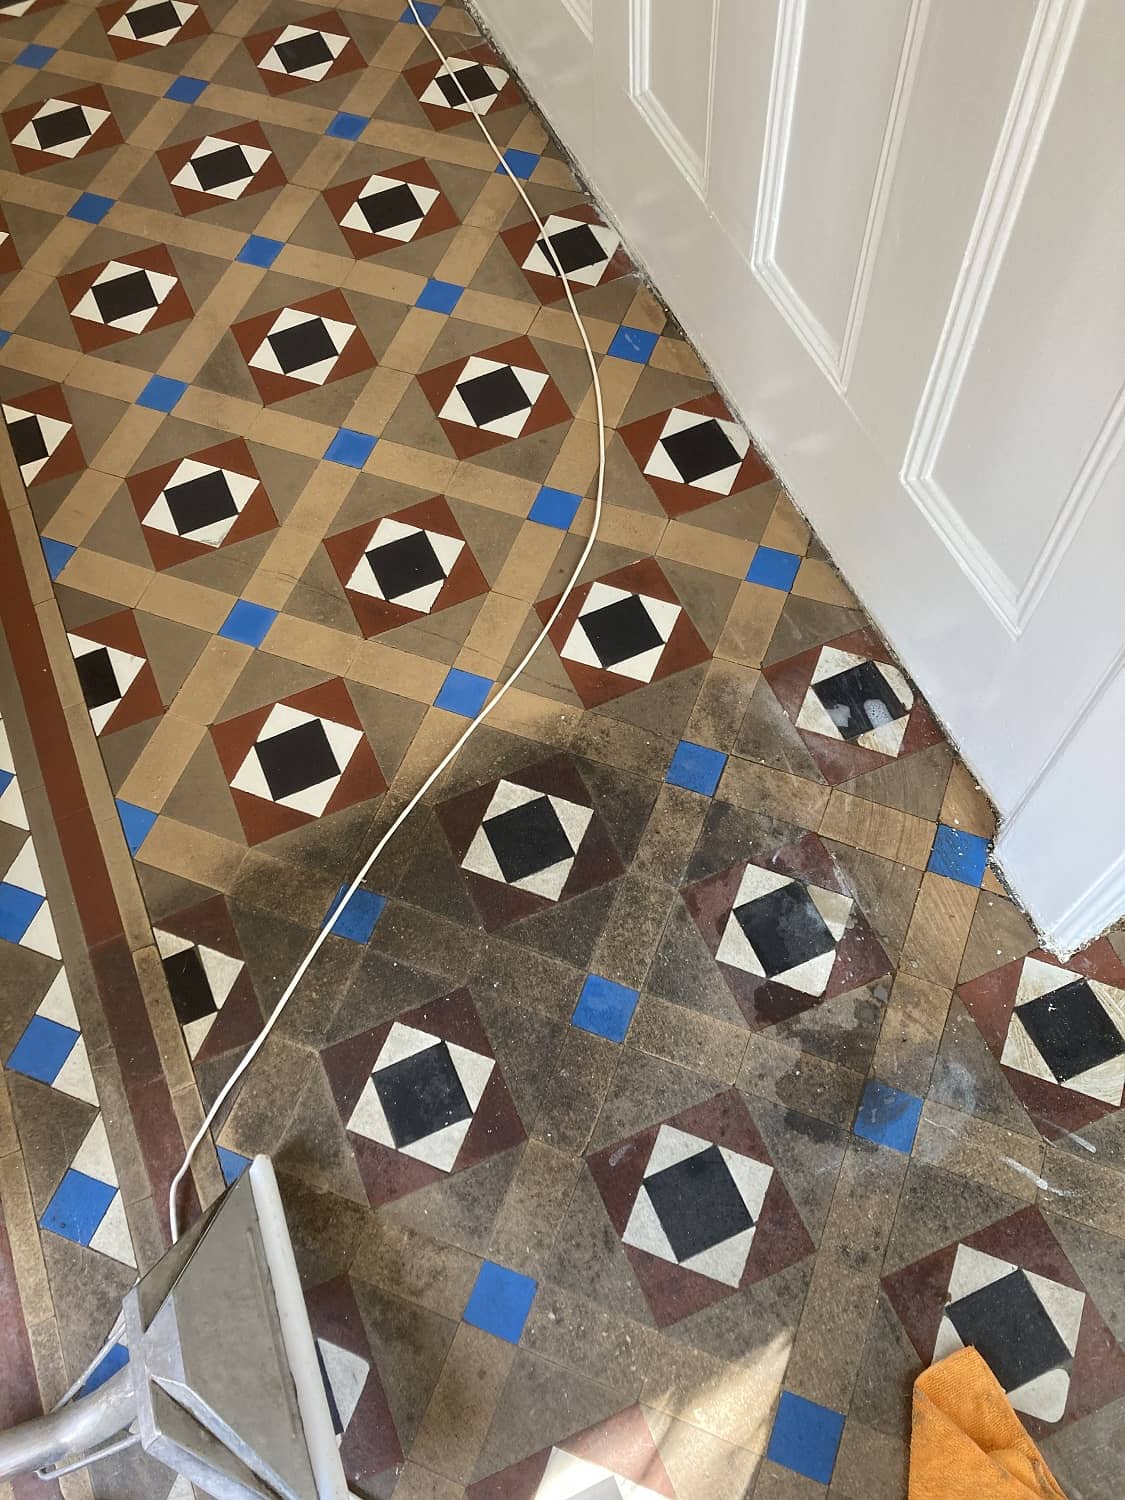
The client had lived at this property in Newport for a few years and decided that it was finally time to sort out the Victorian tiled floor in the dining room. Some repairs were needed in a few areas and the sealer was fading and due for replacement.

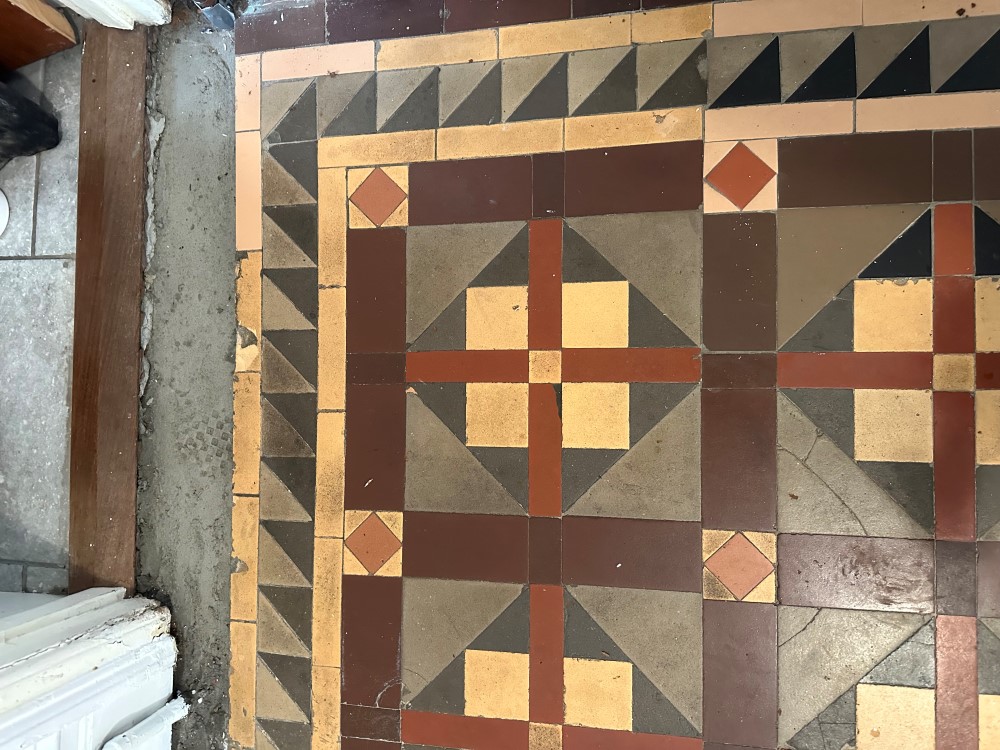
Victorian Tiled Dining Room Floor Before Renovation Newport

I went over to the property to survey the floor and advised that with repairs, cleaning and sealing the process would take two and a half days. Having worked on many many floors like these before I was very confident that we could repair the floor where needed and restore its appearance.

During the visit I noticed that at the door threshold leading into the kitchen, some of the tiles had been taken up for a gas pipe repair and back filled with cement, I suggested I could repair this section using matching tiles, so I included it in the quote. The quote to renovate and repair the floor was accepted and the job was booked in.

Victorian Tiled Dining Room Floor Before Renovation Newport


Cleaning and Repairing a Victorian Tiled Dining Room Floor

I began by addressing the tiling issues so my first course of action was to set matching tiles along the doorway border leading to the kitchen, as the previous tiles had already been removed by the gas company it was fairly straight forward job of carefully knocking out the cement. The tiles I had sourced were from a nearby reclamation yard and needed to be carefully cut to size to ensure a good fit with the original. After setting the tiles and grouting I left them to dry overnight.

The following day I began cleaning, using a combination of Tile Doctor Remove and Go and Pro-Clean, leaving the solution to dwell after being brushed into the floor. After around ten minutes the floor was scrubbed by hand with a stiff brush to release the dirt from the tiles. The resultant slurry was then vacuum away and with the floor cleaner I was able to get a better idea of which areas needed more attention.

I restored the perimeter of the floor with a 200-grit diamond block and this was followed up with a 200-grit diamond pad fitted to a rotary machine. These coarse pads cut into the tile surface removing years of grime and giving them a new lease of life. After another rinse and extraction with the wet vacuum the whole floor had a much brighter appearance. The process was then repeated with a 400-grit diamond pad to close the pores of the tiles.

The floor was then washed by hand with water and a sponge to make sure there wasn’t any areas missed, also to ensure there was no residue from the cleaning products left on the floor which could potentially disrupt the sealing process. The floor was then left to dry overnight ready for sealing the following day.


Sealing a Victorian Tiled Dining Room

To assist with drying I asked the client to leave a couple of air movers running during the evening and to put them back on in the morning. This worked well and by the next day I was able to confirm the floor was dry and ready for sealing with a moisture meter.

The client had requested a satin finish and so the sealer chosen was Tile Doctor Seal and Go, four coats were applied to the tiles a permanent wet look and gorgeous lustre. Another advantage of Seal and Go is that it’s a water-based sealer so it doesn’t give off a smell as it dries.

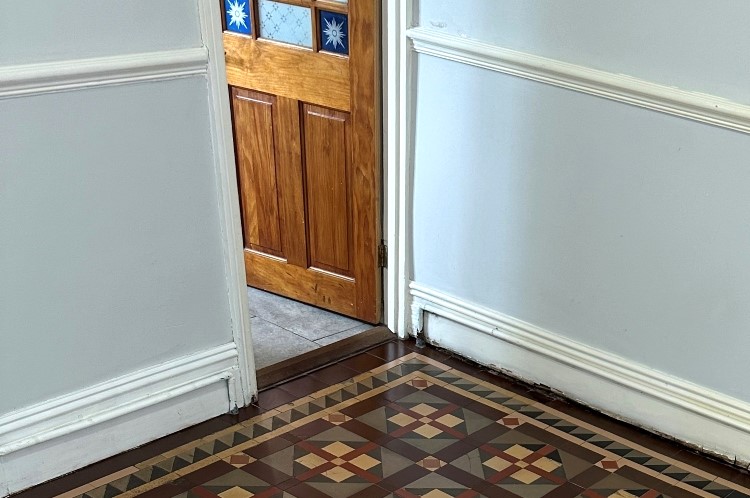
Victorian Tiled Dining Room Floor After Renovation Newport

For aftercare I left the client a bottle of Tile Doctor pH Neutral Tile Cleaner to help maintain the appearance of the floor. This is a gentle tile cleaning product that won’t harm the sealer, many of the products you find in supermarkets are simply too strong for a sealed floor.

Victorian Tiled Dining Room Floor After Renovation Newport 


Monday, May 13, 2024

How to Deep Clean Norfolk Pamment Tiles

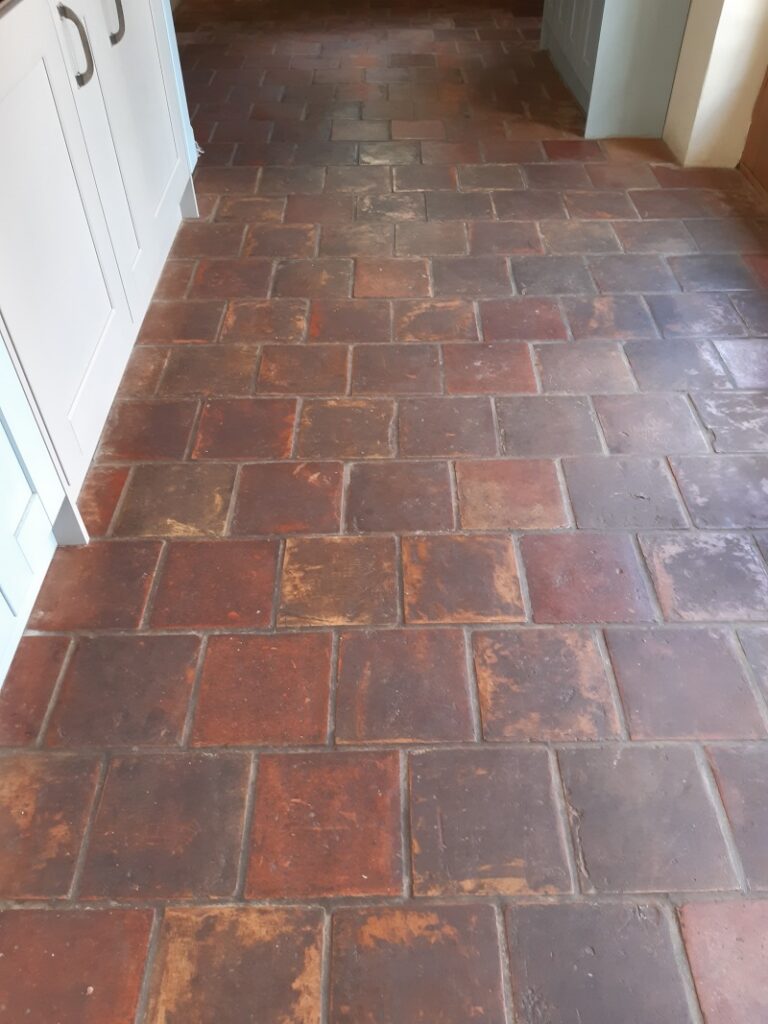
I was contacted by clients with a Pamment Tiled Flooring who were living in Gissing, a small village in the centre of South Norfolk which has a long history dating back to Saxon times. The Pamments were reclaimed suffering from heavy soiling and in need of considerable expert attention. All the old protective coatings had pretty much worn completely off the surface of the tiles which had then allowed many years of dirt to become ingrained in the pores of the clay, making it almost impossible to clean for the homeowner using ordinary methods.

  Reclaimed Pamment Floor Before Cleaning Gissing 

 Pamment tiles were very popular in older Norfolk homes; they are made from locally sourced clay and, like terracotta, are extremely porous and therefore need to be thoroughly sealed against fluids and general soiling. When correctly cleaned and sealed, they are quite versatile and can be used for internal floors as well as external areas such as patios and pathways.


Cleaning a Pamment tiled floor

To remove all traces of the old sealers and clean the tiles I decided to apply Tile Doctor Remove & Go, which was diluted with water to form a medium strength solution. I applied a generous coat of this solution to the floor, leaving it to soak into the pores of the tiles for approximately ten minutes. The solution was then worked into the Pamments using a Black nylon scrubbing pad fitted to a 17" rotary machine. Remove & Go is a powerful and versatile cleaner which is safe to use on natural stone floors, kiln-fired tiles and all types of grout.
Reclaimed Pamment Floor During Cleaning Gissing Reclaimed Pamment Floor During Cleaning Gissing
I rinsed the solution off the floor with clean water once it had worked its magic and extracted the resulting dirty residue with a wet-vacuum machine. In order to tackle some particularly stubborn stains, I repeated this process until I was satisfied that the floor had been cleaned to the highest standard possible.

Reclaimed Pamment Floor During Cleaning Gissing
  
  The whole area was then given an acid wash using a dilution of Tile Doctor Grout Clean-Up. This further cleans the tiles to remove old grout stains and neutralises the pH level of the floor following the use of alkaline cleaning products, lastly it also ensures optimal adhesion of the new sealer.

The floor was then left to dry overnight before returning the next day to complete the seal. I left a dehumidifier running overnight to assist the drying process and ensure that the floor would be completely dry on the following day. It’s imperative that a tiled floor is completely dry before sealing as any excess moisture left in the floor can potentially adversely affect the overall performance of the sealer as it evaporates.


Sealing a Pamment tiled floor

To seal and protect the Pamment tiles I applied a total of five coats of Tile Doctor Seal & Go, which provided a robust, durable surface seal along with an aesthetically pleasing, mid-sheen finish (as you can see from the photos). Seal & Go is the go-to sealer for internal, unsealed porous surfaces such as Terracotta, Sandstone or Slate.

  Reclaimed Pamment Floor During Sealing Gissing

The clients had left us to work our magic over the two days, returning at the end of the sealing day and were absolutely staggered at the results we had achieved with a floor they had thought beyond help.

  Reclaimed Pamment Floor After Renovation Gissing

For aftercare cleaning I recommended the use of Tile Doctor Neutral Tile Cleaner, it’s a gentle yet effective product that won’t upset the sealer which can be the problem with many of the stronger products you find in supermarkets.

Sunday, May 21, 2023

Putting the Shine Back on Encaustic Floor Tiles in Hemswell Cliff Lincolnshire

The photographs below are of an Encaustic Tiled Floor which had been installed some years prior in the kitchen of at a property in the village of Hemswell Cliff which is between Gainsborough and Market Rasen.

I paid a visit to the property initially to survey the floor and discuss the problem with the client. The main issue was the tiles had become dull and she couldn't keep them clean. I explained that Encaustic tiles are porous and need to be kept sealed to prevent the dirt from becoming ingrained in its pores; over the years since installation the sealer had simply worn down and now dirt was getting into the pores of the tile and once that happens it can be difficult to get it out. 

To prove my point, I carried out a demonstration on how I would clean them and explained the different sealer options available and how each sealer can have a different effect. She was pleased with the demonstration and was happy to accept my quote to deep clean the whole floor and then re-seal it.

Deep Cleaning Encaustic Kitchen Floor Tiles

I set about scrubbing the floor using a hot water dilution of Tile Doctor Pro-Clean Tile and Grout cleaner combined 50:50 with NanoTech HBU Remover which adds tiny abrasive particles to the solution to make a more effective cleaning product. The solution was worked into the tiles by scrubbing with a rotary machine fitted with a Black scrubbing pad.

The pads struggle to reach into the recesses between the tiles so to get the grout clean I scrubbed them by hand using a stiff brush. Once done the soiled solution was removed using a wet vacuum and floor inspected to ensure it was as clean as possible. Any stubborn areas were spot treated by hand and then the whole area thoroughly rinsed down with clean water to remove any trace of cleaning product.

Finally, the wet vacuum was used to dry the floor as much as possible with assistance from a Turbo Air blower to help reduce the drying time.


Sealing Encaustic Floor Tiles

It wasn’t a particularly large floor and a warm day so I was able to complete the cleaning process by lunch time and after a few hours later with the assistance of the air blower the floor was dry and ready to be sealed.

Having discussed sealer choice with the client earlier a decision had been made to seal the encaustic tiles with Tile Doctor Seal and Go which adds a nice subtle sheen to the tile. Five coats of Tile Doctor Seal and Go were needed before the tiles were fully sealed, it’s a water based protective sealer so it doesn’t give off any odour whilst it dries and it provided the finish the customer was looking for.

Once completed the colours in the tiles were really vivid and resulted in one happy customer with a clean easy to maintain floor. On the subject of cleaning, I recommended the use of Tile Doctor Neutral Tile Cleaner which is a mild but effective tile cleaner. The problem with many of the tile cleaning products you find in supermarkets is they contain bleach which is simply too strong for use on a sealed tile as it will strip off the sealer.

Friday, January 13, 2023

Floor Tile Cleaning Expert Demonstrates how to Renovate Quarry Tiles in Stoke-on-Trent

The Red Quarry tiled floor shown below are from the hallway of a house in the village of Barlaston that dates to the early 1900’s. Hallways get a lot of use and over the years the tiles had seen a lot of wear and were now looking patchy with various levels of staining and dirty grout.

Quarry Tiled Floor Barlaston Before Cleaning

After surveying the floor and running a few tests I was able to give the homeowner a quote for the work which would take two days, the first to clean and the second to apply a sealer that would protect the tiles from staining going forward. Happy with the quote we scheduled a date for the work to commence.

Deep Cleaning a Quarry Tiled Hallway in Barlaston

To clean up the tiles I applied a strong dilution of Tile Doctor Pro-Clean which is our go to tile and grout cleaning product. Its best to leave it on the tile and grout for ten minutes or sometimes longer to give it time to break down the dirt and coatings. The floor was then scrubbed with a rotary machine fitted with a poly brush attachment and a stiff grout brush along the grout lines.

The combination of the cleaning agent and mechanical scrubbing releases the dirt from the tile to the surface where its removed with a wet vacuum. Once the floor was clear the tiles were then inspected and the process repeated where needed.

Last step of the cleaning process was to treat the tiles to an acid wash with grout clean-up. I highly recommend this for old floors like this one which were installed before the invention of the damp proof membrane. The problem is without a DPM moisture can rise through the tiles and deposit salts on the surface of the tile as it evaporates, a process known as efflorescence. If you look closely at the photos above you can spot white staining as a result. As well as countering the alkaline salts the acid will also remove old grout smears and neutralise the use of the alkaline Pro-Clean used earlier.

After a final rinse and vacuum the Quarry tiles were left to dry off overnight.

Sealing a Quarry Tiled Hallway Floor in Barlaston

Applying sealer to a damp floor can result in a patchy appearance so on my return I first tested the floor with a damp meter to ensure it was dry. All was well so I able to move onto applying the sealer and for this floor I chose to use Tile Doctor Seal and Go.

Seal and Go works very well on Quarry Tiles improving their appearance and adding an appealing satin finish. The tiles really soaked up the sealer and I had to apply four coats before I was satisfied it was fully sealed.

Quarry Tiled Floor Barlaston After Cleaning

Once done the tiles were transformed and my client was very pleased with their new hallway floor. Before leaving I took time to discuss aftercare cleaning for which I recommend Tile Doctor Neutral Cleaner which is a gentle but effective product that won’t harm the sealer.

Source: Quarry Tile Cleaning, Restoration and Sealing Service in Stoke-on-Trent Staffordshire
Monday, November 28, 2022

How to Deep Cleaning and Sealing a Victorian Tiled Hallway Floor by Middlesex Floor Care Expert

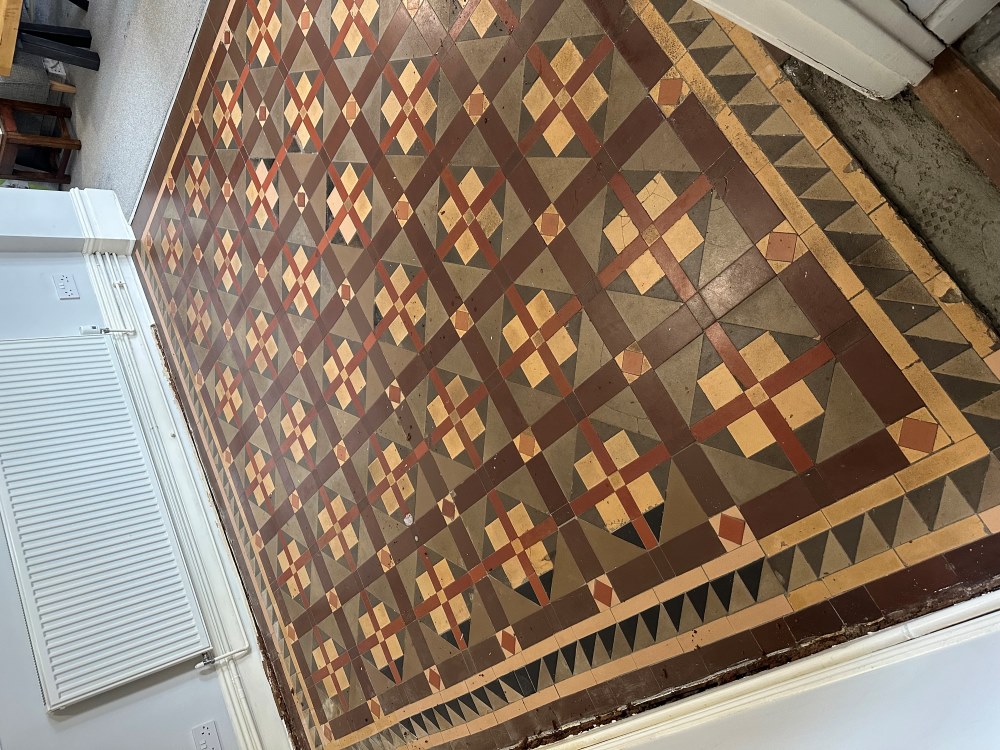
This lovely Victorian tiled hallway floor in Hampton had been covered with carpet for over 30 years. Having removed the carpet, the owner was keen to restore the floor back to its original appearance. As you can see from the pictures the tiles had some lovely traditional colours which have been hidden away. During that time the tiles had absorbed a lot of soil and were stained by rubber from the underlay causing the colours to fade.

Victorian Hallway Tiles Before Cleaning Hampton Victorian Hallway Tiles Before Cleaning Hampton

Fortunately, the gripper rods had only been lightly glued onto the tiles and not held down with nails, sometimes with older floors the rods are hammered in place right through the tile causing them to shatter, which makes for a much larger restoration job. I gave them a price for the work which they were happy with, and we arranged a time to return.
 
Victorian Hallway Tiles Before Cleaning Hampton

Cleaning a Victorian Tiled Hallway Floor

To remove the traces of rubber backing, adhesive and years of stubborn soiling from the tiles the whole floor was soaked in a strong dilution of Tile Doctor Remove and Go. After a short dwell time we then machine scrubbed with Tile Doctor Pro-Clean to restore the tiles to a very clean condition.

The soiling and products were pressure rinsed and vacuumed away, leaving the Victorian tiles much cleaner. I found the best method was to work in large sections of flooring at a time which allowed for the tiles to dry whilst I worked on another section. I was then able to go back and review my work and spot clean stubborn areas until I was satisfied with the result. The wet vacuum removes a lot of the moisture but it needs to be dry before sealing so the floor was then left to dry off overnight.
 
Victorian Hallway Tiles During Cleaning Hampton

Sealing a Victorian Tiled Hallway Floor

The following day we returned and using the damp meter tested the tiles were dry and ready to be sealed. For this we selected to use seven coats of Tile Doctor Seal and Go, these were applied leaving each coat to dry before the next one was administered. This left a nice sheen finish on the floor and does a lovely job of enhancing the colours making the tiles look vibrant again. The floor looks great and the hallway is now very inviting.
 
Victorian Hallway Tiles After Cleaning Hampton

Before leaving I took time to discuss aftercare with the owner and recommend the use of Tile Doctor Neutral Cleaner. Fact is most supermarket products are for cleaning Vinyl or Ceramic tiles contain bleach and are simply too strong for use on sealed surfaces such as this floor, using them can prematurely erode the sealer and once that’s gone the floor will have no protection and begin to accumulate dirt.

Sunday, November 6, 2022

How to Deep Clean Slate Tile and Grout by Berkshire Stone Expert

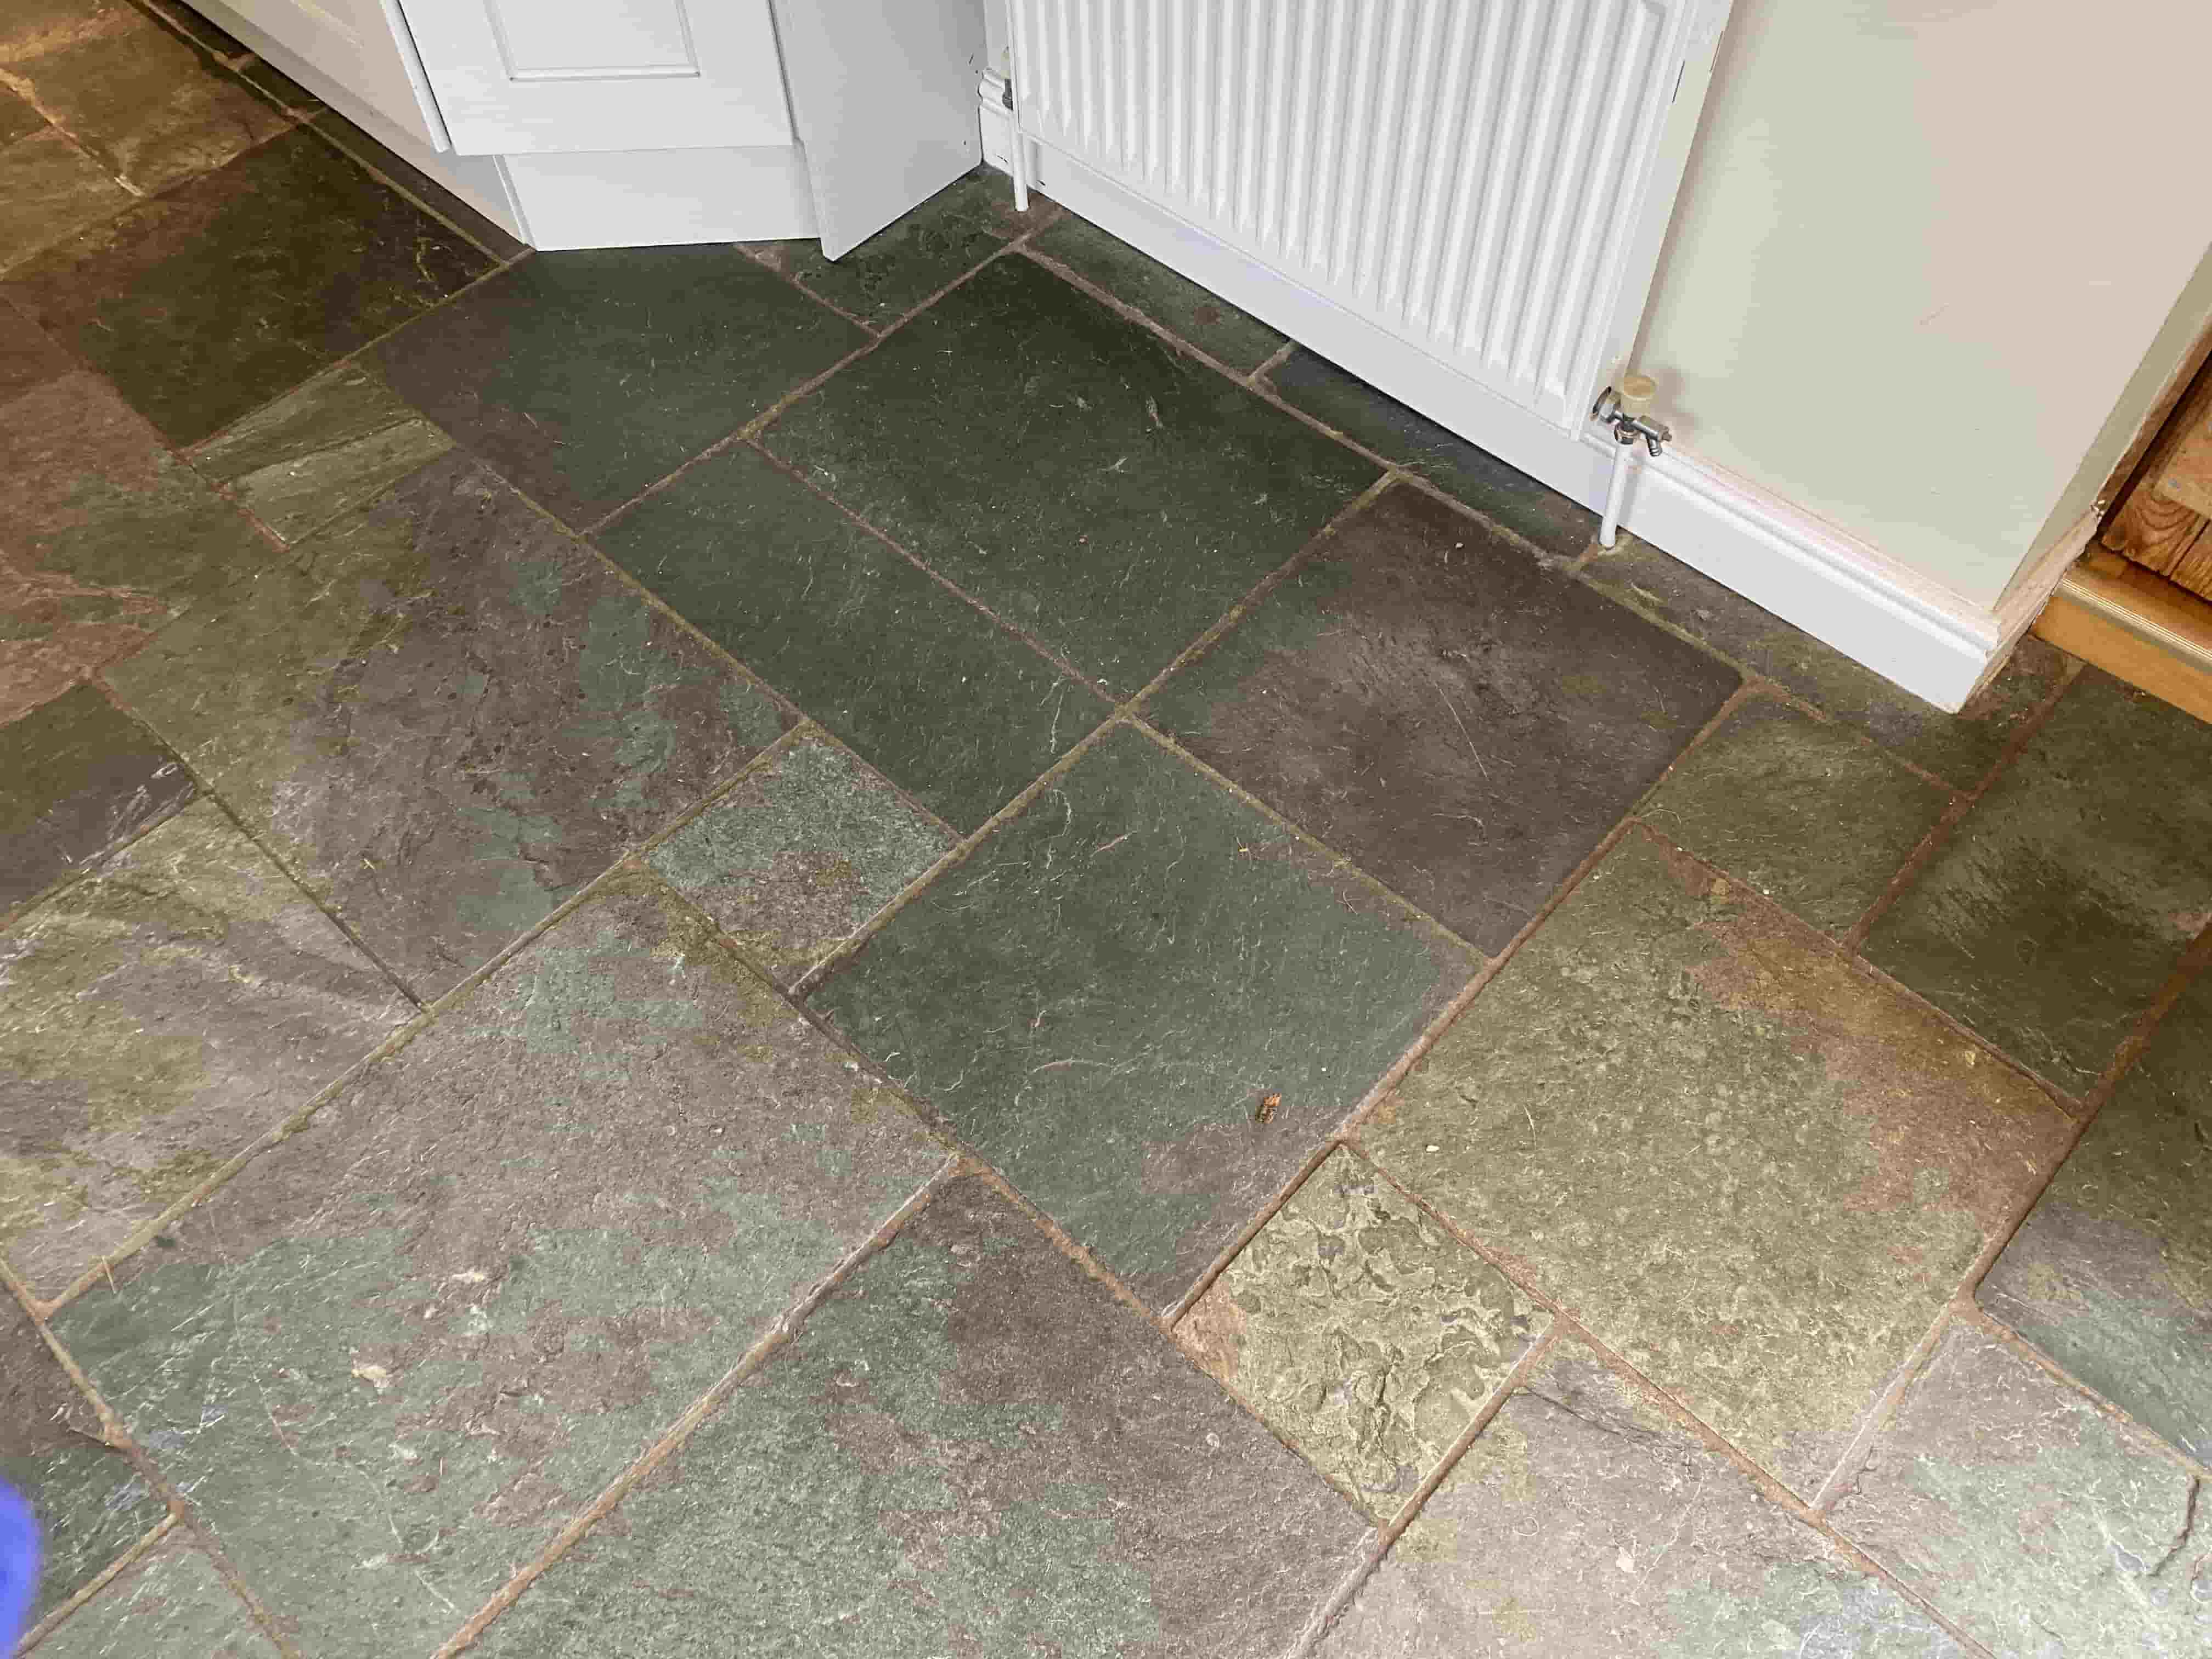
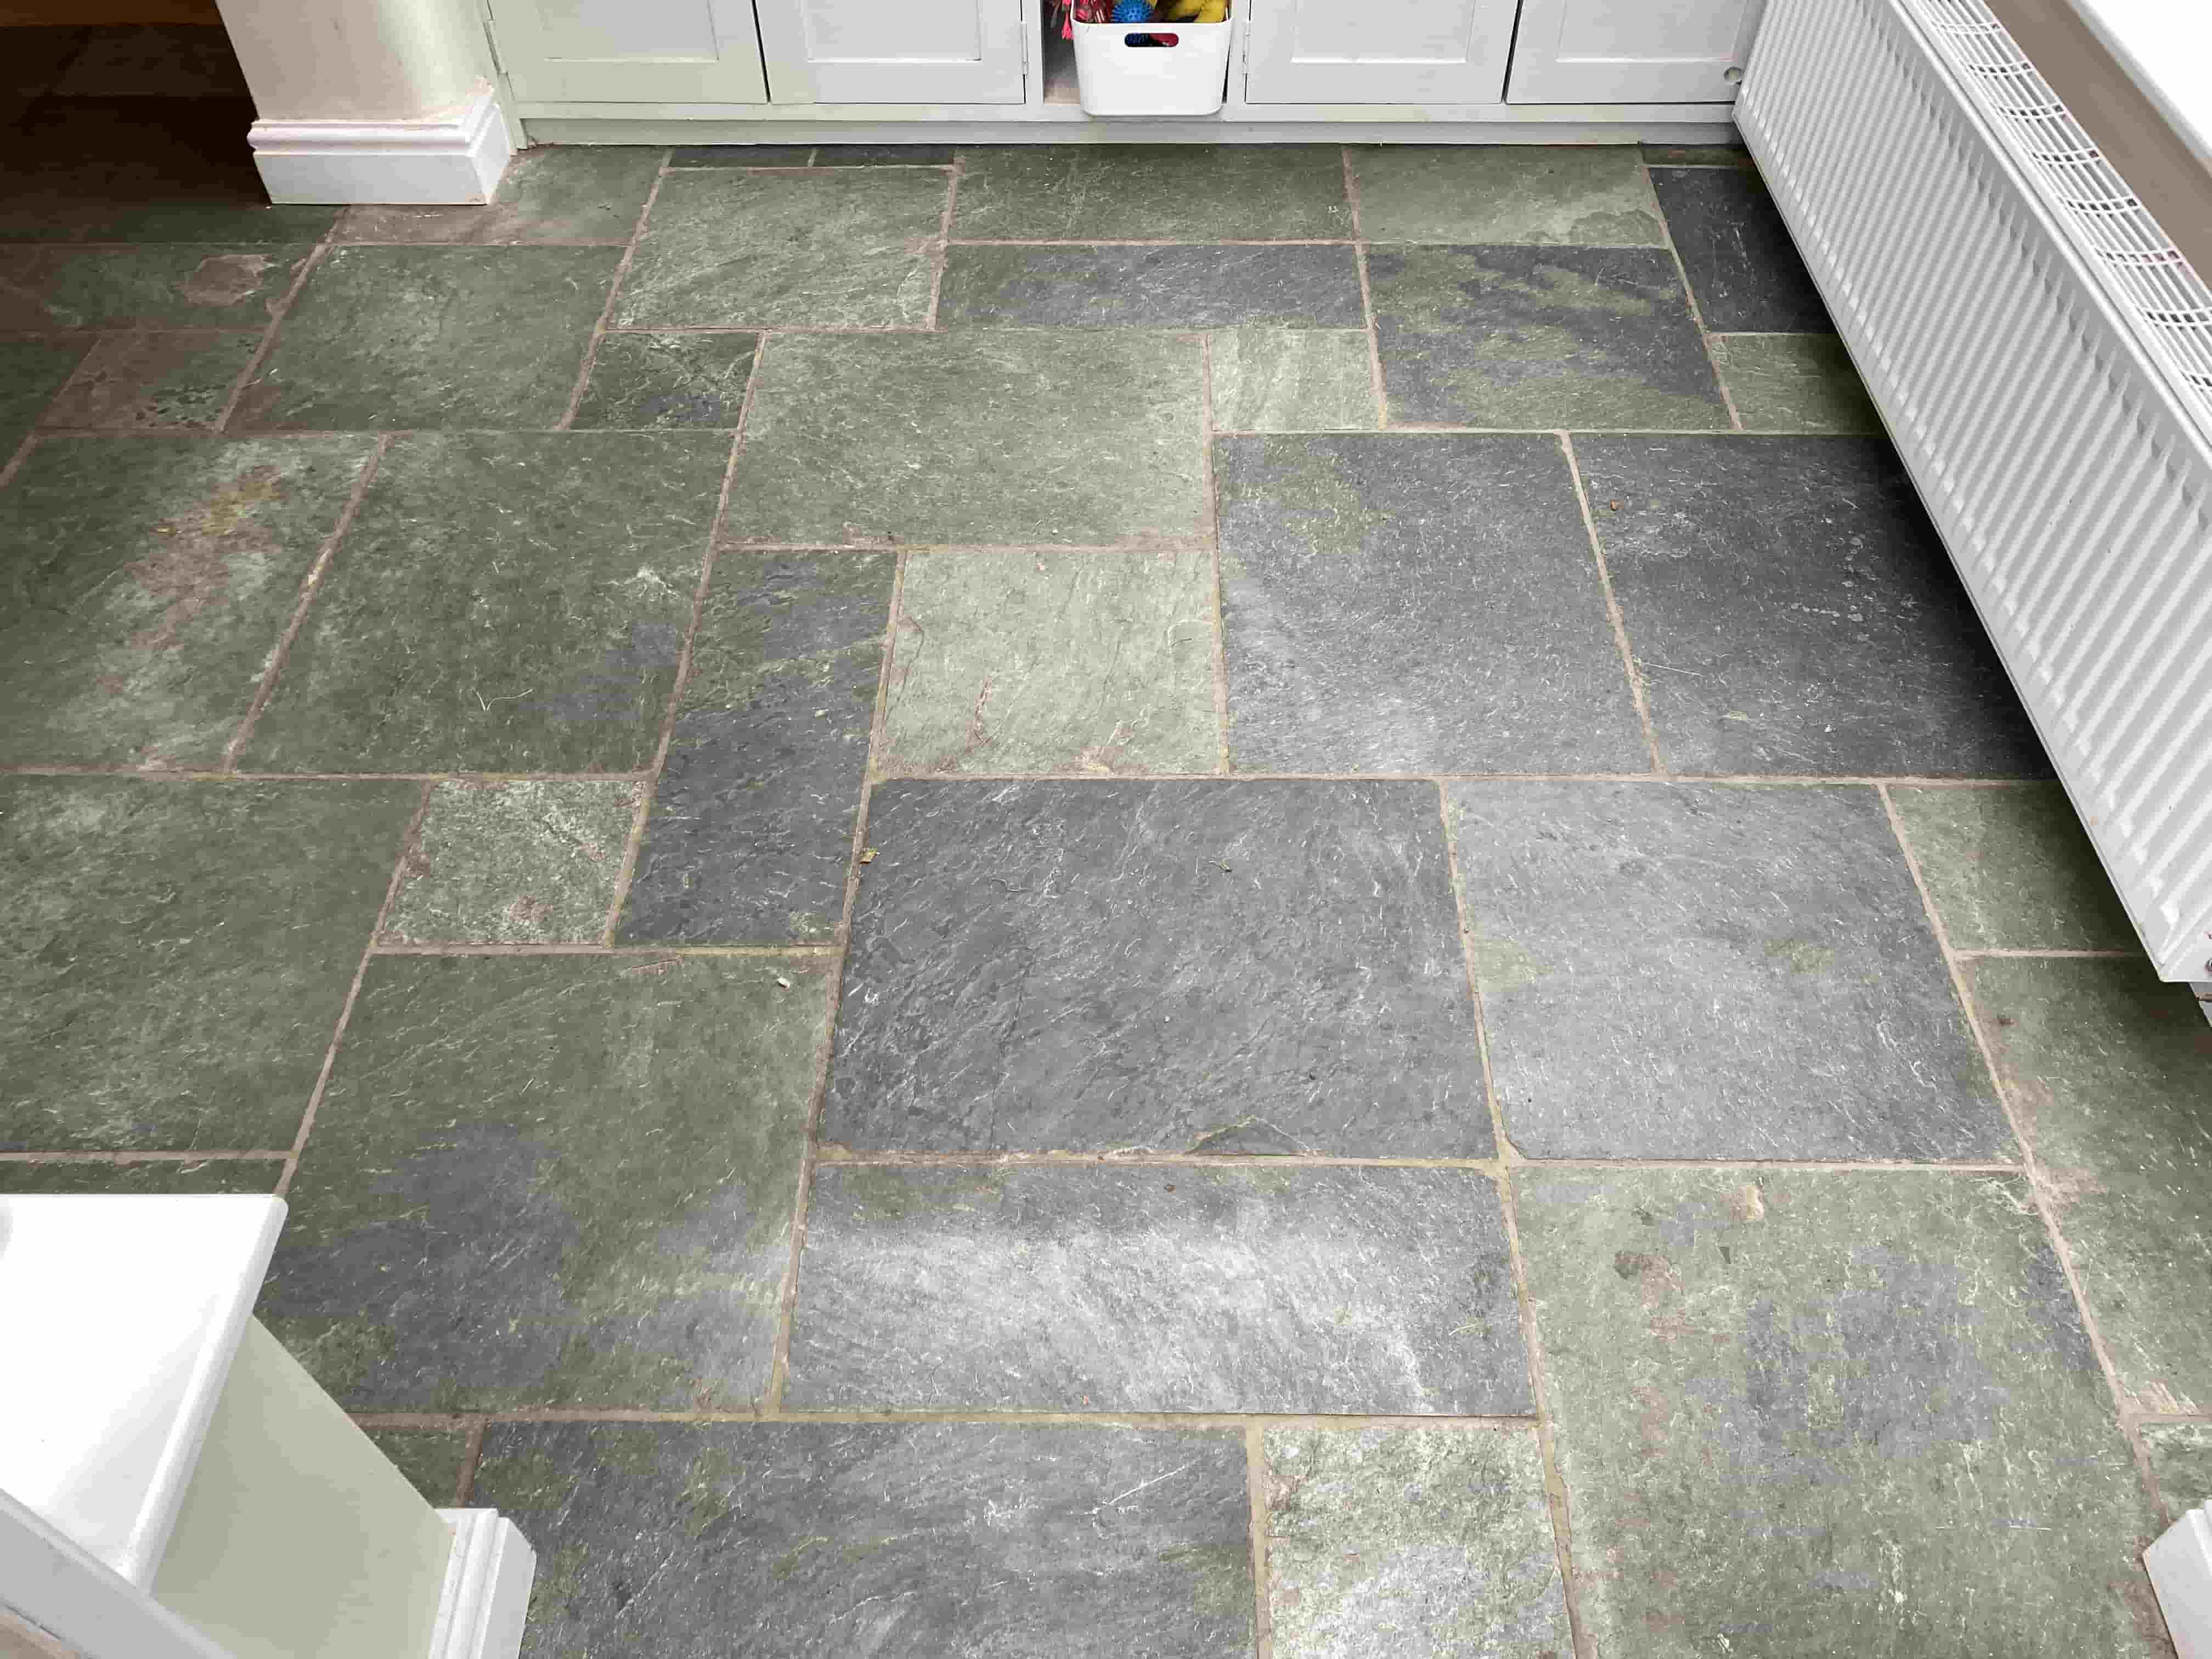
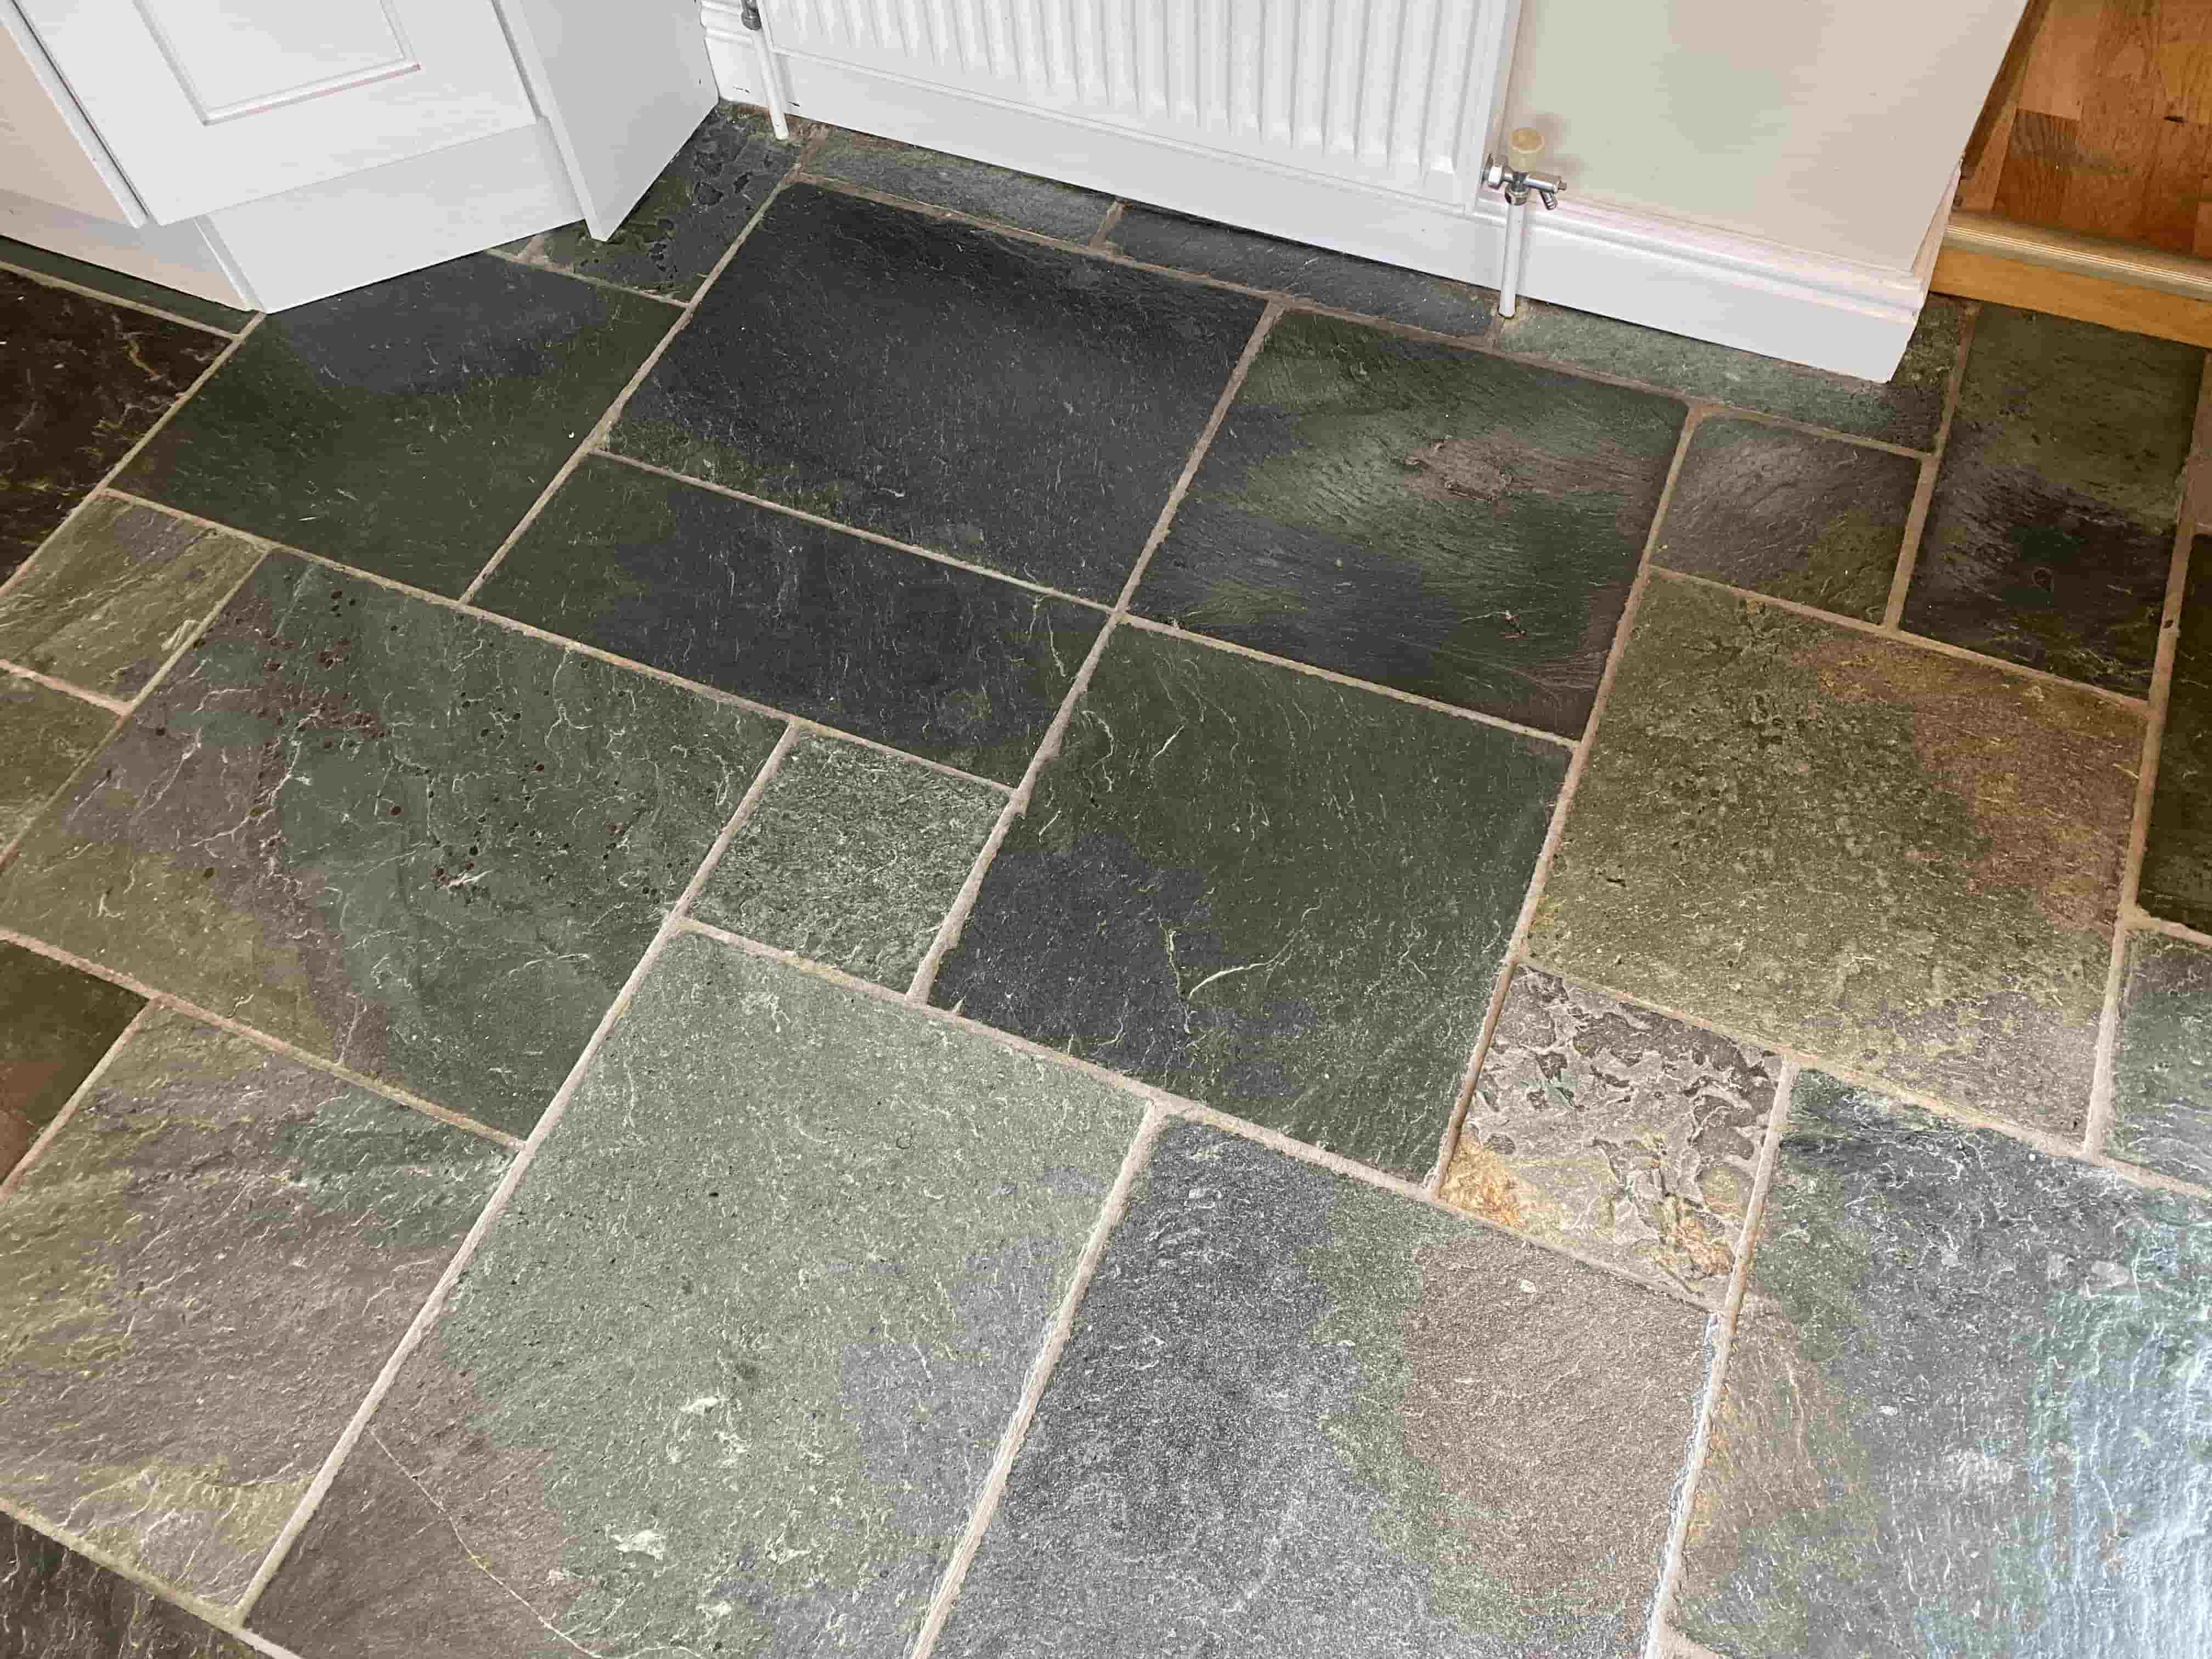
This customer in Thatcham, near Newbury in Berkshire had inherited a rare semi-riven Slate floor with their kitchen. However, years of dirt and contaminations had built up and left the Slate looking dull and the grout discoloured.

 
Semi-Riven Brazilian Slate Floor Before Renovation Thatcham

Slate is a very popular floor and wall tile due to its low porosity; there are many varieties and textures of slate available, it does need to be sealed though to keep the dirt from becoming ingrained in the stone. Unfortunately, the previous owners had not maintained the sealer and owning four dogs had probably used a strong acid cleaner on the floor which will have shortened its life. Inevitably time took its toll on the tiles and it was now overdue a deep clean and new sealer.

 
Semi-Riven Brazilian Slate Floor Before Renovation Thatcham

Cleaning a Semi-Riven Brazilian Slate Tiled Kitchen Floor

The first job was to apply a strong dilution of an alkaline detergent called Tile Doctor Pro-Clean which was applied and left to dwell for several minutes before agitating with a rotary floor buffer fitted with a scrubbing pad. A stiff brush was also run over the grout lines to get them clean.

I worked in sections and then used a hot water encapsulation system that is used a lot by carpet cleaners to remove the slurry and get the floor as clean as possible. After inspecting the floor, I could see a few stubborn areas than needed more work, so the process was repeated until I was satisfied the Slate tile and grout was as clean as it could be. The floor was then left to dry overnight

Sealing a Semi-Riven Brazilian Slate Tiled Kitchen Floor

The following morning, we returned, the floor looked nice and dry but I took several moisture readings with a damp meter just to be sure. All was in order, and I was able to progress onto the next step of applying a fresh sealer to the floor.

For this type of tile and conditions I chose to apply Tile Doctor Seal and Go which is a water-based sealer (no smell as it dries) that works really well on Slate. Multiple coats were required and each coat is left to dry before applying the next. The seal is very hard wearing, perfect for high traffic areas such as the kitchen and it leaves a lovely sheen without making the floor appear too shiny.

 
Semi-Riven Brazilian Slate Floor After Renovation Thatcham

The customer was very happy with the outcome and left the following feedback on our website:

 
“Extremely professional from point of contact till completion of the job, Dennis has done a magnificent job of my tiles. And I would highly recommend his services”

Before leaving made sure to leave a complimentary bottle of Tile Doctor Neutral Floor Cleaner to help maintain the floor going forward. This is a pH neutral product which makes maintenance of the floor easy and ensures that the newly applied sealant will stay in place and not be compromised. As mentioned before most people, including I suspect the previous owner, tend to use supermarket products which are far too harsh and break down the sealer taking them back to square one.

Thursday, July 21, 2022

How to Remove and Ineffectual Sealer

We were asked to restore a large 70m2 riven Sandstone floor in the historic market town of Boston where the customer had been sealing with an impregnator sealer but the stone just kept absorbing the daily dirt despite repeated cleaning. The Sandstone was now very dull with ingrained dirt and mopping just seemed to make it worse. Unhappy with the appearance they decided to call us in to resolve the issues and add a resilient finish with a slight sheen.

 
Sandstone Floor Before Renovation Boston

Something clearly was not right so after discussing the issue on the phone I arranged to visit the property and survey their problematic stone floor. I concluded that the sealer the client was using was not effective at sealing the floor properly and had let dirt get into the stone. This could be because the floor had not been cleaned well enough prior to sealing, insufficient sealer had been applied or perhaps the sealer wasn’t suited to Sandstone. Either way to resolve the problem the solution would be to deep clean the Sandstone stripping off the old sealer in the process and then use something more suitable for Sandstone such as Tile Doctor Seal & Go which would also give the subtle shine appearance they were after.

I worked out a quote to renovate the floor, which was accepted and a date agreed to do the work which would take two days, one to deep clean the stone and the second to seal.

Deep Cleaning a Riven Sandstone Tiled Kitchen Floor

The first day started preparing the area which in this case was simply a case of removing the kickboards from under the kitchen units. Next, I created a strong cleaning, sealer stripper solution by combining Tile Doctor Pro-Clean with Remove and Go and then working in sections sprayed it on to the Sandstone and left it to soak in for ten minutes.

 
Sandstone Floor During Renovation Boston

The solution was then scrubbed into the stone using a brush pad fitted to a rotary buffer machine with added weight to improve contact. Using a brush pad is an important factor when cleaning riven stone as a normal flat pad would struggle getting into the grooves of the stone and works well on the grout lines as well.

The scrubbing action generated a lot of slurry which was extracted using a high pressure Rotovac system which is a great time saver. The Rotovac works by applying hot water under high pressure onto the floor to further force out ingrained dirt and muck from the stone whilst simultaneously extracting the soil back to a tank on our van.

 
Sandstone Floor During Renovation Boston

The results were amazing leaving the stone both clean and free of the old ineffectual sealer. After this the floor was inspected and stubborn stains were spot treated and the floor given a final rinse. Now satisfied the Sandstone was clean I left a couple of air movers in place to assist with drying overnight.

 
Sandstone Floor After Renovation Boston


Sealing a Riven Sandstone Tiled Kitchen Floor

The following day the moisture levels in the floor were checked with a damp meter, its important the stone is dry before sealing otherwise the results can be patchy. Fortunately, the air movers had done an excellent job and I was able to start applying the sealer.
 
Sandstone Floor After Renovation Boston
 
Seal and Go is a water-based sealer (so no smell as it dries) that works by protecting the stone with an impermeable layer. It takes multiple coats to fully protect the stone but does give the Sandstone a lovely appearance and will protect the floor from everyday wear and tear as well as making it easy to clean. 

The customer was over the moon and said it was better than when they first had it installed and mentioned they would definitely recommend our services going forward.