 |
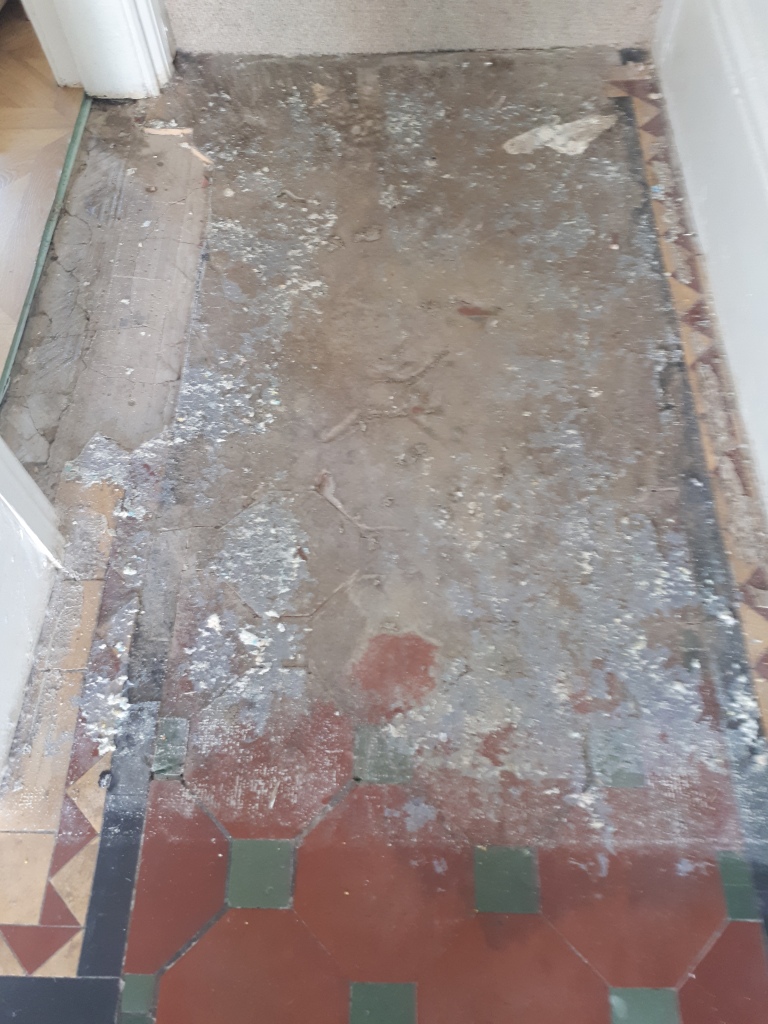 |
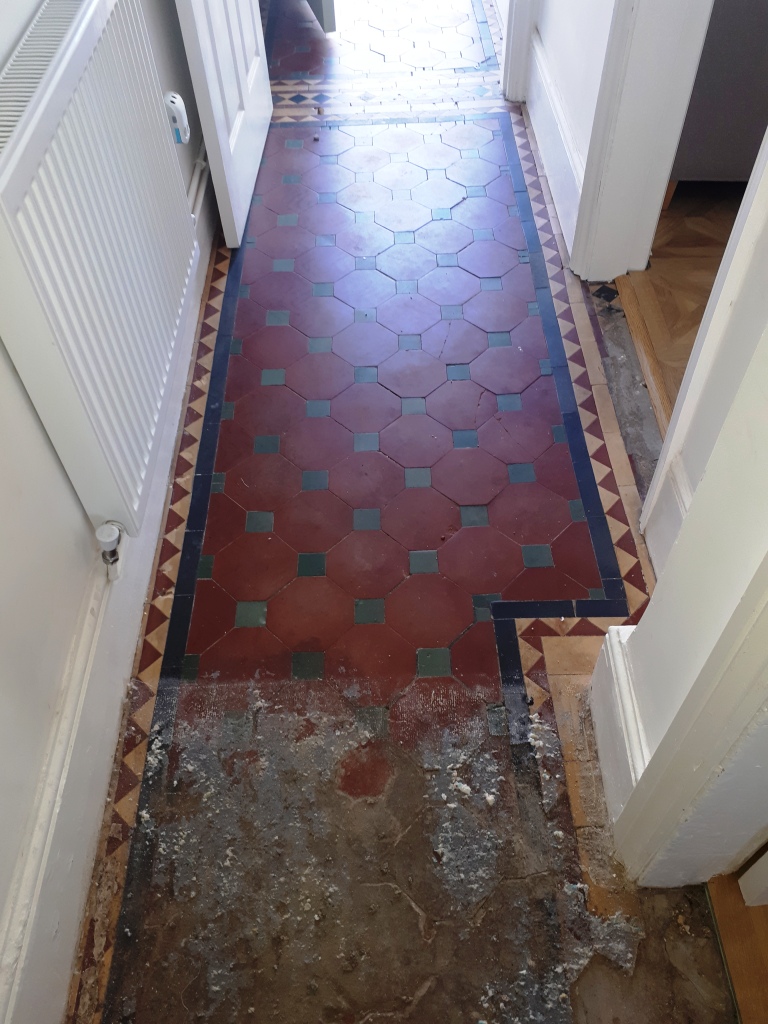
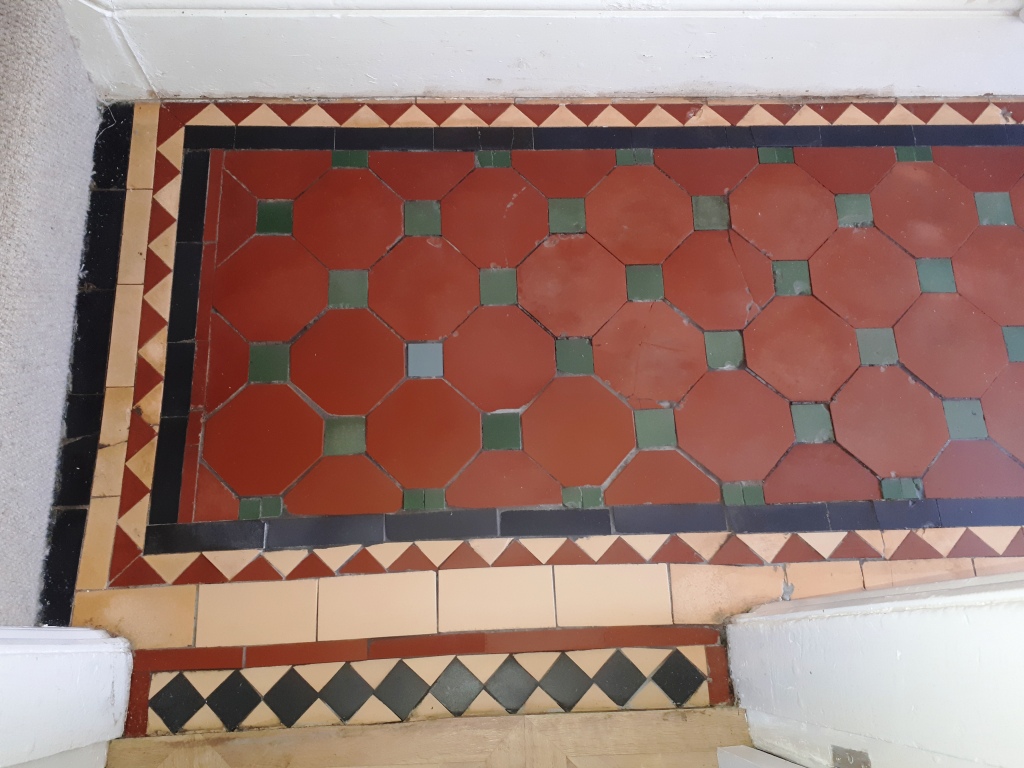
I visited the property in Bearwood near Smethwick, to take a look and could see that there was a section under a cement screed. The floor was in a truly sorry state, so I could see why the other company were not keen on restoring it. Undeterred I did a test clean to see if I could remove the screed which was encouraging however without removing all the screed it would not be possible to see what condition the tiles underneath were in. I agreed with the customer to order some replacement tiles which were needed along with extra ones just in case. The job would take a few days to allow for cleaning, repairing, drying out and sealing. The client wasn’t too optimistic, but I reassured them we could definitely get a good result.
Cleaning and Repairing a Victorian Tiled Hallway
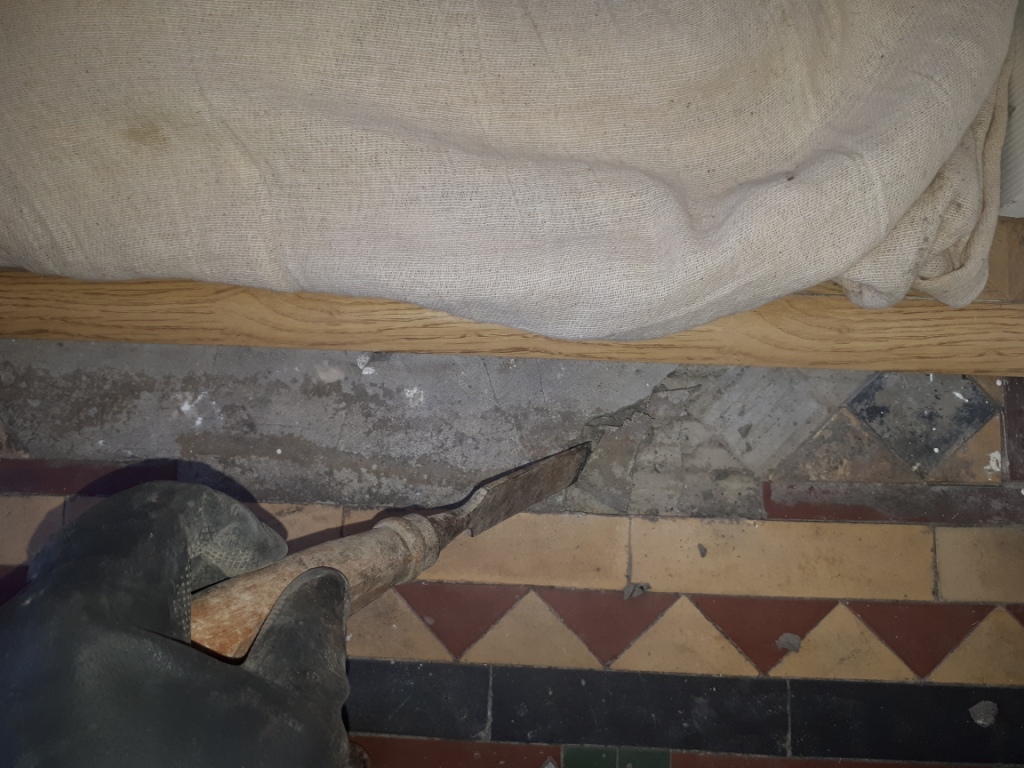
The first day was spent removing the cement screed which was quite thick in parts, so I went down the route of steaming it first to help soften the covering and then carefully scraping it off. This was quite labour intensive, but it did the job. Once the cement was removed I was left with some tiles that were ok but quite a few needed to be replaced.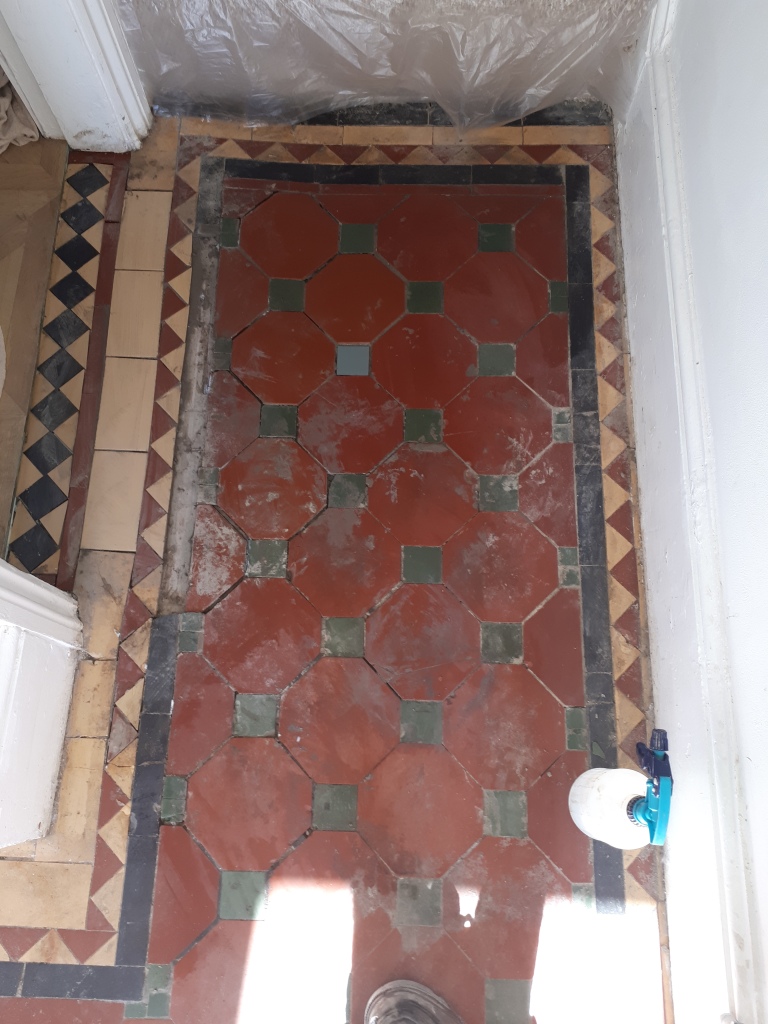 |
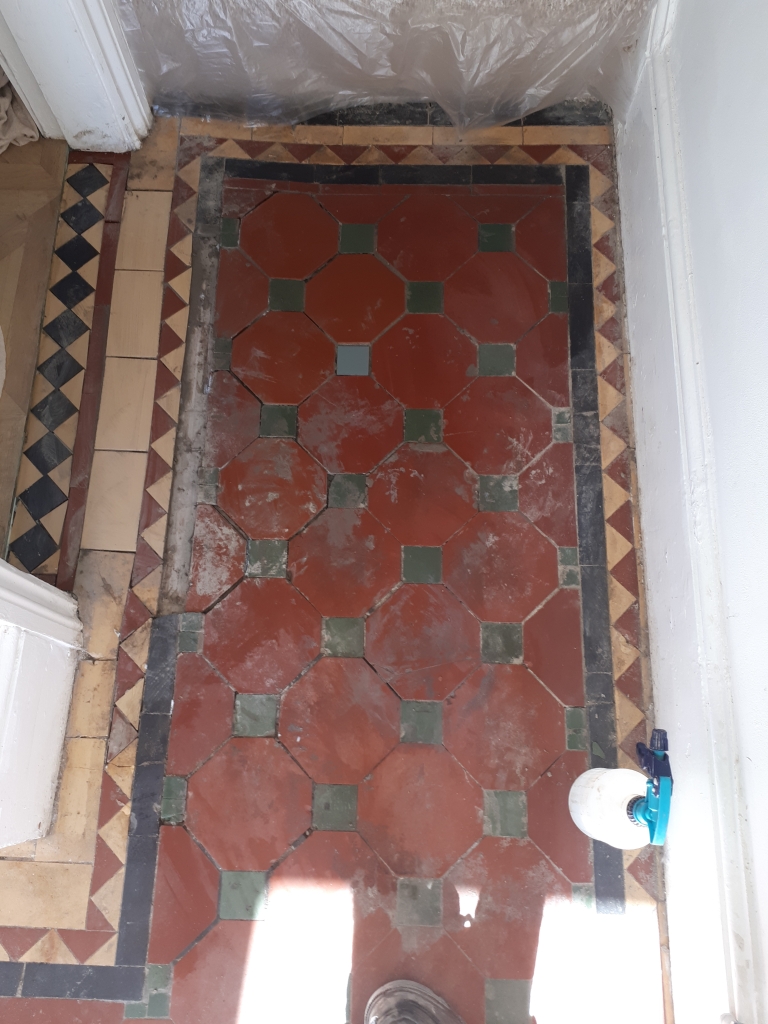 |
There were also two doorways, one that needed completely relaying and one needed part relaying. Some of the tiles needed to be cut to size, there were many tiles that needed resetting and re-grouting along with grout being applied to the new tiles.
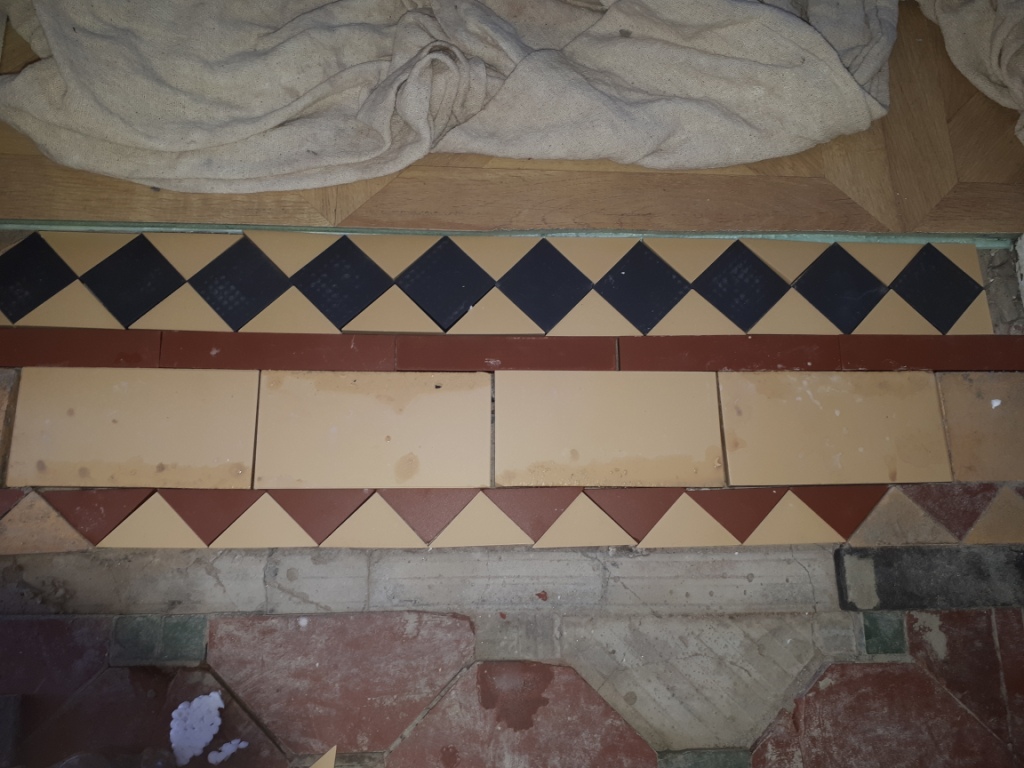
The next day the tiles were deep cleaned with a 50:50 combination of Tile Doctor Pro-Clean mixed with Nanotech HBU which stands for Heavy Build-Up Remover, which was quite appropriate in this case. This cocktail of tile cleaning products was left to dwell on the tiles for a while then worked in with a black scrubbing pad fitted to a weighted rotary machine. The floor was then rinsed off with water and then the soil extracted with a wet vacuum.
My next step was to give the floor and acid wash to remove any old grout smears and neutralise other mineral contaminates such as salts that can get deposited on the surface of the tiles as moisture evaporates as the floor dries. This is always a risk with old floors where no damp proof membrane exists. To do this I applied a dilution of Tile Doctor Grout Clean-Up which is scrubbed into the tiles with a deck brush and then rinsed off the floor with water and a wet vacuum. The floor was then left to dry out for a couple of days.
Sealing a Victorian Tiled Hallway Floor
I returned to seal the floor and after check it had dried sufficiently applied three coats of Tile Doctor Colour Grow sealer. This sealer seeps into the pores of the tile enhancing the colours and leaves a matt finish which the customer had previously specified. The floor was then buffed with a white pad and the customer left with a bottle of Tile Doctor Neutral Tile Cleaner to clean the floor with moving forward.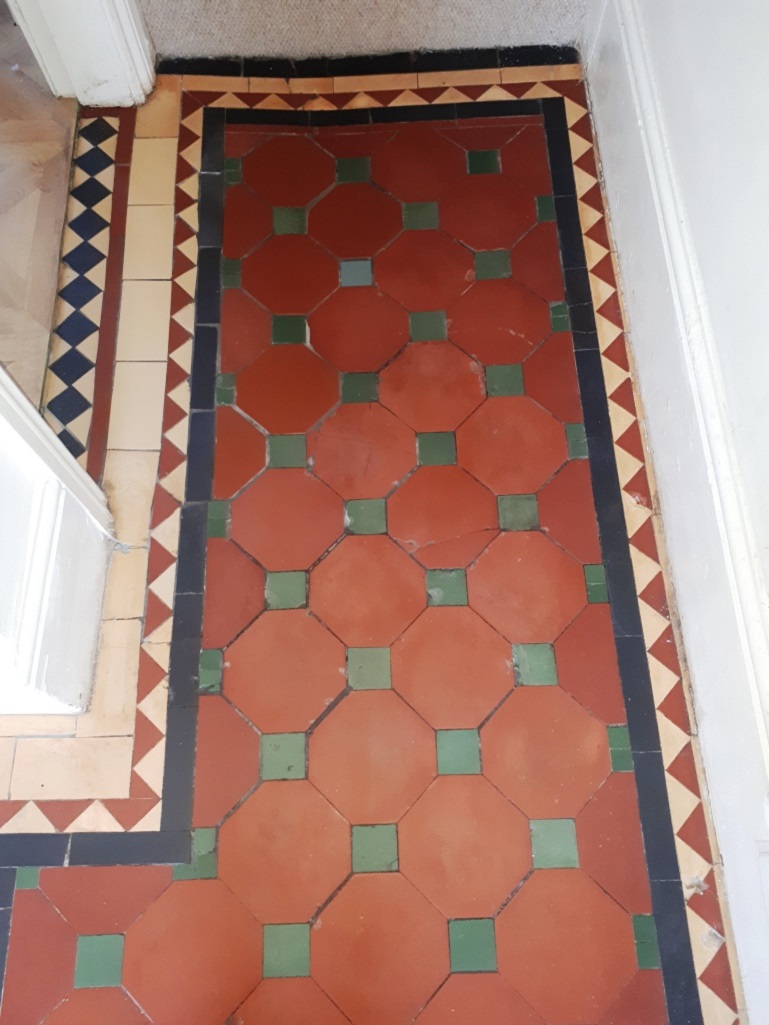 |
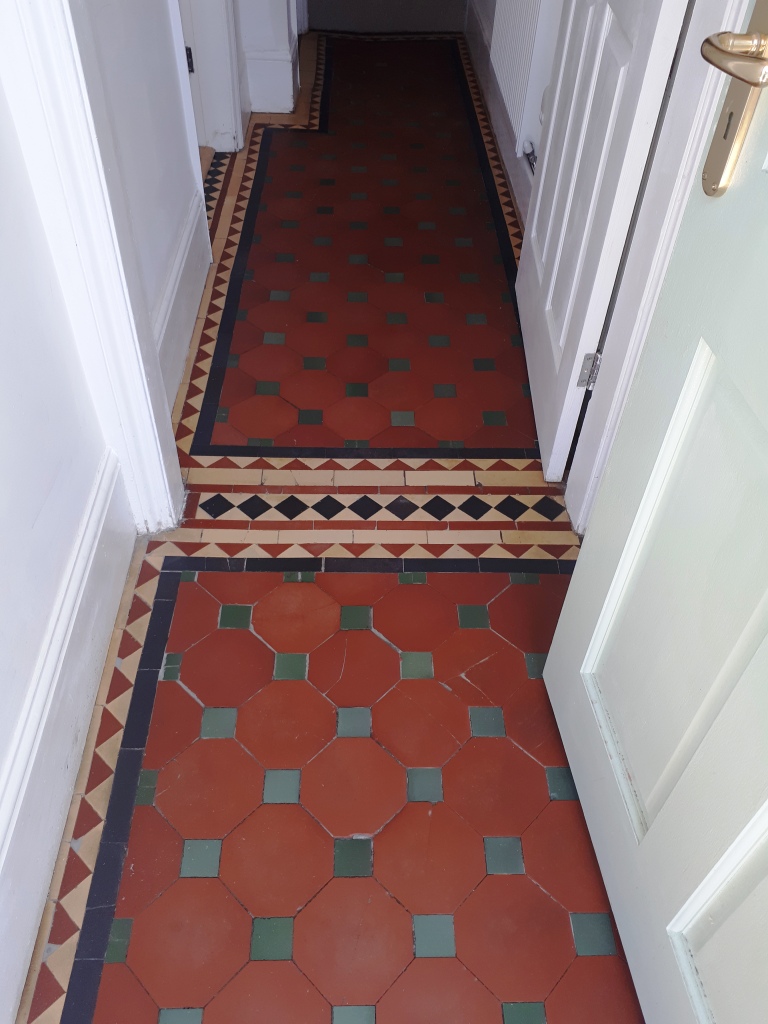 |
The customer was delighted with the results and left the following feedback on the Tile Doctor feedback system.
"Kieron has done a fantastic job of our Victorian hallway tiles. We had been quoted several really high prices by other companies, but Kieron’s quote was a fraction of these. I initially wondered whether this meant the job wouldn't be as good but after 3 days of solid work the results are fantastic! He managed to transform it to its former glory, a hallway that was partly cemented over, had missing and loose tiles all over the place and was filthy. He definitely does a lot more than just cleaning! We couldn't be happier with the results!"
Source: Victorian Tile Cleaning and Restoration Service in Birmingham