Tuesday, August 28, 2018

Putting New Life into a Classic Victorian Tiled Hallway Floor in Swansea

I was called to a property in the Mumbles area of Swansea, one of my favourite places and in fact listed in 2018 Best Places to Live. In the UK report, The Sunday Times listed Mumbles as the best in Wales, so it is always a pleasure to visit this area.

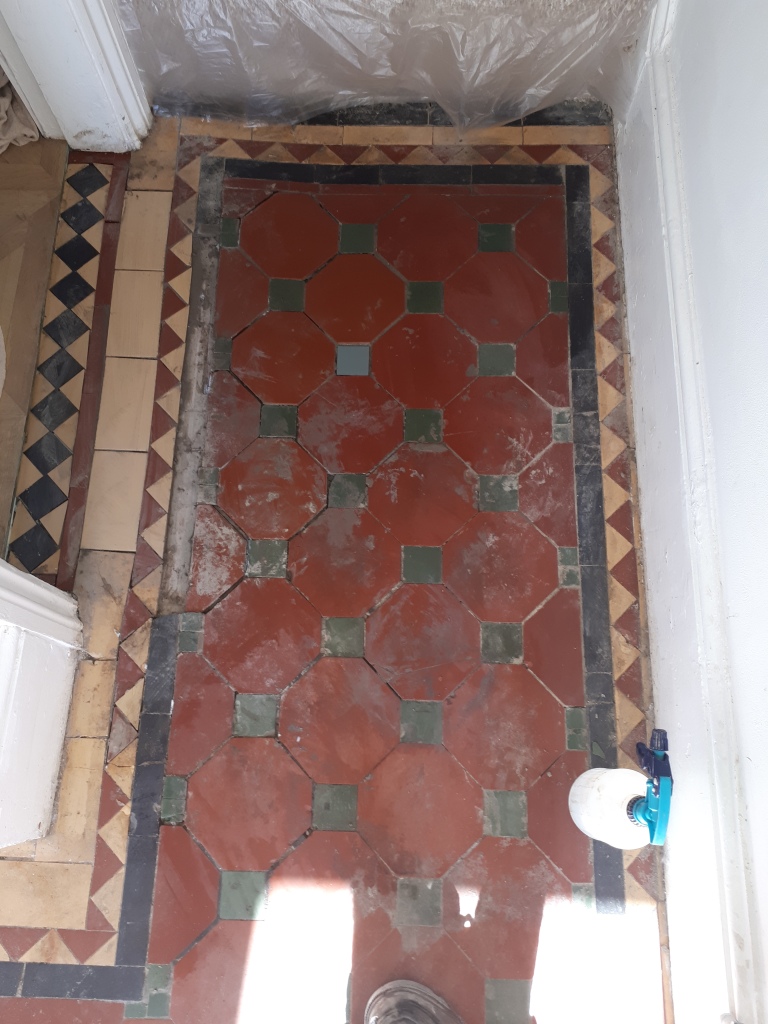
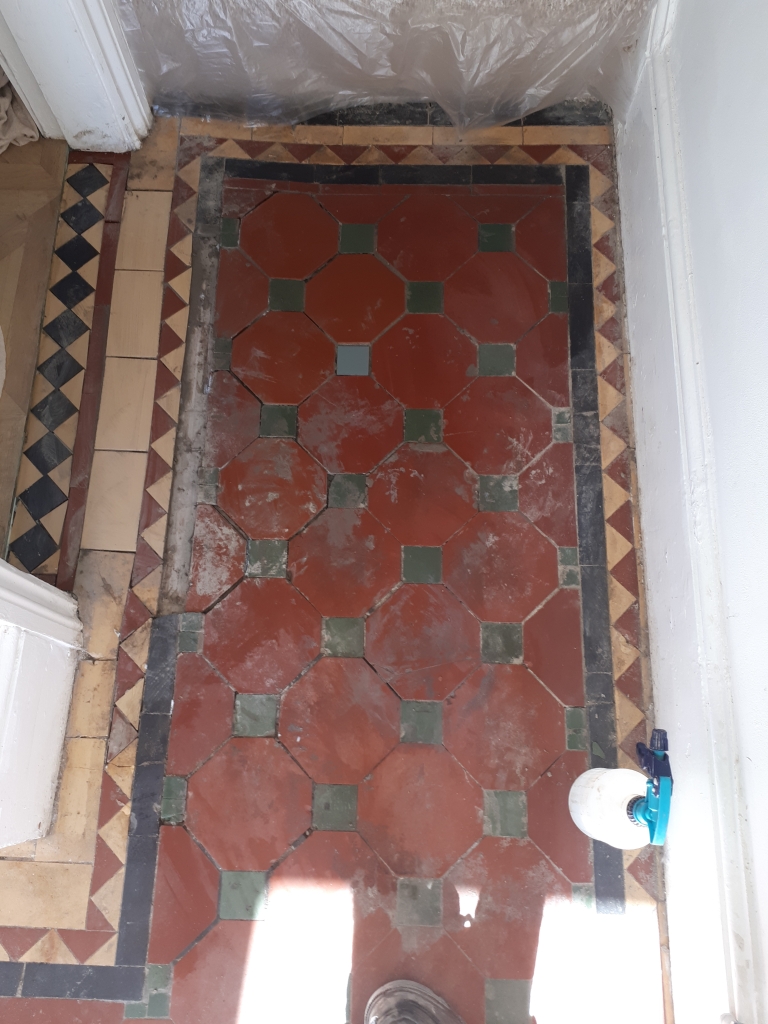
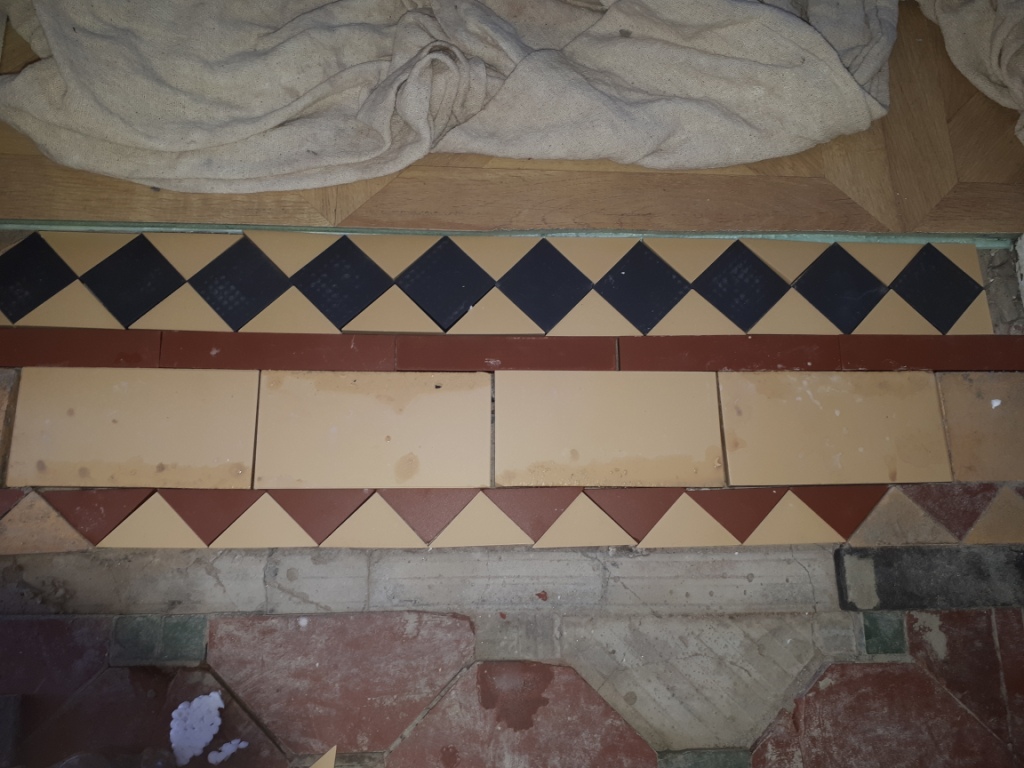
The hallway at the property had a lovely example of a classic Victorian Tiled floor containing a very detailed pattern consisting of expensive blue square and triangular shaped tiles. The tiles were a lovely and unusual pattern and in good physical condition with no cracked or replacement tiles required. It had however, been some time since the floor was last cleaned and sealed and so they contacted me, their local Tile Doctor representative to renovate the floor for them. The owners of the house recognised that it's well worth preserving original features like Victorian tiled floors as period floors like this are in demand and add value to a property. They were therefore keen to get it back to its’ near original state.
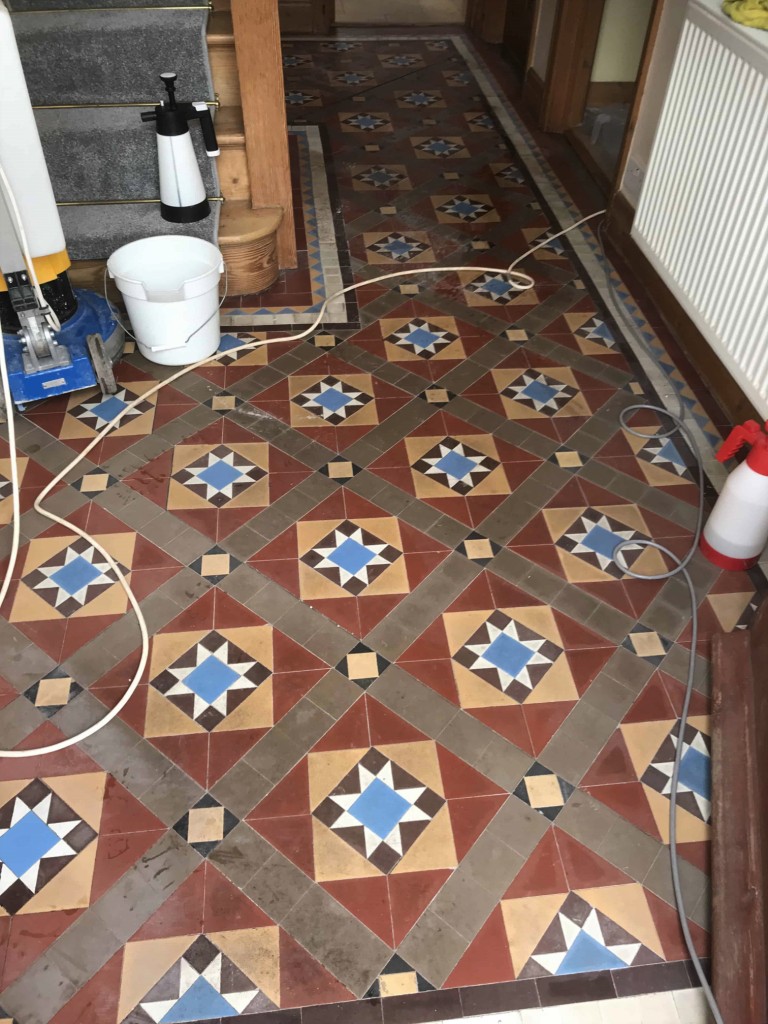
Victorian Hallway Floor Tiles Before Cleaning The Mumbles


Cleaning/Repairing a Victorian Tiled Hallway Floor

To restore the appearance of the tiles I used a 200-Grit diamond encrusted burnishing pad to remove the dirt and restore the condition of the tiles. This is run over the floor using water to lubricate and then rinsed off with water afterwards to remove the soil that is generated. This was then followed up with a 400-Grit pad which cleans and restores the surface which is left roughened after the application of the coarse 200-grit pad. This pad is again applied with water and then the floor rinsed afterwards to remove the soiling and the water is extracted using a wet vacuum.

The next step was to acid rinse the floor using Tile Doctor Acid-Gel, this is an important step for old Victorian tiled floors which have no damp proof membrane. It neutralises any inherent salts in the floor which rise through the tile from evaporation leaving unsightly white deposits on the surface. The acid gel is left to dwell for a short time and then it is scrubbed into the tile with a deck brush and then removed using the wet vacuum, the floor was then given a final rinse to neutralise it before sealing. However, for that to happen I needed the floor to be dry so after cleaning the floor I left it to dry off overnight.


Sealing a Victorian Tiled Hallway Floor

The next day I came back to the house to seal the floor. The floor had dried out nicely due to the fine weather, I quickly did a moisture test to be sure, then I was ready to move on to the sealing process.

The Mumbles area is close to the coast, so for this project I decided to use Tile Doctor Colour Grow which being an impregnating fully breathable sealer would cope better with the salty sea air. Colour Grow is a matt finish sealer that seeps into the tile occupying the small pores and in doing so prevents dirt from becoming ingrained there, it’s also a colour enhancing product that improves the colour in the tile.

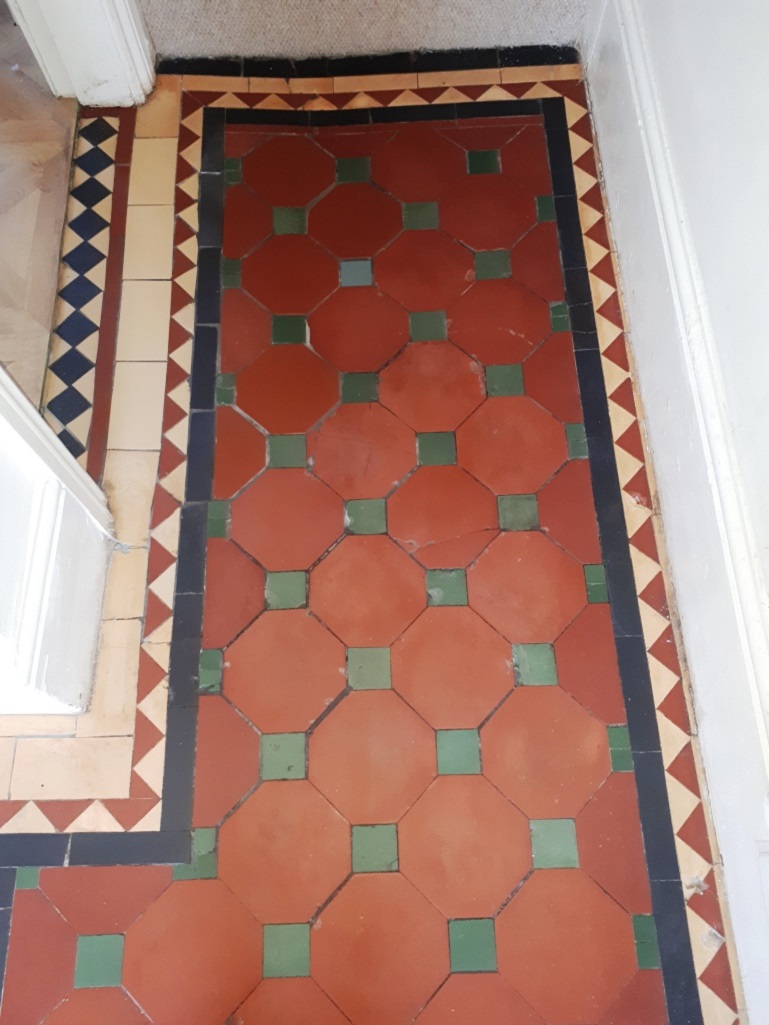
After I had finished the floor was left looking restored, fresh and the vibrantly coloured pattern shone through. The client was very happy with the end result.

Victorian Hallway Floor Tiles After Cleaning The Mumbles


Source: Victorian Tile Cleaning and Sealing Service in Swansea

Monday, August 27, 2018

3 Best Flooring Options for Screened Porches

Screened in porches are a great addition to many homes. They provide a nice compromise by providing what is still very much an outdoor space, while still offering some protection from the elements that can save you a lot of effort in maintenance and cleaning.

Since porches with screens are such a unique blend of inside and outside, it's important that you choose the proper flooring material when building your porch. You'll need a floor that, much like the porch itself, can stand up to the elements while still being cozy and visually attractive enough to make for a pleasing space.

Here are a few different flooring options to consider.

1. Indoor/Outdoor Carpet

One of the most popular types of flooring for a screened porch is indoor/outdoor carpeting. Indoor/outdoor carpets are soft and absorb noise. They are short and compact, and they come in a variety of styles and patterns.

When you select a carpet for your porch, you should make sure that it is meant for both indoor and outdoor use. Carpets that are good for outdoor use are made to resist UV rays and are better able to handle moisture. If you put a regular piece of carpet out there, it will fade quickly and possibly develop mold and mildew.

Indoor/outdoor carpets are constructed with that versatility in mind and are easier to clean than regular carpets are.

2. Porcelain Tile

Using porcelain tile is another popular option for a screened porch. With porcelain tile, you can create a beautiful, customized look for the floor. It comes in a variety of colors, styles, and sizes. Porcelain tile is more dense than normal ceramic tile and therefore will not absorb as much moisture, making it the perfect candidate for outdoor use.If you were to select ceramic tile, it could absorb water and become susceptible to breaking into pieces when it freezes. With porcelain tile, you can avoid this problem and keep your floor looking good.

If you are installing porcelain tile on top of a pre-existing wood porch, you want to make sure to use concrete board beneath the tile rather than install the tile directly onto the wood sub floor, which is not strong enough to fully support the tile and will crack.
3. Wooden Deck Tiles

Another product that has rapidly grown in popularity is wooden deck tiles. Wooden deck tiles are little slats of wood that are held together by a plastic track. The track helps hold the wood up off of the ground and allows moisture to drain through. This is a small but key feature, as encouraging good drainage helps prevent mold and rot from occurring, both of which are common concerns with regular wood decks.

Wooden deck tiles are specially treated to be durable and resistant to moisture and UV rays. They do not scratch or dent easily and can provide you with a beautiful natural wood look for your screened porch floor.

Installing wooden deck tiles is easy too. The track below the wood has a locking mechanism that allows you to hook it into the next tile. Therefore, the only tool that you will need is a saw to cut the tile to fit the dimensions of the porch.


Thursday, August 23, 2018

How to Install Membrane Waterproofing to a Shower

Membrane waterproofing is a very important part of your shower area because it helps prevent splashes and leaks. Apart from this, the membrane on the shower floor will help direct the water flow down to the drain. The waterproofing must be installed correctly to avoid fungi in your shower area. A loosely-installed waterproof membrane can also cause water to seep down to the subfloor, creating damage there.

What You'll Need:
  • Pencil
  • Concrete
  • Tape measure
  • Cement board
  • Rubber cement
  • Waterproof tape
  • Shower membrane
Step 1 – Checking the Subfloor

Check the subfloor thoroughly before you start installing the membrane. Make sure that the joists of the floor and the sheathing of the subfloor are in a good condition. However, if you notice some kind of damage in the flooring, repair it as soon as possible and do not resume the installation until you finish the repairs.

Step 2 – Taking the Measurements

Use a tape measure to measure 9 inches up the shower walls from the drain. Make a lap in the membrane waterproofing which measure between 9 and 12 inches. Remember that the length of the lap depends on the type of waterproofing you are installing. If there are some nails on the floor, pound them down to prevent future punctures in the membrane waterproofing. Don't wear shoes when installing the membrane to avoid damaging it.

Step 3 – Mixing the Cement Mud

Create a channel down the subfloor in such a way that the drain is flush with the structure of the subfloor so the membrane waterproofing will direct the water toward the drain. Make a mixture of cement mud and carefully read the instructions on the pack for excellent results. Remember to keep the mixture a bit thick so that it will not run as you apply it.

Step 4 – Laying the Membrane

Lay the membrane waterproofing in the shower and adjust it carefully until it fits exactly in the space. Put the shower membrane into a corner to avoid wrinkles. Cover the liner around the shower drain with rubber cement. Apply half an inch of cement to every inch of waterproofing material.

Fasten the membrane waterproofing in place by placing some pieces of waterproof tape in the corners. When you lay the waterproofing material on the shower floor, make sure that you cut a hole that fits the opening of the drain. Be careful not to cut a hole which is too large. Put the cover of the drain back into place after you finish. You should test the waterproofing for leaks after installing it. Confirm that the membrane is resistant to leaks, and then you're ready to install concrete or tiles on the walls of your shower.

Step 5 – Installing the Concrete

Keep the boards of concrete at a distance of approximately one inch from the lower edge of the membrane waterproofing. Use a pencil to trace the edges of the concrete boards and cover the membrane with cement. Place the concrete over the cement and let it dry thoroughly.


Tuesday, August 21, 2018

Renovating a Classic Victorian Tiled Hallway Floor in North London

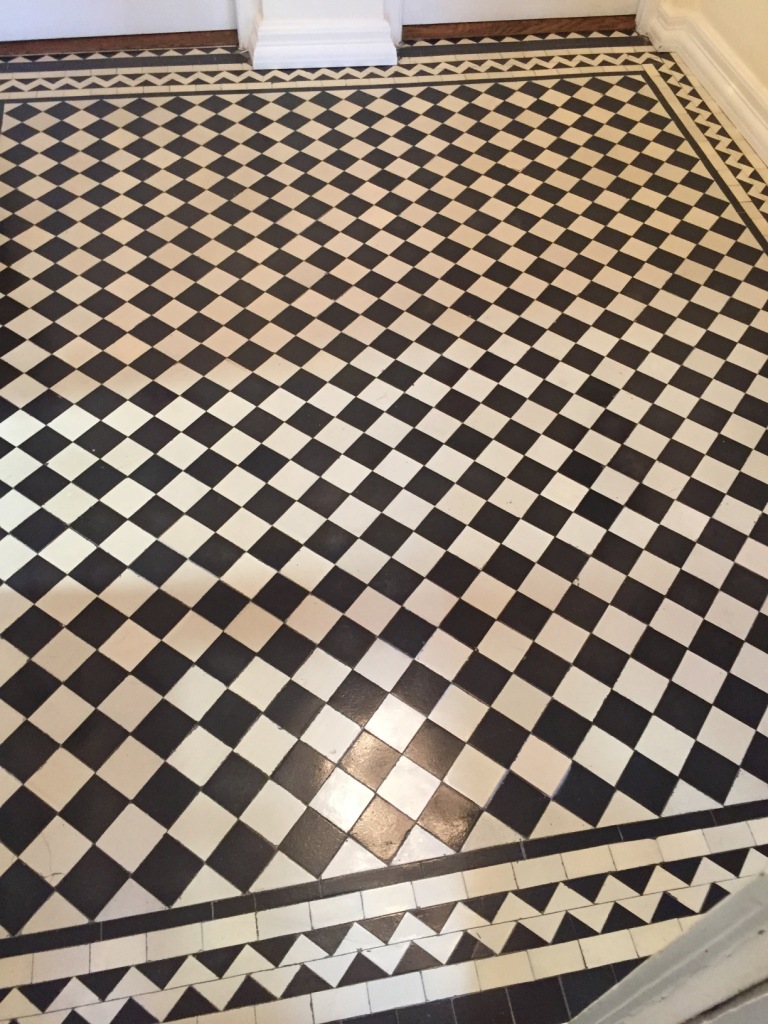
This 1930’s North London property in Mill Hill had a classic tiled hallway floor laid with black and white tiles in a diamond pattern and reminiscent of the Victorian era some thirty years earlier but still popular at the time the house was built. Mill Hill was first recorded as Myllehill in 1547 and appears to be named after a "hill with a windmill”. Over the years it’s merged with the surrounding towns and is now a desirable suburb in the North London Borough of Barnet.

I first spoke to the owner of the property over the phone to get an idea of what was required and work out a convenient time to take a look at the floor; we often get customers looking for a quote over the phone but this is not always easy to do as you never know what problems you might find with an older floor until you get there.

On inspection I could see there were in fact a large number of loose tiles in the central part of the floor which would need to be reset and grouted, the floor would also need to be deep cleaned and re-sealed with a suitable sealer to get it back to its former glory. I was confident we could soon get the floor looking how it should and after discussing the process, agreed a price and a timescale for the project. The owner was keen to get the job completed as soon as possible.

Cleaning/Repairing a Victorian Tiled Hallway Floor

Firstly, we prepared the area with protective polythene tapes to thresholds, carpets, and door fronts to ensure the surrounding areas were protected. To clean the floor a strong dilution of Tile Doctor Pro-Clean was applied, this is a concentrated, multi-purpose high-alkaline cleaner, stripper and degreaser and is highly recommended for use on natural stone, tile and grout. The tiles were scrubbed with both floor pads and brushes, it is easier to use brushes in the more intricate areas.

Victorian Tiled Hallway Restoration During Cleaning Mill Hill

After the scrubbing we rinsed, and steam cleaned the floor, removing the slurry generated during the cleaning process with a wet vacuum. It was now nicely prepared ready for carrying out the repairs and the cleaning process was useful in identifying those tiles which needed extra attention.

The repairs involved resetting 50 to 60 loose tiles, the process requires carefully removing the tile, scraping out the old adhesive and grout and then replacing with new. The area is cleaned and then when the adhesive has set the tiles are re grouted in a grout chosen to best match the original. Luckily there were no damaged tiles on this floor which made the job easier. Although, we can usually track down replacements when they are needed!

Sealing a Victorian Tiled Hallway Floor

We then left the hallway to dry off overnight, returning the next day we used a moisture meter to check the floor was dry and suitable for sealing. Old floors like these have no damp proof membrane fitted under the floor so can take time to dry out, fortunately we completed this work during warm weather, so all the readings were good.

Victorian style tiles are quite porous, so we found we need to apply give coats of sealer before they were fully sealed. We selected Tile Doctor Seal & Go to seal the tiles, it’s a specially formulated water-based blend of acrylic polymers that adds a durable stain resistant surface and leaves an appealing low-sheen finish. Being water based it doesn’t leave a smell as it dries, and it also a breathable sealer that can cope with the lack of a damp proof membrane ensuring moisture doesn’t become trapped under the floor.

Victorian Tiled Hallway Restoration After Cleaning Mill Hill

The client was very happy with the completed job, the work took a day and half to complete. Considering how many tiles had been loose the job had turned out very well. The floor is now much more manageable for her and the hallway tiles life has now been prolonged.

Victorian Tiled Hallway Restoration After Cleaning Mill Hill


Source: Victorian Tile Cleaning and Polishing Service in London

Monday, August 20, 2018

Cross-Bridging

Cross-bridging is a special way to join floor joists to prevent them from warping. The floor joists are the long thick boards you usually can see on your basement ceiling that run diagonally across the floor under the plywood. Cross-bridging is one of the most effective ways to prevent them from warping.

  • Make a diagram on a sheet of graph paper with your floor joists and where the cross-bridging will be. Most of the time they are put in with 1-3 feet between each other. Your graph will help you figure out how many you will need.
  • Measure the floor joists from the plywood of one board, down to the bottom of an adjacent one.Cut out the number of boards you will need to complete your project.
  • Cut each end of these boards at an angle that will let it fit snuggly between the floor joists at a cross angle.
  • Use a nail gun on the end of each board twice to keep it in place.

Installing Cross-Bridging

The cross-bridging technique is bound to be confusing until you have tried it a few times. Once you are finished, they should look like an “X” inside of your floor joists. One board will be behind the other, and they might not make a perfect “X”.


Friday, August 17, 2018

Deep Cleaning and Sealing a Victorian Tiled Floor in South Yorkshire

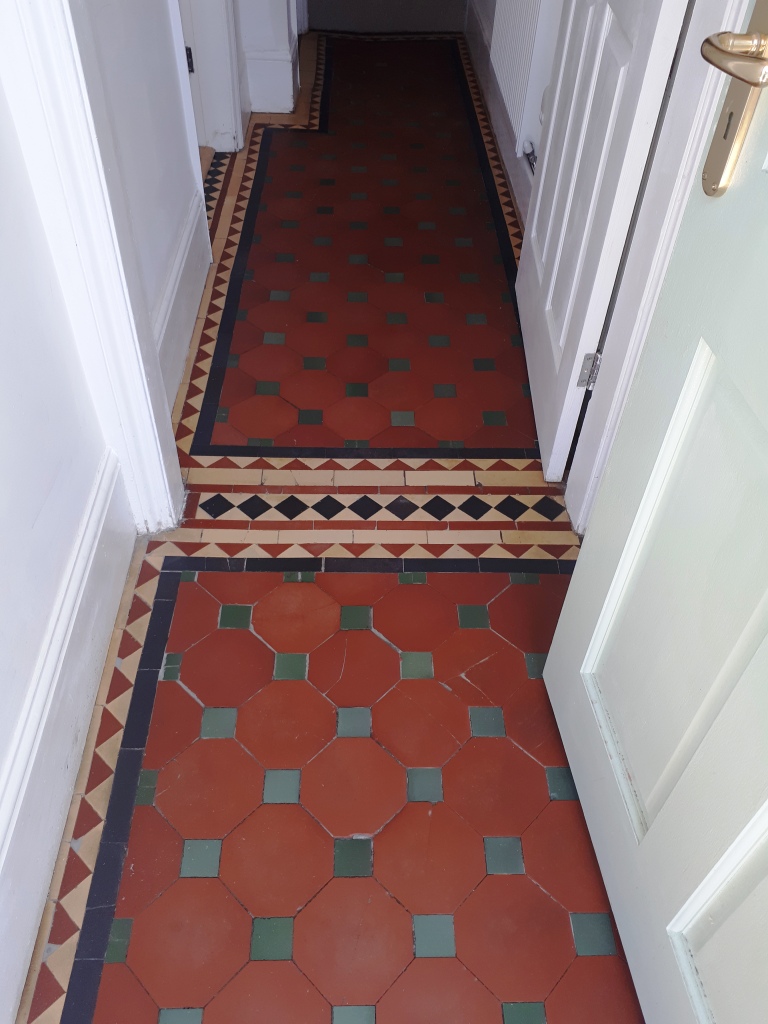
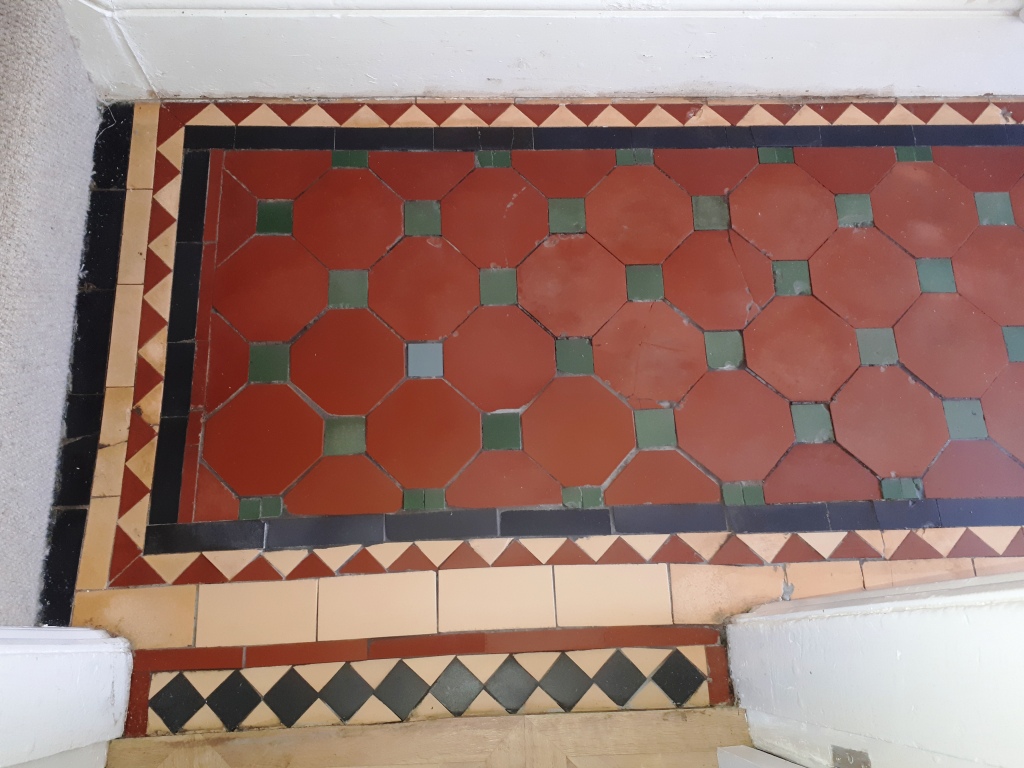
Our customer in Doncaster had lived in their house for 7 years. The property had lots of lovely period features along with a beautiful patterned Victorian tiled hallway. Since moving in they had not done anything to restore the appearance of the hallway floor, although they were very aware they wanted to preserve the floor but unsure what could be done to fix it and get it back up to scratch.

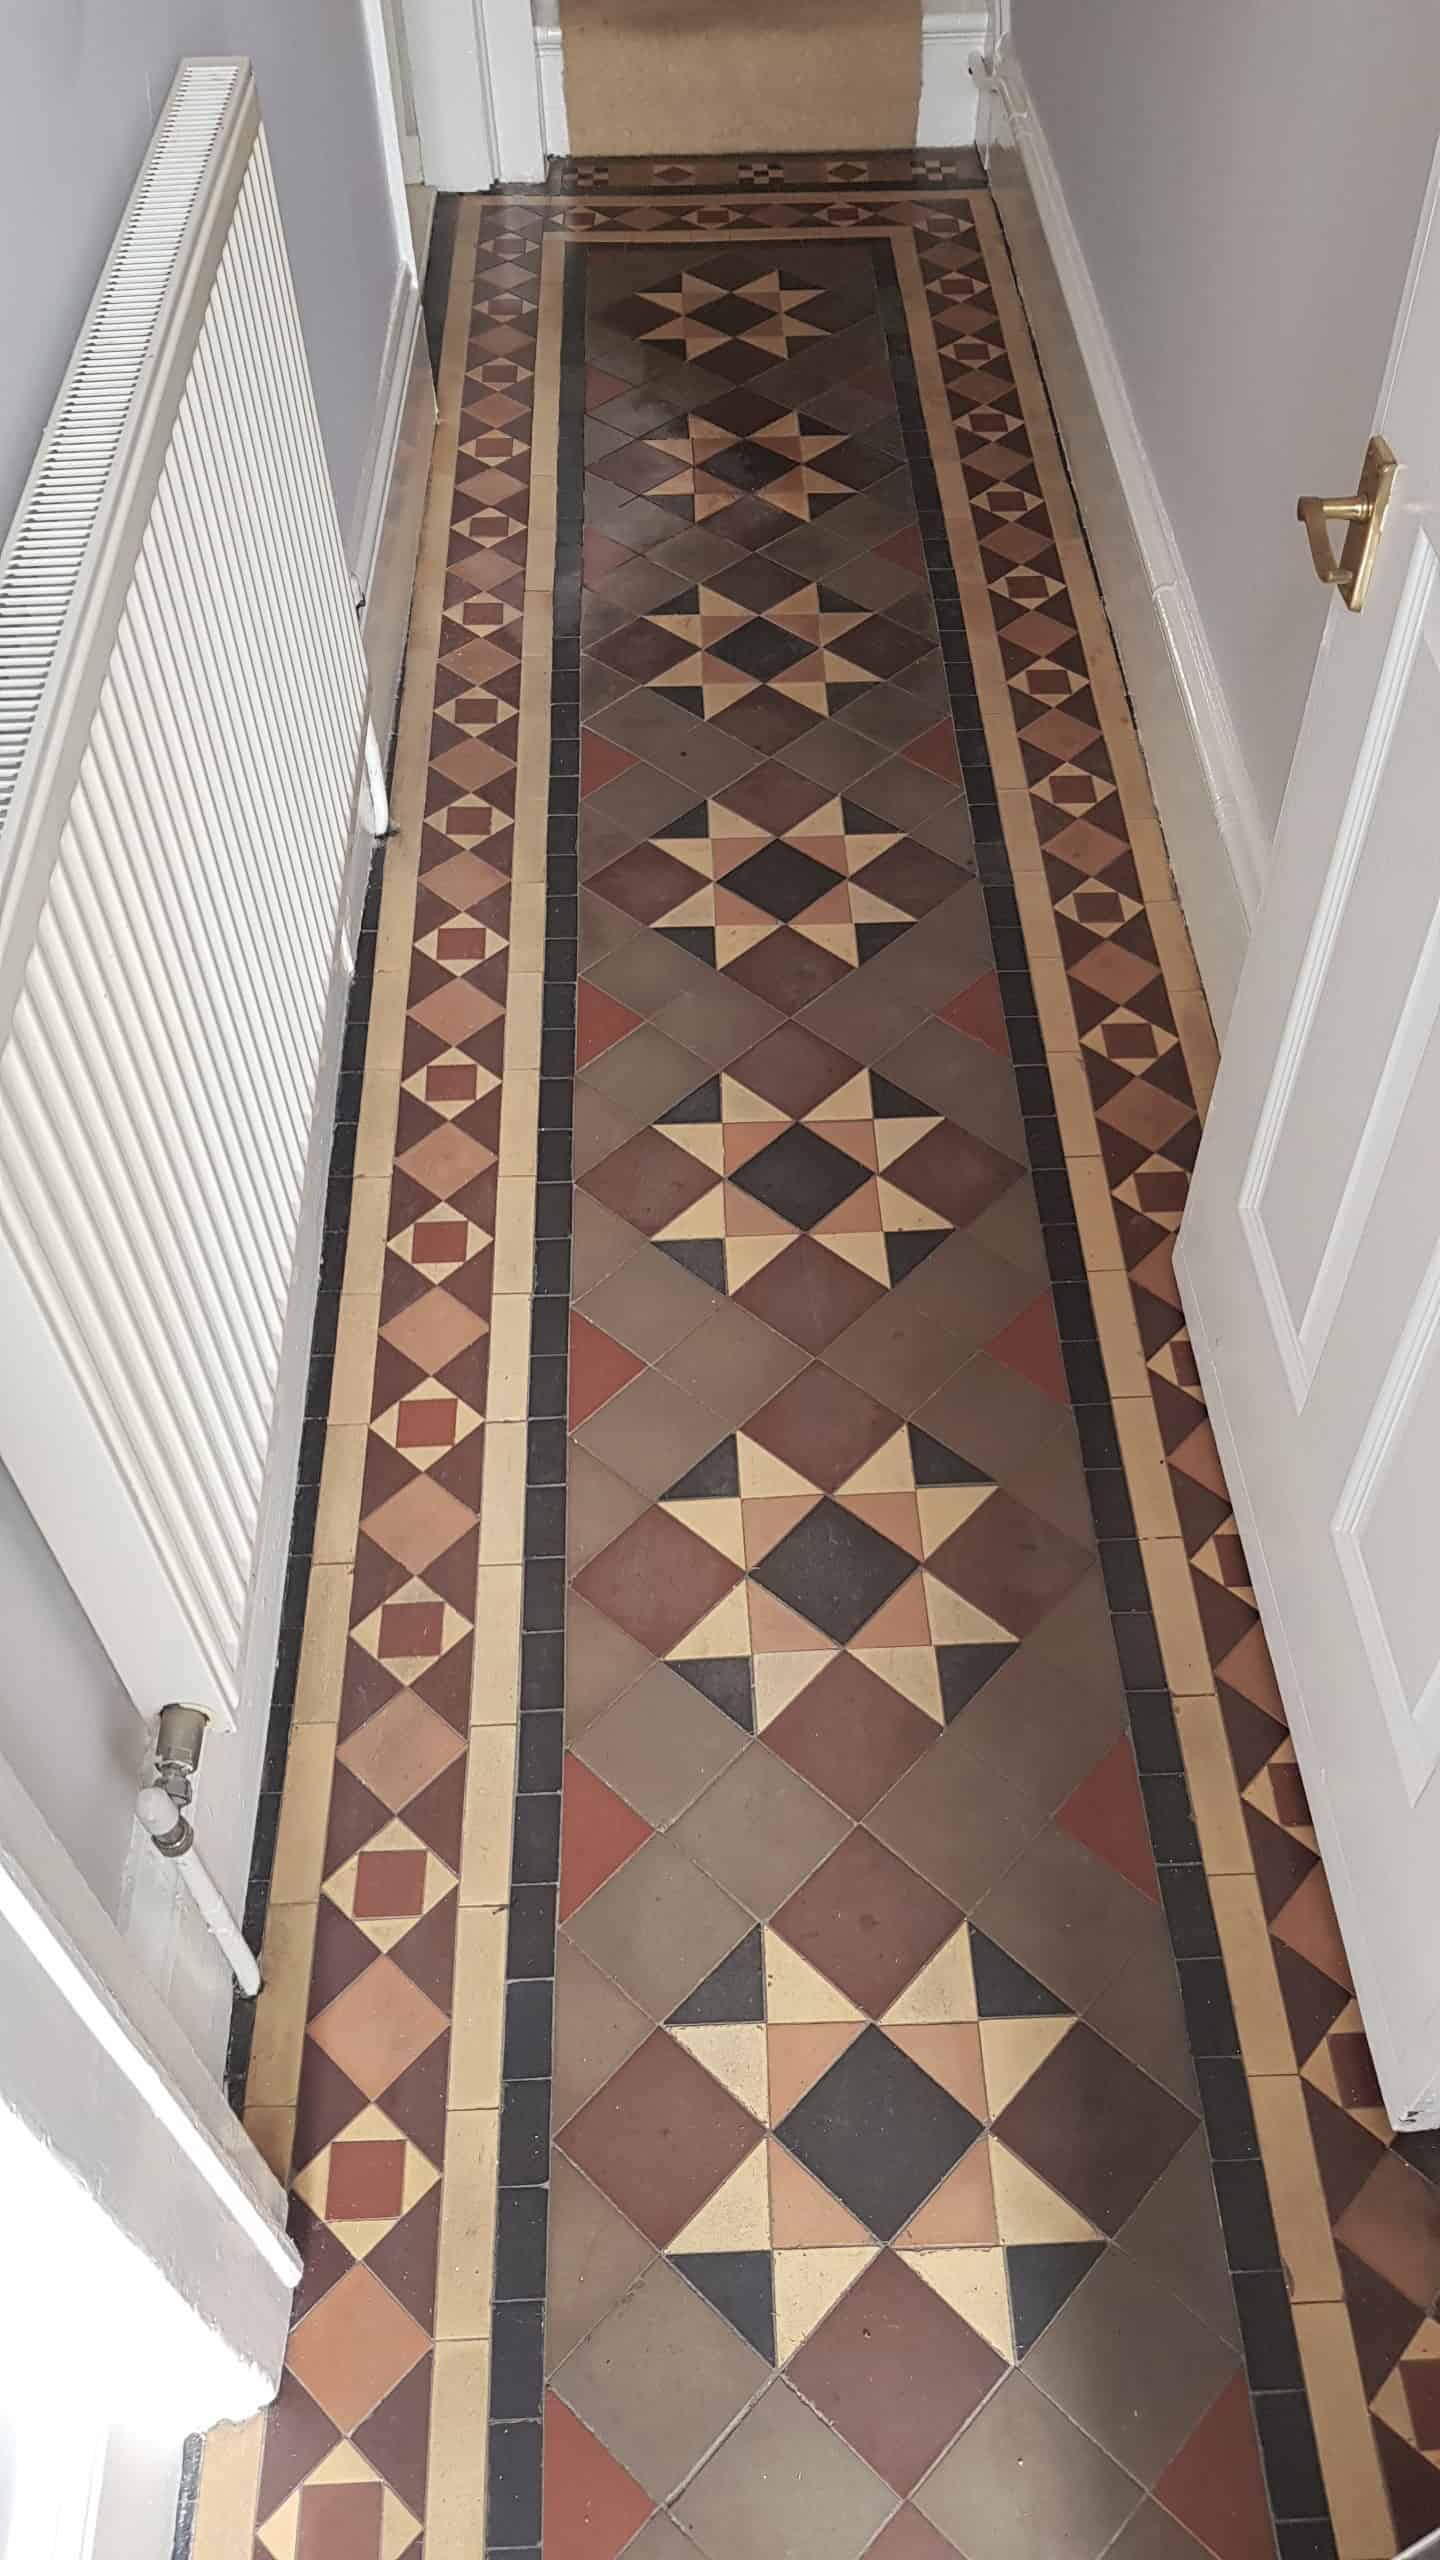
Victorian Tiled Hallway Before Cleaning Doncaster

Over time the floor had become increasingly ingrained with dirt and very difficult to keep clean, so they decided to do something about it and contacted Tile Doctor. I visited the property, came up with a plan of action, agreed a price and booked the job in for the following week.

Cleaning/Repairing a Victorian Tiled Hallway Floor

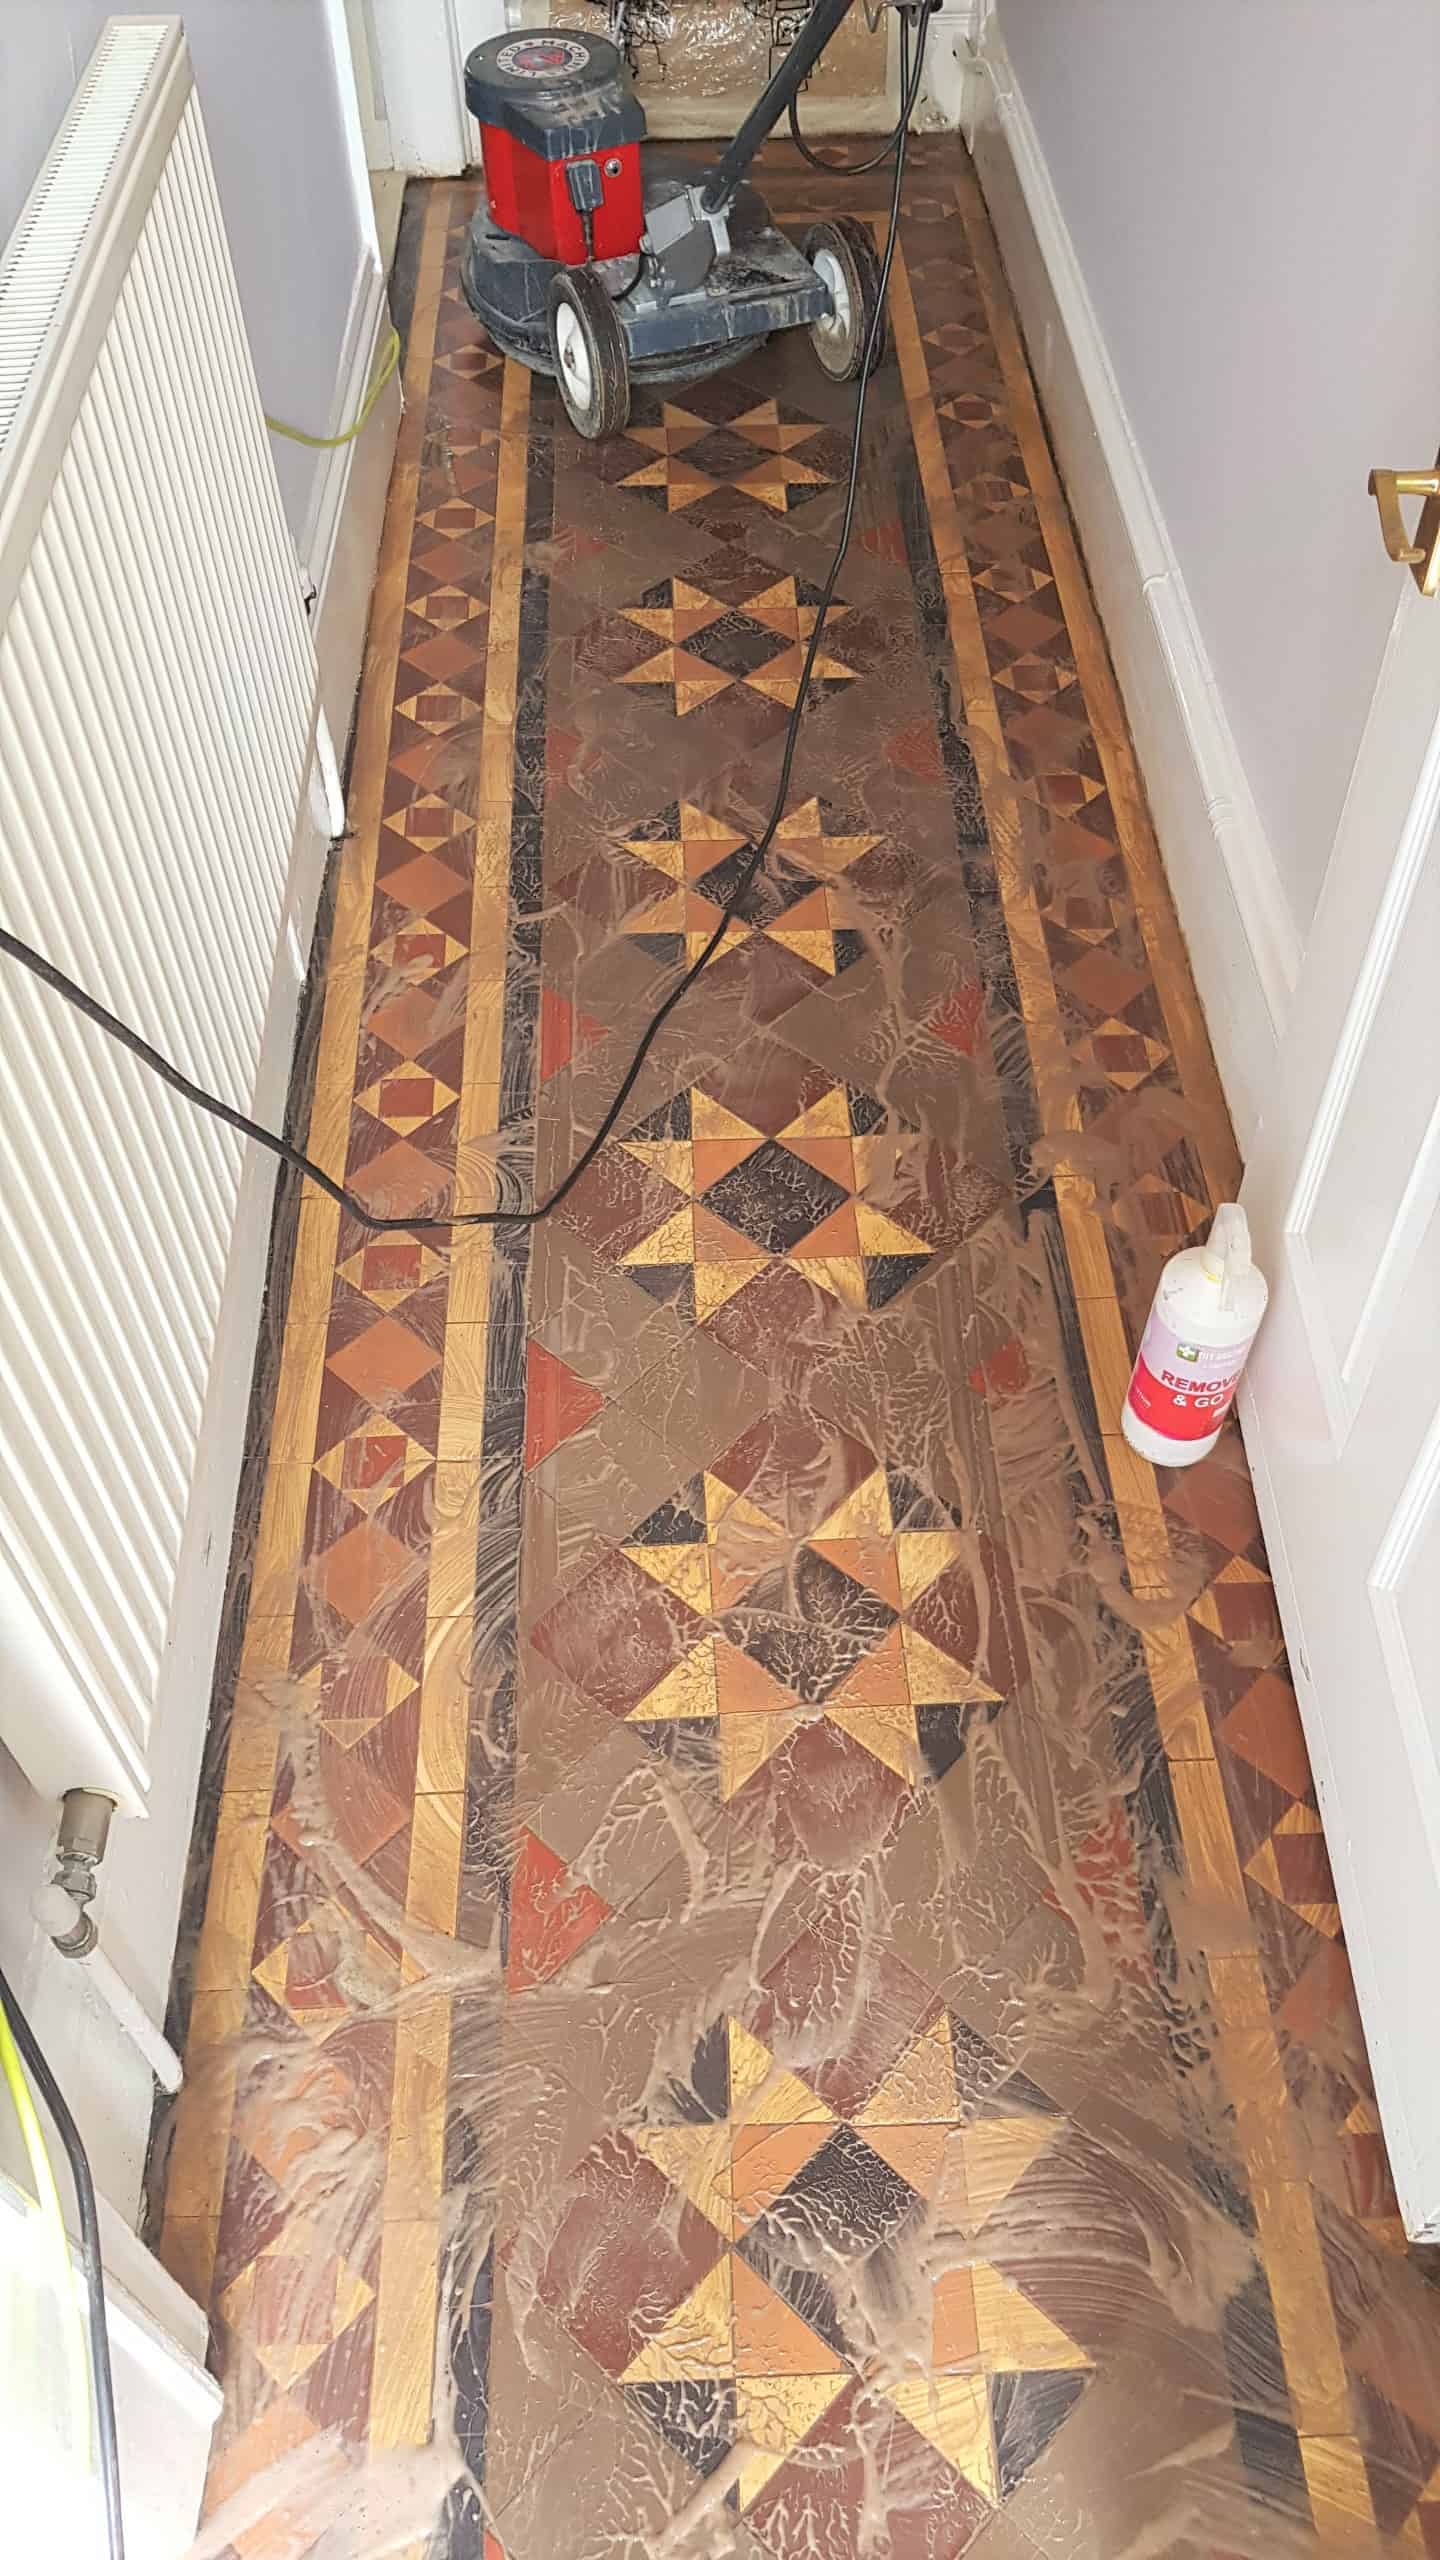
First task was to remove any old sealers or waxes that may still be present on the floor. There are several ways to do this but for this job the floor I decided to treat it with Tile Doctor Remove & Go, which was left to dwell for a good ten to fifteen minutes before being agitated with a rotary floor machine fitted with a 400-grit diamond burnishing pad.

Victorian Tiled Hallway During Cleaning Doncaster

Remove and Go is a multi- purpose stripper that breaks down most coatings and sealers. It also has the benefit of drawing out ingrained stains and any heavy grease build up. The resulting slurry was then rinsed off the floor with water and a wet vacuum.

After that the floor was inspected and it was clear more work was required to remove the years of dirt. Given the age of the property I was sure no damp proof membrane would have been installed prior to laying the floor. This can often lead to a build-up of alkaline salts in the floor that might appear as efflorescent white spots as the floor dries after cleaning.

To finish off cleaning the floor and to counter any alkaline salts I gave the tiles a clean with Tile Doctor Oxy-Gel combined with Tile Doctor Acid-Gel. I used the same process as before, allowing the products to soak into the tiles for ten minutes and then scrubbing the hallway floor with the 400-grit diamond burnishing pad fitted to a rotary floor machine. Once again, the solution was rinsed off the floor with water and then extracted with a wet vacuum.

The floor was wiped clean with damp microfibre clothes and left to dry off overnight.

Victorian Tiled Hallway During Cleaning Doncaster


Sealing a Victorian Tiled Hallway Floor

I came back a few days later to allow for the hallway floor to have fully dried out, I also double checked it was fully dry by using a moisture meter. Satisfied that the floor was ready for the sealing process I started to seal the tiles. For this I used five coats of Tile Doctor Colour Grow which is a colour enhancing impregnating sealer that leaves a matt finish and will protect the floor for years to come. This sealer is also fully breathable which makes it ideal for floors such as Victorian tiles where the age of the property means damp can be an issue.

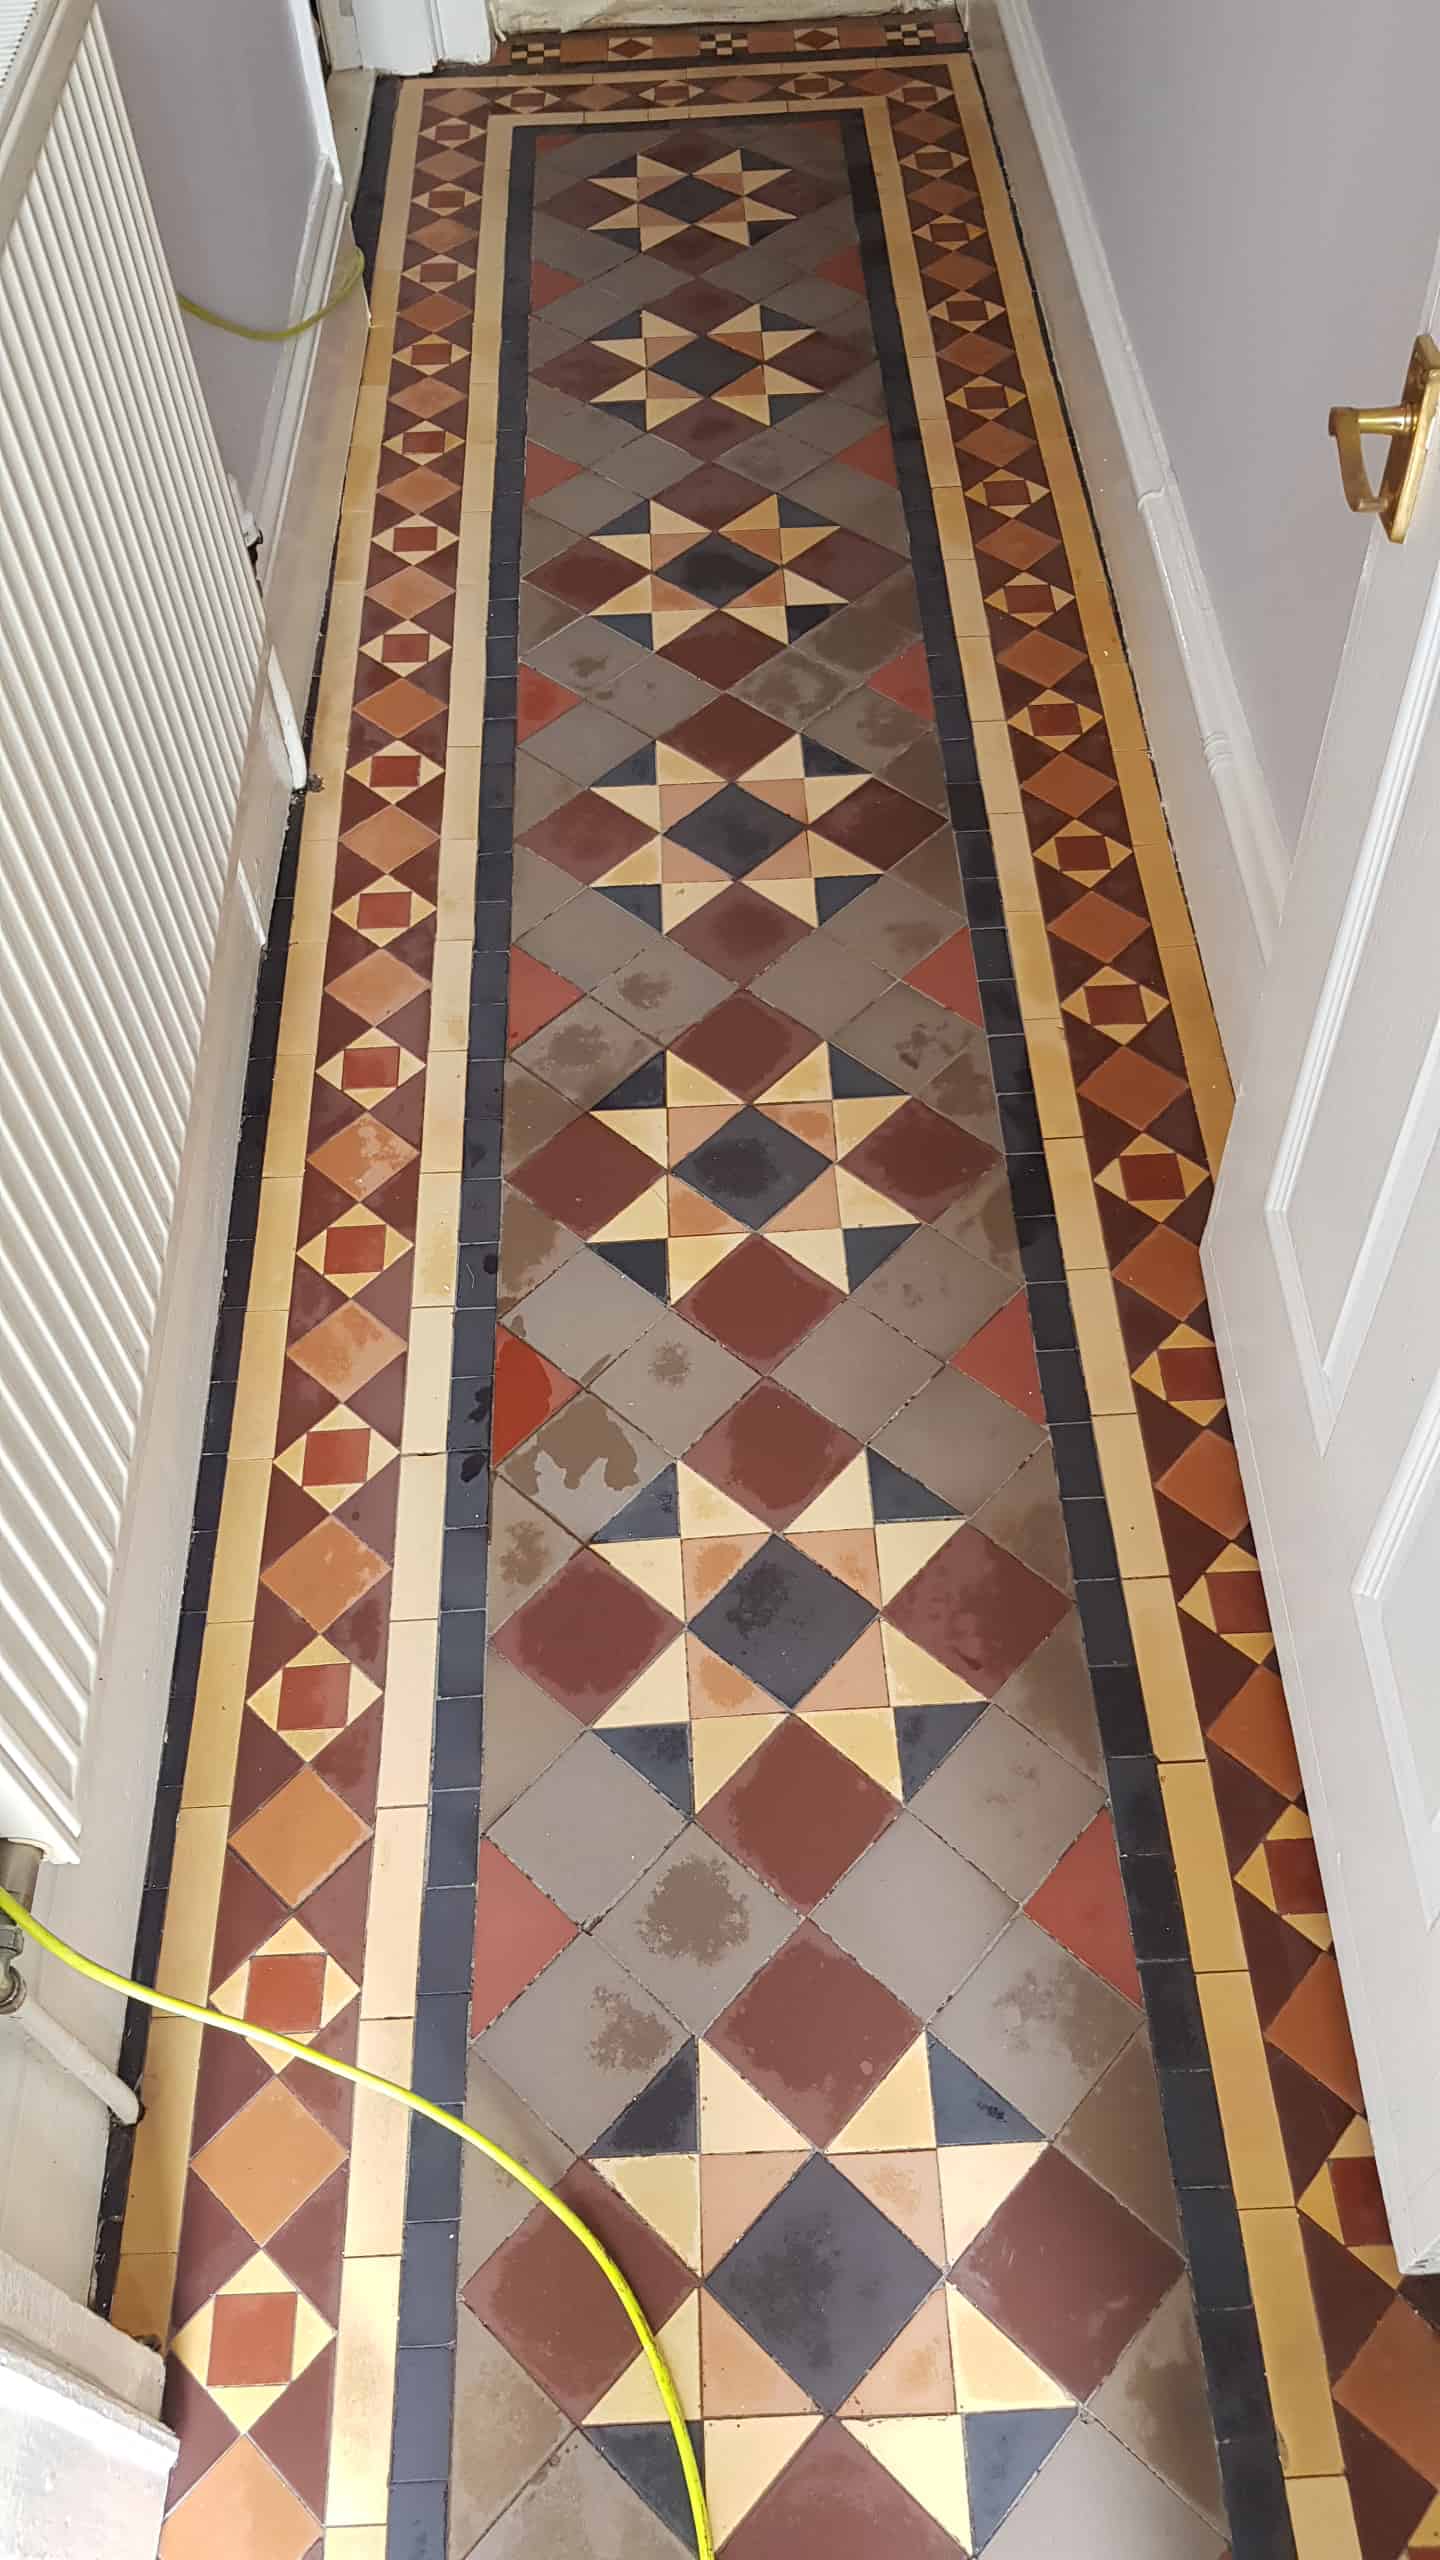
Victorian Tiled Hallway After Cleaning Doncaster

The job was completed, and the floor had been returned to its’ previous vibrant look. The customer was very happy and could see how much easier it would now be to maintain.

The property now looked how you would expect when you opened the front door.


Source: Victorian Tile Cleaning and Renovation Service in South Yorkshire

Friday, August 10, 2018

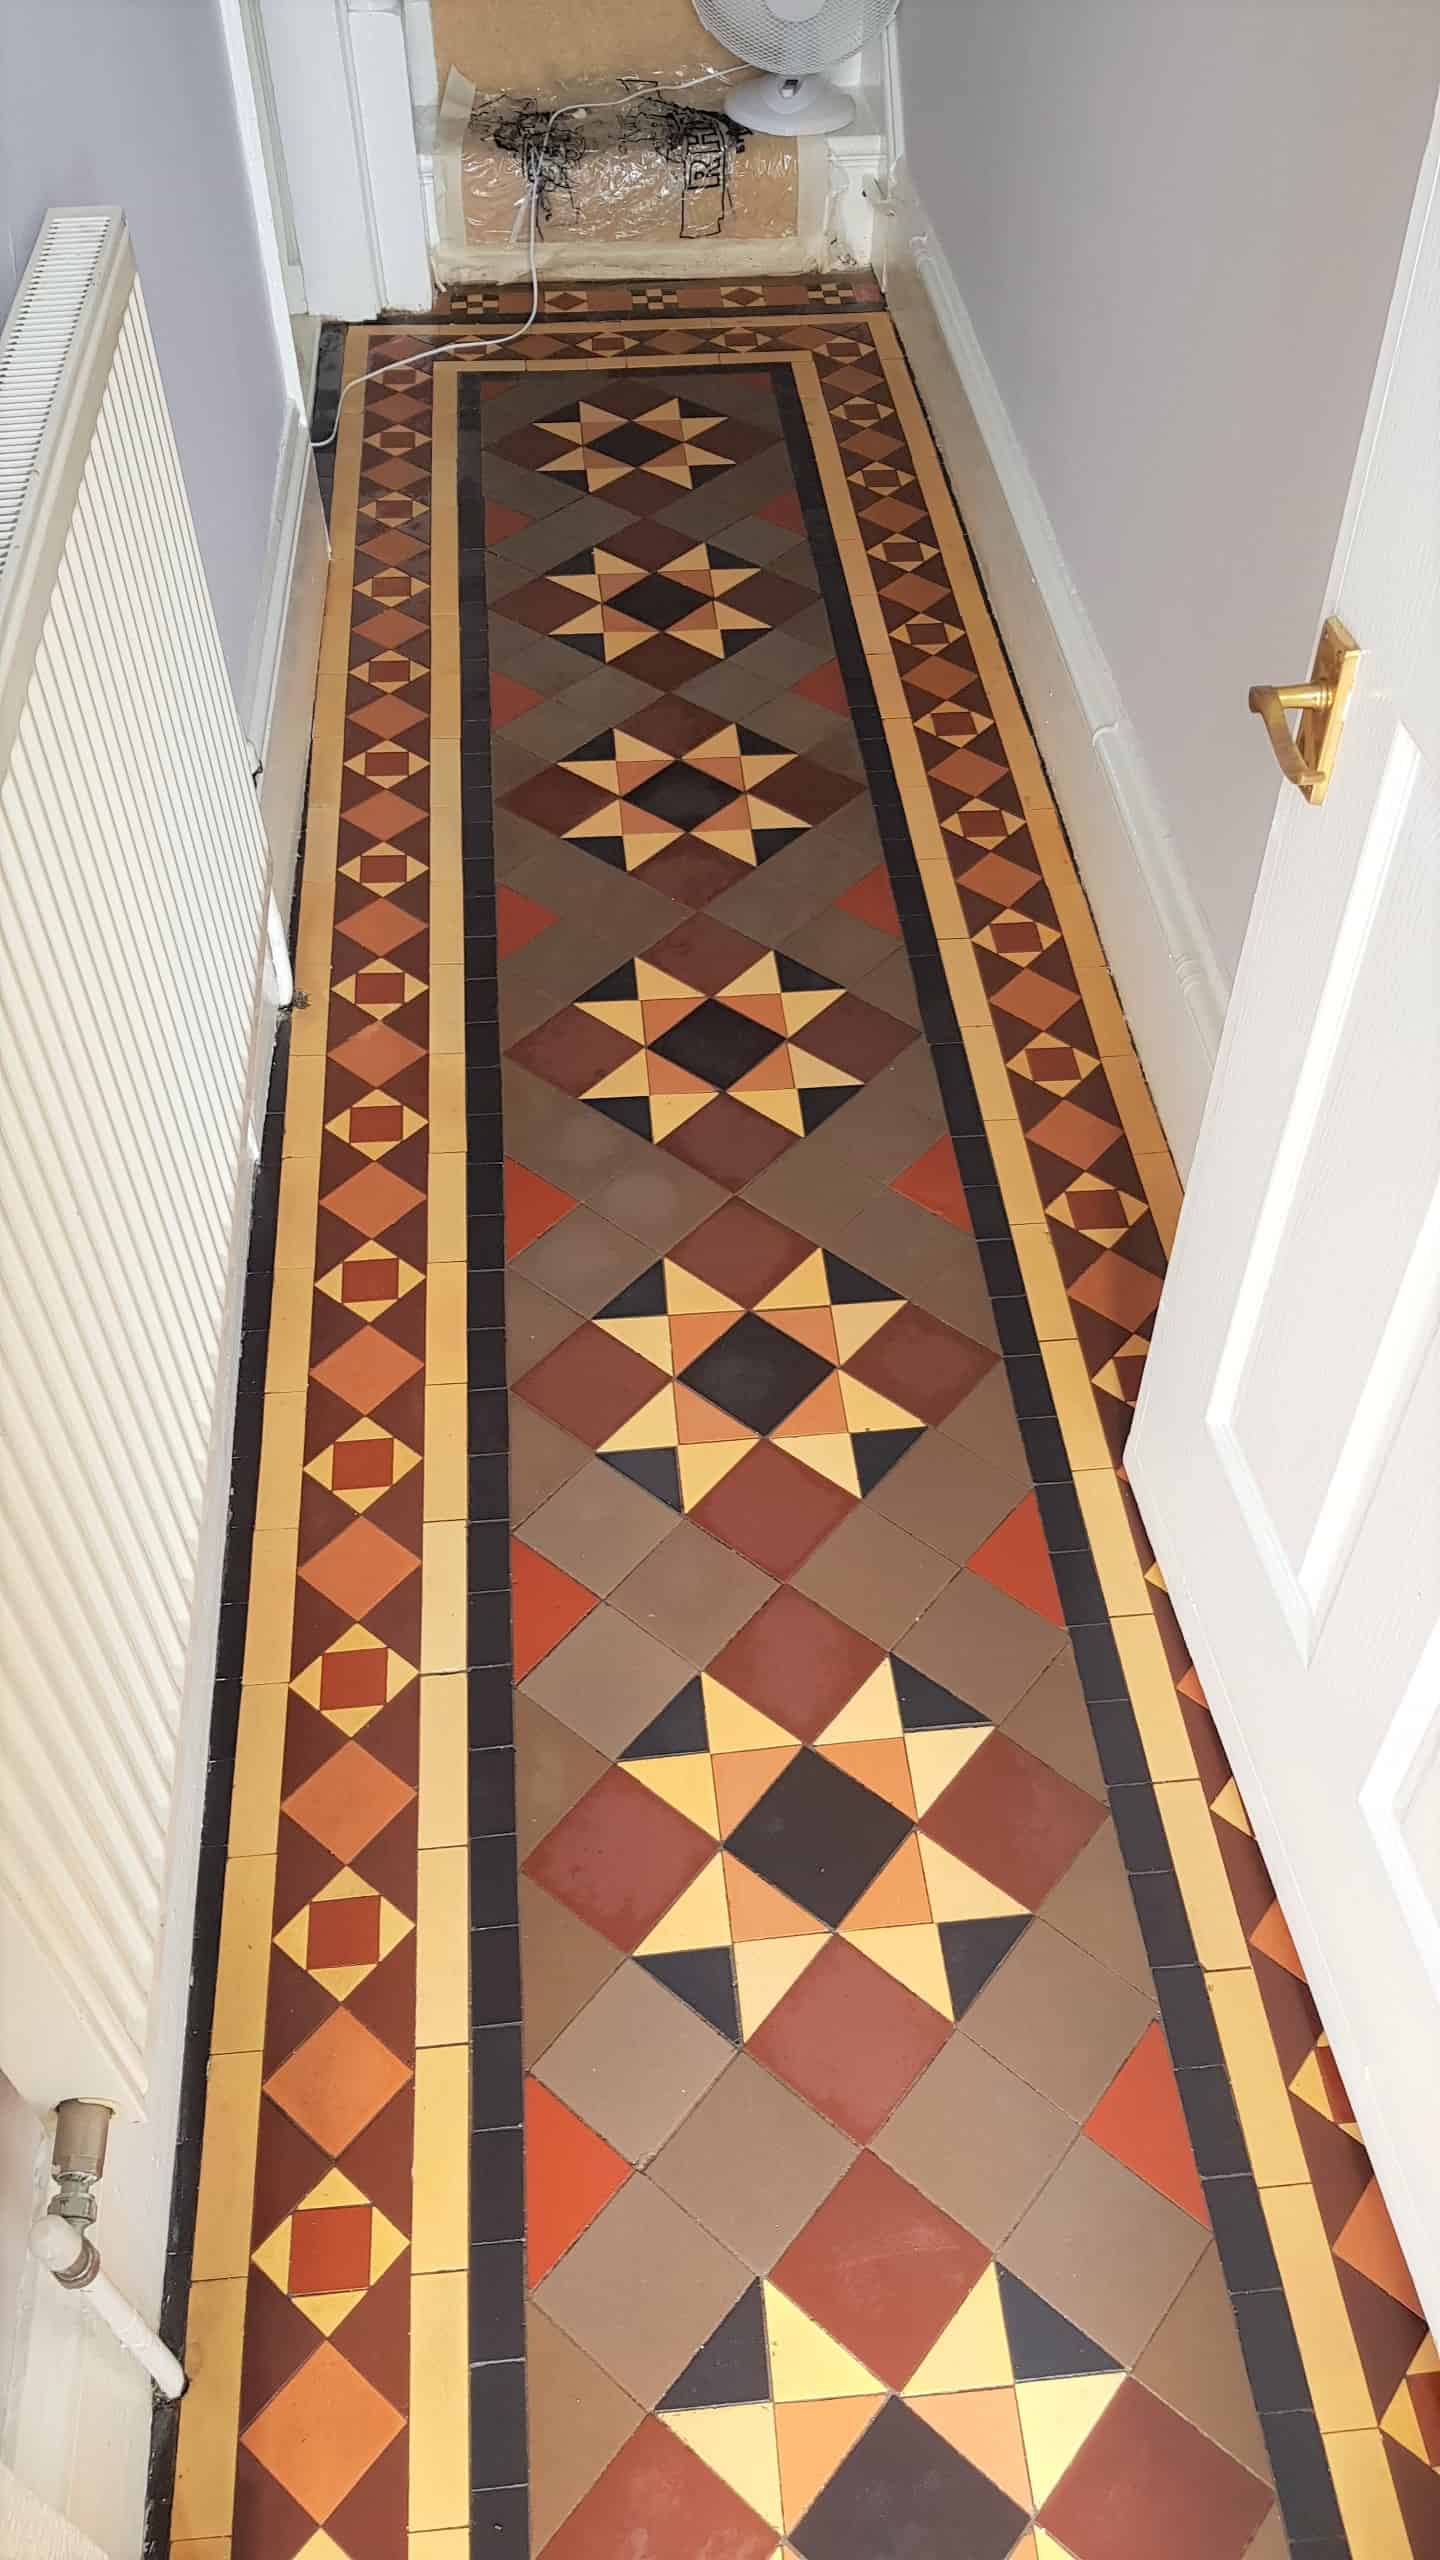
Cement Screed Covered Victorian Floor Restored in Birmingham

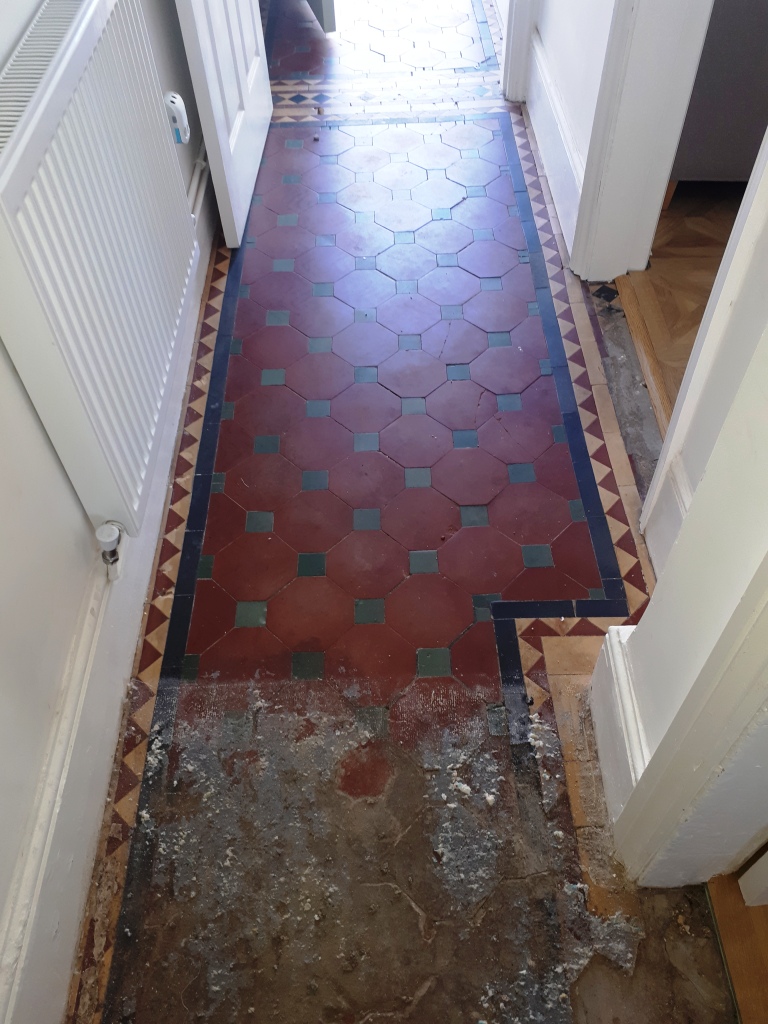
This customer got in touch with me to see if there was anything I could do to restore a Victorian tiled floor they had discovered under carpet in their hallway. Interestingly they had been told previously that the floor was beyond repair and had been quoted thousands of pounds to have it completely ripped up and replaced.

Victorian Hallway Before Restoration Bearwood Victorian Hallway Before Restoration Bearwood

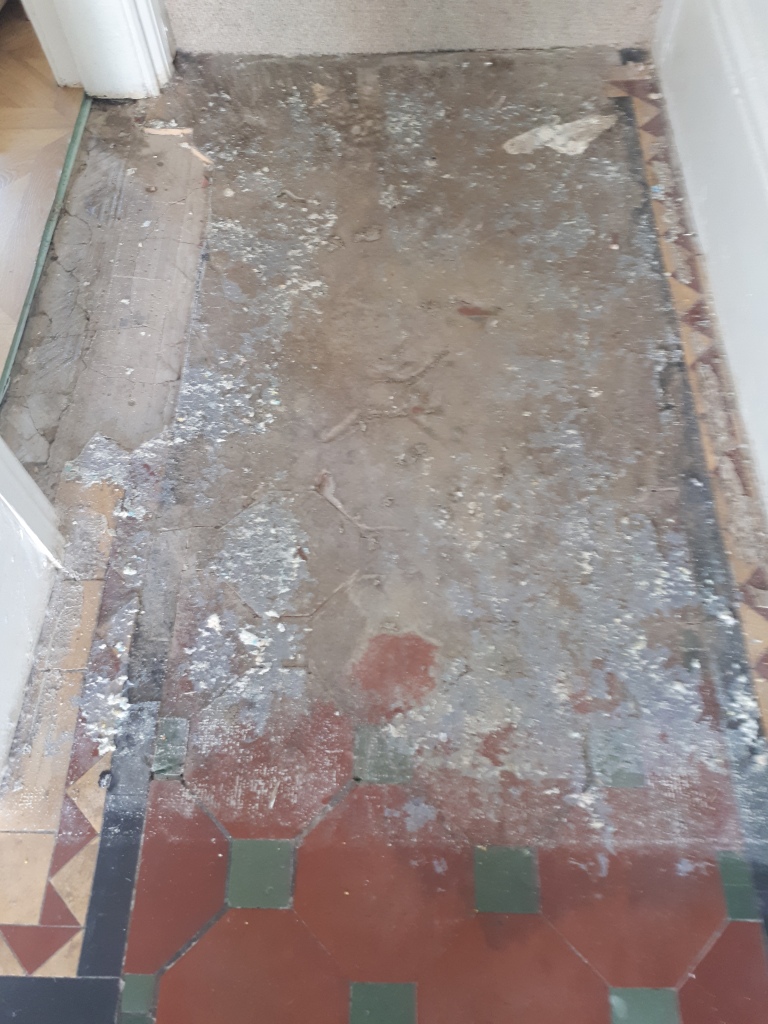
I visited the property in Bearwood near Smethwick, to take a look and could see that there was a section under a cement screed. The floor was in a truly sorry state, so I could see why the other company were not keen on restoring it. Undeterred I did a test clean to see if I could remove the screed which was encouraging however without removing all the screed it would not be possible to see what condition the tiles underneath were in. I agreed with the customer to order some replacement tiles which were needed along with extra ones just in case. The job would take a few days to allow for cleaning, repairing, drying out and sealing. The client wasn’t too optimistic, but I reassured them we could definitely get a good result.

Victorian Hallway During Restoration Bearwood

Cleaning and Repairing a Victorian Tiled Hallway

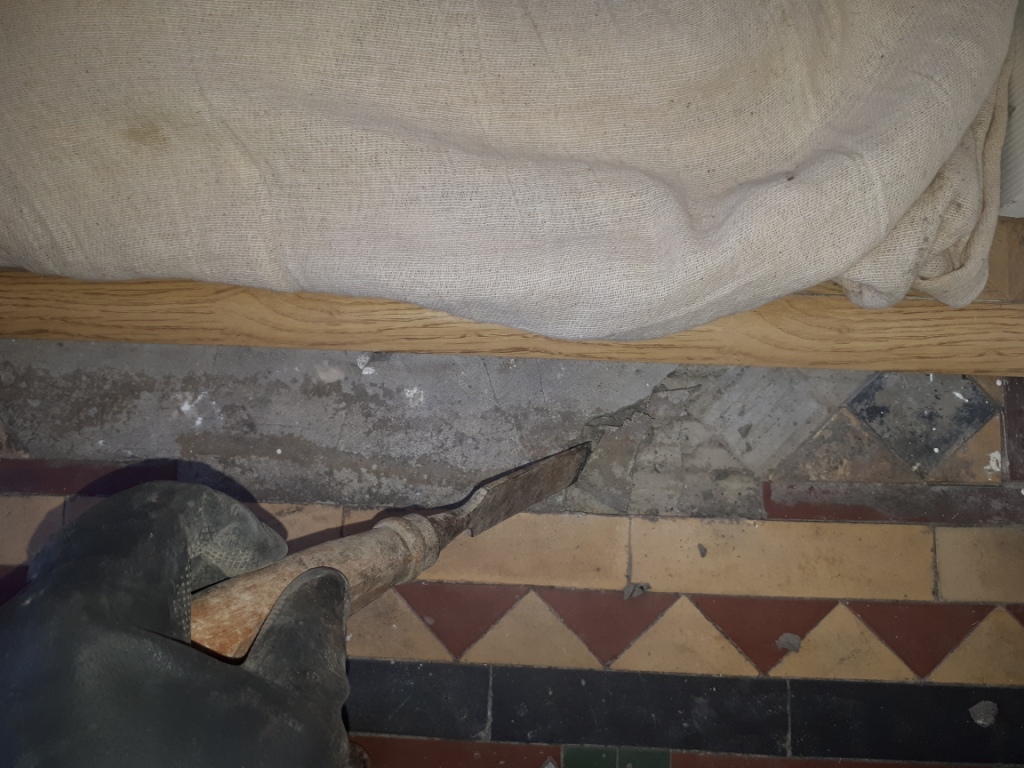
The first day was spent removing the cement screed which was quite thick in parts, so I went down the route of steaming it first to help soften the covering and then carefully scraping it off. This was quite labour intensive, but it did the job. Once the cement was removed I was left with some tiles that were ok but quite a few needed to be replaced.

Victorian Hallway During Restoration Bearwood Victorian Hallway During Restoration Bearwood

There were also two doorways, one that needed completely relaying and one needed part relaying. Some of the tiles needed to be cut to size, there were many tiles that needed resetting and re-grouting along with grout being applied to the new tiles.

Victorian Hallway During Restoration Bearwood

The next day the tiles were deep cleaned with a 50:50 combination of Tile Doctor Pro-Clean mixed with Nanotech HBU which stands for Heavy Build-Up Remover, which was quite appropriate in this case. This cocktail of tile cleaning products was left to dwell on the tiles for a while then worked in with a black scrubbing pad fitted to a weighted rotary machine. The floor was then rinsed off with water and then the soil extracted with a wet vacuum.

My next step was to give the floor and acid wash to remove any old grout smears and neutralise other mineral contaminates such as salts that can get deposited on the surface of the tiles as moisture evaporates as the floor dries. This is always a risk with old floors where no damp proof membrane exists. To do this I applied a dilution of Tile Doctor Grout Clean-Up which is scrubbed into the tiles with a deck brush and then rinsed off the floor with water and a wet vacuum. The floor was then left to dry out for a couple of days.

Sealing a Victorian Tiled Hallway Floor

I returned to seal the floor and after check it had dried sufficiently applied three coats of Tile Doctor Colour Grow sealer. This sealer seeps into the pores of the tile enhancing the colours and leaves a matt finish which the customer had previously specified. The floor was then buffed with a white pad and the customer left with a bottle of Tile Doctor Neutral Tile Cleaner to clean the floor with moving forward.

Victorian Hallway After Restoration Bearwood Victorian Hallway After Restoration Bearwood

The customer was delighted with the results and left the following feedback on the Tile Doctor feedback system.

"Kieron has done a fantastic job of our Victorian hallway tiles. We had been quoted several really high prices by other companies, but Kieron’s quote was a fraction of these. I initially wondered whether this meant the job wouldn't be as good but after 3 days of solid work the results are fantastic! He managed to transform it to its former glory, a hallway that was partly cemented over, had missing and loose tiles all over the place and was filthy. He definitely does a lot more than just cleaning! We couldn't be happier with the results!"


Victorian Hallway After Restoration Bearwood


Source: Victorian Tile Cleaning and Restoration Service in Birmingham

Wednesday, August 8, 2018

Removing Damp Membrane Waterproofing

A damp membrane defeats the entire purpose of having one installed in the first place. It is important to remove the membrane as soon as possible and thankfully, it can be done easily on your own. Here are a few steps that can help to guide you through the process. 

What You'll Need:
  • Hammer
  • Utility knife
  • Pry bar
  • New membrane
  • Caulk
  • Caulking gun
Step 1 – Remove Wall

In order to remove the membrane you will need to first access it. Remove the flooring that is layered above the membrane. Tile for example, can be removed by prying off each section with a pry bar and hammer. Once you have removed the layer, sweep with a broom and use a rag to wipe the area clean.
Step 2 – Remove Membrane

Now, use the back of the hammer to remove the nails that secure the membrane. The easiest thing to do is begin on one end and then work your way around. Take the membrane up as you are removing the nails.
Step 3 – Clean

Now that the membrane is removed, you can clean up the area. Check for any holes or cracks that may be causing leaks so you can patch them. Make sure that you let the surface dry after cleaning before installing a new membrane.