Tuesday, January 12, 2021

Different Types Of Marble Tile

Marble tile comes in a wide range of colors, making it an ideal choice for accentuating any type of décor. In addition to the various hues available, the differences in vein patterns and grain distinguish each type of marble from one another. No matter which type you decide to install, marble tile adds a timeless visual impact. Here are some popular marble options:

Carrara Marble Tile
This is generally white, gray or blue-glue and commonly used in sculpture and building décor. Its veining is more linear and usually small and fine or soft and feathery, although it can be dramatic. Carrara is one of the most commonly used marbles in homes. Since it can have a stark, pristine whiteness, use Carrara marble tile in the bathroom to add an airy and clean feel.

Statuary Marble Tile
A sister stone to Carrara, Statuary marble features a uniform background and light gray tones with distinctive and more dramatic veining. Its semi translucent white background gives it a shiny, glossy feel, reflects light and provides a radiant finish that enhances any room.

Calacatta Marble Tile
Often misspelled as Calcutta, Calcata, and Calacata, this marble tile is also commonly mistaken for Carrara marble. Even though Calacatta marble is often quarried in the Carrara region of Italy and shares similarities with Carrara marble, such as their white coloring with gray veining, the two marbles have several distinct characteristics that set them apart. Calacatta marble tiles are generally white with dark veining in large, thick patterns. For some homes, Calacatta tiles can add a striking look when paired with stainless steel of a kitchen or the white porcelain of a bathroom. Since it’s rarer than Carrara, many people consider Calacatta a luxury stone.

Emperador Marble Tile
Quarried from three regions of Spain, Emperador marble tile comes in different shades of brown, straying from the whites and grays associated with Calacatta and Carrara. It typically exhibits fine grains with irregular veins. Its darker color makes it an ideal choice for a high-traffic floors of a charming fireplace surround.

Crema Marfil Marble Tile
Also quarried in Spain, Crema Marfil marble tile comes in many tones. The most well-known tones have a light-beige or yellowish color with uniform backgrounds and irregular veins.

History of Marble Tile
Marble has been the material of choice for monuments, temples and buildings for thousands of years. It has long been a symbol of tradition, luxury and extraordinary taste. Throughout Europe, the Mediterranean, and the Far East, historic marble buildings remain. The Ancient Greeks used fine white marble to erect some of the most iconic buildings in the world. And after the Greeks, Romans started using marble slabs to clad brick and mortar buildings. It was this innovation that allowed them to erect entire marble cities, in a short amount of time.

So, there you have it, the fascinating facts, and the different types of marble tiles it was used for. It’s pretty clear to see that it’s a material that adds value and elegance to your home!


Tuesday, January 5, 2021

Yorkshire Expert Explains how to Renovate Chinese Slate Kitchen Tiles

The pictures above are of a 12 metre squared Chinese slate floor in the kitchen of a property in Harrogate which had been laid ten years prior. You can see from the photographs that the grout had darkened and the slate itself had lost a lot of its character and colour.

 
Chinese Slate Kitchen Floor Before Cleaning Harrogate

Sealers typically last between three to five years so by now there was little protection left and so dirt had become trapped in the pores of the stone and grout making it difficult to keep clean. It was now overdue a deep clean and the application of a fresh seal.

I went over to survey the floor and provide a quote for stripping off what was left of the original sealer, cleaning the floor, and then resealing. I had been recommended by a previous customer so happy with my track record and the price I quoted, they asked me to do the work. They had received a quote from another firm which as it turned out was a lot more expensive than mine.


Cleaning a Chinese Slate Tiled Kitchen Floor

Given there was little sealer left to remove I decided to start by scrubbing the floor with a strong concentration of Tile Doctor Pro-Clean which was left to soak into the slate for ten minutes. Then I worked the solution in with a rotary machine fitted with a black scrubbing pad. Pro-Clean is a very versatile product that will strip the sealer off a floor when used in a strong dilution with water, it will also remove deep seated dirt too.

 
Chinese Slate Kitchen Floor During Cleaning Harrogate

Due to the riven nature of the tiles however I found the black pad was struggling to reach into the crevices of the tile so to achieve the desired result I resorted to scrubbing the floor on my hands and knees with a scrubbing brush. Its important that the floor is as clean as it possibly can be before sealing otherwise you simply lock the dirt in and it will never look clean.

Sealing a Chinese Slate Tiled Kitchen Floor

The floor was left to dry off overnight and I returned the next day to apply the new sealer. First, I checked to ensure that the floor was fully dry using a damp meter. The sealer would not cure properly if the floor damp and this can detract from the finished appearance.

I was happy with the readings, so I started to apply the first coat of Tile Doctor Seal and Go which I felt was the best product sealing Slate. The stone needed four coats; each one being left to dry before applying the next. Seal and Go is a stain resistant sealer which results in a low sheen silky appearance, it is good on surfaces such as the Chinese Slate which tend to be more porous and being water based it does not leave a smell as it dries.

 
Chinese Slate Kitchen Floor After Sealing Harrogate

The client was very happy with the result and mentioned to me that it had never looked that good even when new.

For aftercare cleaning I recommended the use of Tile Doctor Neutral Tile Cleaner which will keep the floor in the best condition. This is a pH neutral cleaner which can be used daily and won’t compromise the newly laid sealer like many of the stronger products you find in supermarkets.


Saturday, January 2, 2021

How to Fix Warped Wood Floors

Warped wood floors in your home may feel like an almost unfixable issue, but luckily, there are ways to straighten out these areas so that they look as good as new.

What Causes Warped Wooden Floors?

Typically, moisture is the culprit that causes wooden floors to warp. That can come in the form of water or humidity, and can get especially bad during the transition in seasons, when temperature changes bring about the moisture in the air.

This unwanted moisture causes wood to swell, then contract as it dries, causing an unsightly bump or bubble in your flooring. Conversely, excessively dry conditions or too much direct sunlight can also be the cause behind floor gaps by causing wood to shrink.

Deciphering the Size of Your Warp Issue

Every floor warping problem is different, so it’s important to decipher the scope of the problem in determining how to fix it.

Small warps are typically characterized by small bumps in the wood. In these cases, the wood will be pretty pliable. Larger warps will take up more room along a wood board. Giant warps are more of a large-scale issue - and are thus harder to treat. These will be large in size and are most times attributed to aged wood, significant water damage, or a lack of attention and care to the space.

Sanding Down a Warped Floor

The first method to fix a warped floor is to sand it. This works best for warps that come from humidity or a water spill rather than from a leak that originated below your flooring. Sand down the bump in your flooring until it is level with the rest of the floor. Keep in mind that this will require an aggressive amount of sanding in most instances. That means that about a quarter of thickness could be given up in this process, which is something to consider.

Fixing a Small Warp

You can fix a small warp issue quite easily. As long as the wood is still pliable, it can be fixed by moistening the area slightly, then placing a heavy object like a barbell or a cinderblock on top. Leave the weight for several days and let gravity do its job. After those few days have passed, remove it and see if the warped area is fixed. If the warp is still present, treat the issue like a large warp, as detailed below.

Fixing a Large Warp

If you have a warp that is larger than what a cinderblock can cover, you’ll want to replace the flooring area that is affected. Remove the warped plank. Once you do that, it’ll be easier to determine the root of the problem, if you haven’t already. For instance, an underlying leak could be the culprit causing your wood to move.

After you’ve done some investigating, replace the plank with one of the same kind to match the rest of your flooring. Nail and secure the plank using the same installation technique that was used for the rest of your floor so that the look remains seamless.

If you’re having trouble sourcing flooring that matches yours or you don’t want to shell out the cash to do so, a useful trick is to “steal” planks from an unseen area within your home. For instance, take planks from a space like a closet or under your refrigerator. These will serve as a perfect match to replace the warped planks. Then, you can use whatever you want to replace the stolen planks, such as something more cost effective or something that’s not a perfect match.

Other Tips and Tricks

Finish Your Floors - To prevent wood from warping in the first place, your wood floors should be properly finished to protect against moisture. This means that the subfloor has a vapor barrier, locking out moisture and preventing swelling, contracting, and gaps regardless of the moisture levels or dryness surrounding them.

Limit Humidity - Careful humidity control can help minimize wooden floor warping. Run fans in rooms with wood floors and avoid exposing them to excess air conditioning. To create the best circumstances for your floors, run dehumidifiers to pull moisture from the air.


Source: www.DoItYourself.com

Monday, December 14, 2020

How to Remove Screed and Bitumen from Stone Floors

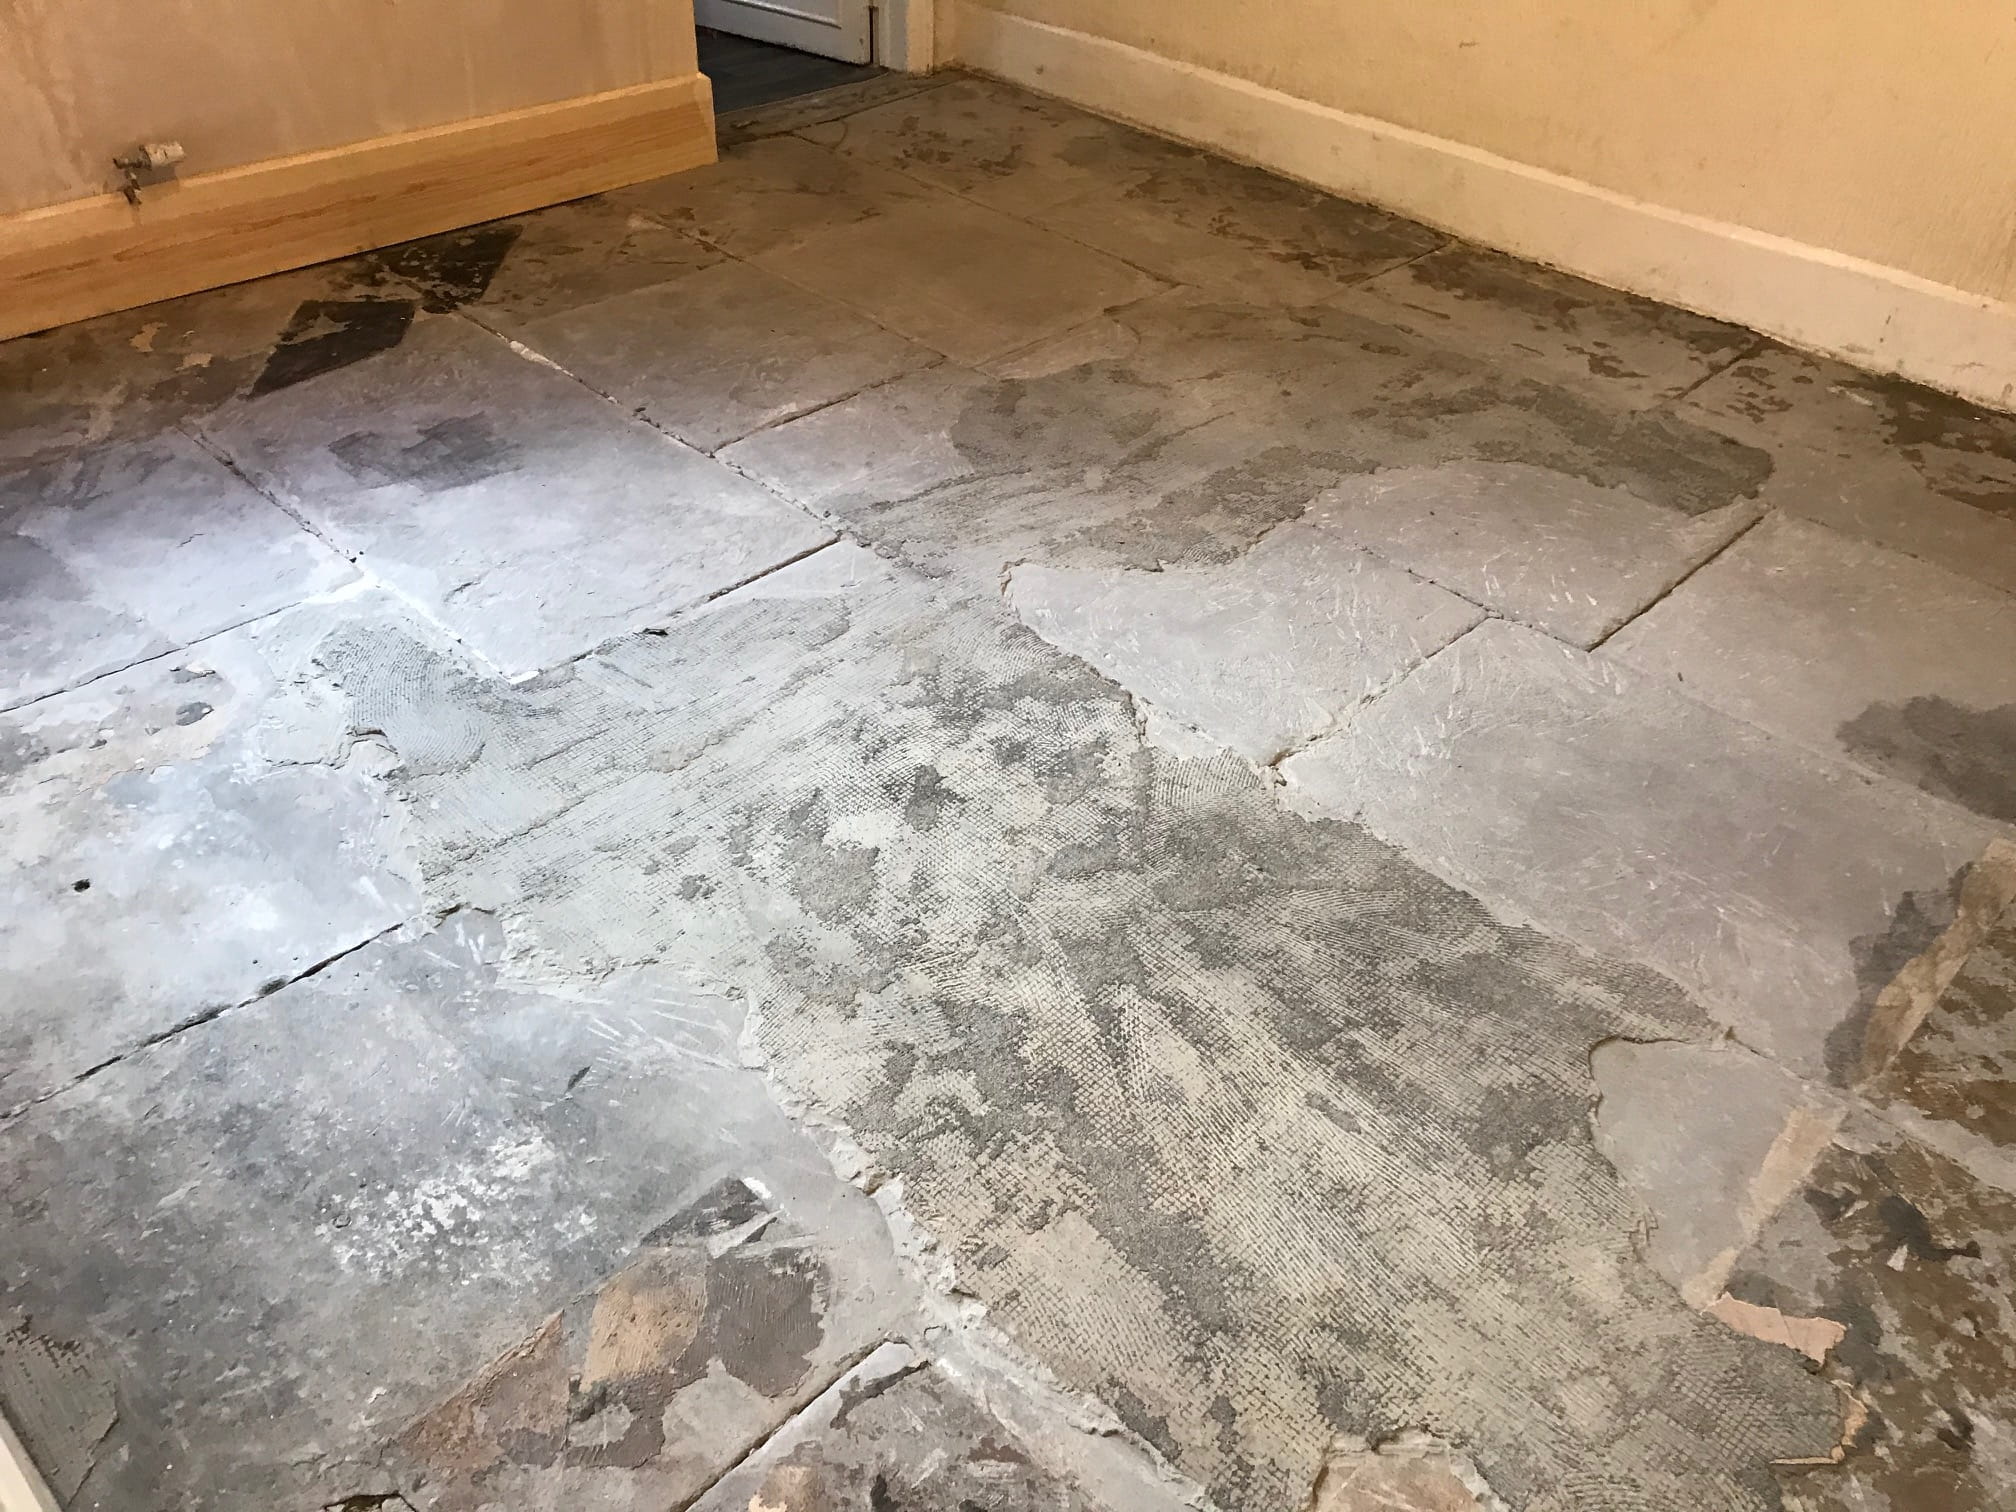
The owner of this Flagstone floor at a property in Carnforth was told by a damp specialist to remove the carpet and underlay and have the floor taken out and skipped. Then to install new hardcore and concrete put in place but with a Damp Proof Membrane installed in between, then once fully cured (four weeks at least) they could have a new carpet, tile or wood floor etc. installed. All good advice, however, the owner of the house wanted to keep as many original features as possible and wasn’t keen on the proposal.

Looking for an alternative solution they reached out to Tile Doctor and so I went over to take a look. After surveying the floor, I came up with a completely different solution which involved milling the stone with coarse abrasive pads to remove the screed and bitumen and then resurface with diamond encrusted burnishing pads of medium and fine grits which would result in a smooth finish. Not only would this be much easier to clean going forward it would also be much more attractive, especially once sealed.

 
Flagstone Floor Before Renovation Carnforth Flagstone Floor Before Renovation Carnforth

Happy with our alternative we arranged a date to come and do the work which would take three days, two days to prepare the floor and a third to apply a sealer.


Cleaning a Flagstone Tiled Ground Floor

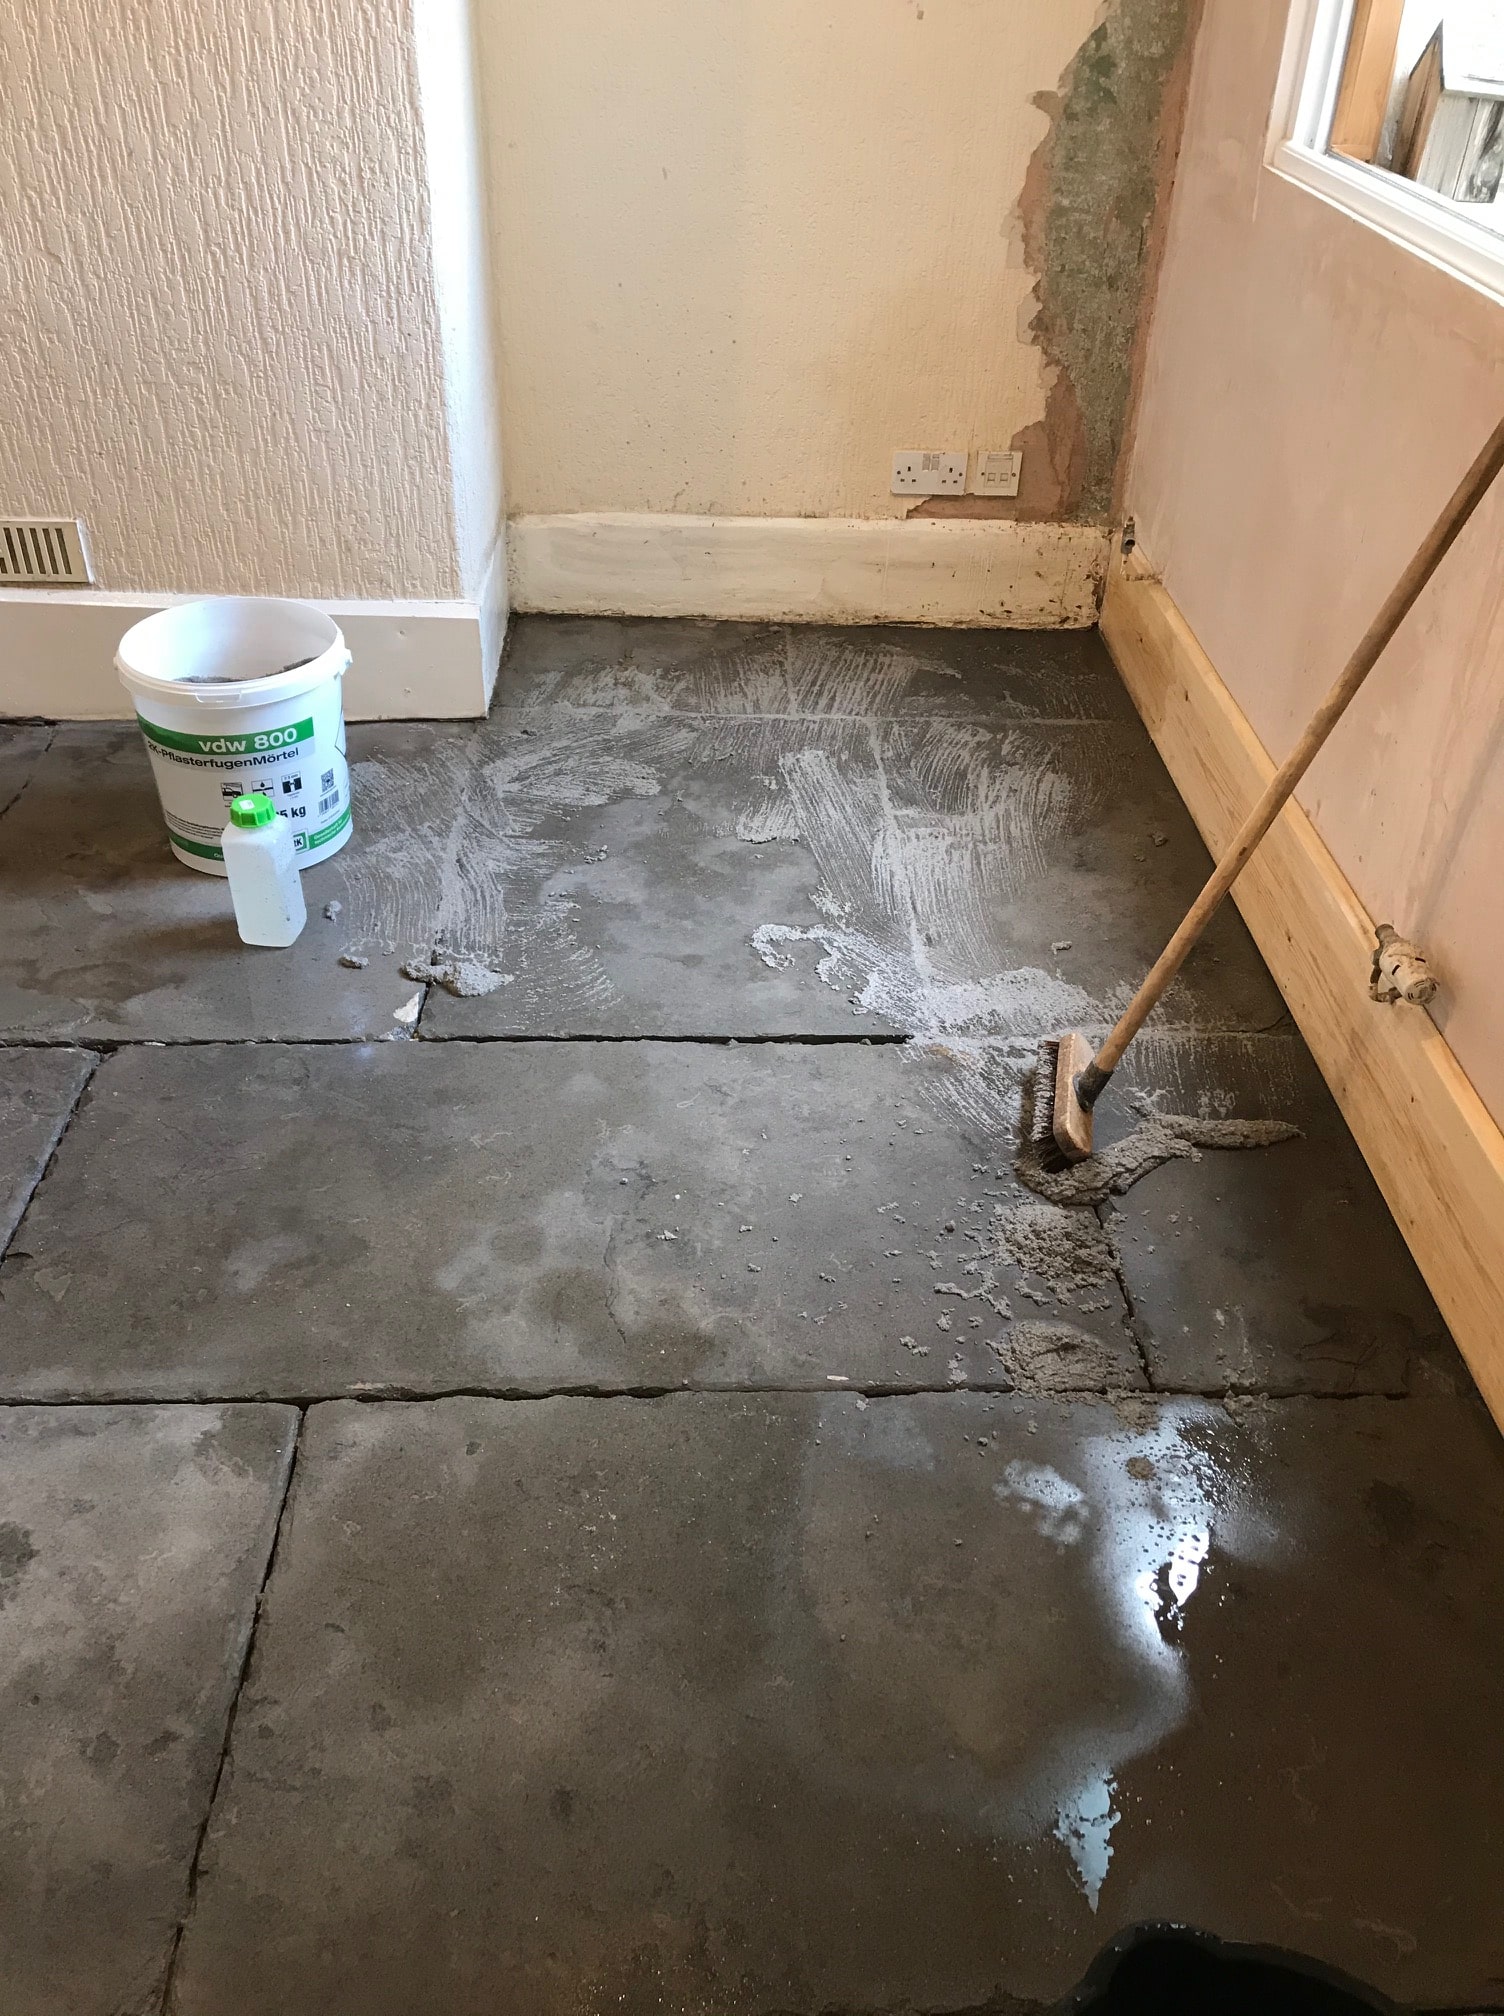
Milling a floor is arduous work and requires the use of a heavy rotary machine that can apply weight onto the stone so the milling pads can really get a bite into the surface. Because of this I roped in a colleague to help take some of the strain. Some of the areas of bitumen and screed were so prominent we used an SDS hammer action drill with a flat bit to chisel them off first, this can leave a few marks in the stone which we then level out with the milling pads starting with a 50 grit and go all the way up to a 400 grit.

Flagstone Floor During Renovation Carnforth Flagstone Floor During Renovation Carnforth

We used a lot of water during this process to help lubricate the abrasive action of the milling pads, this also helps to rinse off the soil that is created, all of which is extracted with a wet vacuum.

Next step is to give the floor an acid rinse with Tile Doctor Grout Clean-Up which is designed to neutralise any alkaline salts in the stone that could result in efflorescence later.

With the floor cleaned up the last step was to re-point between the Flagstones using a breathable pointing product called GFtK 800.

 
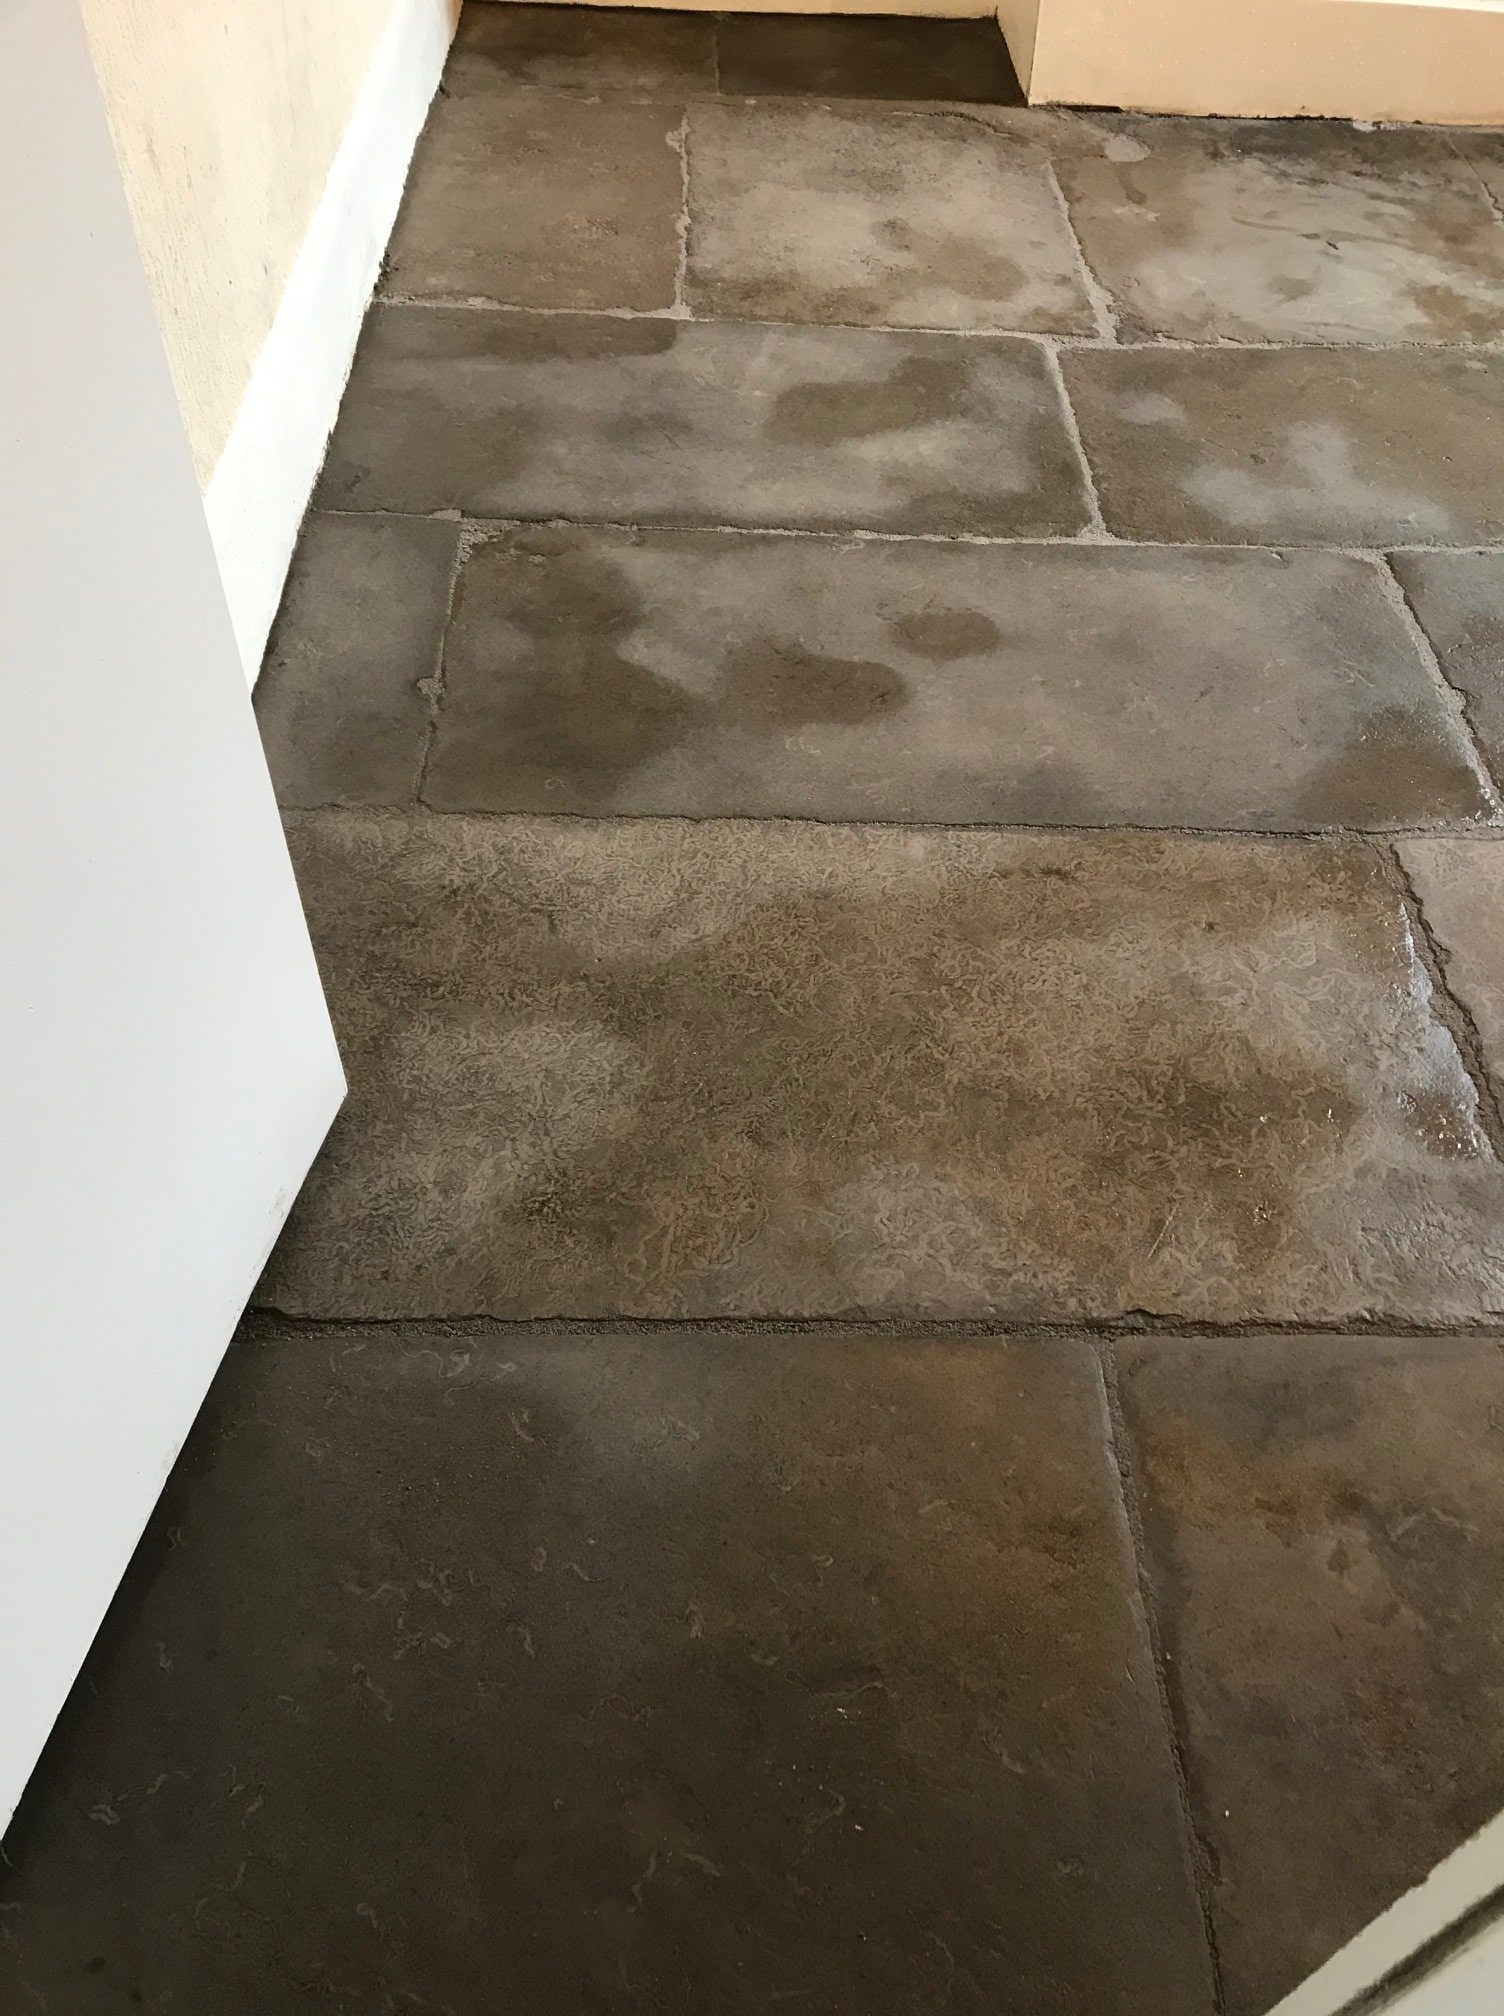
Flagstone Floor After Cleaning Carnforth Flagstone Floor After Cleaning Carnforth


Sealing a Flagstone Tiled Ground Floor

Sealing was the next step however the floor was still quite damp after the initial renovation, so it was left for a few days to dry out first.

We selected a fully breathable sealer for this floor, this is an important requirement for a floor with no damp proof membrane as it will allow moisture to rise through the flagstone and evaporate at the surface. The concrete screed and bitumen covering will have prevented this previously which is dangerous as a build up of moisture in the stone can lead to it crumbling and you risk moisture reaching out to the walls where it can lead to rising damp. 

Tile Doctor has three breathable sealers to choose from and in this case the customer decided to go with Tile Doctor Colour Grow which is an impregnating sealer that protects from within and enhances the natural colours in the stone.

 
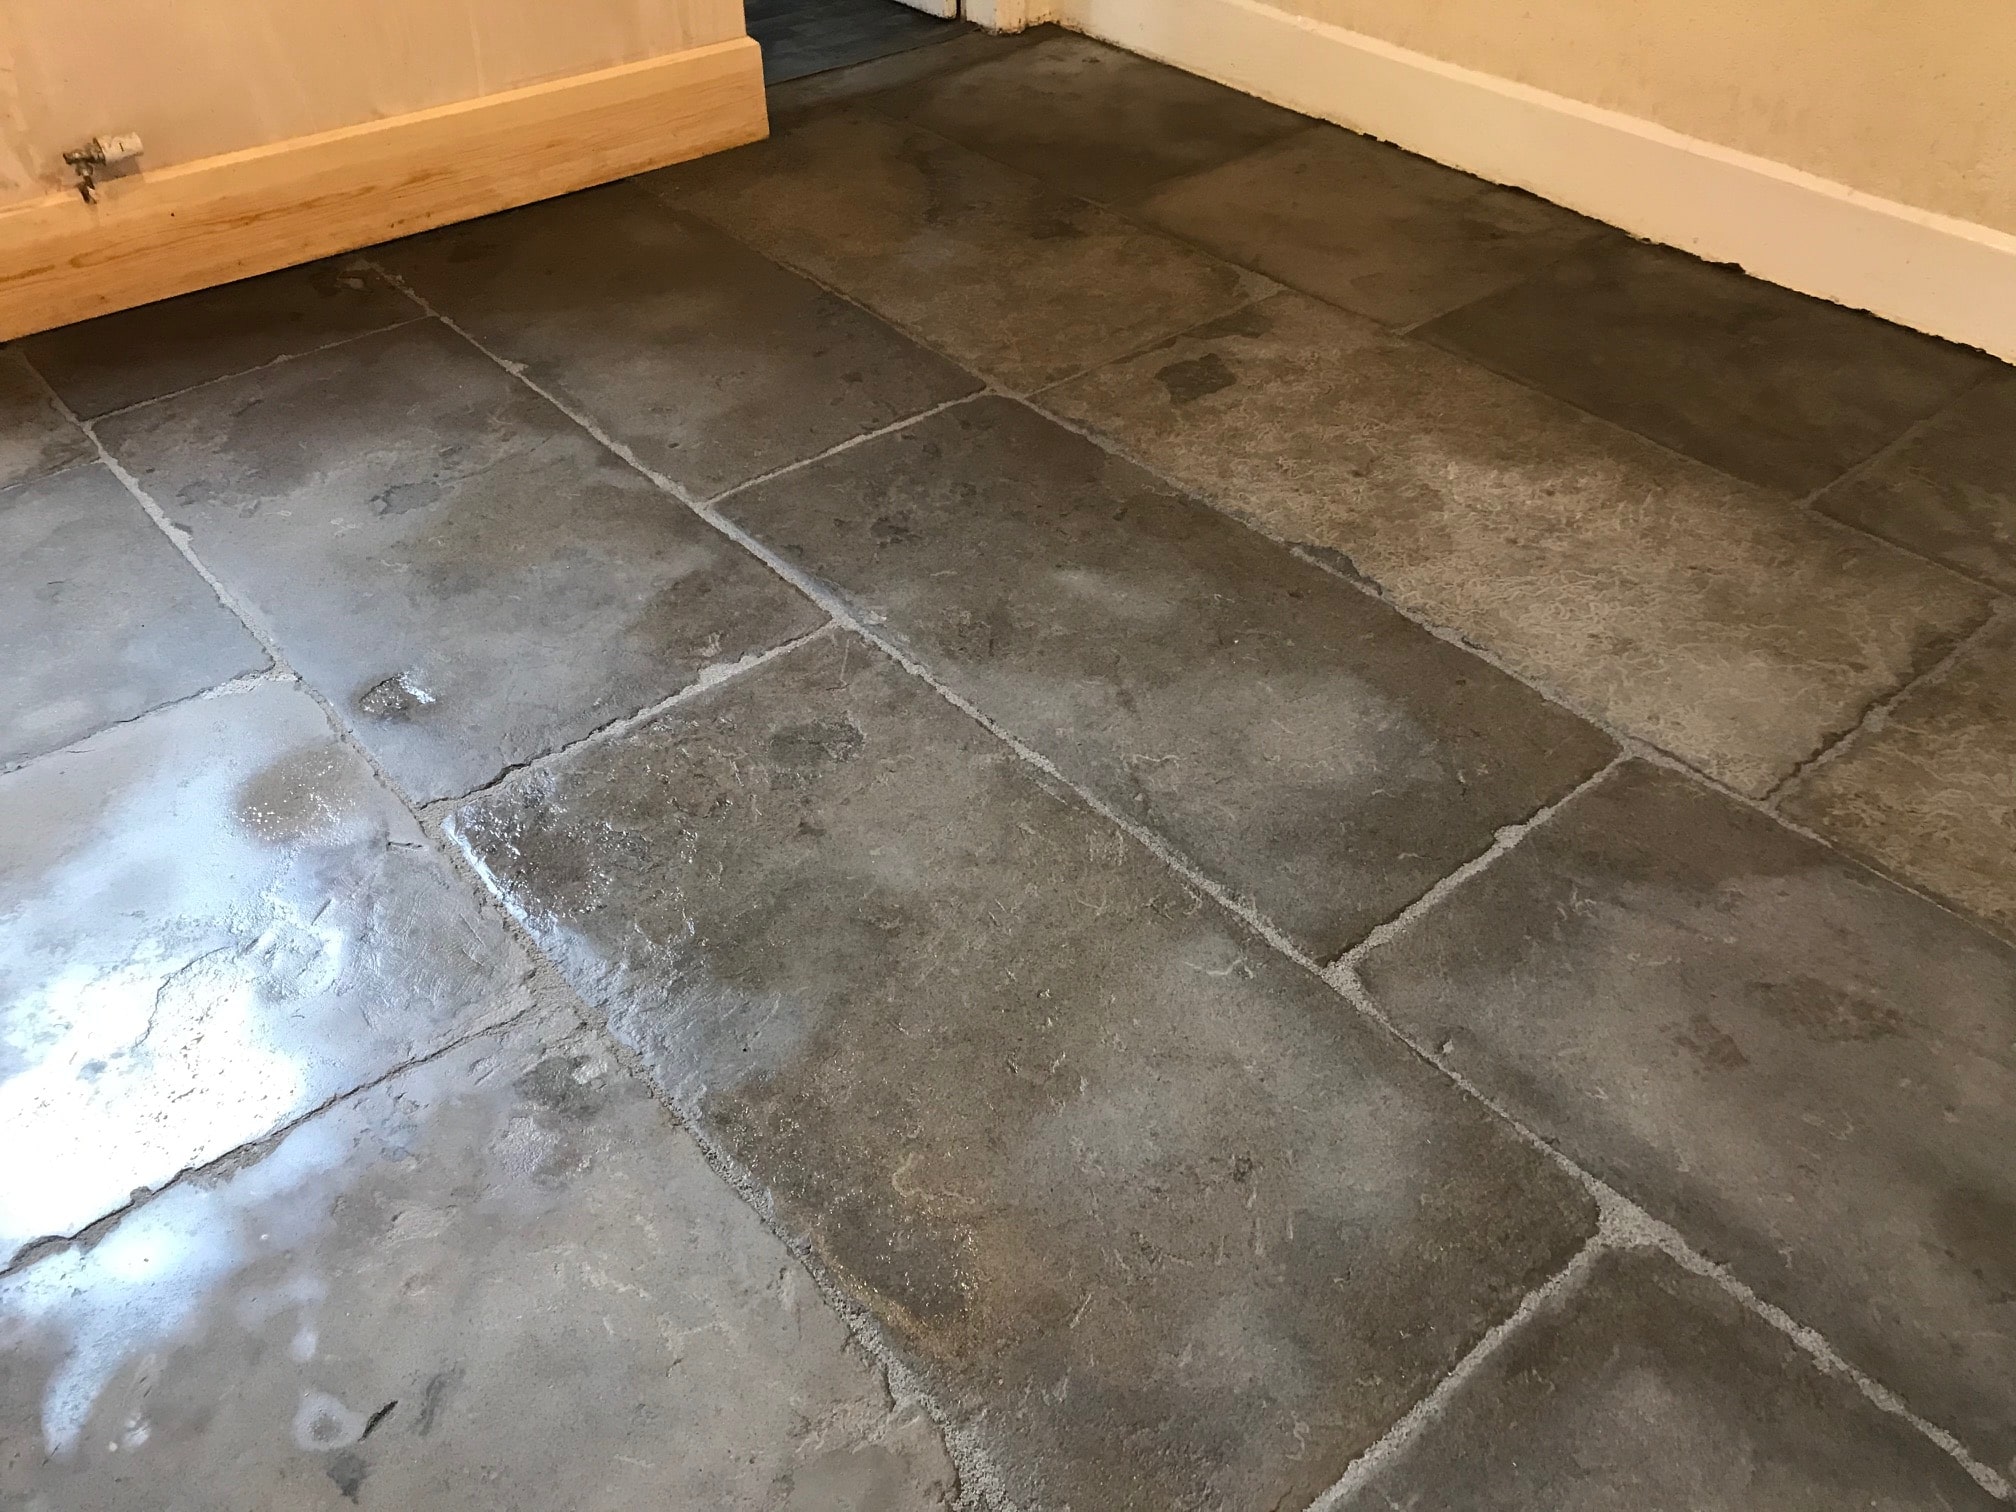
Flagstone Floor After Sealing Carnforth Flagstone Floor After Sealing Carnforth
The floor was completely transformed by the end of the third day, you would not have known it was the same floor. It was now clear of all the previous coverings and now looked like a characterful old Flagstone floor should.

Before leaving I recommended, they use Tile Doctor Neutral Cleaner for everyday cleaning, being pH neutral it won’t prematurely erode the sealer allowing it to work for longer. I also advised that it’s possible that parts of the stone may go a shade darker in winter and a shade lighter in summer due to the moisture rising through the floor.


Monday, November 30, 2020

How to Clean Natural Stone Tiles in a Shower

 The exceptional colors and distinct textures of natural stone tiles add elegance to shower surfaces. Varying mineral compositions cause stone tile colors to range from vibrant shades to earthy hues. While stone tiles are durable, they are extremely porous and can accumulate soap scum and dirt particles. Frequent cleaning of natural stone tiles maintains their appearance and prevents damages from abrasive grime. Certain cleaning solutions protect natural stone tiles and allow them to last longer.


Things You’ll Need

  • Plastic bucket
  • 1 gallon water
  • 1/2 cup household ammonia
  • Soft cloth
  • Soft sponge
  • Neutral stone soap cleaner
  • Soft-bristled brush
  • Terry cloth towel


Instructions

  1. Fill a plastic bucket with 1 gallon of water. Add 1/2 cup of household ammonia to the water. Mix the solution thoroughly.
  2. Dampen a soft cloth in the ammonia solution. Wipe the cloth over any soap scum and mineral deposits. Rinse the tiles thoroughly with water.
  3. Dampen a soft sponge with warm water. Apply a few drops of neutral stone soap cleaner to the sponge. Follow the manufacturer’s directions on the product label.
  4. Wipe the sponge over the tiles to remove loose dirt and debris. Gently scrub grout lines with a soft-bristled brush to remove accumulated grime.
  5. Rinse the tiles thoroughly with water. Dry the tiles with a terry cloth towel.


Tips & Warnings

  • You can substitute a non-acidic soap scum remover for the ammonia solution.
  • You can substitute mild liquid dishwashing soap for the neutral stone soap cleaner.
  • Never clean natural stone tiles with lemon juice, vinegar or other acid-based cleaners that can erode and discolor grout joints.
  • Never use abrasive products or scouring powders on natural stone tiles; the tiles can become scratched.


Source: www.Hunker.com

Tuesday, November 24, 2020

How to Renovate a Quarry Tiled by Northamptonshire Tile Doctor

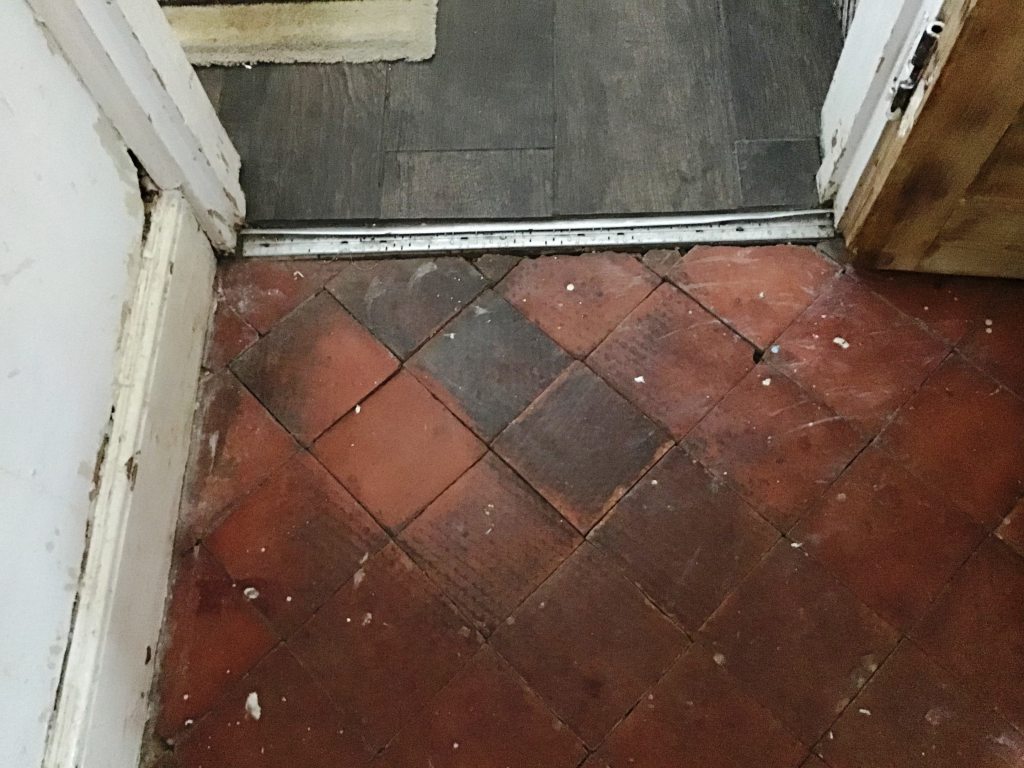
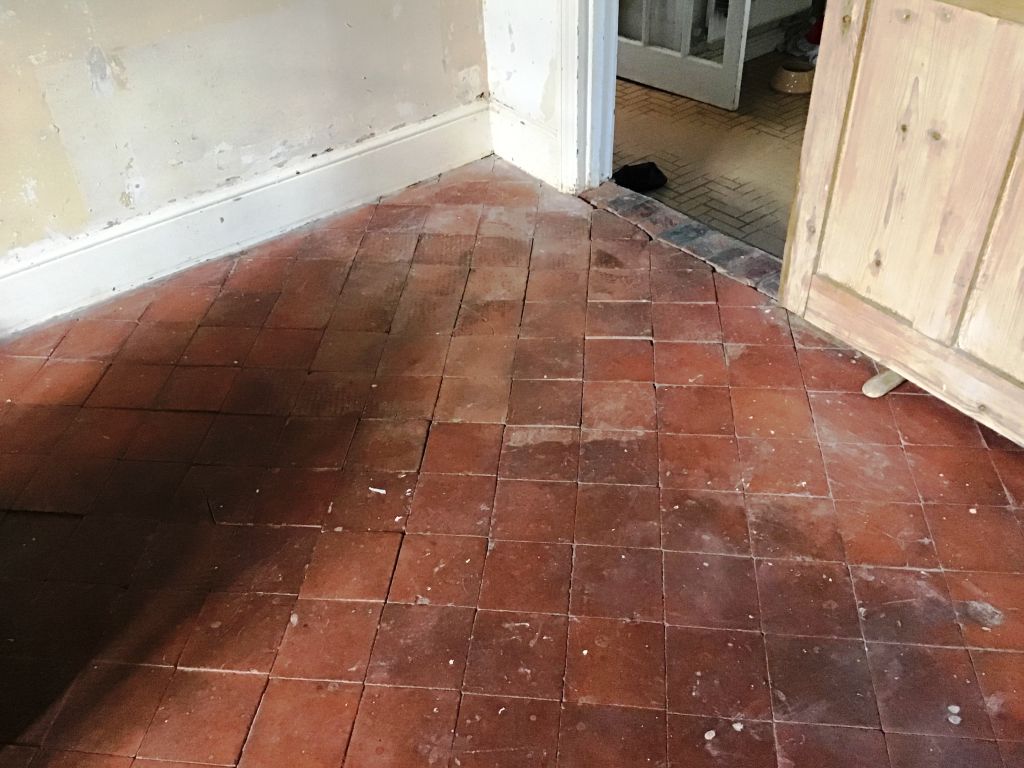
The following photos are of a Quarry tiled dining room floor in a period cottage located in the small village of Bozeat. My customer had removed a carpet and discovered them underneath, as you can see from the photographs however the tiles were in a poor state of repair. Undaunted the owner wanted to restore them as a lovely period feature and contacted Tile Doctor.

 
Quarry Tile Floor Before Restoration Bozeat Cottage Quarry Tile Floor Before Restoration Bozeat Cottage

I went over to survey the Quarry tiles and could see the floor had not faired well under the carpet over the years, several tiles were cracked and 40 to 50 tiles were loose and would needed resetting to stop them moving underfoot, especially in the high traffic areas. I discussed with them that Tile Doctor could repair the floor and clean it and would be able to restore in a few days. They were happy to go ahead with my quote and we arranged a mutually convenient time to carry the work out.


Cleaning and repairing a Quarry Tiled Hallway Floor

My first course of action was to deep clean the floors using Tile Doctor Oxy-Gel which is an alkaline cleaner. Working in small areas the Gel was worked in using a stiff brush on a rotary machine using a little water. As this process was completed in each area, I rinsed off the resulting slurry away with water and then extracted using a wet vacuum. The initial clean removed most of the black staining and paint spots which had occurred over the years, but more work was needed.

The next step was to apply Tile Doctor Grout Clean-Up to further clean up the tiles and tackle the cement residue and other staining. I used a repeat of the cleaning process and rinsed twice with plain water to ensure all traces of product were removed. The next step was to tackle the broken and loose tiles however it was now the end of day one, so after assessing the floor for all repairs required, I installed a portable dryer to aid drying and left for the day.

 
Quarry Tile Floor During Repair Bozeat Cottage Quarry Tile Floor During Repair Bozeat Cottage

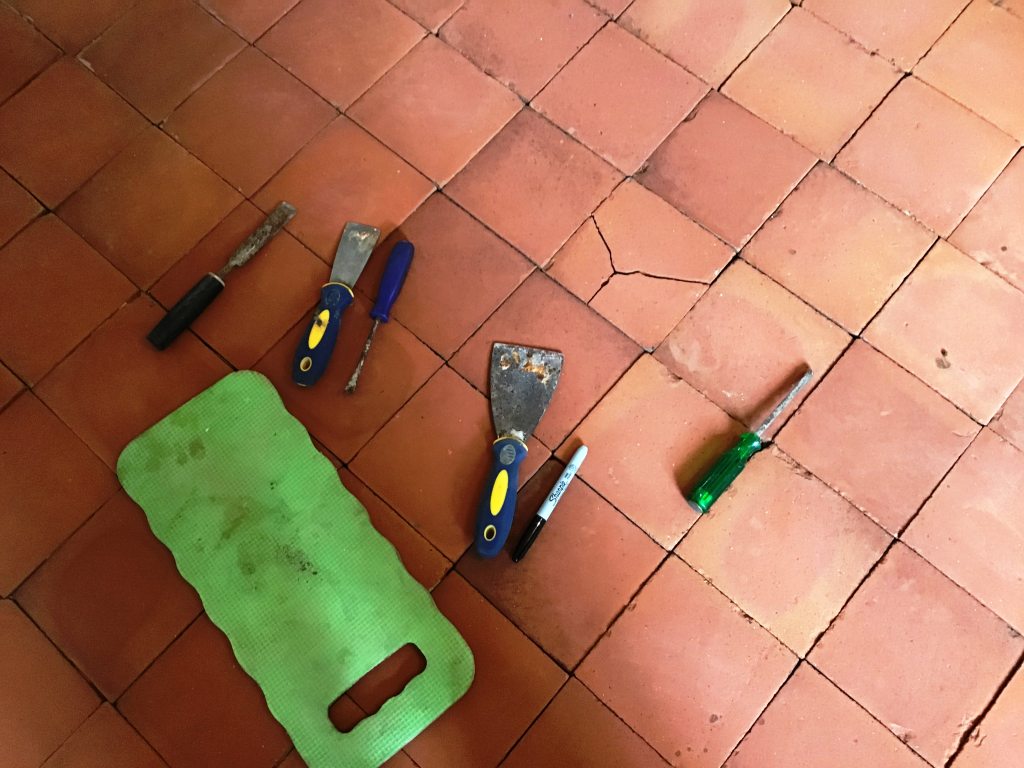
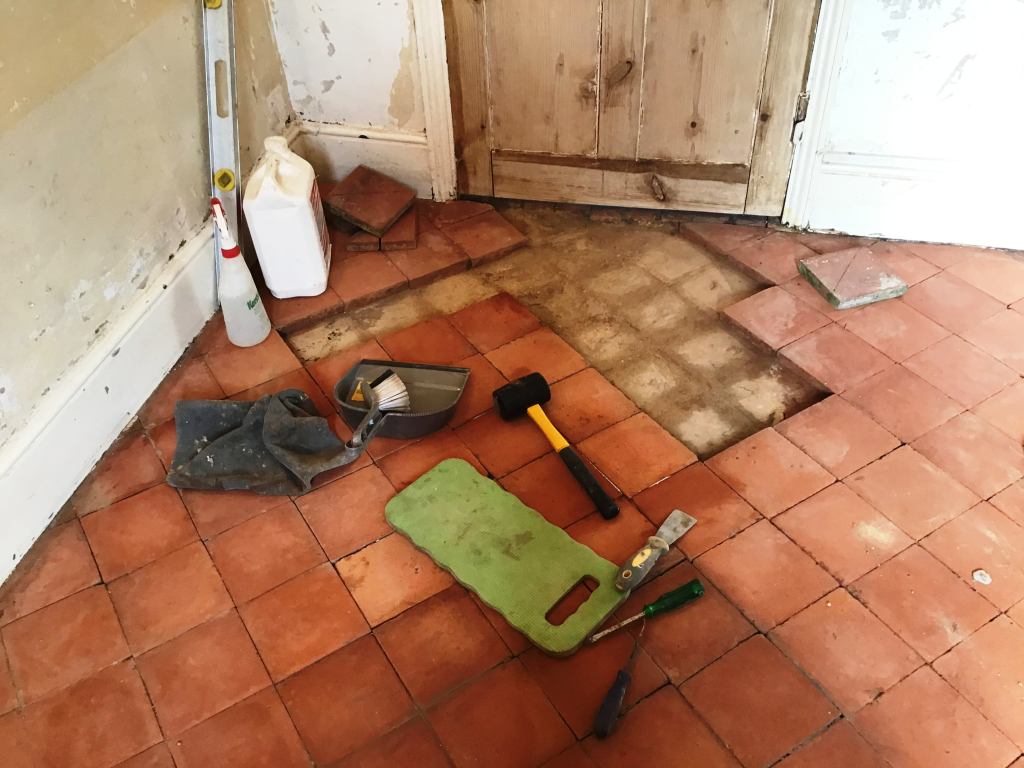
The next day I returned to begin repairs starting by lifting all the loose tiles, working in one square metre sections at a time. Fortunately, my customer had already managed to obtain reclaimed tiles from a reclamation yard so that saved me a job. The colours matched with the originals; however, the reclaimed tiles were slightly larger than the originals and needed to be cut into shape as required. Working methodically, I re-laid the tiles on a fresh bed of screed and grouted them in to match the original floor as best possible.

 
Quarry Tile Floor During Repair Bozeat Cottage Quarry Tile Floor During Repair Bozeat Cottage

After the repairs were completed I allowed the floor to fully dry for four days, I needed the tiles dry and the newly laid adhesive and grout to set and bed in before the next step. Before leaving I gave my customer strict instructions not to walk over these areas whilst I was gone.


Sealing a Quarry Tiled Hallway Floor

Returning later the following week, I first checked the floor was dry using a damp meter, once satisfied I was able to start the sealing process. The customer had requested a silk finish, however because of the age of the cottage and the possibility of damp in this old floor my choice of sealer was limited to those that are fully breathable.

 
Quarry Tile Floor After Restoration Bozeat Cottage

On this occasion I chose to apply several coats of Tile Doctor Seal & Go Extra, this product will allow the floor to breathe and provide the desired finish. It was a good decision, and as hoped it enhanced the appearance of the floor beautifully.

 
Quarry Tile Floor After Restoration Bozeat Cottage

My customer was very happy with the renovation and the transformed floor and left the following feedback:

 
"Friendly service, reasonably priced and a good standard of work. Has breathed new life into my old quarry tile floor."


Source: Quarry Floor Restoration in South Yorkshire

Thursday, November 19, 2020

How to Repair a Slate Floor Tile

Homeowners often choose slate tiles for bathroom and kitchen remodels because they are cost-effective, durable and sturdy. But when accidents happen, even the most well-made tiles can crack or get scratched. Fortunately, slate tiles are simple to replace. Even if you didn't install your tile floor yourself, you can replace a broken tile without calling in a professional. Your most difficult task could be finding a replacement tile that is the same shape and design of your broken tile.

  1. Break away the grout around the damaged slate tile with a utility knife. Scrape away as much of the grout as possible, and try to remove the tile. If the tile will not budge, use a hammer and a chisel to break the tile into smaller pieces. Lightly chisel the center of the tile until it breaks into smaller pieces. Do not use too much force when breaking apart the grout or the tile to avoid damaging nearby tiles.
  2. Remove the pieces of tile. Remove remaining grout by scraping it away with the utility knife. The area behind the tile should be as smooth as possible. Use a piece of sandpaper if necessary.
  3. Fit the open space with the replacement tile. The tile must have the same dimensions as the broken tile. If it fits flush with the other tiles, spread an adhesive on the back and press it into place. Secure the new tile with masking tape, and let it dry overnight.
  4. Remove the tape from the tile. With a sponge, apply a premixed grout over the entire surface of the tile. Allow the grout to cover part of the neighboring tiles to ensure that the grout enters the joints around the replacement tile.
  5. Round out the edges around the replacement tile using a jointing tool or the rounded end of a toothbrush. Drag the tool along the edges of the tile where the grout has been placed. Keep dragging it along until the grout has a concave look that matches the rest of the tiles.
  6. Wipe away the excess grout with a wet rag. Allow the grout to dry for the next hour. Polish the replacement tile with a dry cloth.


Source: www.HomeSteady.com