Showing posts with label Sealer Removal. Show all posts

Friday, November 18, 2022

Lancashire Tile Expert Reveals Travertine Renovation Secrets

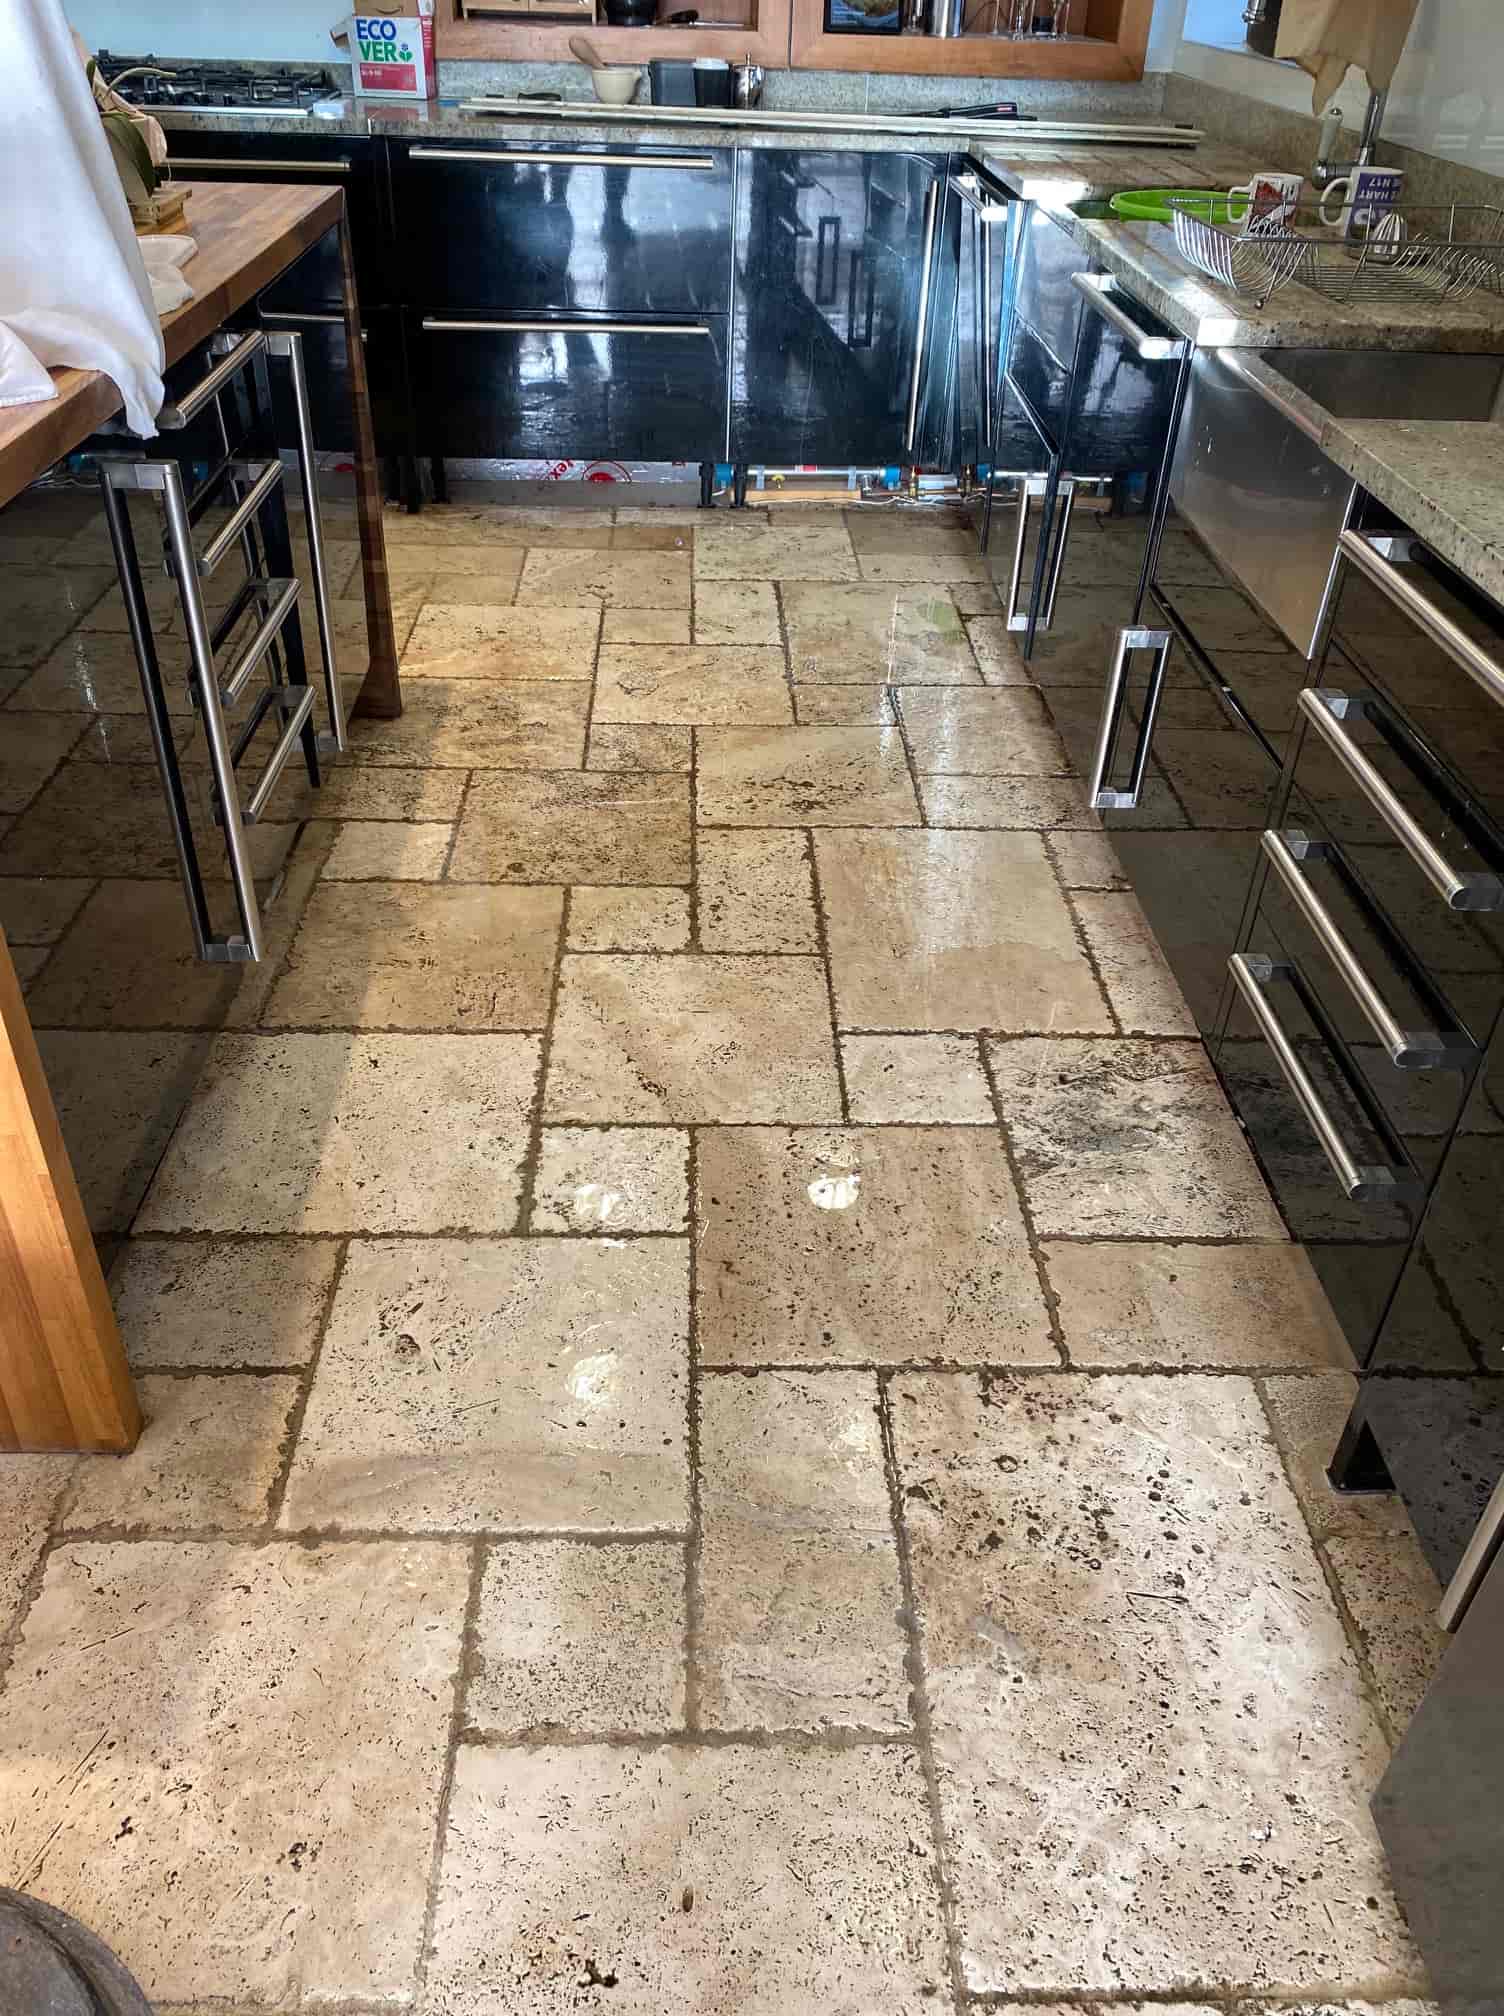
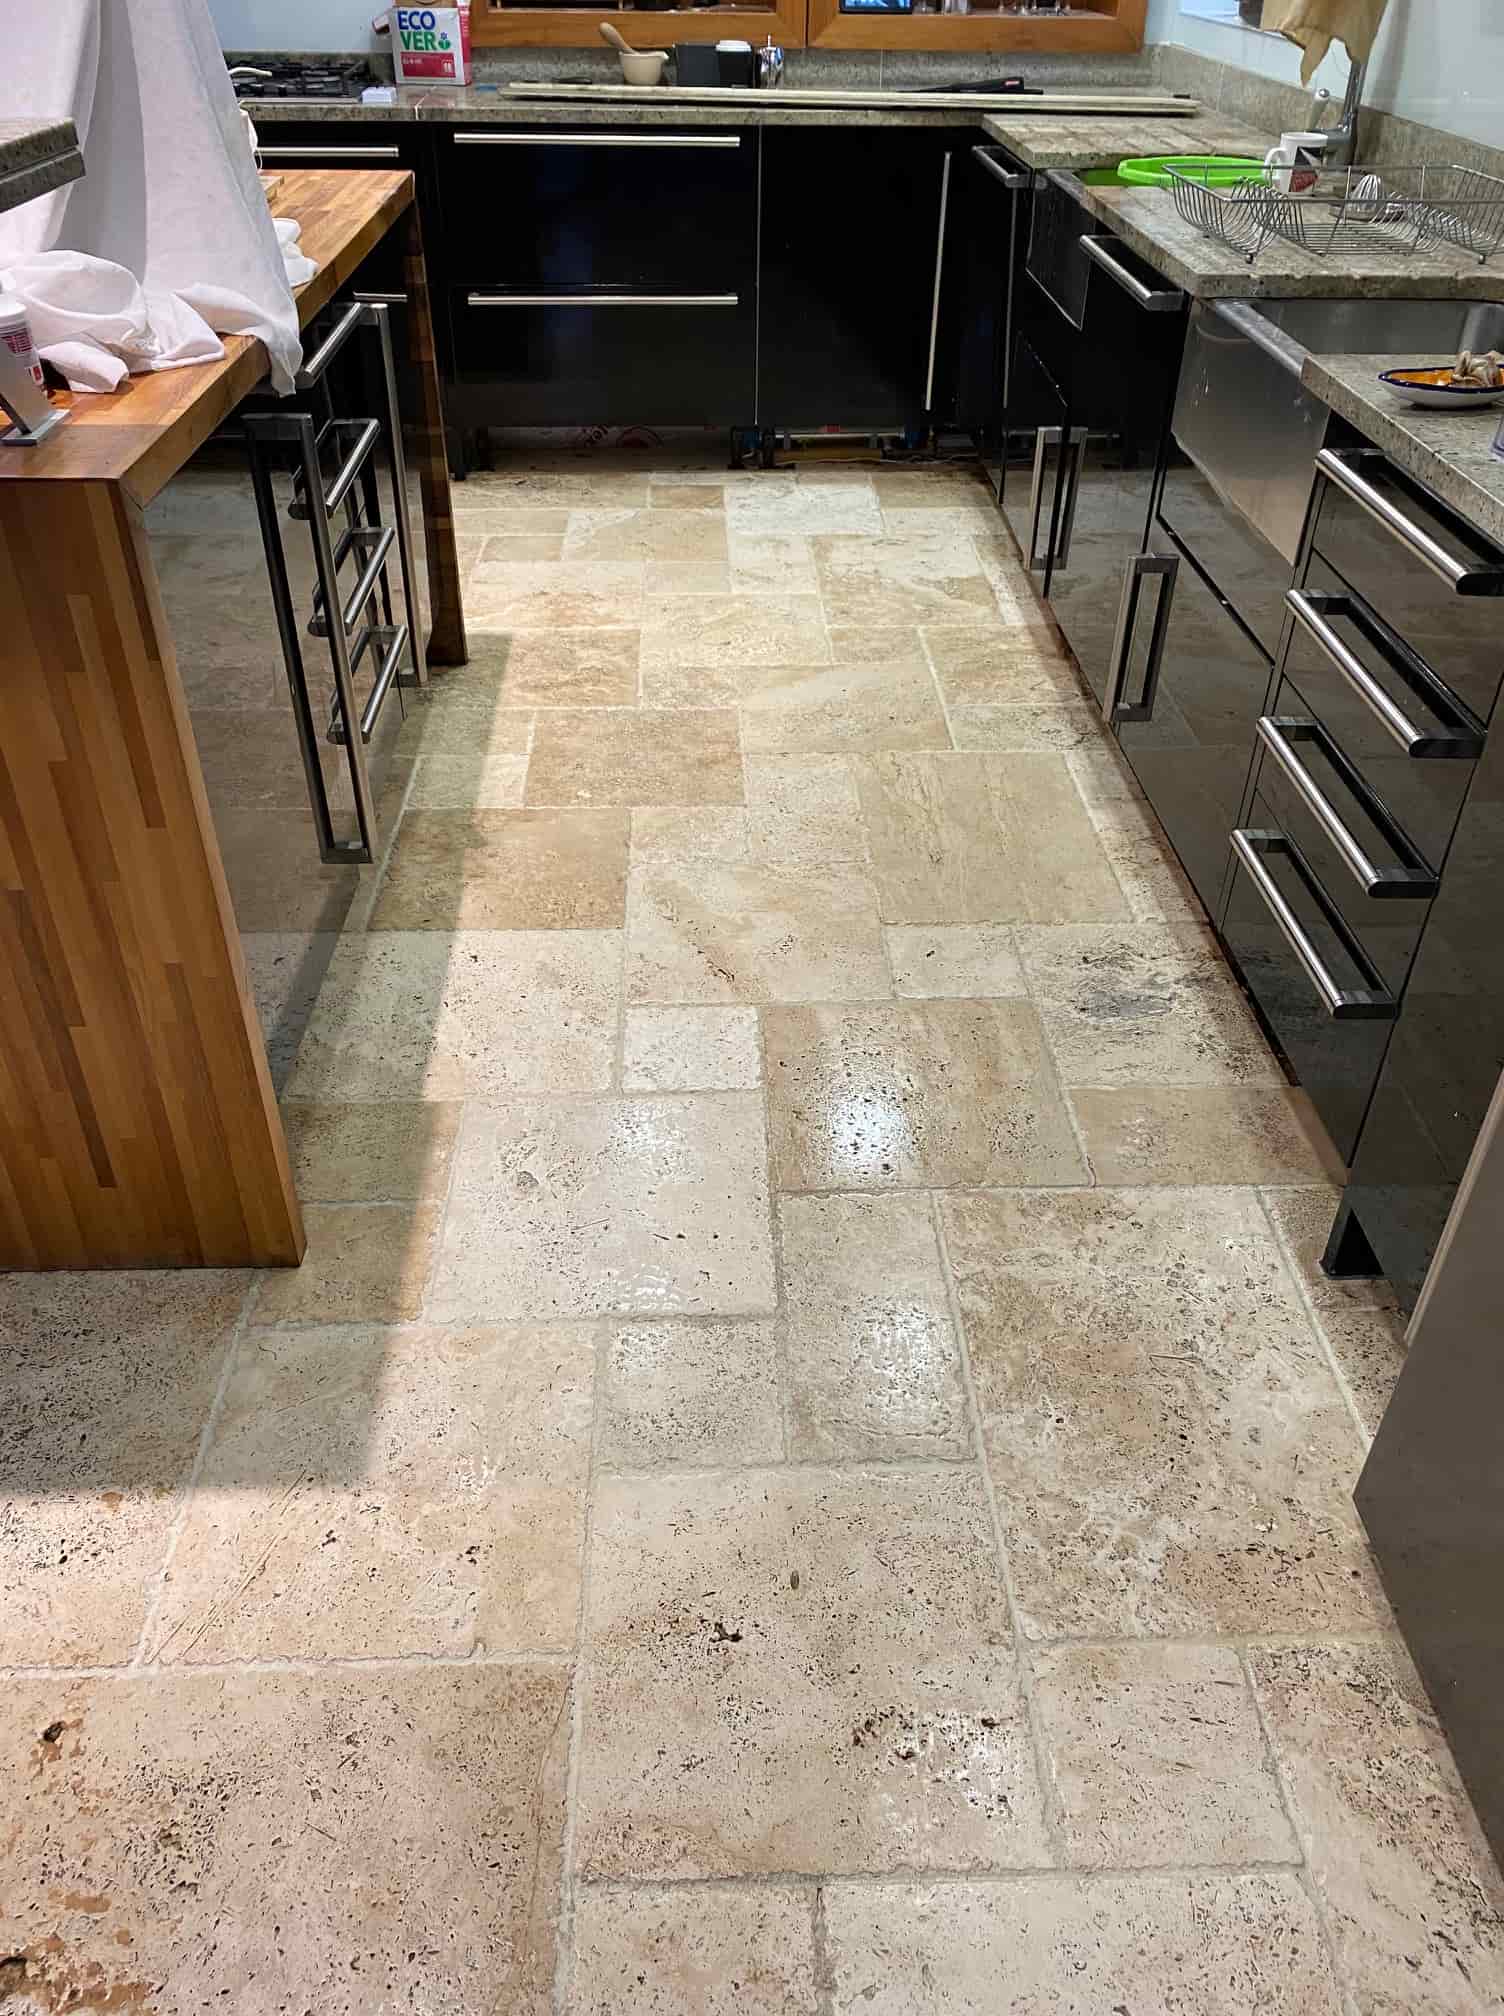
This customer in Preston in Lancashire had just moved into a house with a large 60m2 Travertine tiled floor that was installed throughout most of the ground floor. Travertine is a lovely stone but the previous owner had not maintained the sealer on the tiles and as a result it now looked grubby and there was a lot of dirt ingrained in the tiles leaving black staining, especially in the Kitchen.
   
Honed Unfilled Travertine Kitchen Floor Before Renovation Preston

This is a common problem with all natural stone floors, some are hardier than others but without a protective barrier in place they will attract dirt as the sealer become worn off. The new owner was seriously considering having the tiles ripped up, fortunately however they came across our service and decided to try having them renovated first.
   
Honed Unfilled Travertine Kitchen Floor Before Renovation Preston


Deep Cleaning a Travertine Tiled Floor

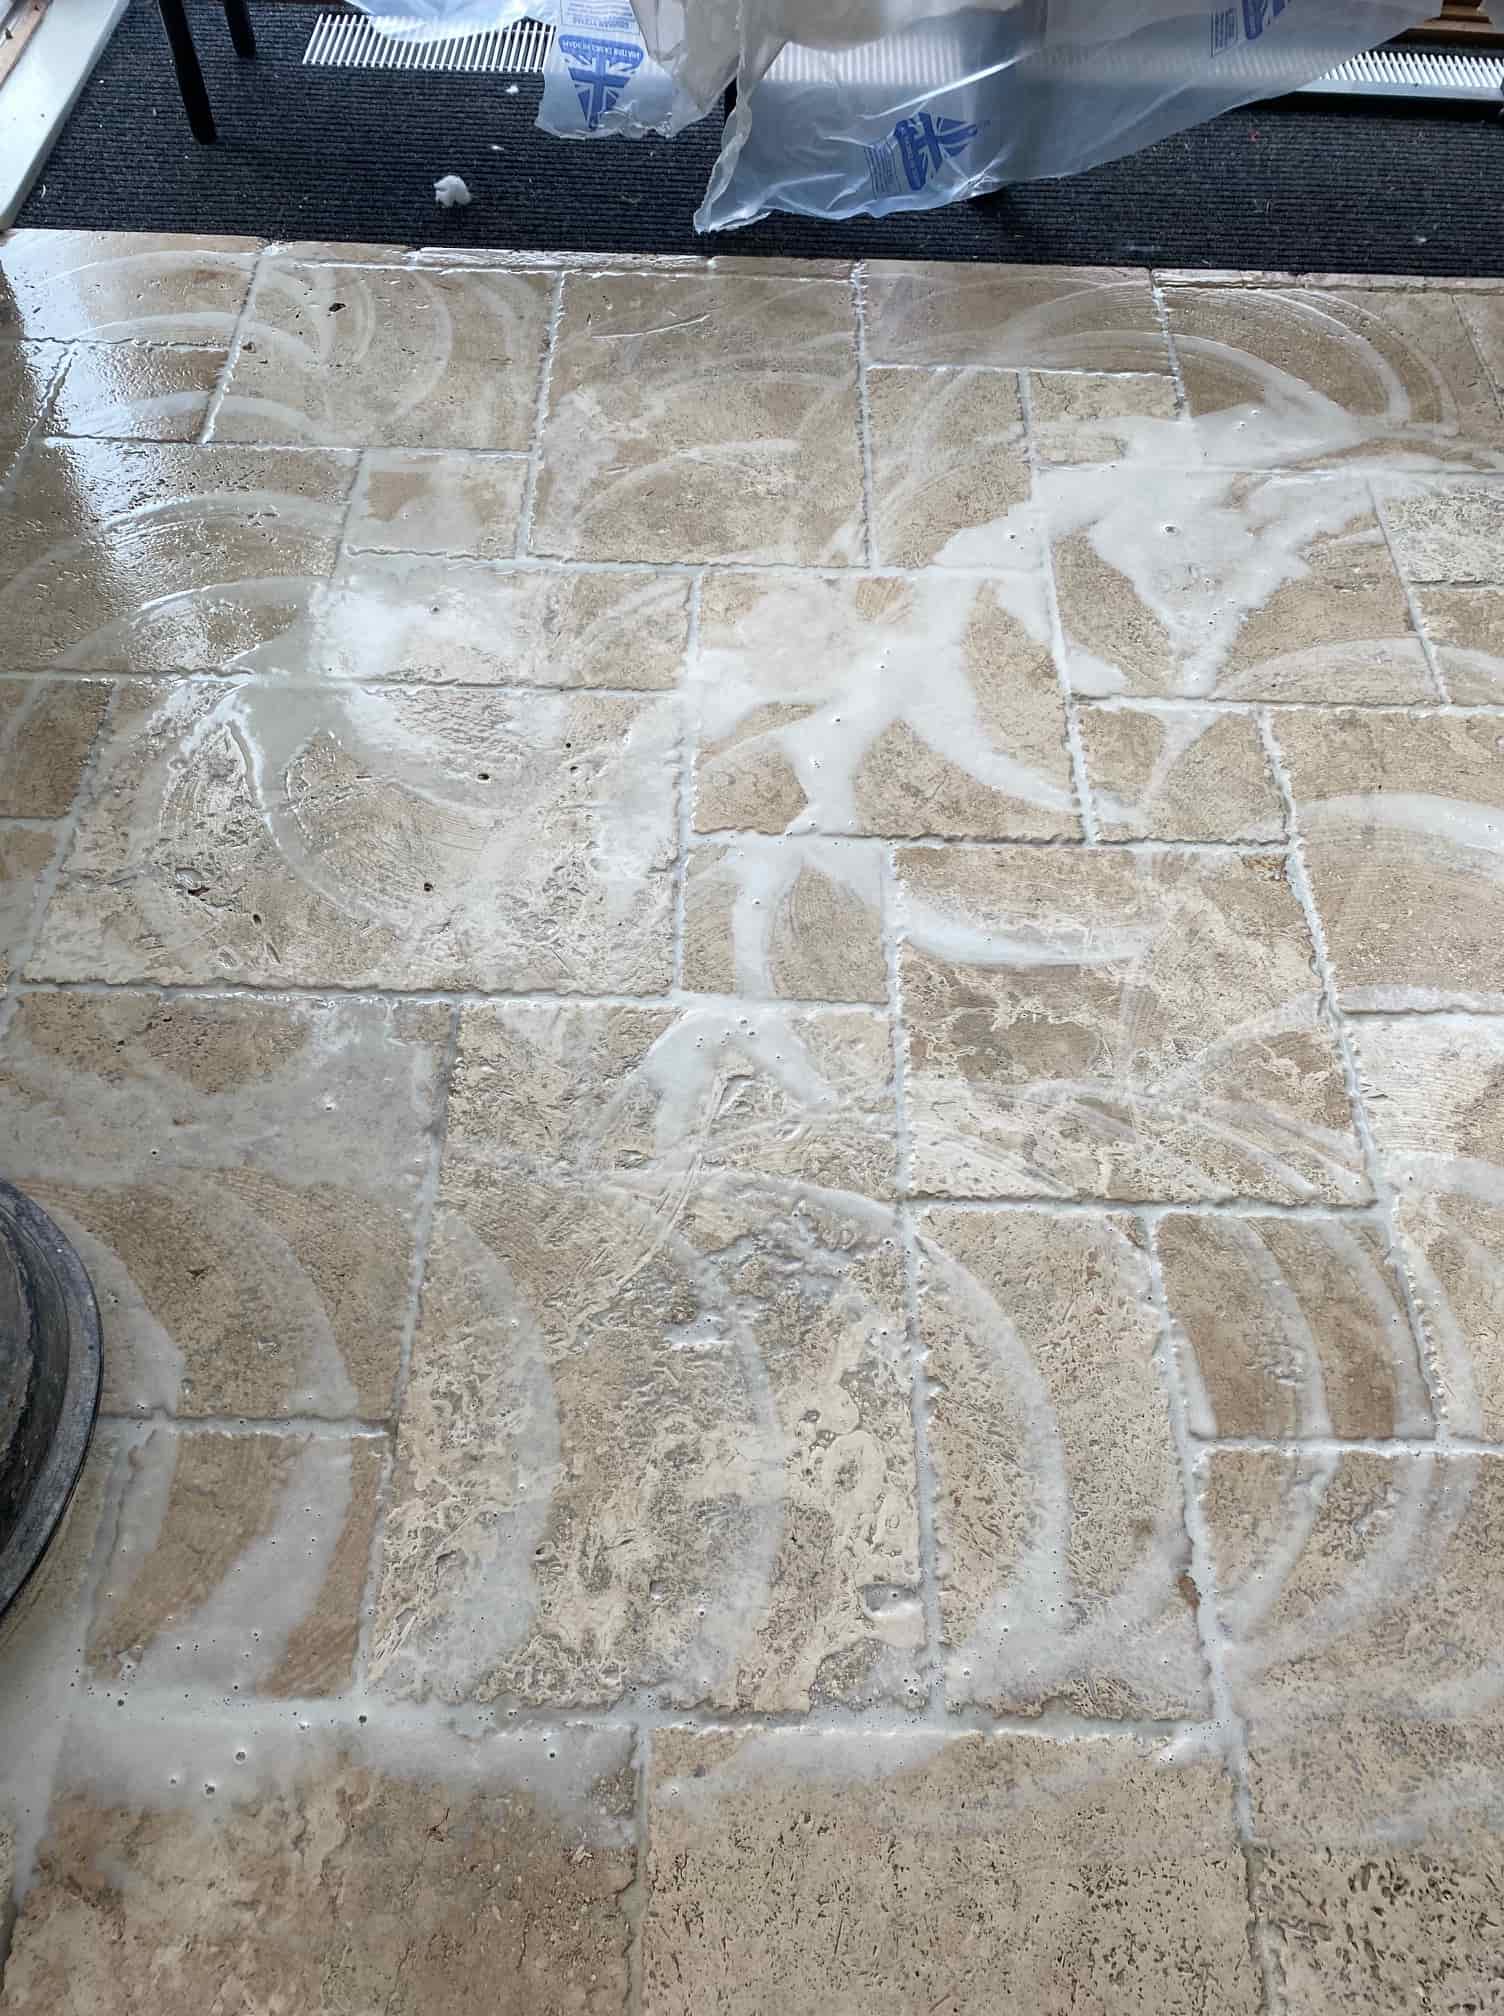
To get the stone clean and bring back the beautiful appearance of the Travertine I used several diamond burnishing pads which are run over the tiles with water for lubrication. The first was a coarse 200-grit pad which is fitted to a rotary floor machine and buffed into the stone in a circular motion. This process generates a lot of slurry which is then rinsed off afterwards and extracted with a wet vacuum.
 
Honed Unfilled Travertine Kitchen Floor During Renovation Preston

This process was then repeated using finer burnishing pads and continued with a 400-grit, 800-grit and finally a 1500-grit, again each pad was run over the tiles several times and then the slurry extracted as before. It’s a completely abrasive process with no other products needed and the result is a sealer and dirt-free tile.
 
Honed Unfilled Travertine Kitchen Floor During Renovation Preston

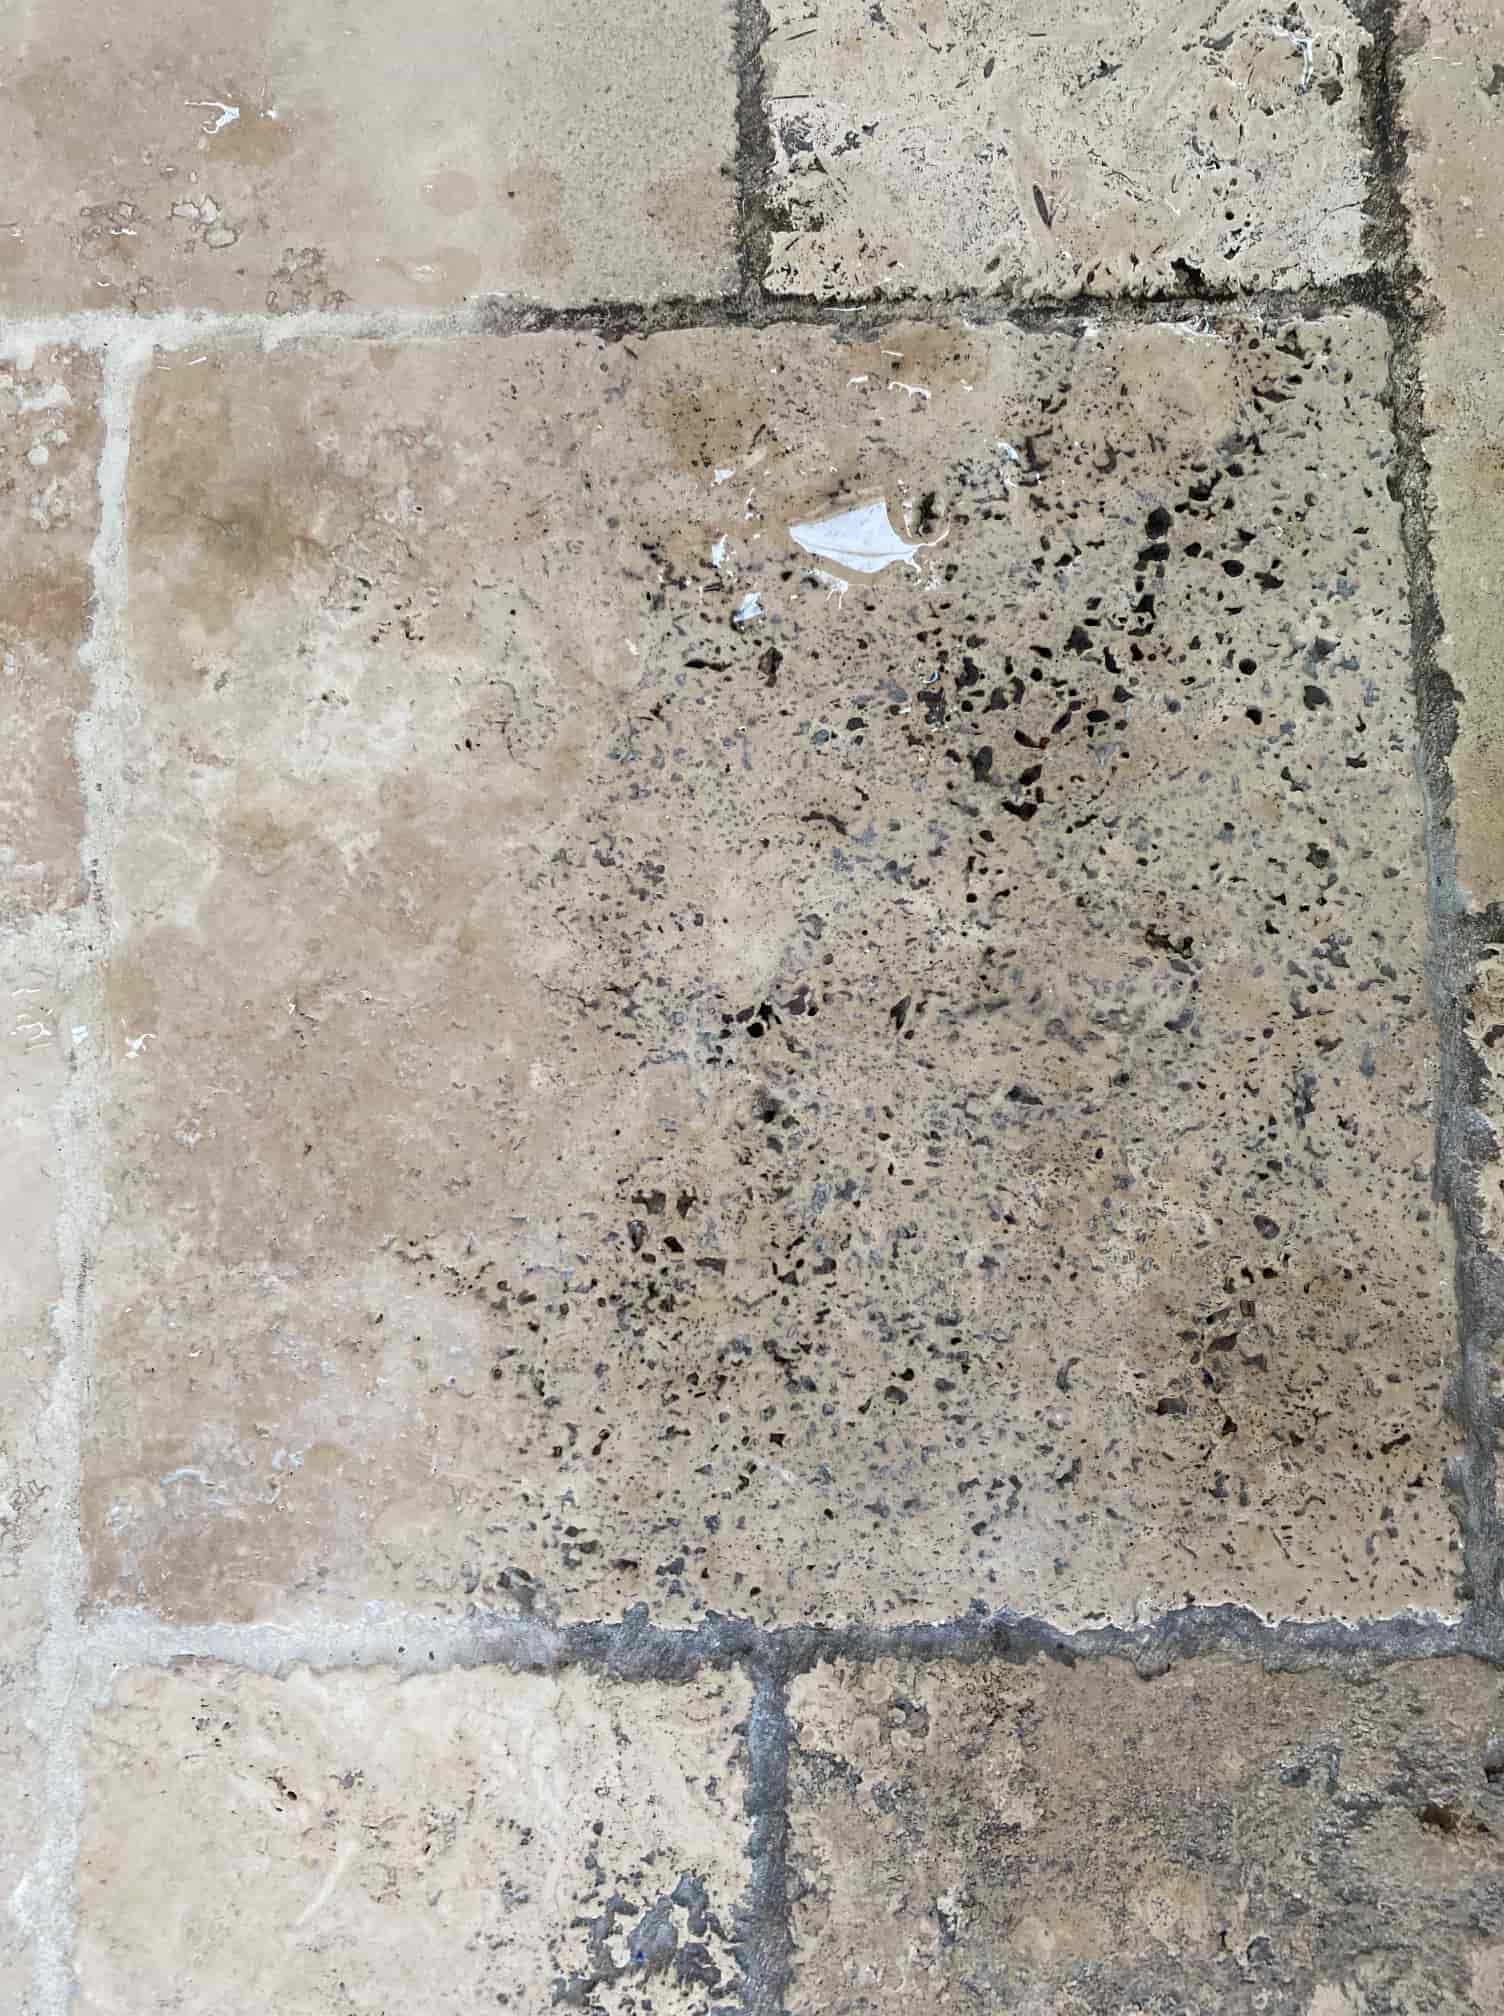
At this point I inspected the floor to see if the pads had been able to clean up the grout as well as the tile. Pads can struggle to reach down into the recess so I often find more work is needed on the grout. As suspected the Travertine had responded well to the treatment however it was clear the grout would need more work and was still stained black in places. Normally use a grout cleaning product called Tile Doctor Pro-Clean for the grout but on this occasion, I felt something stronger would be needed. So, on this occasion I applied undiluted Tile Doctor Remove and Go along the grout lines and left it to soak in for ten minutes. It was then scrubbed in by hand, rinsed off and the soil remove with the wet vacuum. The grout cleaning had worked a treat and happy with the condition of the floor it was left to dry off overnight.

Sealing a Travertine Tiled Kitchen Floor

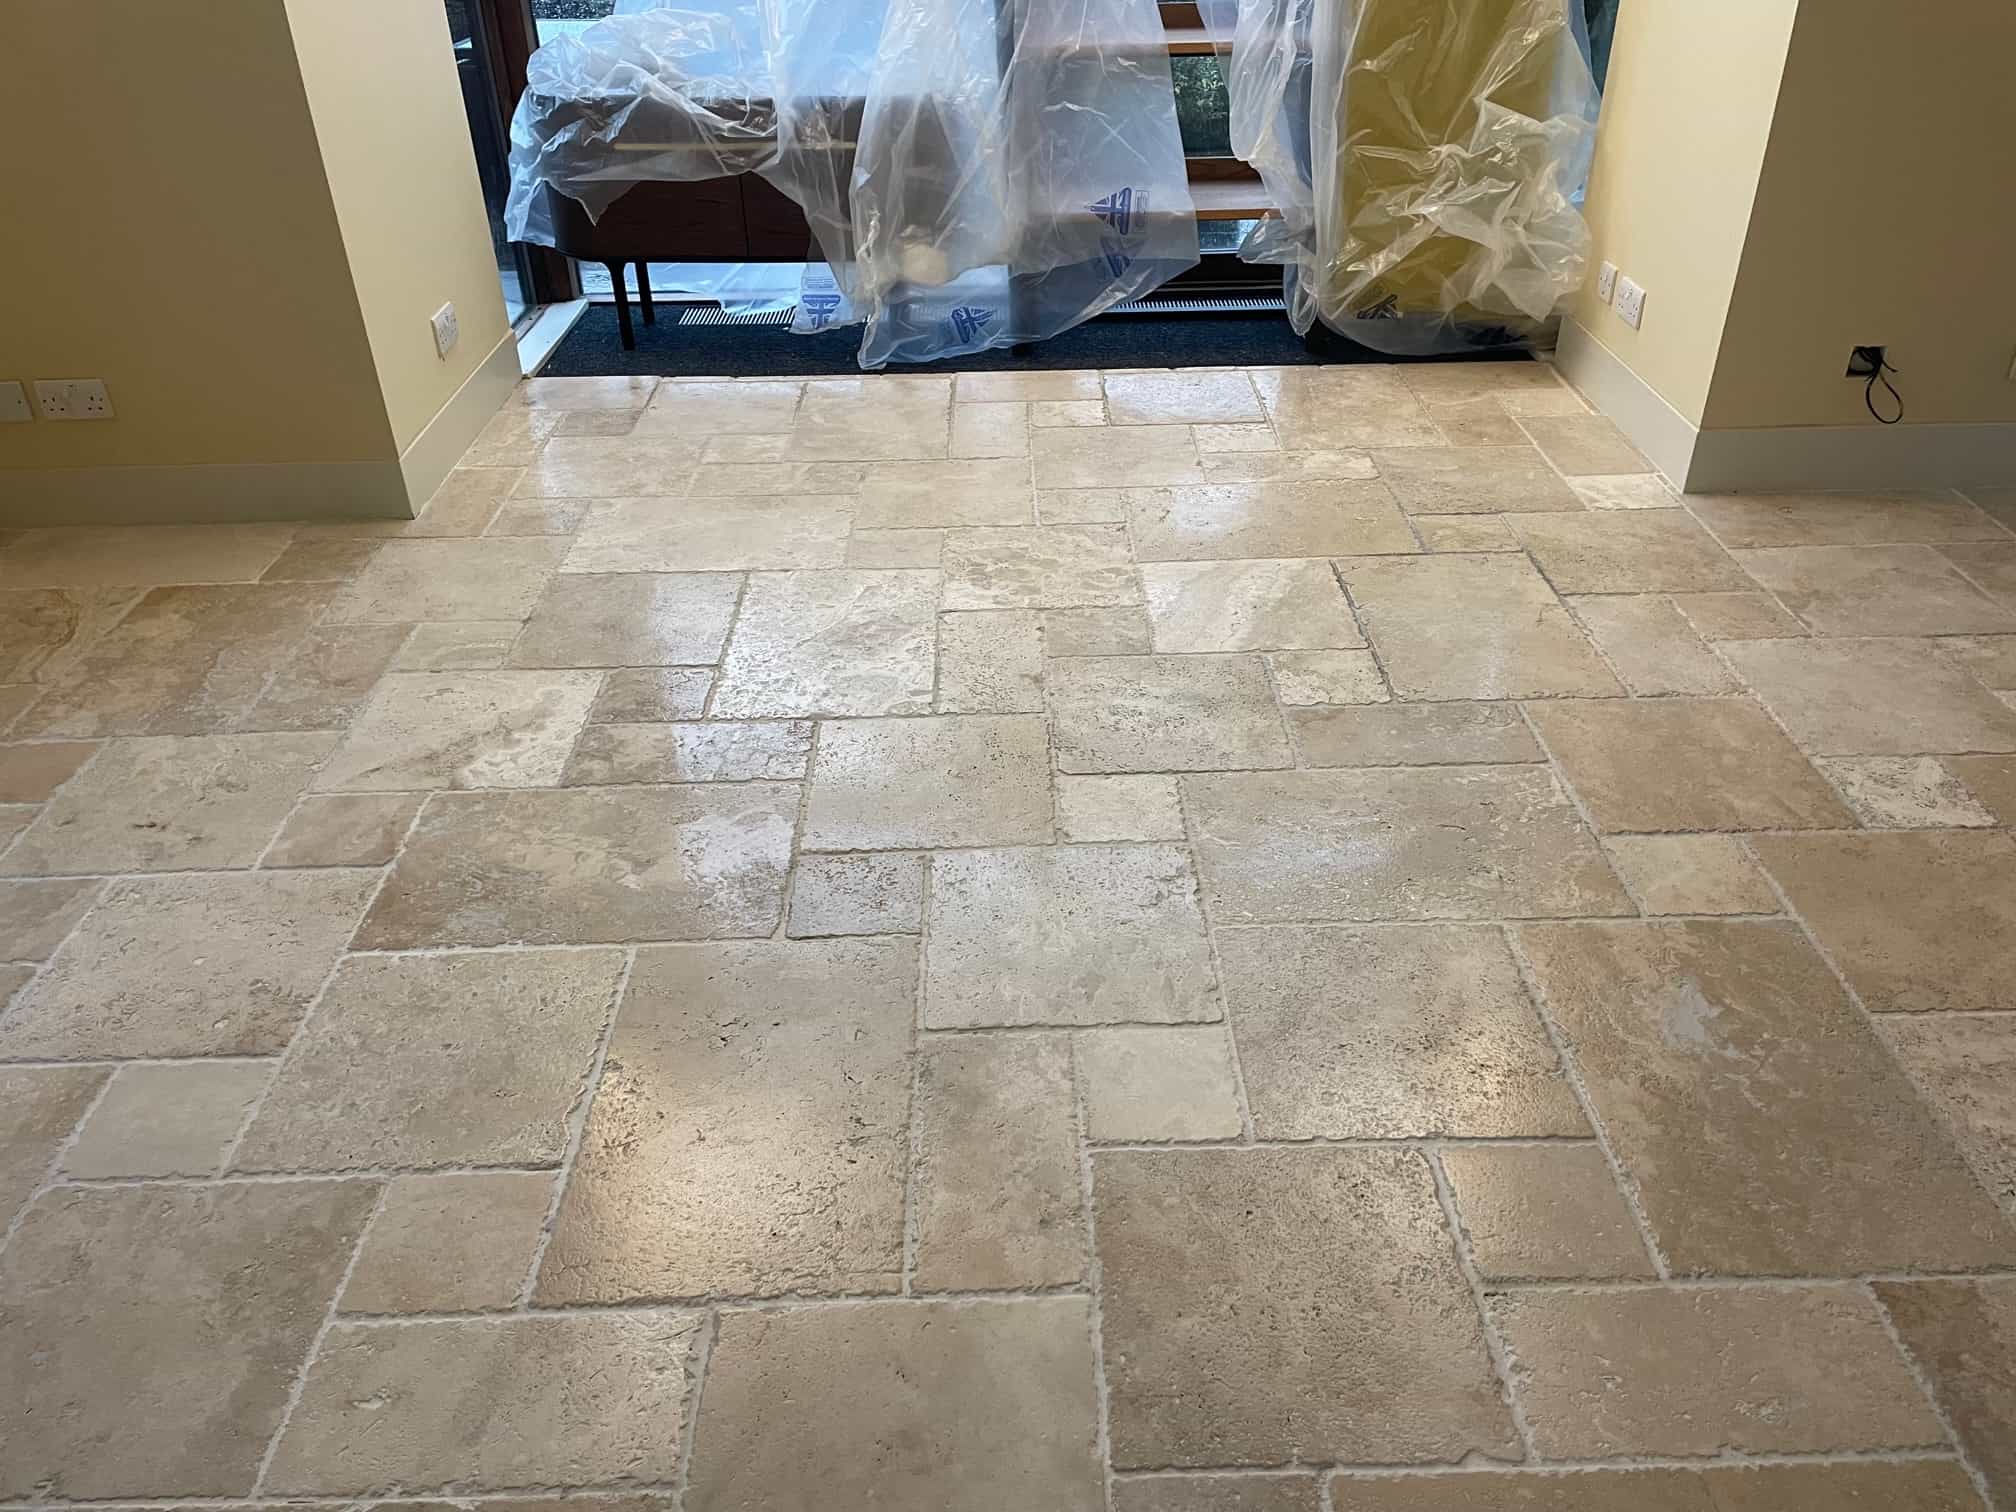
The next morning time was spent filling in holes (aka pitting) in the Travertine with colour matching grout before running over the whole floor with a very fine 3000-grit polishing pad to further bring up the appearance of the stone. This is done using a little water sprayed onto the tile a process we call a spray burnish. Spray burnishing also leaves the floor dry and ready to be sealed. The owner wanted the Travertine to look as natural as possible so two coats of Tile Doctor Ultra Seal were applied. This is an impregnating sealer which is recommended for use on polished stone and for use in kitchens.
 
Honed Unfilled Travertine Kitchen Floor After Renovation Preston

Before leaving I took time to discuss aftercare cleaning and how important it is to avoid the use of strong cleaning products (especially bleach) on Travertine, not only will it degrade the sealer but can also harm the stone. For the regular cleaning of sealed Travertine, I recommend using Tile Doctor Stone Soap which is a gentle but effective cleaner that also helps maintain the patina.

Monday, June 29, 2020

Improving a Balcony With Encaustic Cement Tiles in East London

This client from Hackney had started a DIY tiling job using modern Encaustic Cement tiles on an external balcony. The COVID-19 lockdown had just taken effect and it seemed like a great opportunity to get a few DIY projects done. Although it started off well, she began to struggle when having to cut the edging tiles and corners so was forced to leave the tiling incomplete and un-grouted. Furthermore, she had attempted to seal the tiles, but this had somehow caused the tiles to go milky white. Encaustic tiles date back to medieval times and have been popular in the UK since the nineteenth century and have become extremely popular here in the last few years.

Encaustic Cement Balcony Tiling Project in Hackney Before

Concerned the whole project would need ripping up and starting again she contact Tile Doctor and I arranged a visit to the property to assess the tiling and see if the project it could be rescued. Since the COVID-19 epidemic began we have adopted new working practices such as more PPE and Social Distancing to allow us to continue working.

Encaustic Cement Balcony Tiling Project in Hackney Before

We test cleaned the sealer and found the application of a 400-grit diamond pad was the best way to clean off the sealer and renovate the tile. Additionally, we had been asked to complete the tiling project which was approx. 24m2. The job would therefore entail tiling, cleaning, and sealing so it took a little while to calculate the quote which was accepted.

Cleaning/Repairing an Encaustic Cement Tiled Balcony

There was a lot of work to do and so I teamed up with fellow Tile Doctor Andrew Newstead for this job working as a two-man team. It took three days to complete the tiling and the grouting, then we returned the following week to allow the adhesive and grout to fully dry over the weekend. The next step was to clean the area the customer had previously laid and sealed to remove the old sealer that had damaged the colour and look of the tiles. For this we used water and a series of 400, 800 and 1500-grit diamond pads. This gradually removed the sealer and brought the tiles back to a more natural finish. We suspect the reason her tiles went milky was she hadn’t buffed off the excess sealer but luckily, we were able to fix it.

Sealing an Encaustic Cement Tiled Balcony

We then returned for one more morning, buffed tiles with a 3000-grit pad to further enhance their appearance and then seal with two coats of Tile Doctor Colour Grow. Colour Grow is an impregnating sealer that improves colour and works by soaking into the pores of the tile preventing dirt from becoming ingrained there.

Encaustic Cement Balcony Tiling Project in Hackney After Encaustic Cement Balcony Tiling Project in Hackney After

I’m pleased to say the whole job went smoothly and our client was pleased (see feedback below) that they could finally use their balcony which I’m sure has been in constant use since.

Plenty of problems to solve with my half-finished roof terrace, which were solved cheerfully and carefully. By Gemma M, Hackney, 27 May 2020


Source: Patio Tile Cleaning and Renovation Service in East-London

Thursday, March 14, 2019

Renovating Dirty Travertine Floor Tiles in Lincolnshire

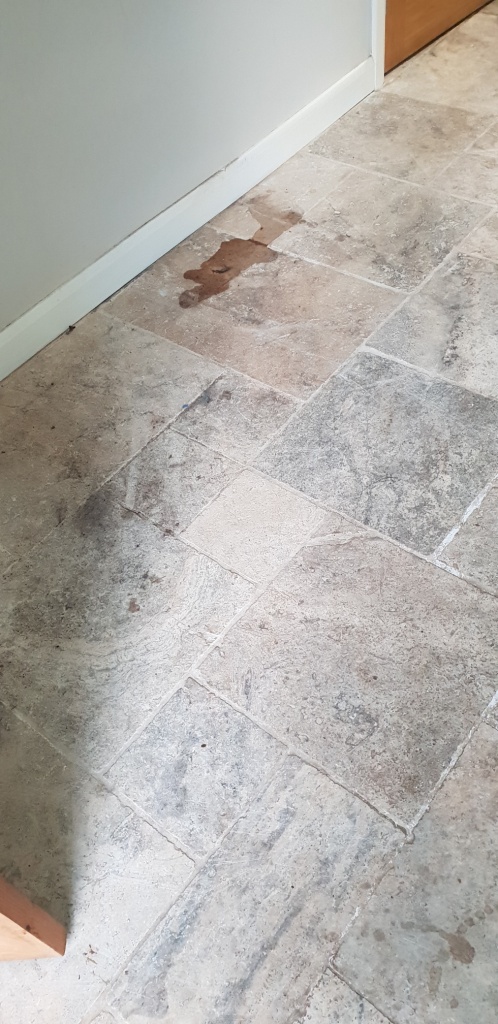
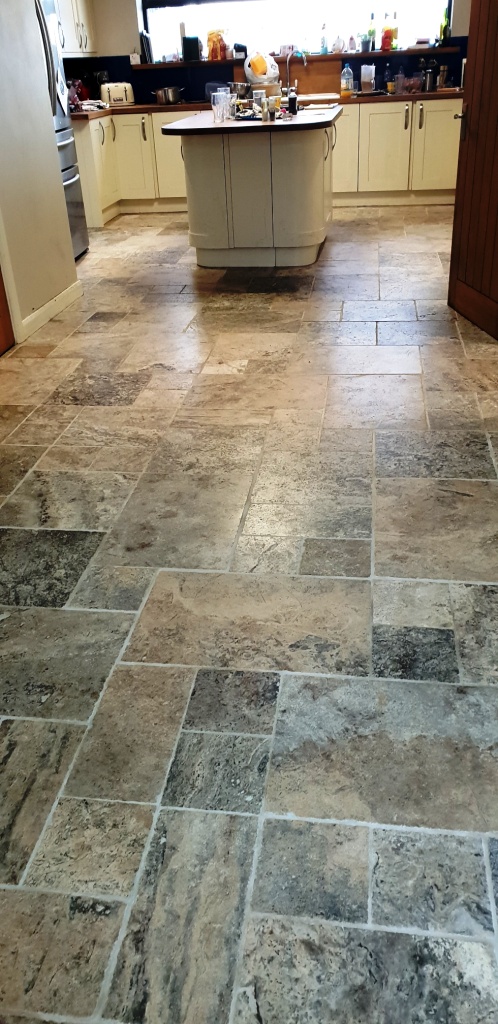
A customer from the village of Coningsby was having trouble keeping their Travertine tiled Kitchen floor clean. Another company had sealed the flooring previously, but it clearly hadn’t lasted and dirt had now become ingrained in the pores of the stone. As a result, mopping the floor wasn't effective at removing the dirt from either the Travertine or the grout lines.

This was a busy work kitchen that needed to have a floor that is easy to maintain; now frustrated with the way the floor looked they considered having it taken up and replaced but decided to contact Tile Doctor first looking for a remedy.

Travertine Floor Coningsby Before Cleaning Travertine Floor Coningsby Before Cleaning

We visited the property to survey the floor and discuss the issues they were facing with the floor. It clearly needed to be deep cleaned and then resealed properly with a more effective product. I explained our process and discussed the result they were looking for. They were happy for me to go ahead and requested a Matt finish rather than a shine or gloss look as it was a high use kitchen.


Cleaning and Burnishing a Travertine Tiled Floor

I returned on the agreed date and spent the first day removing the old sealer that was no longer working and deep cleaning the flooring. To achieve this, I used a series for burnishing pads of different grits. After each pad the floor was rinsed using our Rotovac system which rinses the floor and extracts the dirty water off the floor at high speed. Although an expensive investment the machine makes light work of cleaning hard floors and saves a lot of time.

Travertine Floor Coningsby During Cleaning

After cleaning the floor, a turbo dryer was installed to speed up the drying process so the floor can be inspected, and any stubborn areas redone. The tiles looked nice and clean, but I could see some areas of grouting needed more work so these were hand scrubbed with Tile Doctor Pro-Clean followed by another rinse to remove the soil.

Travertine Floor Coningsby During Cleaning Travertine Floor Coningsby After Cleaning

At this stage I also noticed a few holes in the travertine that were filled for the customer with a matching colour. This is a common problem for Travertine and unfortunately, they easily attract dirt, so filling makes the floor much easier to clean going forward.


Sealing a Travertine Tiled Floor

We returned the following morning and tested the flooring with a damp meter to make sure it was fully dry. All was well and it was ready to seal with our quality impregnator Tile Doctor Colour Grow which protects the floor from within whilst enhancing the natural colours in the stone in the process. The Travertine proved more absorbent than usual for this type of stone and took three coats before a water test indicated the floor was fully sealed.
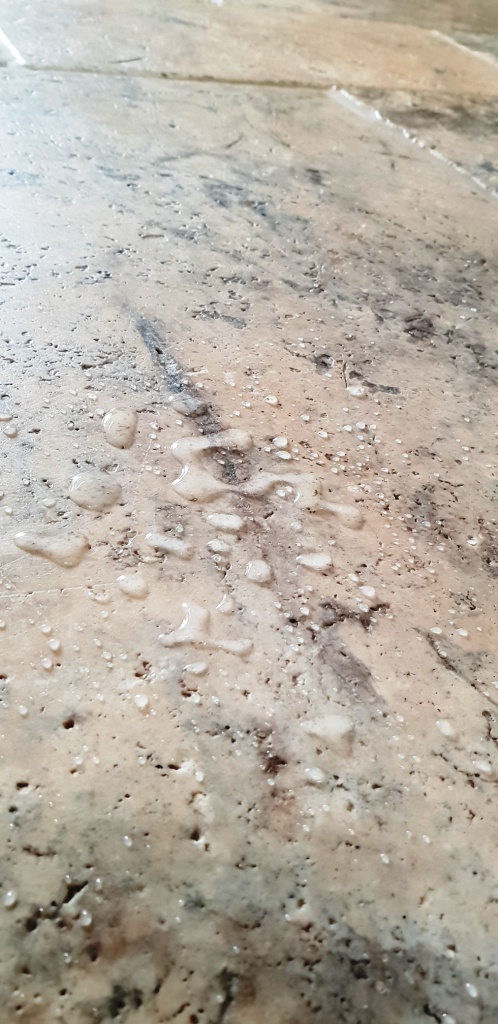
Travertine Floor Coningsby After Sealing Water Test

You can see from the photo above that the water beaded up on the surface and can be simply wiped away even after a few minutes. This shows maximum protection has been applied. Given my experience with this floor I suspect the previous company had not applied enough sealer and this would explain why it failed, had they conducted a water test then this should have been obvious.

We then gave a final polish with our buffer and a white soft pad to really strengthen the seal and give the best finish. I should mention that Colour Grow leaves a matt finish which matches the customer’s request.

Travertine Floor Coningsby After Cleaning Travertine Floor Coningsby After Cleaning

For aftercare cleaning going forward I left the customer a complimentary bottle of Tile Doctor Neutral Tile Cleaner that looks after the seal better than any high alkaline or acidic cleaners like bleach or washing up liquid which will prematurely erode the seal.

The customer was delighted with the results, commenting on how much brighter the whole room looked.
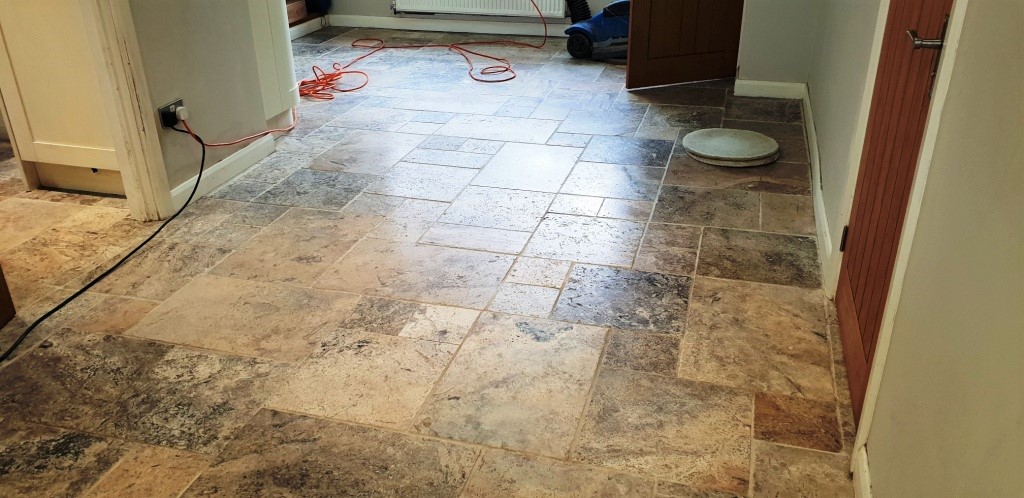
Travertine Floor Coningsby After Cleaning


Source: Travertine Tile Cleaning and Sealing Service in Coningsby, Lincolnshire
Saturday, November 10, 2018

Renovating Tired Quarry Tile and Grout in East Surrey

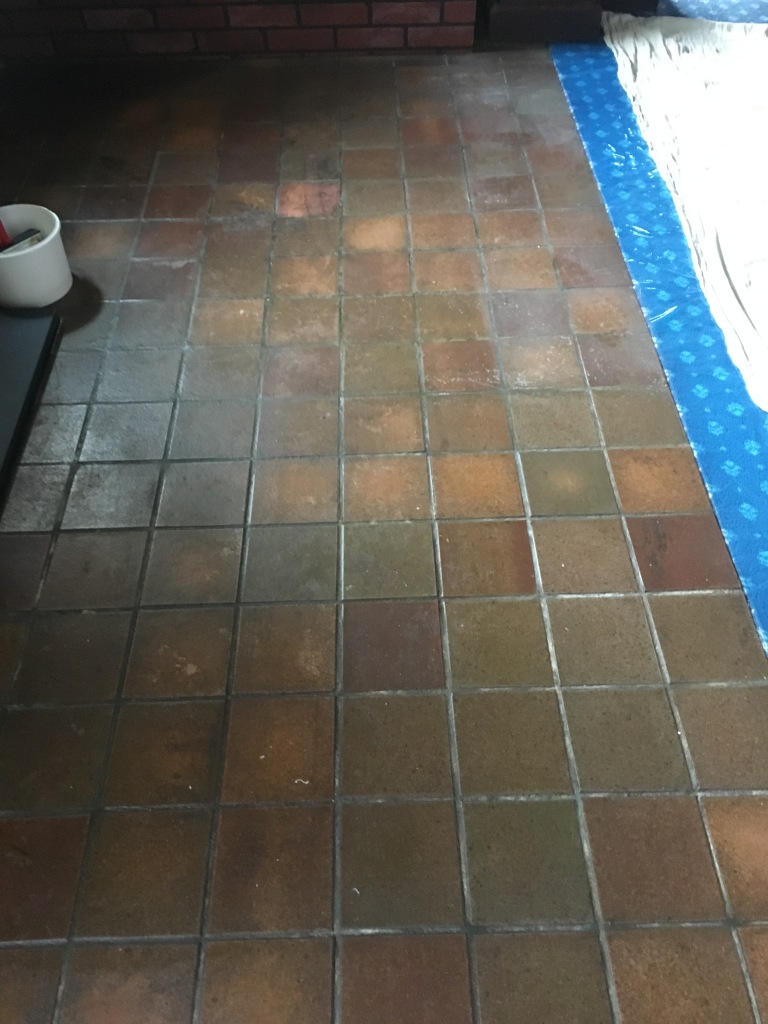
This client who lived in a property in the Village of Outwood had a tired looking Quarry tiled floor in their lounge and asked if we could improve the look of it. I went over to take a look and can see the tiles were situated in front of a brick fireplace and added a nice rustic feel to the room that was well suited to the house.

Quarry Tiled Floor Before Renovation in Outwood Quarry Tiled Floor Before Renovation in Outwood

It had clearly been some time however since the Quarry tiles had been given a good clean and seal; the tiles were looking dull and lifeless and the grout was especially bad and had darkened with the ingrained dirt. I could see a deep clean would be required to lift the dirt out so after discussing the process we agreed a date for me to come back and renovate the floor.

Quarry Tiled Floor Before Renovation in Outwood Close Up


Deep Cleaning Quarry Tile and Grout

When I returned to clean the floor my first task was to protect any areas that may be impacted by the cleaning process which in this case related to the adjacent carpet.

To be able to reach into the pores of the tile and grout and lift out the dirt I needed to remove any remaining sealer. To do this I applied a medium dilution of Tile Doctor Remove and Go which is a strong coatings remover and cleaner that’s ideal for these situations. The product is left to dwell for ten minutes, so it can get to work breaking down the old sealer and dirt and is then scrubbed into the floor. Normally I use a black scrubbing pad fitted to a rotary machine running on slow speed to do this however given the size of the floor I decided to use a deck brush to scrub the tiles and a narrow grout brush along the grout lines.

The soiled cleaning solution was rinsed off the floor with water and extracted using a wet vacuum. I then inspected the floor and spot treated any areas that needed further attention with a repeat of the same process. Once I was satisfied the Quarry tile and grout was as clean as it could be, I left for the night so the floor cold dry off.


Sealing Quarry Tiles

Returning the next day, I sealed the Quarry tiles with several coats of Tile Doctor Seal and Go which adds a nice subtle sheen finish to the tiles and will provide the tiles with long lasting protection. Seal and Go is a water-based sealer so doesn’t leave a smell as it dries which is always a plus.

My client was impressed with the transformation and as I think you will agree the Quarry tiles now look much brighter and the grout has returned to a much lighter shade.

Quarry Tiled Floor After Renovation in Outwood Quarry Tiled Floor After Renovation in Outwood


Source: Quarry Tile Cleaning and Renovation Service in East Surrey

Wednesday, April 11, 2018

Renovating Terracotta Tile and Grout Found Under Carpet in Cheshire

I was contacted by a home owner in Appleton near Warrington who had a Terracotta tiled floor in their dining Room. The floor had previously been covered in carpet and they were keen to have the whole floor restored.

To complicate things further the Carpet had been stuck down with a strong adhesive and a local builder had advised them to remove the glue using brick acid. Although this was successful it had the side effect of discolouring the grout lines and no amount of rinsing with the floor with water to dilute and wash off the acid would resolve the problem.

Carpet Covered Terracotta Tiled Floor Before Restortion in Appleton

Happy for me to resolve the problem, my client informed me they were going on holiday and would like me to do the work whilst they were away. This was a great idea as it would guard against unwanted foot traffic during the cleaning and sealing process and it would also mean they would have a nice surprise waiting for them on their return.


Deep Cleaning a Terracotta Tiled Kitchen Floor

After protecting the Kitchen units and skirting boards with plastic sheeting my first job was to strip any remaining sealer off the Terracotta tiles using a strong dilution of Tile Doctor Pro-Clean. The solution was spread across the floor and then left to dwell for twenty minutes before scrubbing it in with a black scrubbing pad attached to a rotary floor buffer. I then used a wet vacuum to remove the now dirty cleaning solution from the floor.

The grout was also given a good scrub using more Tile Doctor Pro-Clean but this time it was scrubbed in with a narrow stiff brush until I was satisfied it was as clean as it could be. The floor given a good rinse and I then inspected the floor tile and grout to ensure it was clean and free of sealers, any areas that needed ore work were retreated and the floor given a final rinse and dry with the wet vacuum before being left to dry off fully overnight.


Sealing a Terracotta Tiled Kitchen Floor

I returned the next morning and tested the tiles with a damp meter to ensure they were dry before beginning applying the sealer. All was well, so I started by applying a single coat of Tile Doctor Colour Grow. Colour Grow is an impregnating sealer that seeps into the pores of the tile protecting it from within and enhancing the natural red colour of the Terracotta in the process.

Once the first coat had dried I followed up with two coats of Tile Doctor Seal and Go which is a compatible water-based sealer that works really well on clay tiles and adds a lovely sheen finish to the floor.

The last step was to resolve the problem with the discoloured grout lines by applying a white grout colourant to the grout. This gave the grout a fresh and consistent appearance throughout and also has the benefit of sealing the grout which will protect it from staining and also make it much easier to clean.

Last step was to finish the sealing of the floor by topping up the sealer with another three coats of Seal and Go to ensure the floor was fully sealed.

Carpet Covered Terracotta Tiled Floor Before Restortion in Appleton

The result was a huge improvement and now looked like a recently installed Terracotta floor. When my customer returned from holiday they were more than happy with the floor and the work I had done.


Source: Terracotta Tile Cleaning, Renovation and Maintenance Service in Cheshire