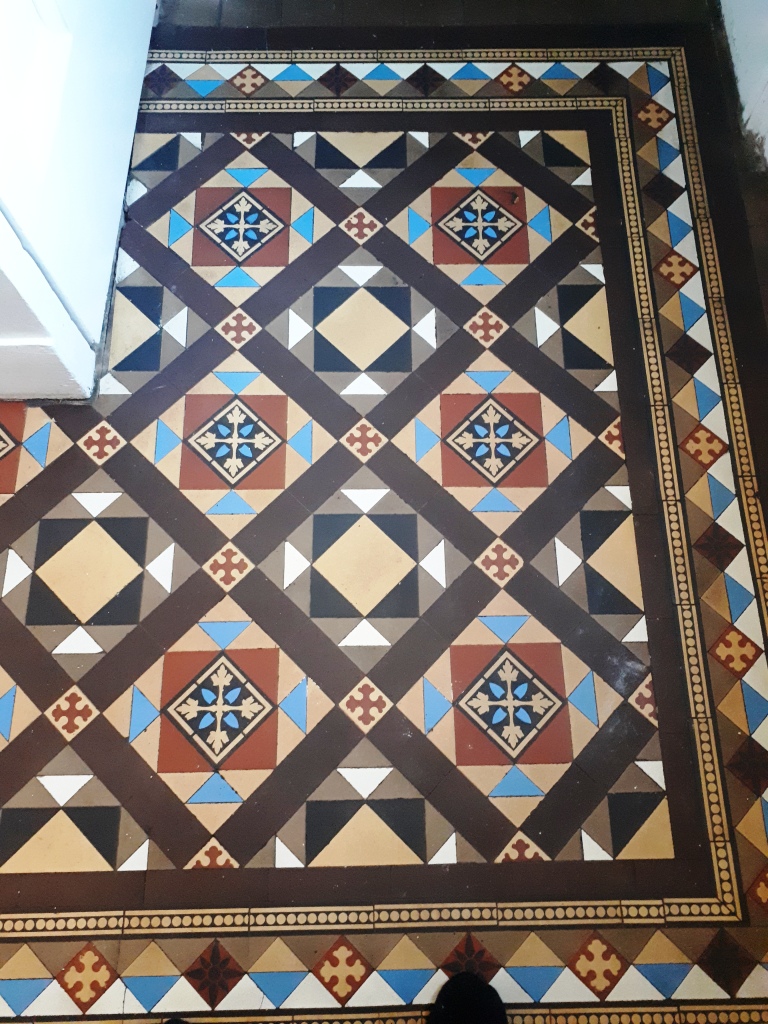
The house dated from the 1800's and contained two old floors that needed restoration. I didn’t want to trample over a recently renovated hallway floor whilst rebuilding the old Quarry tiled floor in the front room so naturally I addressed that first. If you missed the first post detailing its restoration you can find it here: Victorian Quarry Tiled Floor Restoration in Harborne
 |
 |
Once the front room restoration was complete, I moved onto the original Victorian Hallway which was dull, dirty and needed some tiling work around one of the door thresholds.

Cleaning and Repairing a Victorian Tiled Hallway Floor
The Victorian Hallway needed to have a threshold restoring, luckily the builders had kept the original tiles. Firstly, the space below the tiles needed to be filled with quick drying cement. The tiles were then re set and grouted.
Next issue was to tackle the paint spots and carpet adhesive. I did this by spraying the surface of the tile with a strong solution of Tile Doctor Remove and Go and after leaving to for ten minutes to soak in and soften the glue and paint. I was then able to carefully scrape of the glue and paint with hand scrapers. The floor was then deep cleaned with a 200-grit diamond pad on a weighted rotary machine. The edges and corners were done by hand with diamond blocks. The floor was then rinsed with water and the soil extracted with a wet vacuum. Last stage of the cleaning process was to give the floor an Acid Wash with Tile Doctor Grout Clean-Up to further clean up the floor and neutralise any efflorescent salts that may have been present in the tiles. Efflorescence can be a big problem for old floors like these which don’t have a damp-proof membrane. I gave the floor another rinse and extraction before leaving for the day and left the floor to dry out overnight.
Sealing a Victorian Tiled Hallway
On return both the floors were checked for moisture with a damp meter to ensure they were dry. The readings were good, so I proceeded to start the long process of applying the sealer. On this occasion I chose Tile Doctor Colour Grow sealer, main reasons being its fully breathable so will cope well with any moisture evaporation due to there being no damp-proof membrane also its really good at bringing out the colours in the tiles. Three coats were applied, allowing each coat to dry before applying the next. I then buffed off any excess with a white pad. |
 |
The new sealer really brought the Victorian tiles to life and allowed the colour and geometric patterns in the Victorian hallway floor to shine through.

Source: Victorian Floor Cleaning and Sealing Service in Birmingham