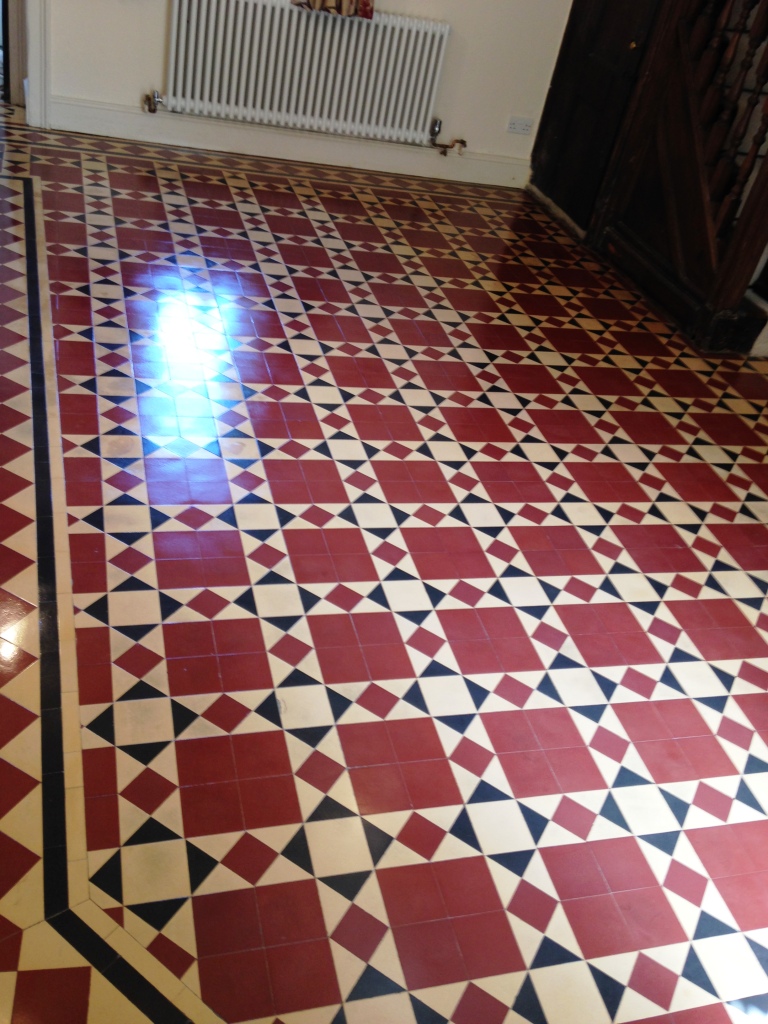
Repairing and Cleaning Dirty Victorian Tiles
I started by using a 50/50 mixture of Tile Doctor Pro-Clean and Remove and Go diluted with water to create a powerful stripper/cleaner that would take off any remaining old sealer and many years’ worth of dirt. I followed the usual process of applying the solution, allowing it to dwell for then minutes and then scrubbing it in with a scrbubbing pad fitted to a rotary floor machine. The thin grout lines were also treated with the same solution but scrubbed with a stiff brush by hand. This process released the dirt from the tile which was then rinsed away using more water and a wet vacuum to extract the solution from the floor. I then repeated the process until satisfied the floor was clean. A couple of days later I went back to seal the floor but on removing the dust sheets I could see much of the floor was covered in effervescence from the salts that had risen up through the tile as it dried. I could not seal the floor like that so I applied tile doctor's new Acid Gel product to get rid the problem.Sealing Victorian Tiles
A couple of days later I returned again and this time I was able to proceed and sealed the Victorian tiles using eight coats of Seal and Go which adds a nice subtle sheen to the tiles and will protect the floor going forward.
The floor now looks much fresher and the sealer should keep it looking that way for some time to come.
Source: Victorian Tile Cleaning and Restoration Service in Monmouthshire