 |
 |
Cleaning a Terracotta tiled conservatory
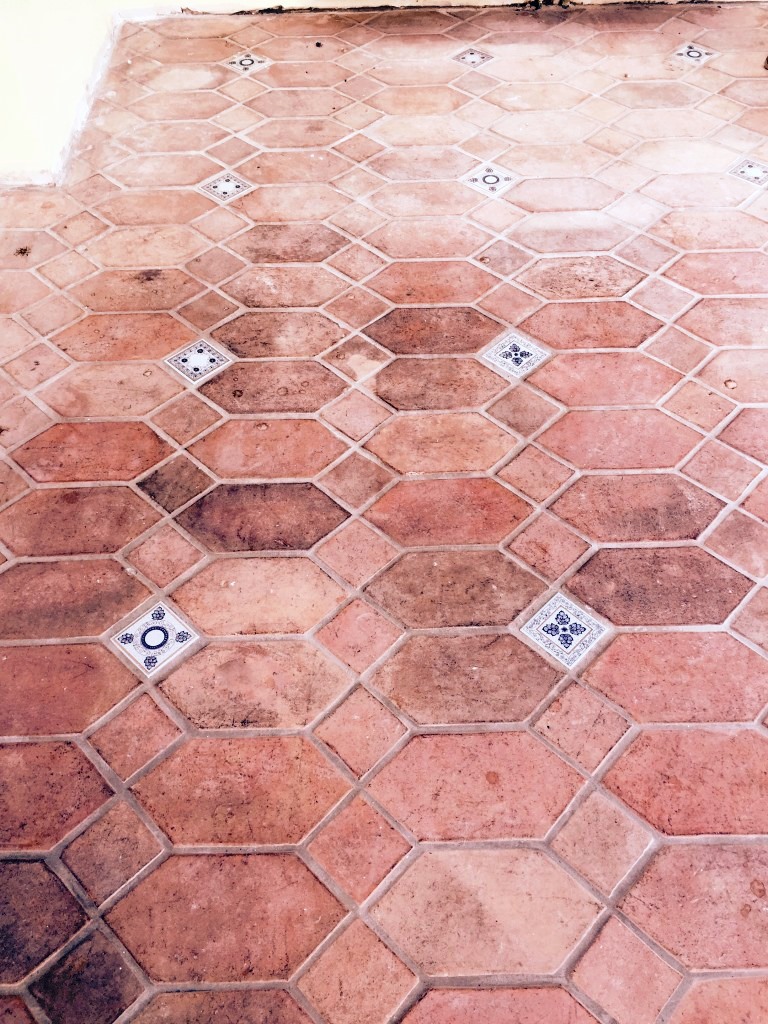
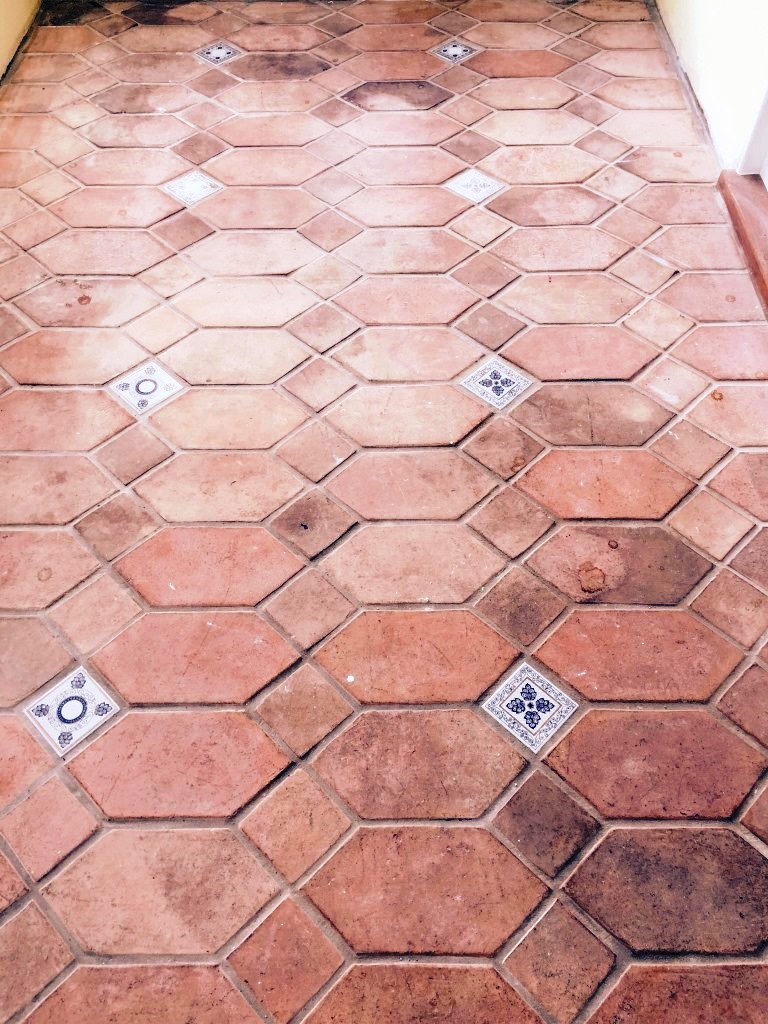
To begin with, I mixed a cleaning solution consisting of one part Tile Doctor Pro Clean to one part water. This was spread evenly across the floor and let to dwell for approximately ten to fifteen minutes. The solution was then agitated with a scrubbing pad fitted to my heavy-weight rotary machine, lifting away the initial layers of muck and any remaining old sealer. However, I noticed after giving the tiles a rinse that some of the old sealer was still prevalent in some areas. To deal with this, I applied a solvent-based sealer stripper and left it to work its magic on the affected areas. After about an hour, I added a steamer to the mix, and this allowed me to thoroughly scrub away the old seal. This was followed up by another rinse of the floor, and left it to dry.
Sealing a Terracotta tiled conservatory
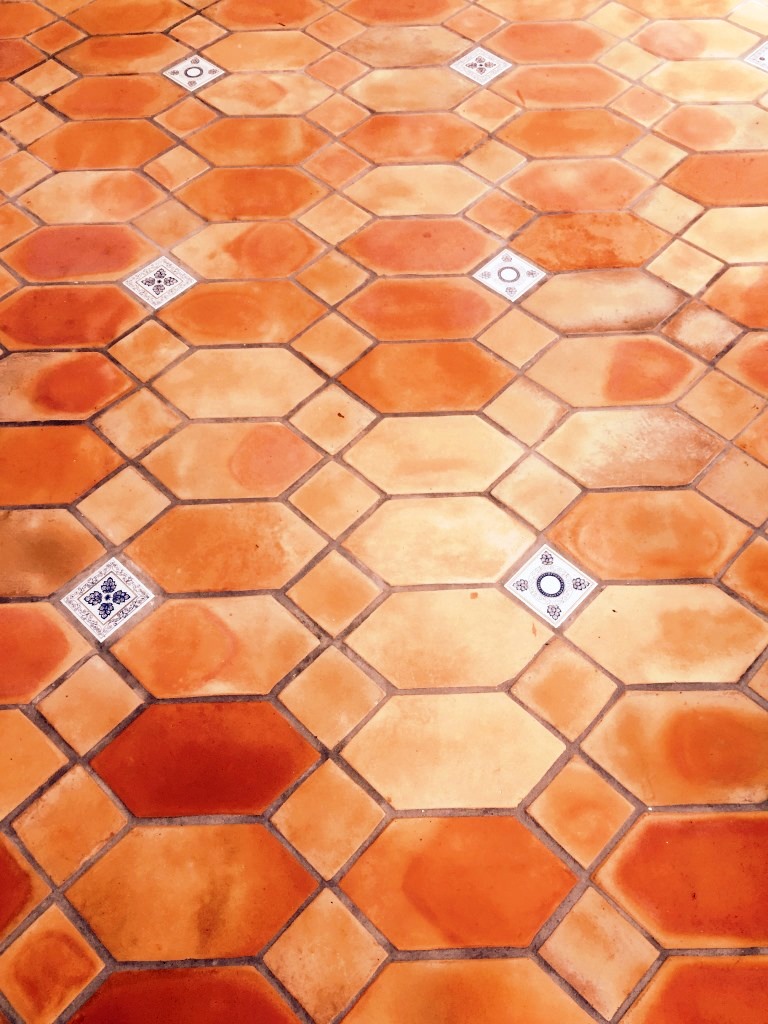
I returned to the house five days later to complete the restoration. My immediate task was to carry out a moisture test to make sure the floor was completely dry and therefore ready to take the new seal, this is an important step as adding a sealer to a damp floor can result in problems. Once satisfied, I proceeded to seal the floor with five coats of Tile Doctor Colour Grow sealer. This sealer is particularly effective at providing durable surface protection from within, and contains properties which enhanced the natural auburn shades in the Terracotta tiles. |
 |
I'm pleased to say that my client was overjoyed with the quick transformation of their conservatory floor. They never knew quite how vibrant the colours in the stone could be, and better still, the floor now blends in with their newly painted lemon walls.

Source: Terracotta Floor Restoration Services in Surrey