 |
 |
Milling a Limestone Tiled Floor
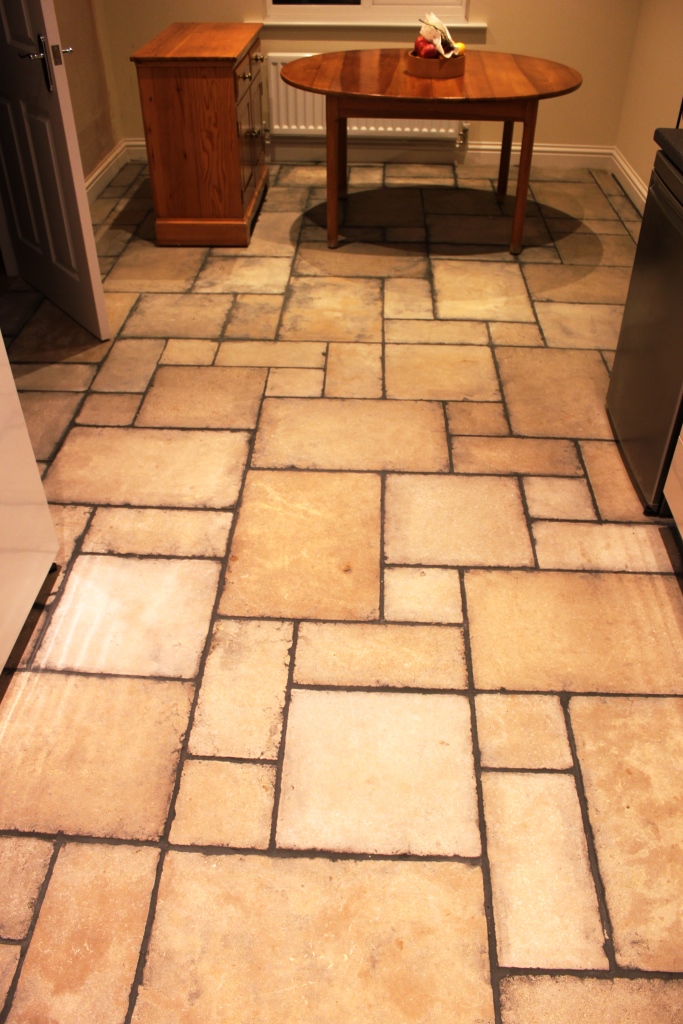
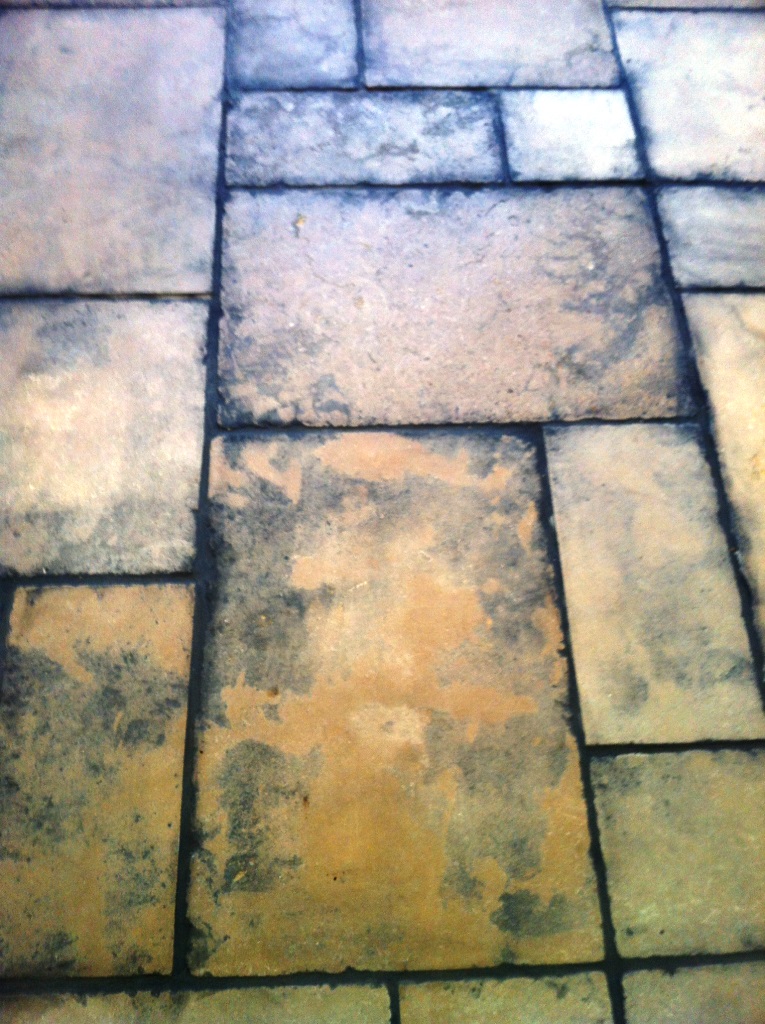
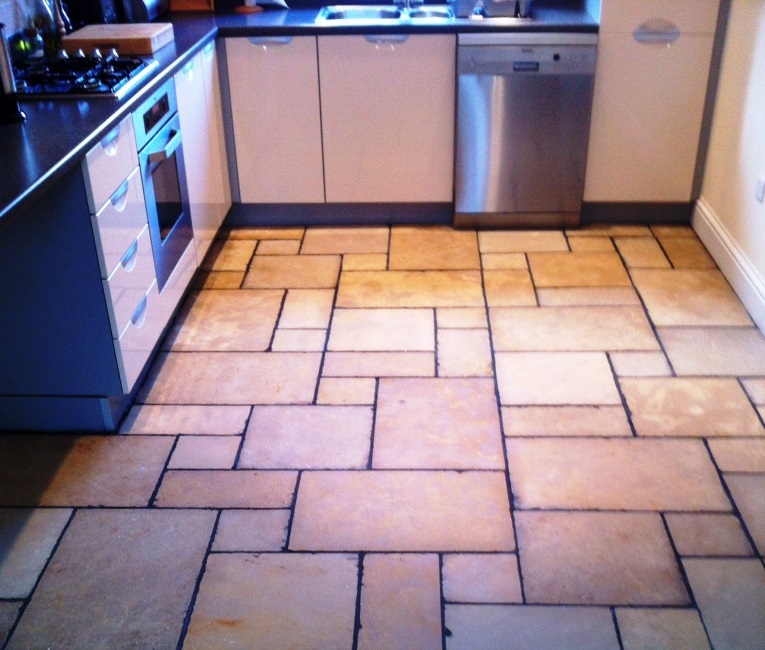
Before starting we cleared any furniture from the area and masked skirting boards and kitchen units. We then set about rectifying the problem with a set of Milling Pads that which remove a layer off the surface of the stone; this also has the added advantage of removing any lippage issues between the tiles. Milling natural stone flooring is a controlled process using water, and specially manufactured diamond milling pads. We have a special low speed rotary floor machine for this purpose which is weighted with 65kg to ensure the right level of tension on the floor. A rotary hand polisher and oscillating multi-tool fitted with smaller milling pads were used to remove the grout haze from the wall edges and wall corners of the tiled kitchen. Once satisfied the contamination had been removed, then the floor was thoroughly rinsed with fresh water to remove the resulting slurry created by the milling process and then left to dry off overnight.Sealing the Limestone Floor
The next morning I arrived to find the floor had dried out enough for me to seal it which was done using a couple of coats of Tile Doctor Colour Grow which is an advanced sealer from the Tile Doctor range that impregnates into the stone and lifts the natural colours in the Limestone floor as well as providing stain protection from both water and oils spills. Once the sealer had dried I then finished it all off with a quick buff using a white buffing pad.
After an hour of sealing the floor can be walked on, but impregnating sealers take up to 48 hours to fully care so care should be taken before the floor is subjected to normal use. For maintenance I recommended regular cleaning with a damp mop using a diluted solution (1:100) of Tile Doctors Stone Soap which is PH neutral and won’t affect the sealer.
Source: Expert Limestone tile maintenance