Monday, May 30, 2022

Electric Radiant Floor Warming

An inexpensive design touch that's not seen, but certainly felt, radiant floor warming can be a wonderful upgrade for colder spaces like kitchens and bathrooms, and it's a surprisingly energy efficient way to heat your home.

Ceramic, slate or marble tiles are attractive and durable alternatives to wood, carpet or vinyl flooring, but while our eyes appreciate their beauty, our feet can take some issues with the cold.

Most people feel comfortable with air temperatures of 65-75 degrees Fahrenheit, and tend to feel uncomfortable if there's more than a 5 degree difference in the surface temperature (80-85 F) between the head and that of the feet. A bare foot gives an immediate indication as to the comfort level of a given floor. For this reason alone, tile can be an issue for those who eschew footwear at home.

With just a tiny amount of heat drawn from a foot, carpet fibers warm almost instantaneously to "foot" temperature. A ceramic tile can't compete in this foot race—its mass needs more body heat for a longer amount of time. It'd take approximately half an hour for each step taken on a 68 F marble floor to warm the 15 degrees between it and an uncomfortable 83 F bare foot!

This concern is eliminated with a radiant floor warming system.

The two most common radiant floor warming systems are hydronic, usually a whole house heating solution used not just for floors, and electric. Electric systems are inexpensive enough for single room applications when compared to hydronic floor warming systems that use pricey boilers and tubes to generate radiant heat.

Suitable for new construction or remodeling applications, electric floor warming systems include a network of cables, occasionally mounted to rectangular mats, installed in the mortar just below the tiles. These cables gently warm the tiles, operating on ordinary house current. While using a professional electrician is advised for those not comfortable working on electrical installations, these systems are generally easy to install. The use of a system will not compromise the integrity of the tile installation.

Designing a floor warming installation first requires a determination of the area to be warmed. Calculating the total square footage will require collecting information from the blueprints of the room or actually measuring the area itself. It should be noted that areas under vanities or cabinets, under plumbing fixtures or inaccessible areas should not be included.

When making the calculations, design a layout that considers traffic patterns in the area to be warmed, and take care to calculate the square footage precisely.

Heating mat manufacturers can take several weeks to create custom-made mats, but you can also pick up generic panels to install yourself.

A complete system often can be installed using an electric drill and other ordinary hand tools. The installation process can be completed in three phases that will likely correspond with the construction phases of your home or building.

Phase One - Prep the Space

During the electrical rough-in, the components of the installation kit will be installed. The outlet box should be located in the wall directly above the area to be warmed. Consideration should be given to the location of other electrical devices when installing the box. The appropriate power feed should be brought to the box in this phase.

Phase Two - Install the Wires

After finishing the drywall and immediately preceding the tile installation, the cables should be installed. To simplify this procedure, a special template is provided with each cable to ensure correct spacing. Each cable also includes an appropriate amount of clips and screws to properly affix the cables to the floor.

Phase Three - Power Up

The last phase calls for the installation of the control and connection to the power source. Complete wiring instructions are provided with each thermostat. Once completed, the circuit can be energized.

Several options exist for controlling a floor warming system. A system can be wired with an appropriately rated switch for manual on/off control, though the use of a thermostat for maximum comfort control and energy conservation is recommended. Thermostats usually have built in on/off switches to allow the system to be turned off during vacations or at other times when the floor warming system is not needed.


Source: www.DoItYourself.com

Tuesday, May 10, 2022

South Bucks Stone Floor Professional Details Renovation of Travertine Kitchen Floor

This client from Amersham contacted us regarding their Travertine Kitchen floor which they were simply not able to keep clean. Frustratingly any spillage went straight into the floor and stained the tiles. I called them to discuss the problem and offered to come round and survey the floor which is a free service we offer.

I can provide a quote over the phone, but my preference is to visit and test different cleaning products and techniques on the floor before quoting. Doing it this way allows me to work out an accurate quote and gives the customer the confidence I can resolve their problems.

After agreeing a suitable time to call I visited the property and could instantly see that their main problem was the sealer protecting their Kitchen tiles had failed and as described dirt was becoming stuck in the pores of the stone. Natural stone like Travertine is porous and without a sealer in place dirt becomes lodged in its pores where is becomes very difficult to shift.

 
Travertine Kitchen Floor Before Deep Cleaning Amersham

The kitchen was stunning but let down by the dirty floor which had been installed around twenty years ago when a new extension has been added to the property. Typically, a sealer should last between three and five years depending on use and what cleaning products are used to maintain it, so it wasn’t surprising that the original sealer had worn off.

I quoted for deep cleaning the floor including the removal of the old sealer and then applying a robust impregnating sealer which is recommended for Travertine. Happy with the price we scheduled a date for the work to be done.


Deep Cleaning a Travertine Tiled Kitchen Floor

On the first day the floor was given a thorough deep clean using a strong dilution of Tile Doctor Pro-Clean, this product is our go to Tile and Grout Cleaner and when used in a strong dilution is strong enough to remove sealers. You find with sealers that they wear down first in the busiest sections of the floor so its important to remove all the sealer from across the floor or you end up with layering.

Pro-Clean is a strong alkaline cleaning product and it’s sprayed onto the tile and grout and then left for ten minutes before working it in, this allows it time to soak into the pores and start breaking down the dirt.

The floor is then scrubbed using a Rocky floor machine fitted with a series of diamond burnishing pads of increasing grits. This process generates a lot of soiling, and this is hoovered up with a wet vacuum after each pad.

The work begins with a coarse 400-grit burnishing pad which strips the Travertine and I work up to a 3000-grit pad which really brings up the finish of the stone to a slight sheen as the client requested. The floor was then left overnight to dry.


Sealing a Travertine Tiled Kitchen Floor

On day two I started on the sealing process first checking that the floor had dried sufficiently to accept the sealer. After discussing sealer options with the client earlier they had expressed a preference for a natural look, so I chose to apply a sealer called Tile Doctor Ultra-Seal which doesn’t colour the stone in any way and is almost undetectable.

Ultra-Seal is an impregnating sealer that works by soaking into the pores of the stone occupying the space and thereby preventing dirt from becoming ingrained there. Two coats were applied with a microfibre cloth allowing it to soak into the tile for a few hours before walking on it.

Once the seal had dried, I went over the tiles again with the 3000-grit pad which buffs of any excess sealant and brings up the sheen. Now with the floor being completely protected with Tile Doctor Ultra Seal the client shouldn't have any problem with spillages which can be simply wiped away.

 
Travertine Kitchen Floor After Deep Cleaning Sealing Amersham

Once finished the deep pitted dirt was gone and the floor looked much lighter and cleaner. My client was very impressed with the transformation and has recommended us to her friend who also lives in Amersham and has a similar stone floor.

I mentioned earlier that a sealer’s life can be impacted by the product you use for regular cleaning, it’s a fact that most supermarket tile cleaners are simply too strong and can damage the sealer so before leaving I took time to discuss aftercare cleaning and for Travertine, I recommend the use of Tile Doctor Stone Soap which as well as gently cleaning the stone also helps maintain the patina.


Sunday, April 17, 2022

Rescuing a Forgotten Period Victorian Floor in North London

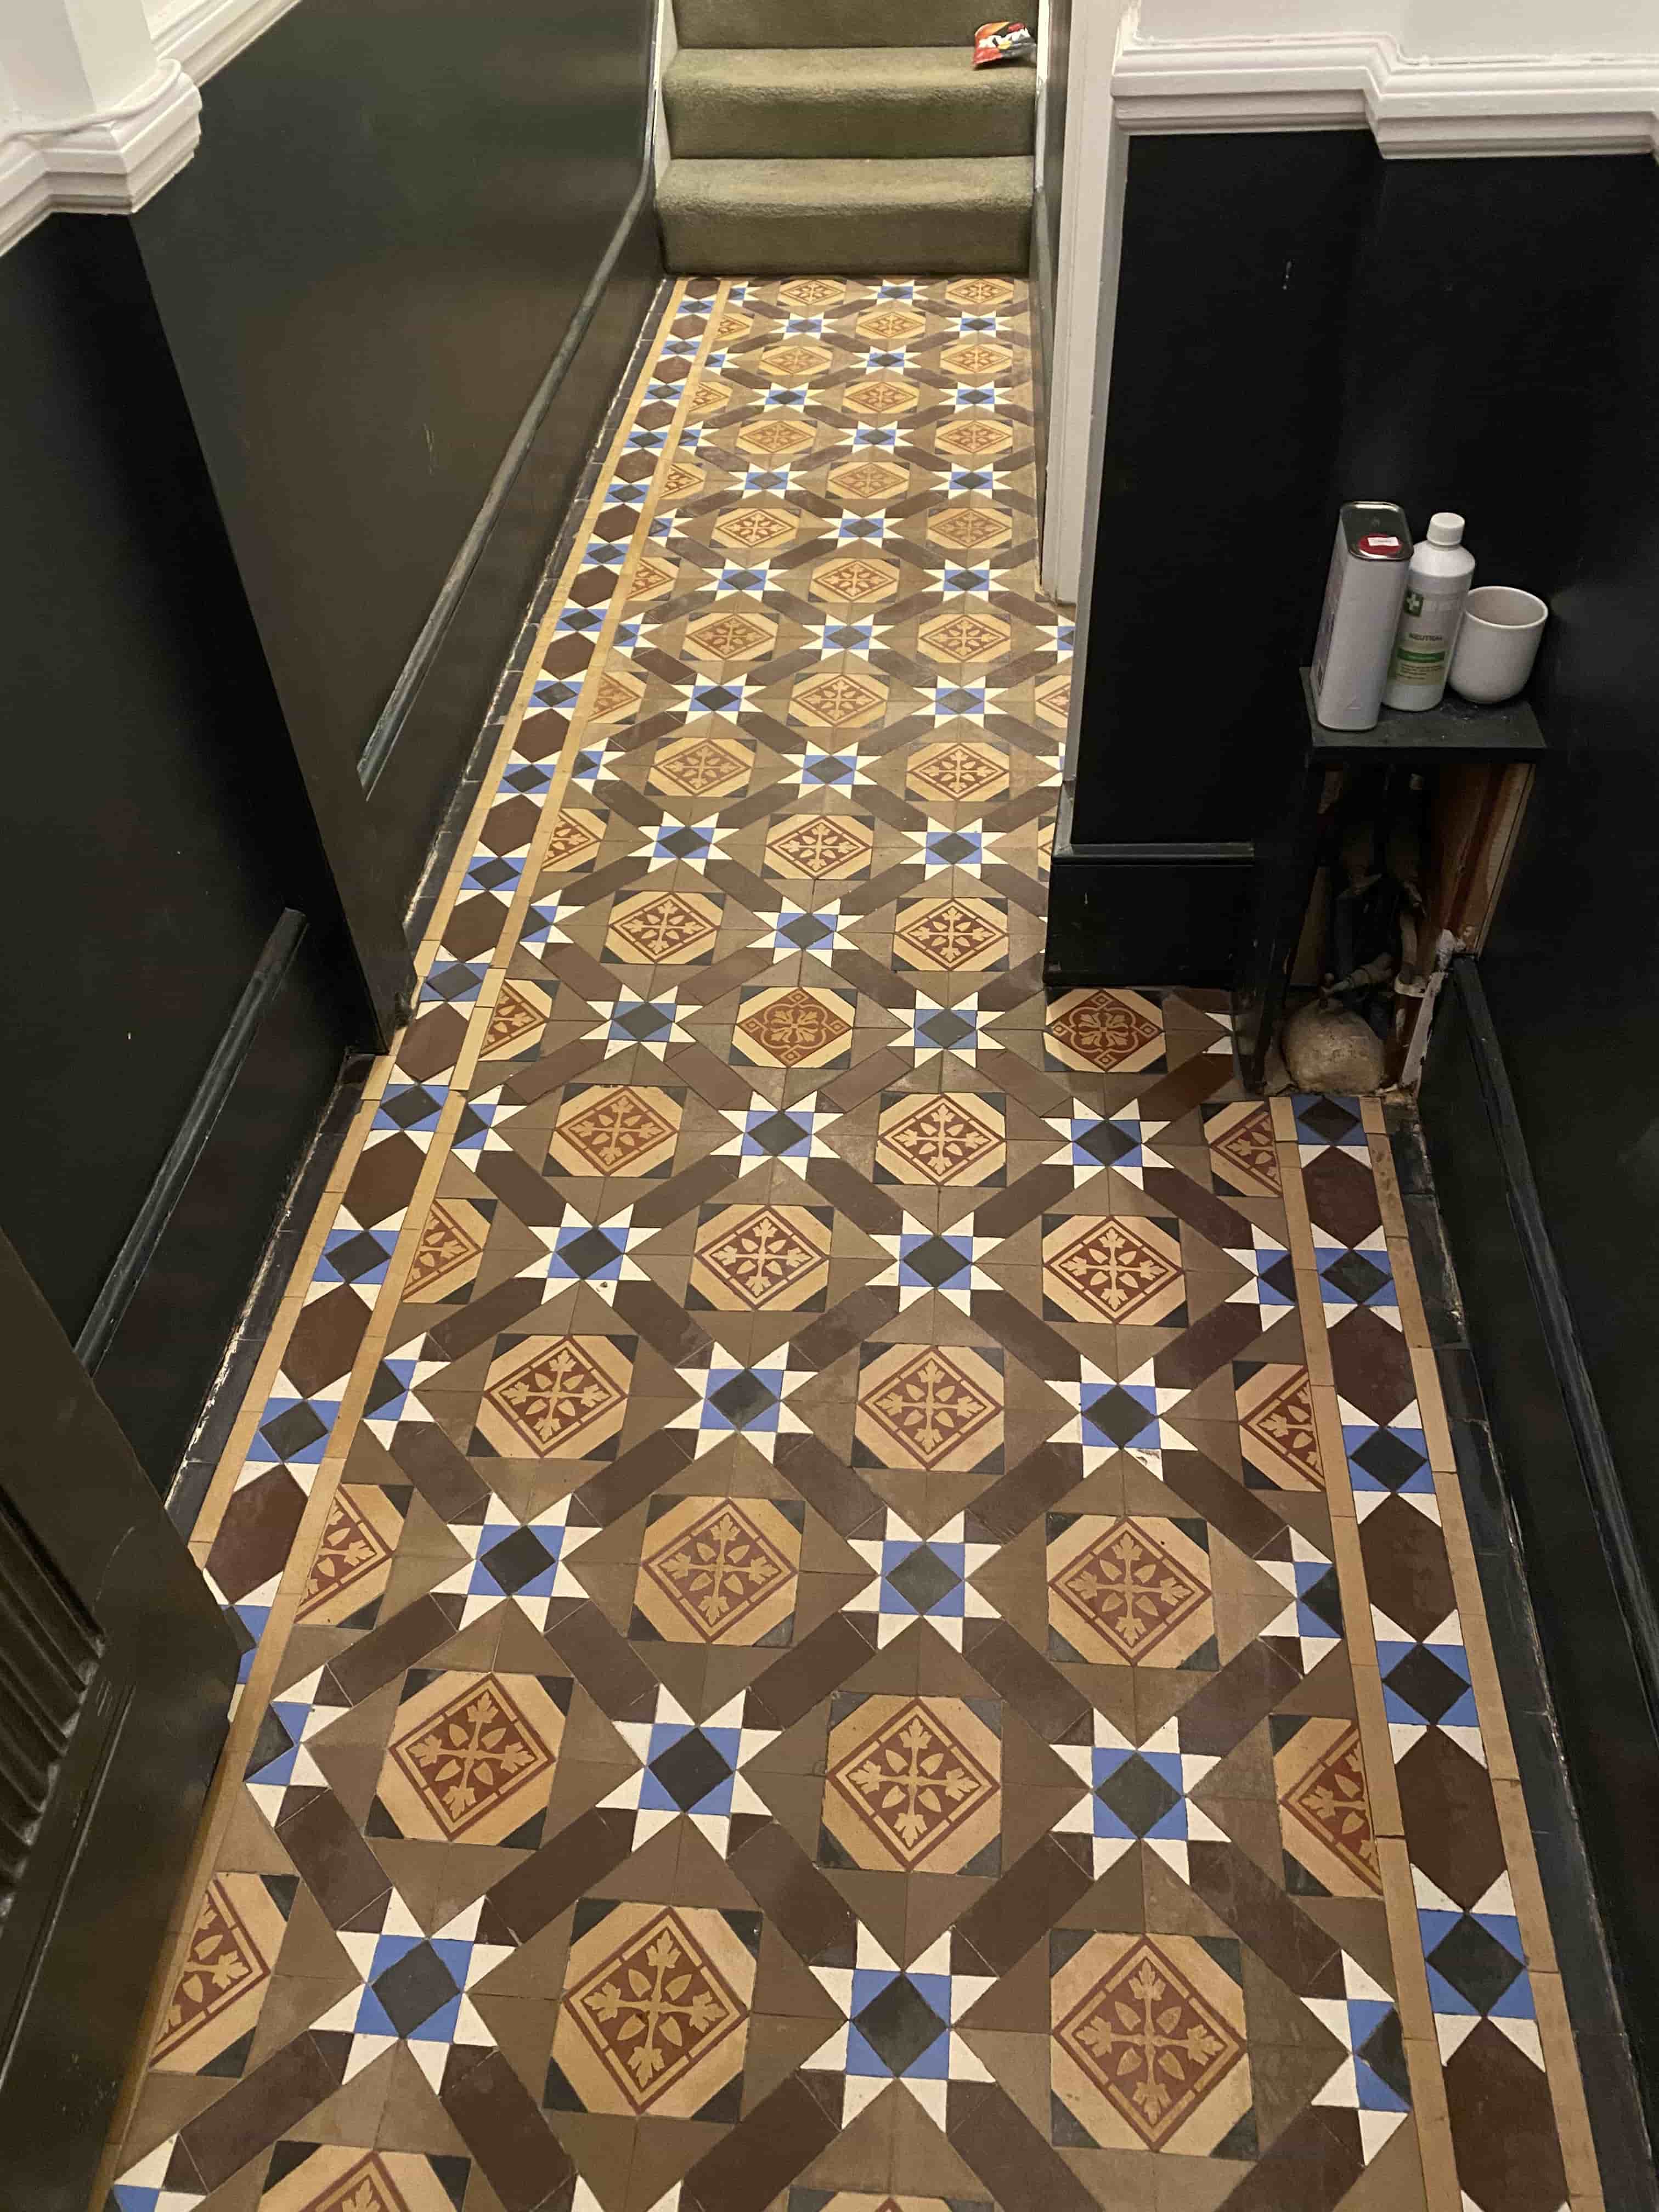
This classic original Black and White Victorian tiled floor was discovered by a customer in Kensal Rise under a lino floor when they moved in. Unfortunately, a large section of tiling was missing and had been backfilled with cement after a radiator pipe had been installed at some point in the past. The new owner understood that value that period features such as Victorian floors can add to the value of a property and was keen to have it restored.

 
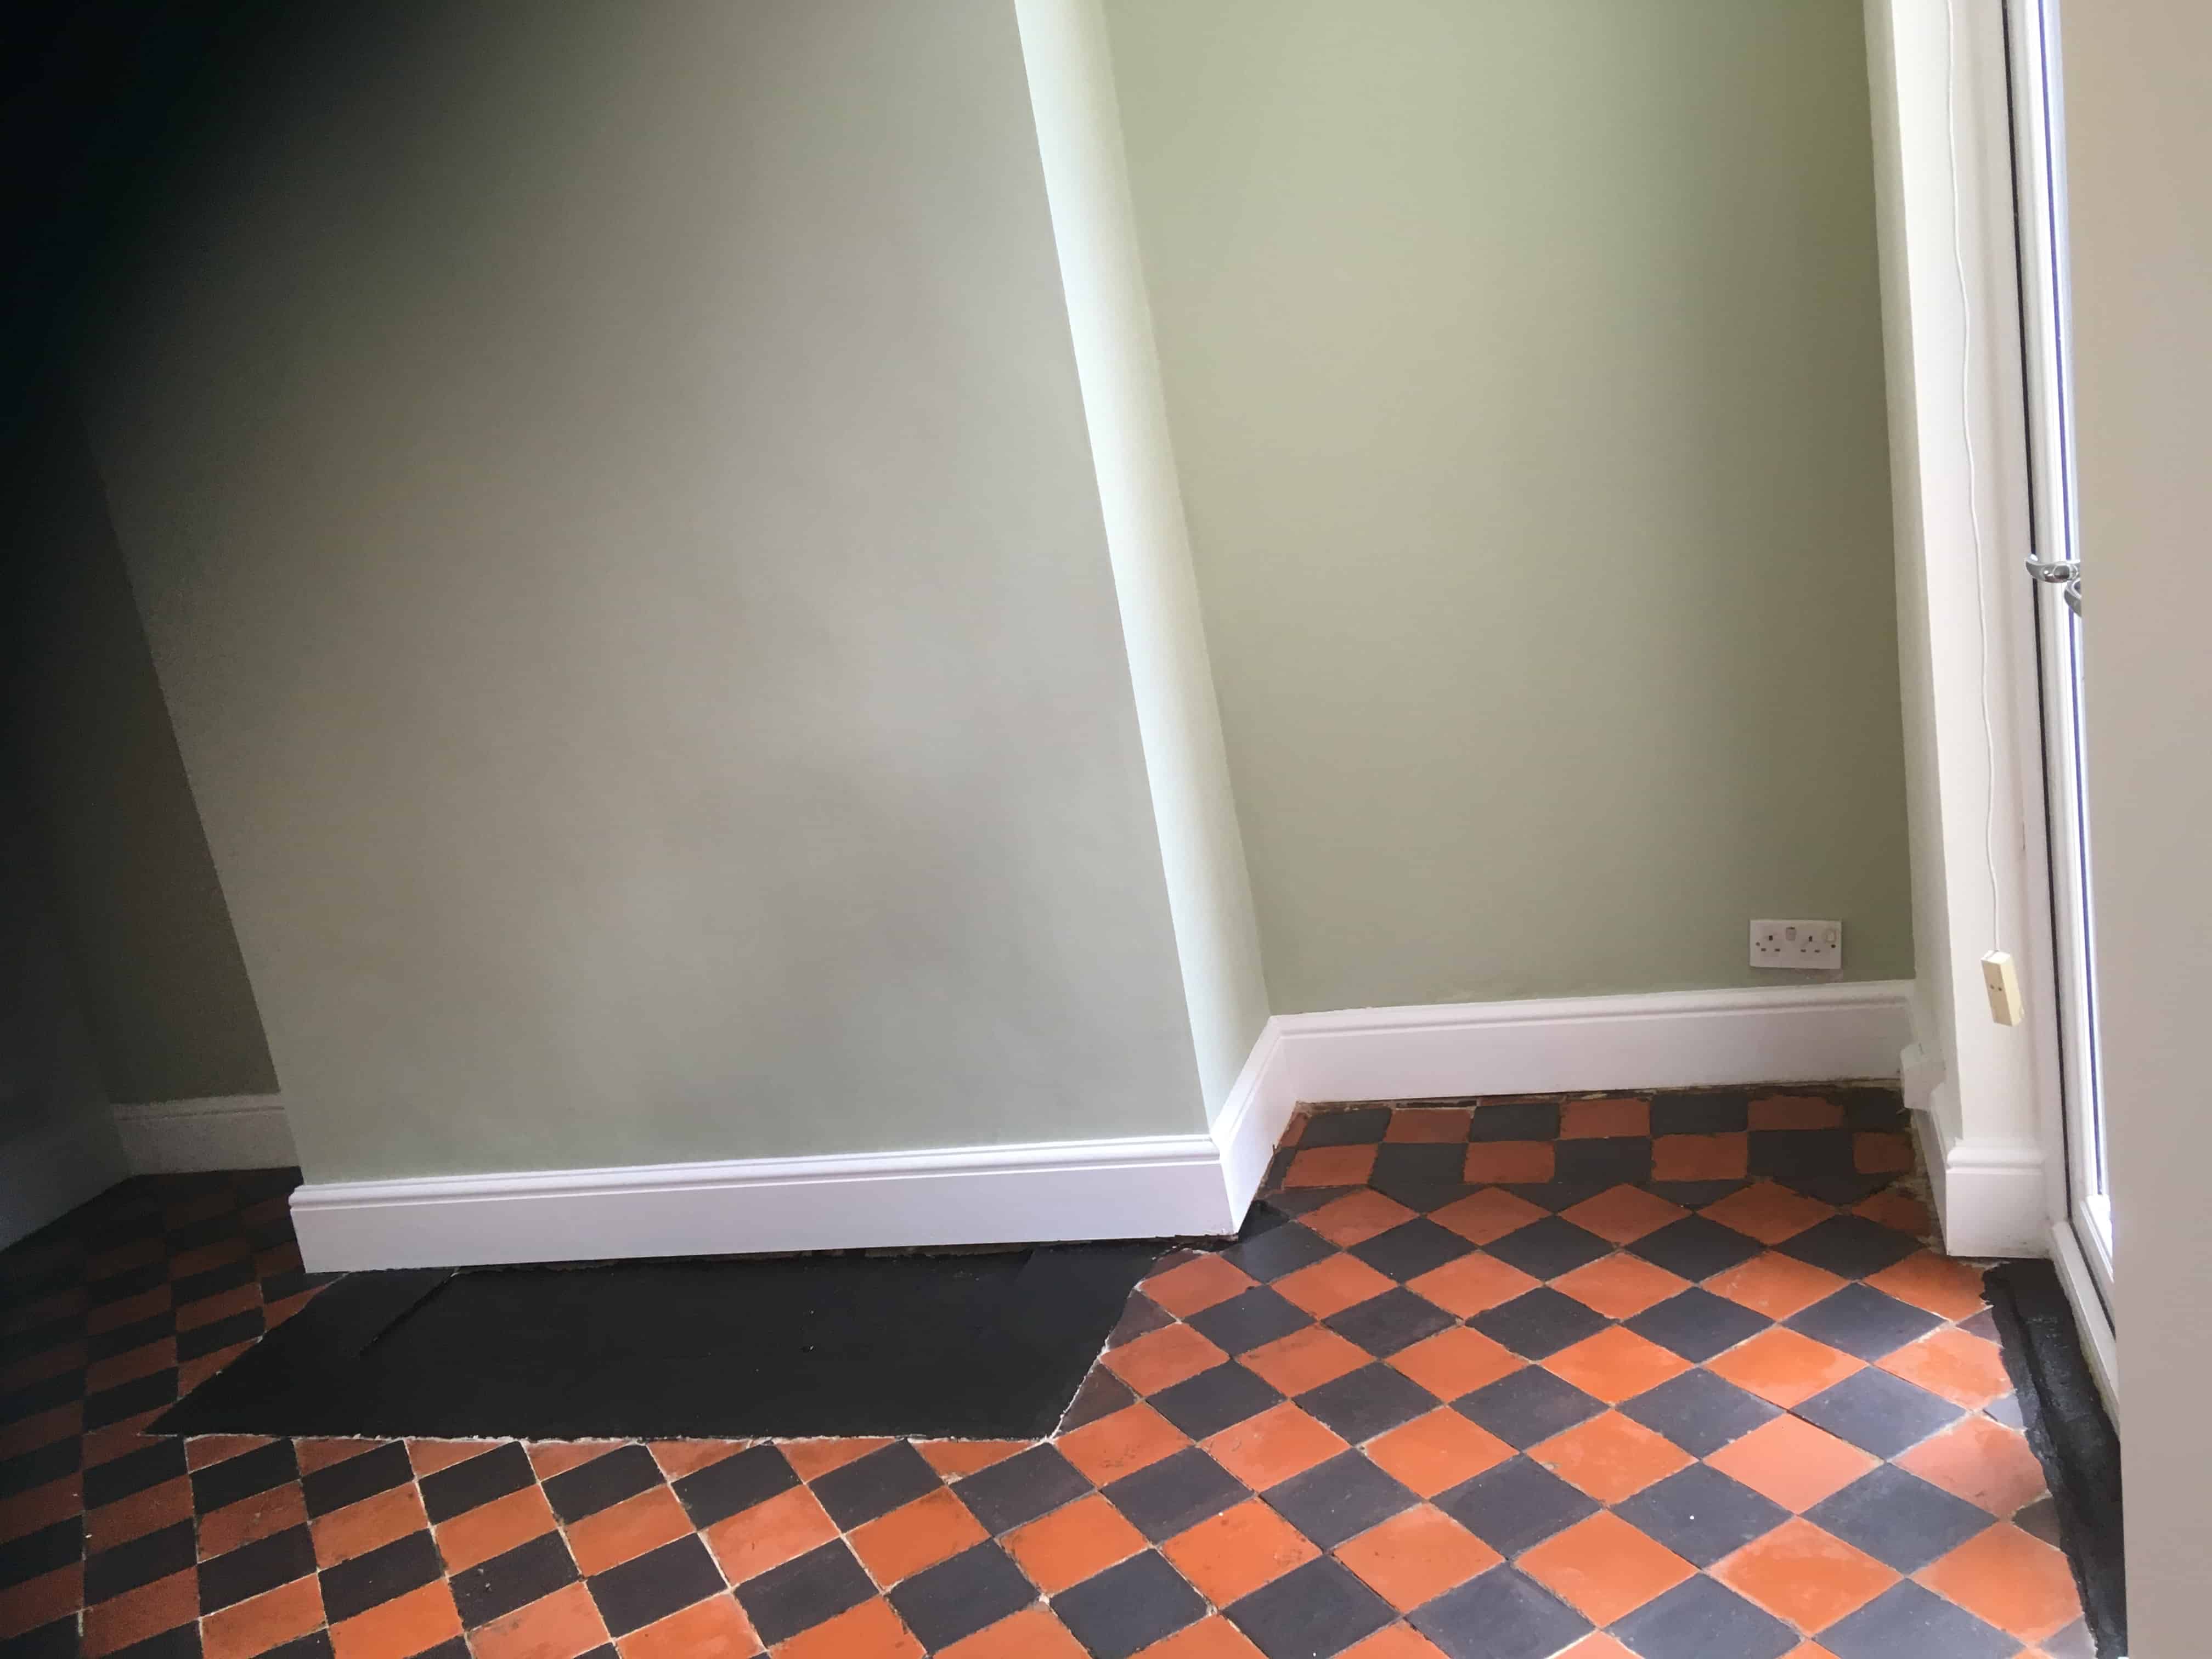
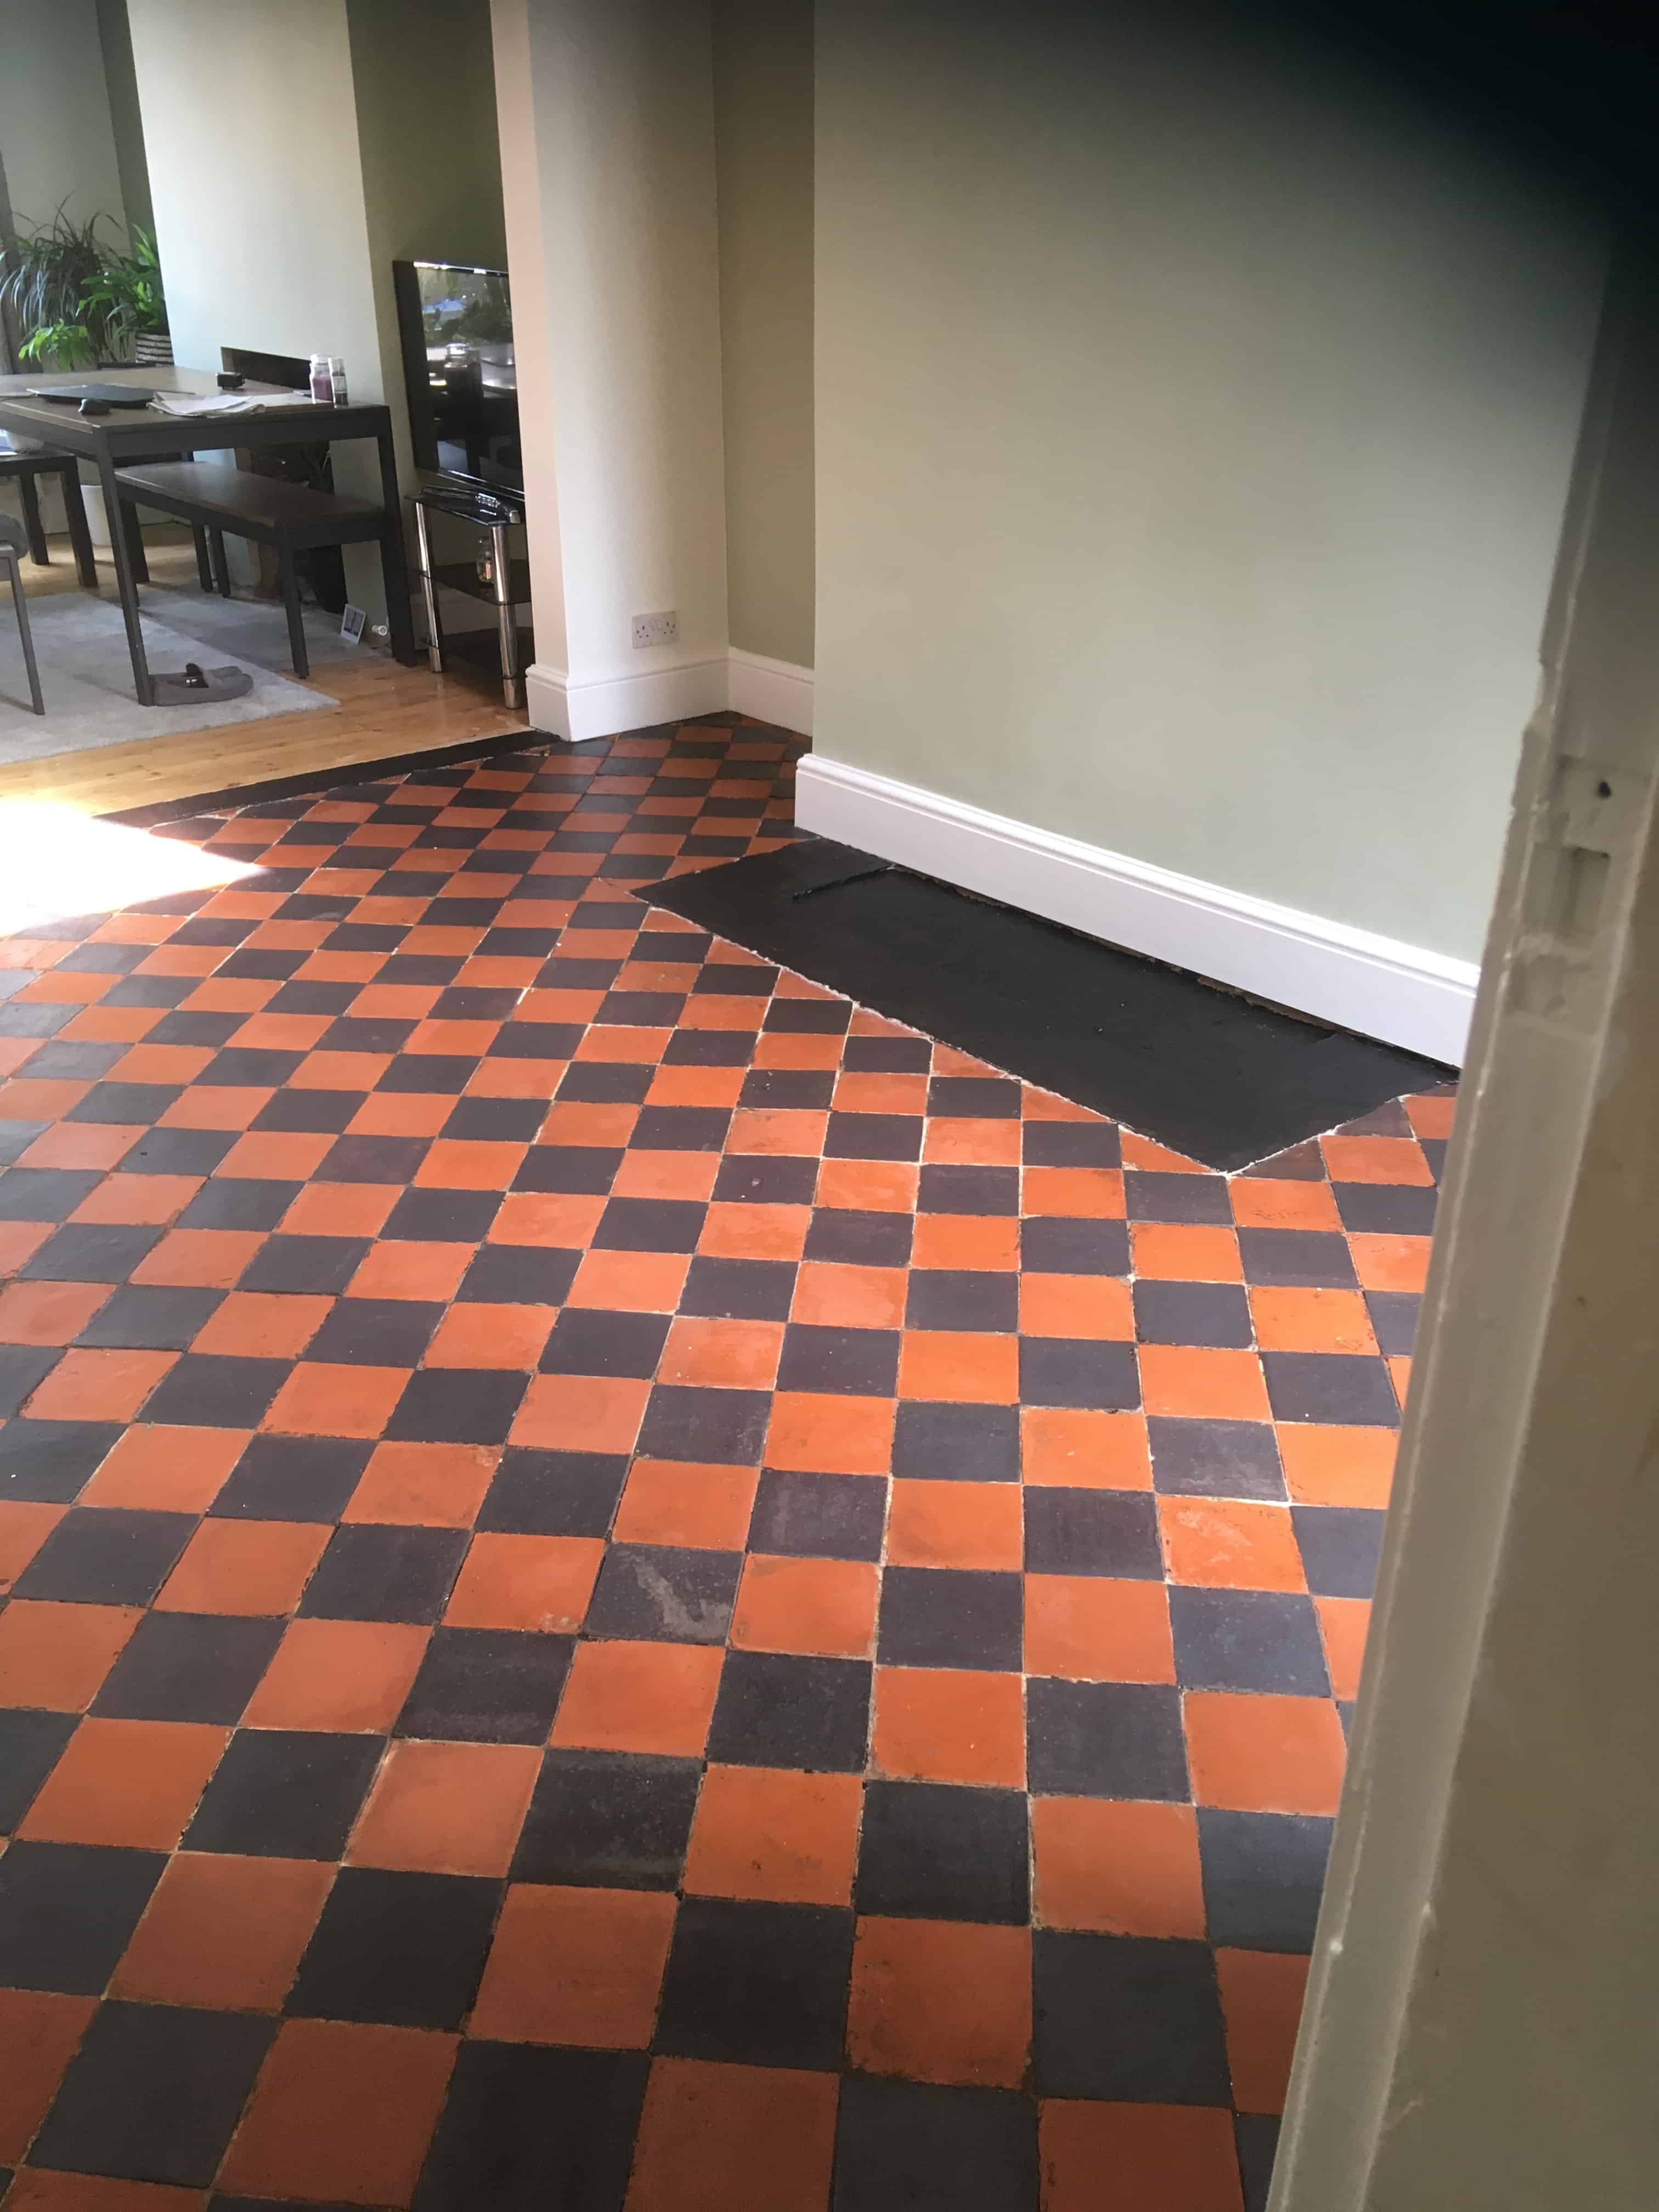
Damaged Classic Victorian Tiled Hallway Before Restoration Kensal Rise Damaged Classic Victorian Tiled Hallway Before Restoration Kensal Rise

We have done numerous similar restorations in the past, so we were asked to go over, survey the floor and quote for carrying out the work. Knowing that a lot of the cement would need to be removed I started by carefully chipping away some of the cement to make sure the radiator pipe had been buried deep enough for tiling. It was so after measuring up and inspecting the rest of the floor I went ahead and issued a quote.

The client accepted so we booked in a mutually convenient date to carry out the works. The property was in a lovely street of similar properties many of which looked as if they had been restored.


Cleaning and Repairing a Victorian Tiled Hallway Floor

The first task we did was clean the existing tiles with an application of Tile Doctor Remove and Go which is a strong alkaline coatings remover. This was diluted with water, sprayed onto the tiles, left to soak in for ten minutes and then scrubbed into the floor using a black pad fitted to a rotary machine. After rinsing off and the slurry and extracting with a wet vacuum the tiles were inspected and the process repeated where needed.

 
Damaged Classic Victorian Tiled Hallway During Restoration Kensal Rise

The next stage was to treat the floor to an acid rinse using Tile Doctor Acid Gel, this time worked in with a coarse 200-grit pad. Old floors like this one don’t have a damp proof membrane under the floor and as the moisture rises though the tile to evaporate at the surface you can find white salt deposits being left behind. Giving the floor an acid rinse like this will dissolve the salts and will also neutralise the floor after the use of an alkaline cleaner. Combine this with a coarse pad and you find the tiles come up really well, it will even remove old grout smears on the surface of the tiles. Once done the floor was rinsed again and the floor dried as much as possible using the wet vacuum.

After leaving the floor to dry off overnight we came back the next day and started the processing of excavating the cement around the heating pipe. With the rubble removed fast drying self-levelling cement was applied to a point where it was the right height for re-tiling.

On day three with the cement now dry it was tiled using matching tiles I had managed to source from Original Style Tiles who are a supplier that specialises in reproduction Victorian tiles. They have a vast range so we can usually find a very close match. The tiles were laid in a matching diamond pattern and grouted in later that afternoon.

 
Damaged Classic Victorian Tiled Hallway During Restoration Kensal Rise


Sealing a Victorian Tiled Hallway Floor

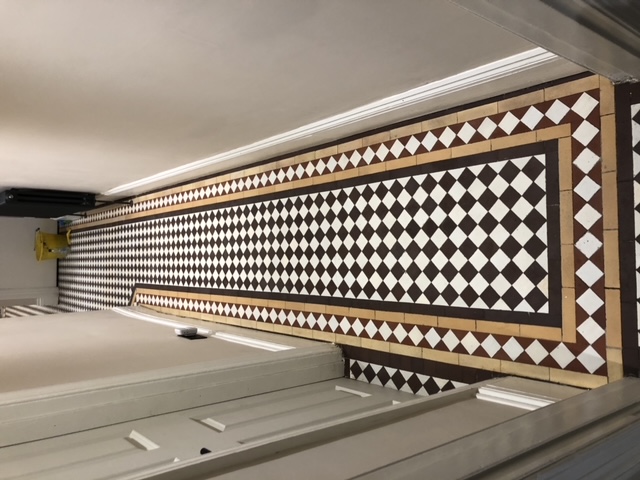
On the fourth and final day, we returned to seal the entire floor with a couple of coats of Tile Doctor Colour Grow which is a matt sealer that soaks into the tile occupying the pores and thereby preventing dirt from becoming ingrained there. It also contains a colour enhancer that really brings out the contrast in the black and white tiles. It is also fully breathable so is perfect for floors of this age which lack the damp proof membrane beneath the floor that we now use in every modern build.

 
Damaged Classic Victorian Tiled Hallway After Restoration Kensal Rise Damaged Classic Victorian Tiled Hallway After Restoration Kensal Rise

The client was very happy with the finished result, the entrance hall was now in keeping with the rest of the period features of the property. For aftercare cleaning I recommended the use of Tile Doctor Neutral Tile Cleaner which is a gentle pH neutral tile cleaning product compatible for use on sealed tiles. Many household cleaning products tend to be very strong and can affect the sealer protecting the floor.

Sunday, April 10, 2022

Must-Have Tools for Refinishing Floors

Hardwood floors give any home an elegant, classic appearance and can add thousands of dollars to the resale value of a home. Hardwoods are beautiful, and they're also long-lasting, easy to care for, ecologically responsible, and a healthy choice for a family. If you're thinking about installing hardwood floors in your home, here's some basic information to keep in mind.

Hardwoods are Ecologically Responsible

We all know that wood is a renewable resource, but may not be aware the North American hardwood used for floors today mainly comes from a highly managed woodland resource. US Forest Service statistics indicate that almost twice as much hardwood timber is added each year as is harvested, and there is more standing timber today than 50 years ago.

Hardwoods are Healthy

Unlike soft surfaces, hardwoods don't harbor dust mites or mold, so help provide a cleaner environment for your family. Since hardwood floors don’t give off any volatile organic compounds (VOC's) from synthetic components they won't cause breathing problems for anyone living in the house, particularly anyone suffering from Asthma.

Hardwood is Versatile

One of the great features about hardwood is its versatility. You can put hardwood on your floors in virtually any room — living rooms, family rooms, dining rooms, and even kitchens. It can be installed over concrete or directly onto conventions wood joist construction either on or above grade. Engineered hardwood can even be installed below grade (in basements).

All Hardwoods Aren't the Same

In the US we generally consider oak, maple, and cherry as the primary woods for floors, while other native woods like ash are popular and are also commonly used. "Exotic" hardwoods such as Tasmanian Oak or Brazilian Cherry from other parts of the world are also widely available. While exotic hardwoods can be beautiful and quite different in appearance from American hardwoods, keep in mind they didn't grow in North America's temperate climate so may react differently in our air-conditioned home environments.

Hardwood Grades

Hardwoods are graded based on their appearance. Grades range from clear (with virtually no eye-catching blemishes) through select (some burls and markings) to common (more grain differences to catch the eye). All are equally strong and serviceable and the choice of one grade over the other is essentially a personal choice based on appearance.

Engineered Hardwoods

Engineered hardwoods are a manufactured product. Planks are made using three to five layers of wood laminated in a cross-directional pattern then covered with a top layer of premium hardwood. This method of construction helps prevent the natural tendency of wood to expand and contract with changes in temperature or moisture content in the air.

Prefinished Versus Unfinished?

More and more hardwood is being sold already finished. Prefinished gives you the opportunity to see exactly what your floor will look like before it's ever installed. There's no dust from sanding the floors after installation and no objectionable fumes. As an added bonus, a prefinished floor can be installed in a shorter time than an unfinished floor since it's a one-phase project rather than two-phase.

However, since prefinished floors aren't sanded after installation, both your subfloor and installation need to be perfect. There's no opportunity to remove any minor imperfections that you get with the sanding step necessary as part of installing unfinished wood.

Maintaining Hardwood Floors

Hardwood floors are amazingly easy to keep clean. Keep them dust free and clean with a dust mop and regular vacuuming and have dirt-trapping walk-off mats at doors and entrances to pick up any grit or dirt.


Source: www.DoItYourself.com
Thursday, March 17, 2022

Cheshire Expert Details how to Renovate a Carpet Covered Quarry Tiled Floor

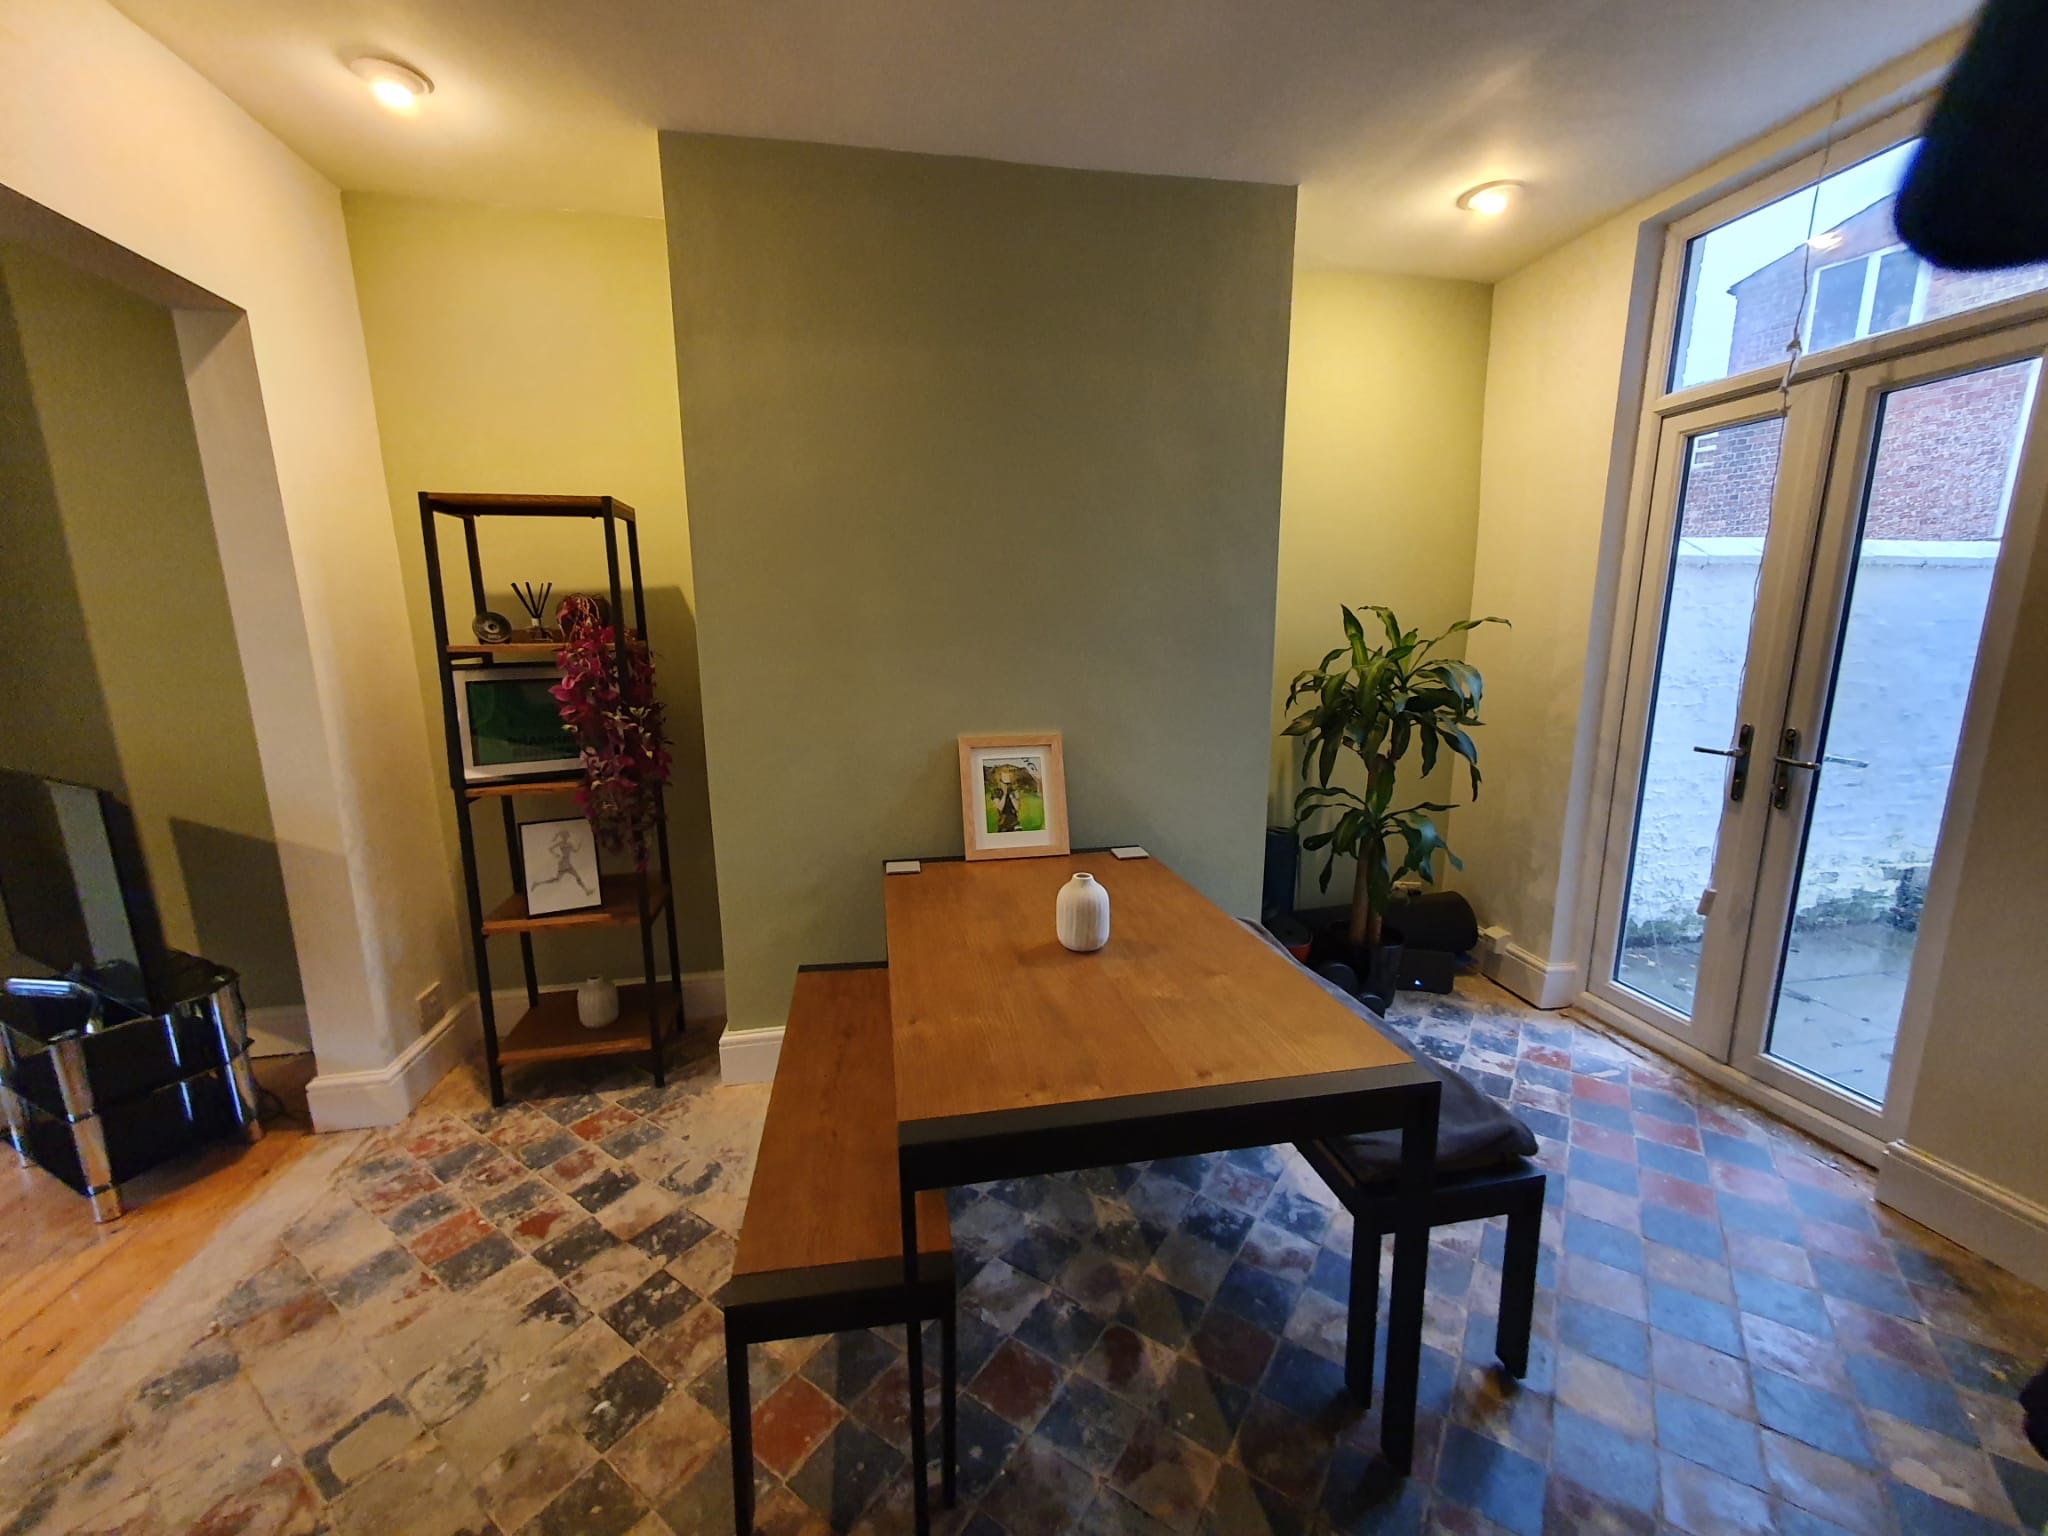
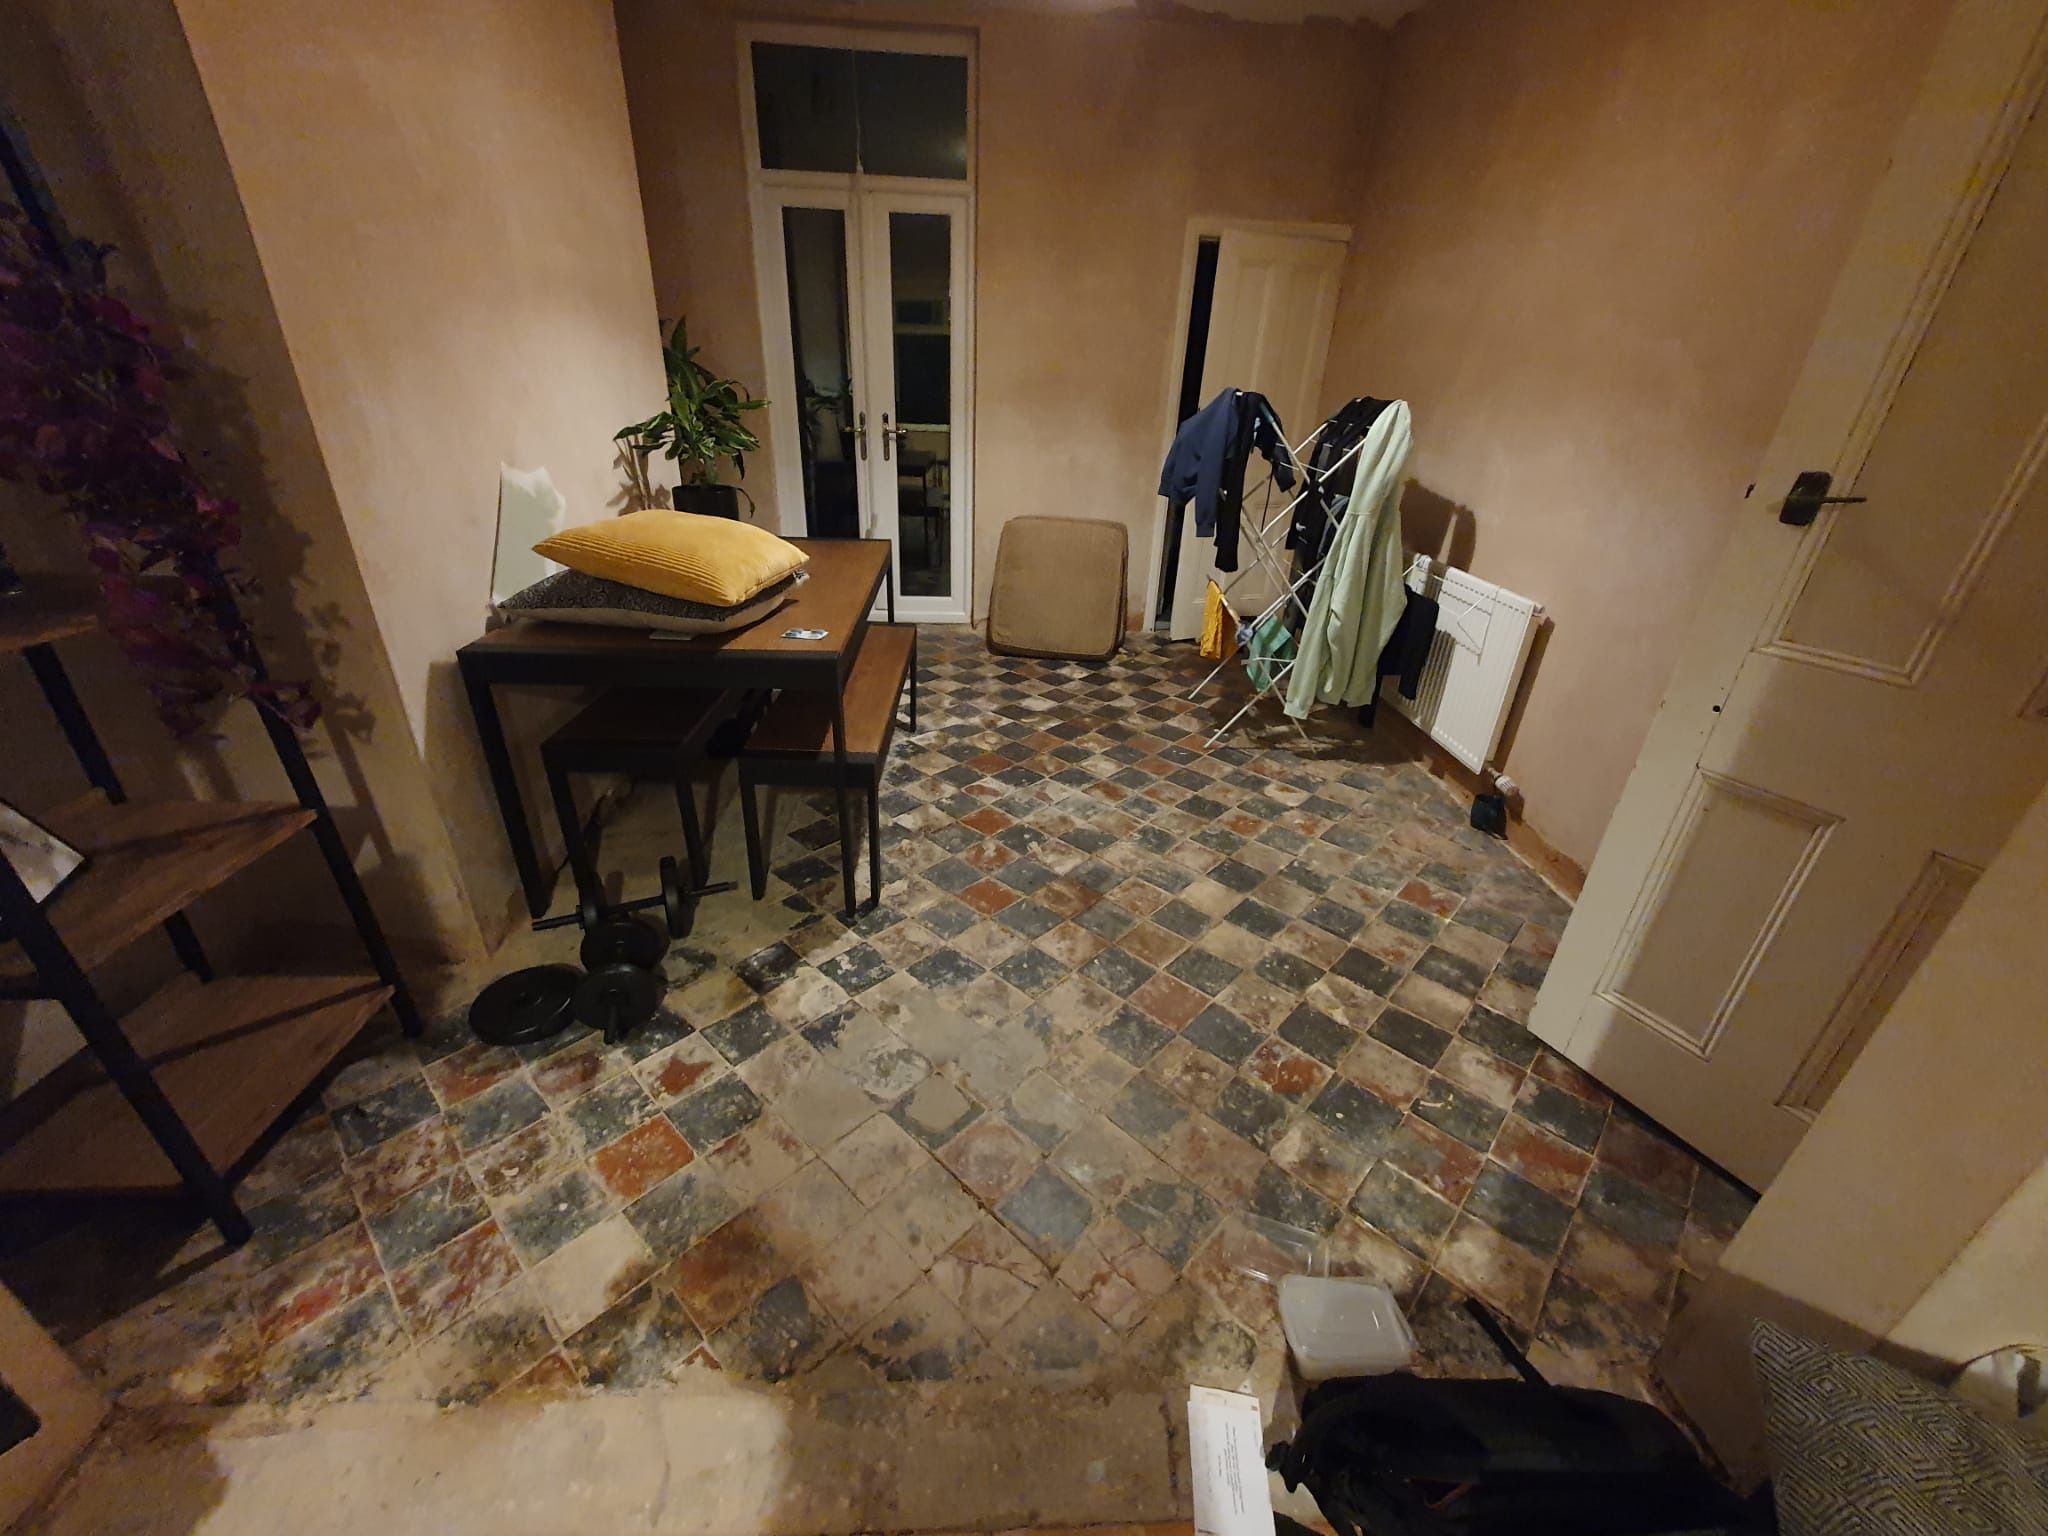
These photos are from a house in Cheadle Hulme where the owner wanted the 120-year-old quarry tiles in the dining room restored as an original feature. The tiles had been discovered when a carpet was removed and as well as being very dirty had been covered with a cement based self-levelling compound.

 
Old Quarry Tiled Floor Before Restoration Cheadle Hulme

It’s not unusual to find tiles covered in self-levelling compound when a carpet or lino is fitted. It’s done to smooth out the grout depressions which otherwise would eventually show through. Fortunately, it can be removed however it does require a lot of work.

 
Old Quarry Tiled Floor Before Restoration Cheadle Hulme


Removing Cement from a 120-Year-Old Quarry Tiled Floor

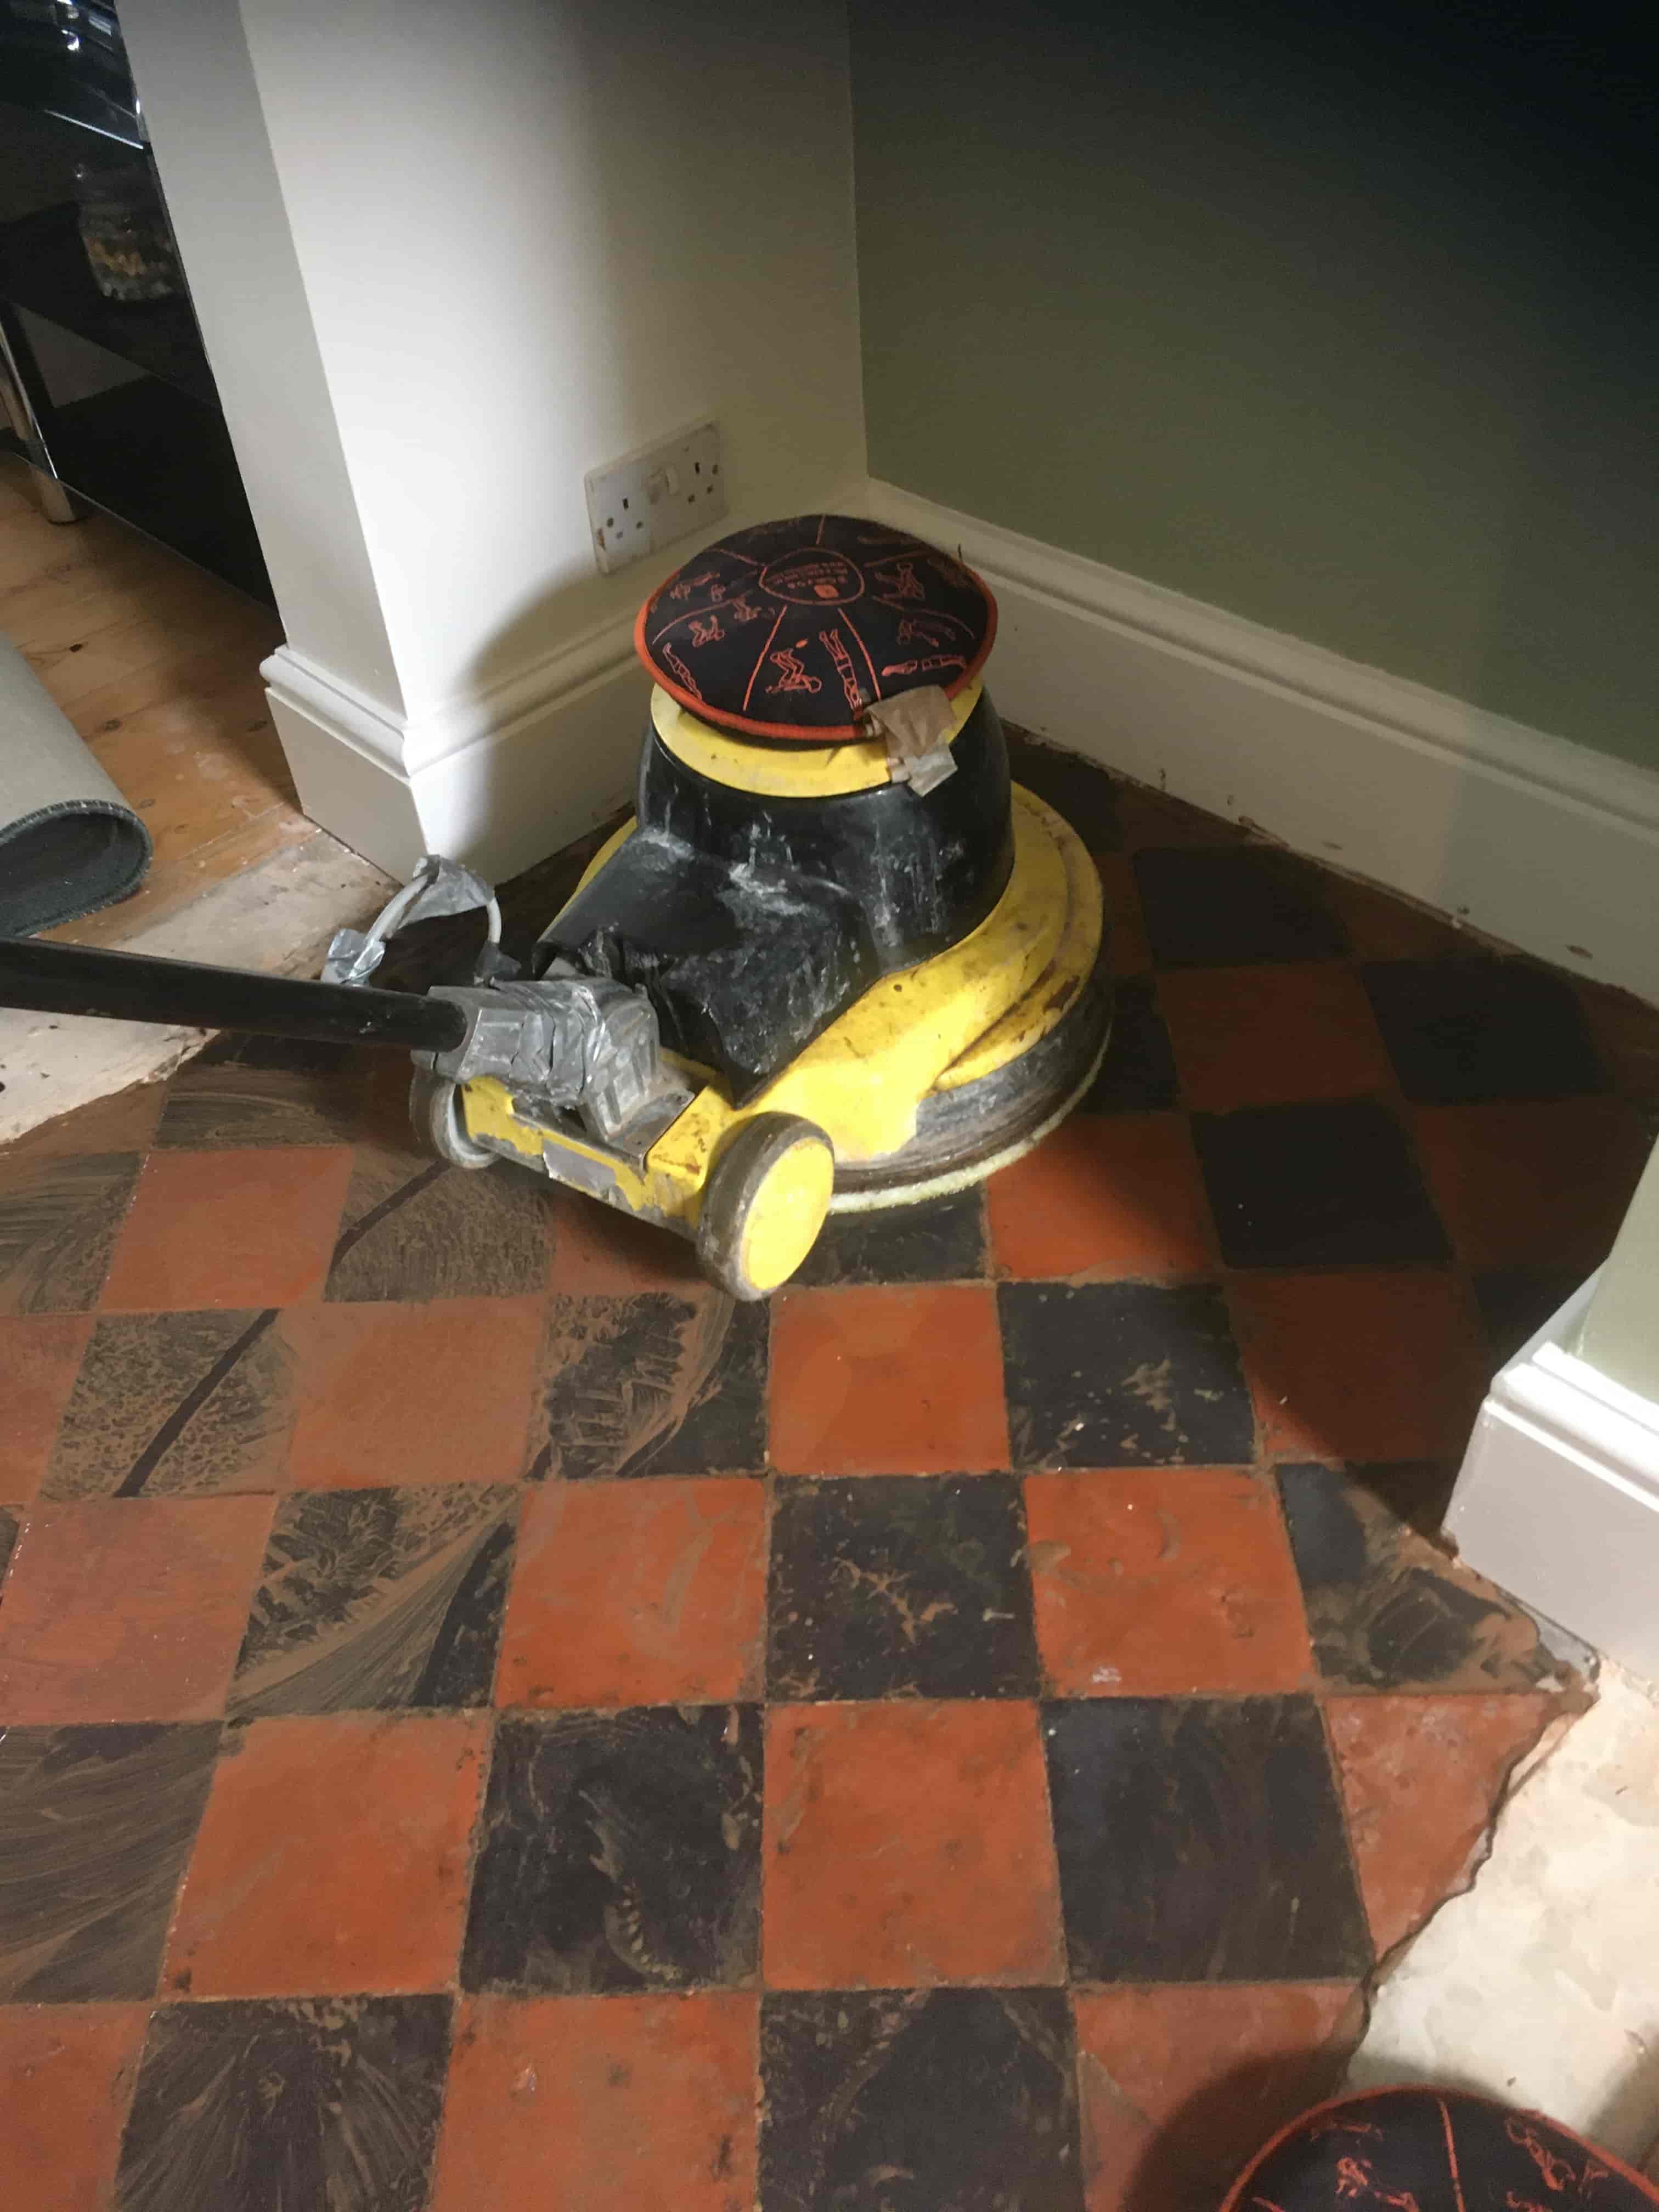
To deal with the cement I treated the Quarry tiles with neat Tile Doctor Acid Gel and left it to get to work on the cement for ten to fifteen minutes. I then ran over the floor with an abrasive 200 grit milling pad fitted to a weighted rotary floor buffer. This action loosened the cement so it could be removed although in some of the stubborn areas I had to use a little extra force with the careful application of a hammer and chisel. I also used handheld abrasive diamond encrusted blocks which came in very handy near the skirting boards and corners.

 
Old Quarry Tiled Floor During Cleaning Cheadle Hulme

It took a lot of effort to get all the cement off the tiles, but they responded well to the treatment, and I could see the floor slowly transform in the process. A lot of water was used to provide lubrication and during rinsing for which I used a wet vacuum to extract the resultant slurry off the floor. The Acid Gel also removes old grout smears from the tile and neutralises any efflorescent salts in the floor which can be a problem with floors of this age with no damp proof membrane.


Sealing a 120-Year-Old Quarry Tiled Floor

The floor was left to dry off overnight and I came back a few days later to check the moisture levels in the floor with a damp meter. Unfortunately, the readings were still too high to apply a sealer, so I re-arranged my return. In fact, it took weeks for the moisture level to drop below 25% which was the minimum acceptable level before sealing.

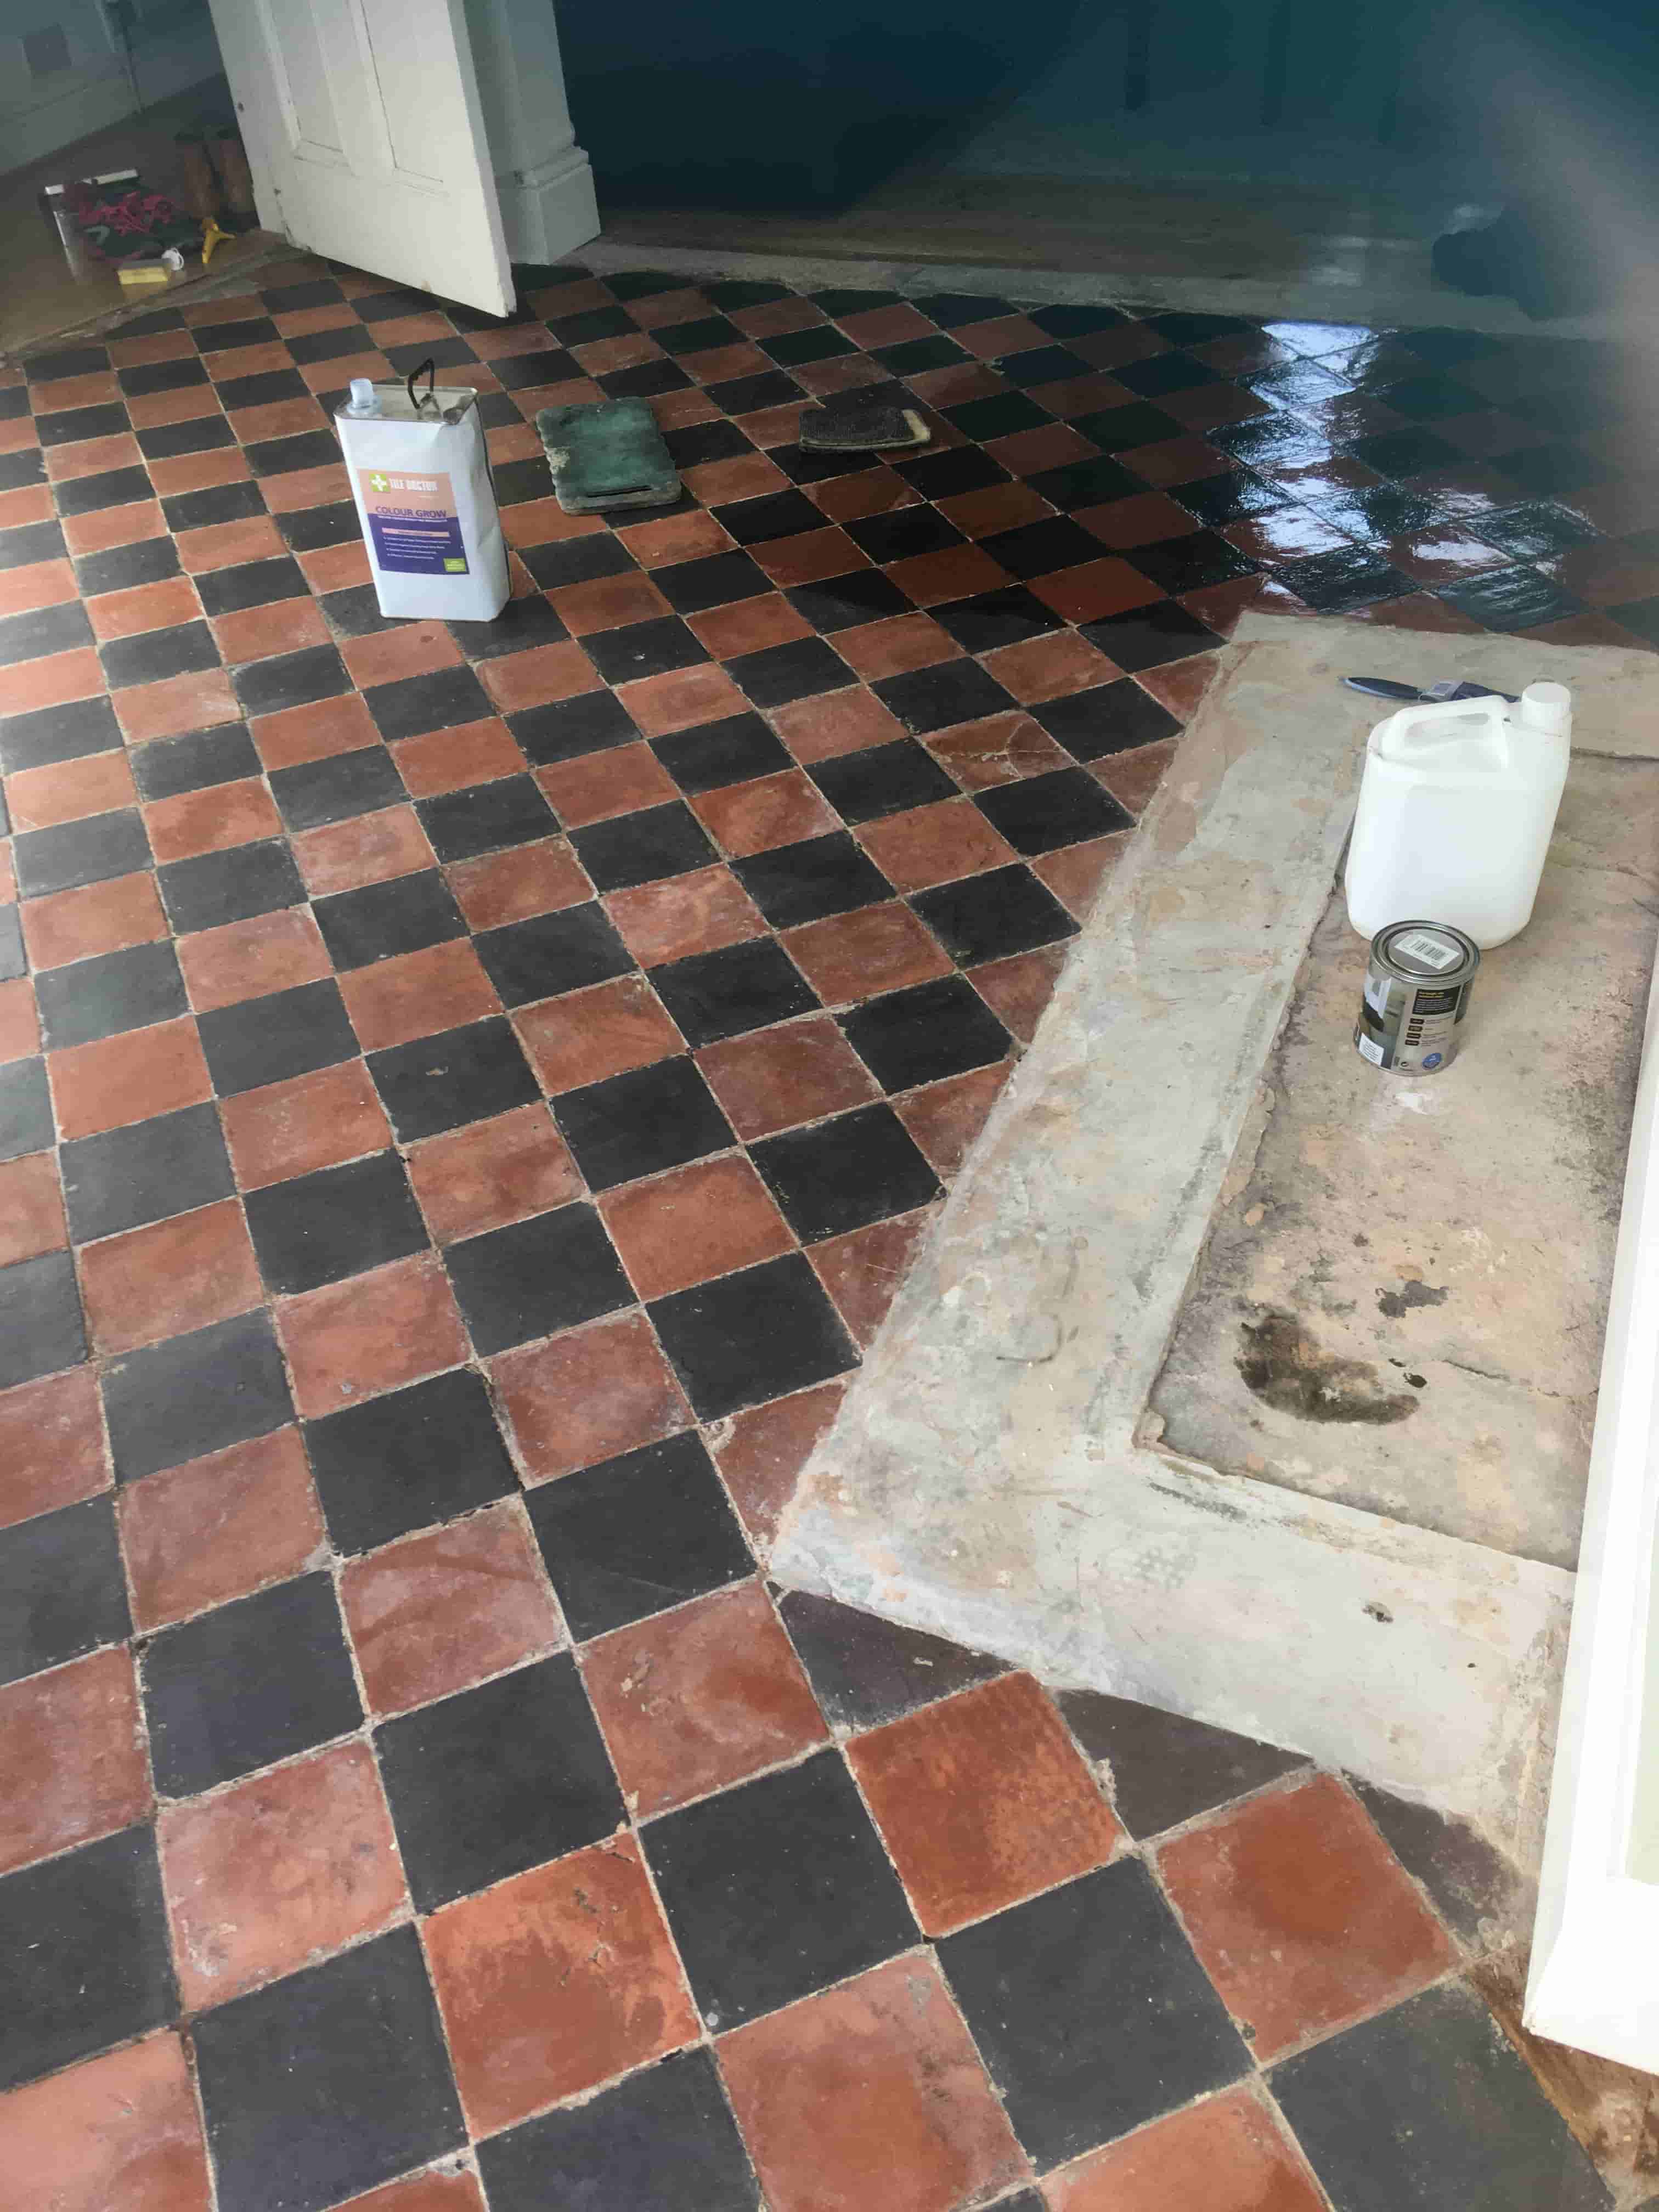
The sealer I used on this floor was Tile Doctor Colour Grow. It's a fully breathable colour enhancing impregnating sealer that will cope with any damp moisture rising through the tile and being a colour enhancer really brought out the red and black colours in the tiles.

 
Old Quarry Tiled Floor During Sealing Cheadle Hulme

Whilst the sealer was drying, I painted the fireplace hearth with black paint, this really tied it in with the Black Quarry tiles and neatly finished off the appearance of the room. Needles to say by the time I had finished the floor it looked great, and my client was very happy with their newly restored Quarry tiled floor, so much so they took time to leave the following feedback which is always appreciated:

 
"Within hours of sending in an enquiry on the tile doctor website I was contacted to say that the local rep would be in touch. Within another couple of hours, Kamila got in touch. Right from the start Kamila was accommodating to suit my needs, carrying out a trial 'out of hours' to suit me. Her communication was fantastic, regularly keeping me updated. She is a lovely lady who is trustworthy. I had to leave Kamila a few times and she locked up and posted the key as agreed. I am extremely pleased with the results of my refurbished quarry tiled floor, I never thought it would come up as well as it has done."

Old Quarry Tiled Floor After Restoration Cheadle Hulme

For aftercare cleaning I recommended they use the Tile Doctor Neutral Tile Cleaner. It is pH neutral tile cleaner that will not degrade the new sealer which is important as many supermarket cleaning products are simply too strong for use on sealed tiles. (Always check the label!)

Wednesday, March 9, 2022

Steam Cleaning Carpet vs Dry Cleaning Carpet

If you are trying to decide between asteam cleaning carpet method or achemical/dry cleaning system for cleaning soiled carpet, the following facts can assist you in making this decision to maintain the beauty of your carpet.

1. Chemical/Dry Cleaning

This method of cleaning carpets is sometimes preferred because the carpets dry quicker, even though a small amount of water is used to inject the chemicals into your carpet during the process.

Once the chemical has been placed and brushed into the fibers of the carpet, the chemical, the dirt, and debris mix together and form small crystals that, when dried, can be vacuumed up.

Unless you only want a surface cleaning of your carpet, this method is ineffective as only the dirt on top of your carpet is removed.

2. Steam Cleaning

The steam cleaning system cleans the carpet more thoroughly.

By using hot water on your carpet, the surface and the base of the carpet—after becoming saturated with water—then mixes with the dirt and debris and are then extracted by a powerful vacuum.

This type of system is capable of removing sand that sinks and collects at the base of your carpeting and matting, sand that can grind into the carpet fibers and eventually destroy it.


Tuesday, March 1, 2022

Victorian Tiled Hallway Floor Restoration Detailed by North London Expert

My client discovered found this Victorian tiled floor under the carpet of a communal hallway in a large Victorian house in Bounds Green. The property had previously been converted into three flats and it seems the developers of the property dodged the cost of having the floor renovated and opted to glue down a carpet instead. The floor was in quite a state and there was a section of tiles missing where a pipe had been laid under the floor.

 
Victorian Tiled Floor Before Restoration Bounds Green

I visited the property to survey the floor and prepare a quote for renovating the floor. With the floor in such a state I could see I would need to source replacement tiles. Whilst there I also carried out a small test clean to understand what it would take to ensure a good result could be achieved. Impressed with results from the test clean and happy with the quote my client agreed to have us back to do the work.


Cleaning and Repairing a Victorian Tiled Hallway Floor

Day one started by deep cleaning the floor using a strong dilution of Tile Doctor Remove and Go which was scrubbed in with a black pad fitted to a rotary machine. This product weakens the glue and allows it to be removed with handheld scrapers, a steamer also comes in handy during this process.

Next step was to tackle the thin layer of cement screed which had been applied in some areas to level the floor ready for carpet. To do this a 200-grit diamond pad was fitted to the rotary floor buffer and run over the tiles along with Tile Doctor Acid Gel both to lubricate and help clean away the cement residues. This process generates a lot of soil with is rinsed off with water and extracted using a wet vacuum.

The 200-grit pad was followed up with a finer 400-grit pad to improve the condition of the tile, again using Acid Gel. After another round of rinsing and extracting the cleaning process was complete. As well as removing the cement the Acid Gel will neutralise any potential efflorescent salt issues that are a common problem with floors of this age. The floor was then rinsed with water and the soiling removed with a wet vacuum.

The next step was to tackle the damaged section of tiling where the pipe had been laid. To do this the backfilled cement was carefully chiselled out and the rubble removed. The subfloor was then rebuilt to with fast drying cement ready for tiling the next day.

For this project we were unable find existing replacement tiles that fitted exactly so instead large square tiles in the colours required were obtained from Original Features (just down the road in Crouch End N8) and then cut down to size on site.

Victorian Tiled Floor During Restoration Bounds Green Victorian Tiled Floor During Restoration Bounds Green

After cutting all the tiles to match the existing pattern I laid them into the floor using a fast-drying flexible adhesive. The floor set over lunch and were grouted later that afternoon.

Sealing a Victorian Tiled Hallway Floor

The following day I returned and sealed the tiles with three coats of Tile Doctor Colour Grow which is a breathable impregnating sealer that will soak into the tile adding protection. This takes a while to apply as you have to wait at least half an hour between coats to dry before applying the next. 

Additionally, Colour Grow is a colour enhancing sealer and so was a perfect choice for this colourful floor. Being breathable it will also cope well with any moisture rising through the floor which is important for old floors like this which don’t have a damp proof membrane installed.

 
Victorian Tiled Floor After Restoration Bounds Green

My client was very happy with the newly restored Victorian tiled hallway which looked so much better than the previous carpet and had added so much more value to the property. For aftercare I recommended the use of Tile Doctor Neutral Tile Cleaner, which is pH balanced cleaner that will clean the tiles without being so strong that it impacts the sealer.