It took some time, but I’m pleased to report that a plan did evolve and a joint venture between the council and a developer has now restored the building to its former glory and is now home to several restaurants and bars spread across its three floors.
 |
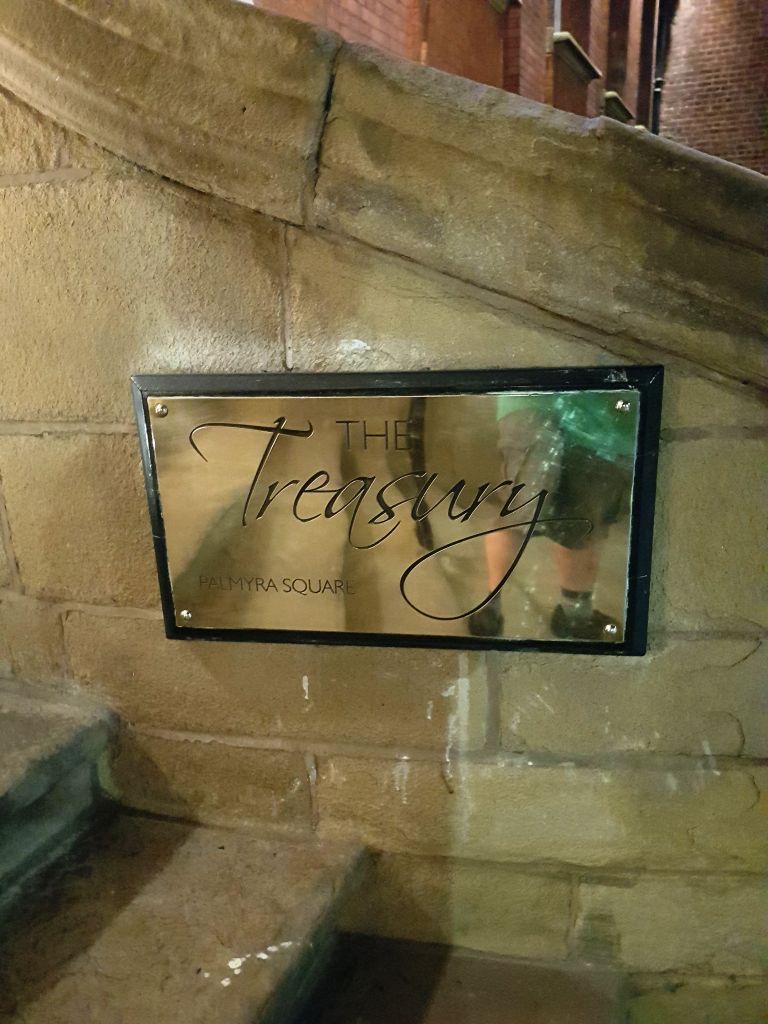 |
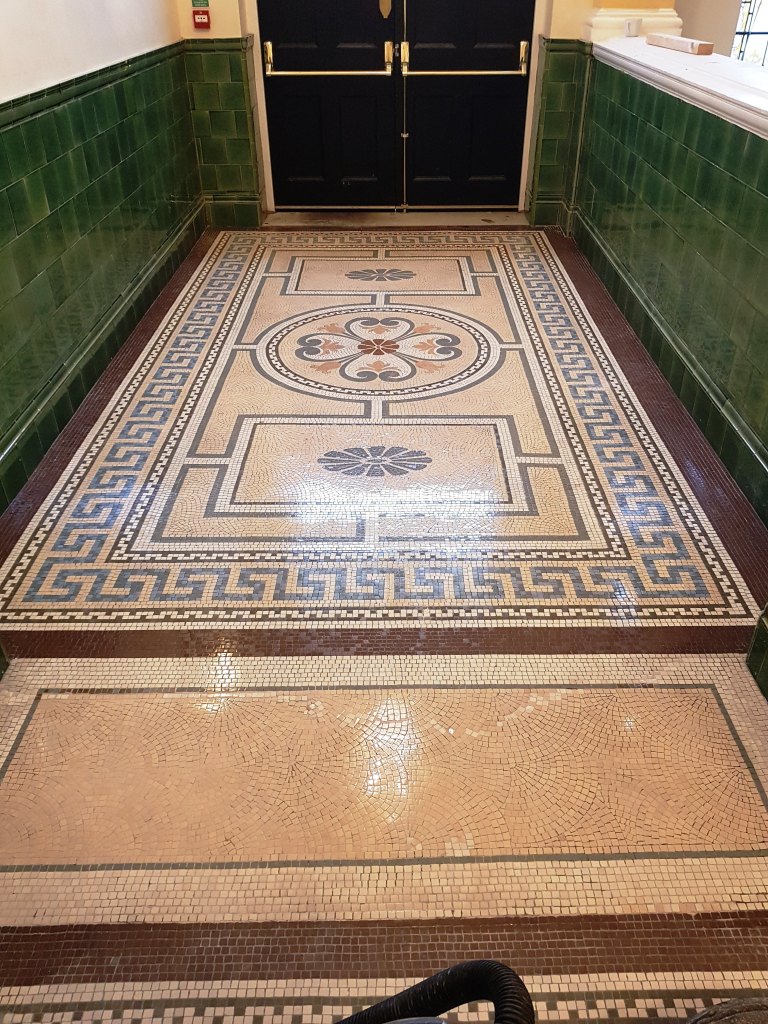
The restoration plan included preserving the main stair enclosure along with the original features which includes oak panelling and thankfully the beautiful Mosaic floor tiles. Having previously quoted for the latter and with the main building works complete we were asked to return and restore the floors ASAP at what has since been renamed as “The Treasury Building of Palymra Square”.
On the first day I was given a large vase full of mosaic tile pieces which the developers had collected during the building works and figured would come in handy later.
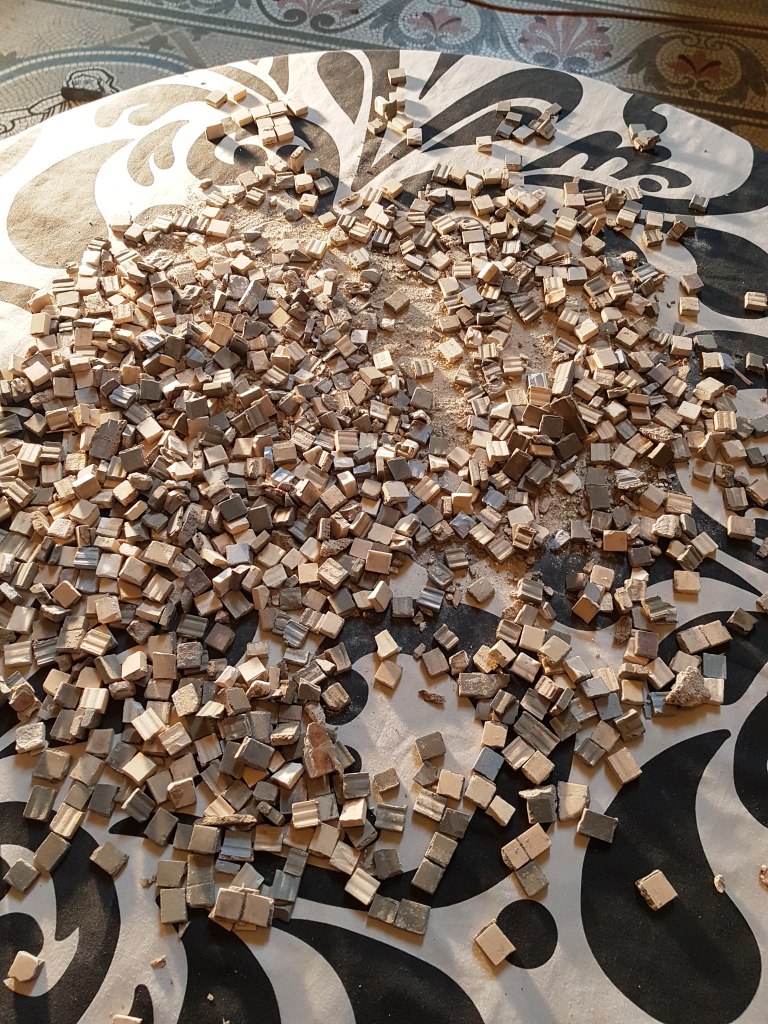
Day 1 – Preparing and Cleaning the Mosaic Flooring
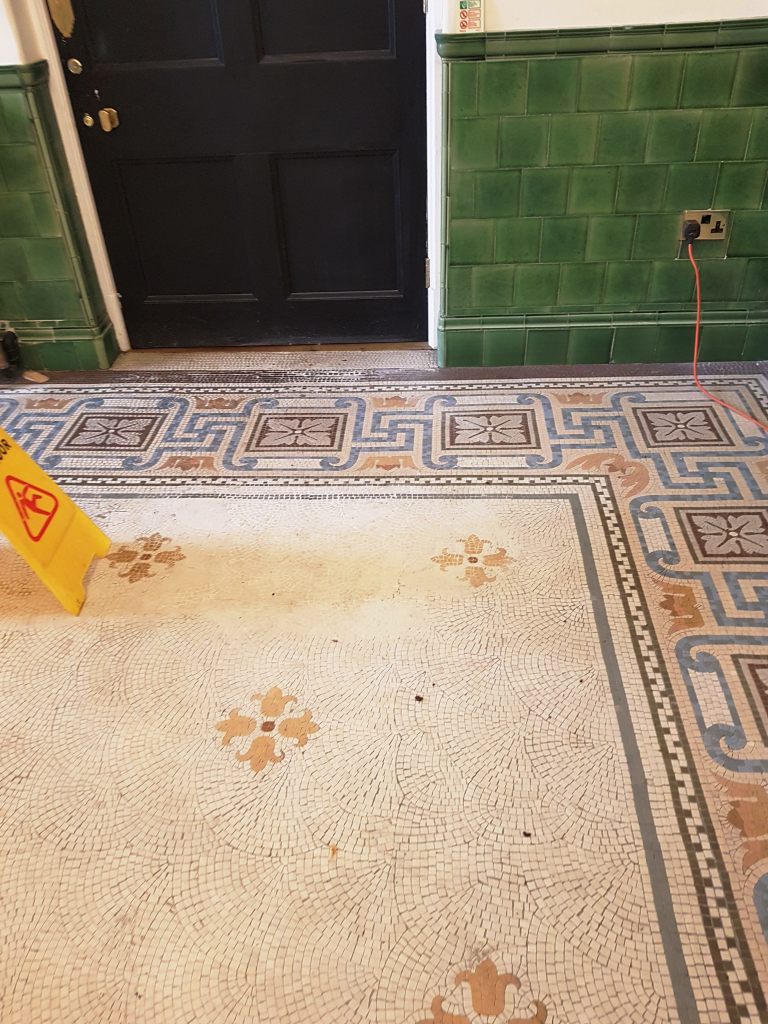
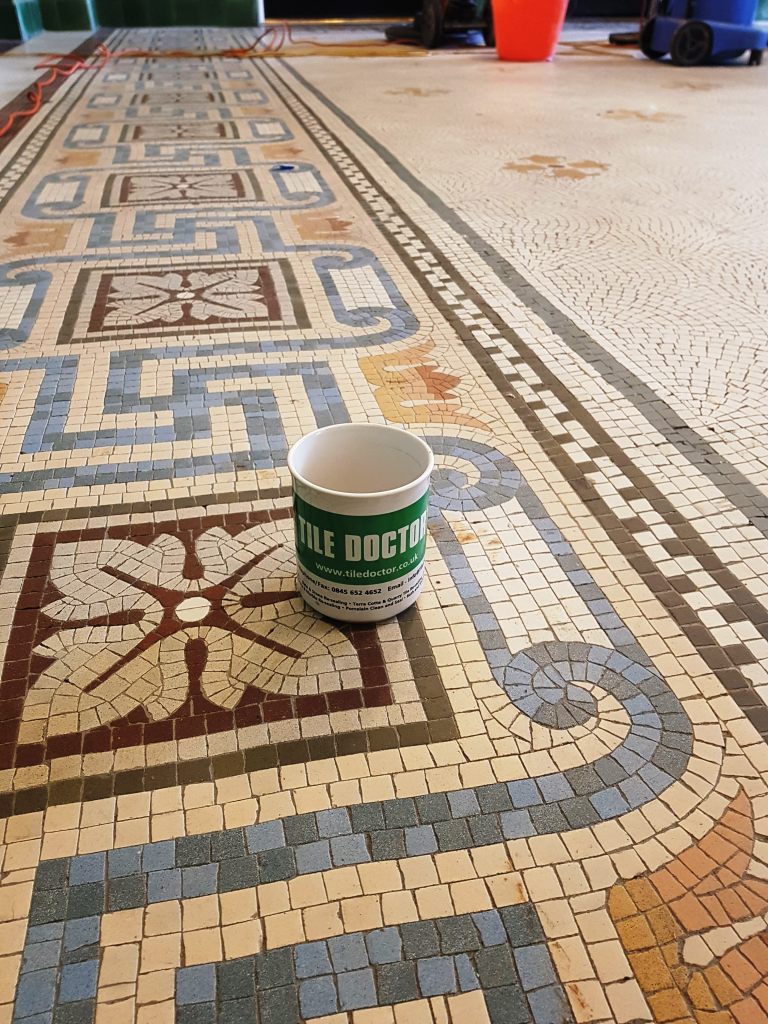
Starting at the top of the building my first job was to remove the builders rubbish and sweep both floors. I then washed both Mosaic floors with Tile Doctor Pro-Clean using a strong 1:3 dilution with water. After leaving the cleaning solution to soak in for a few minutes it was scrubbed in using a black scrubbing pad fitted to a weighted buffing machine.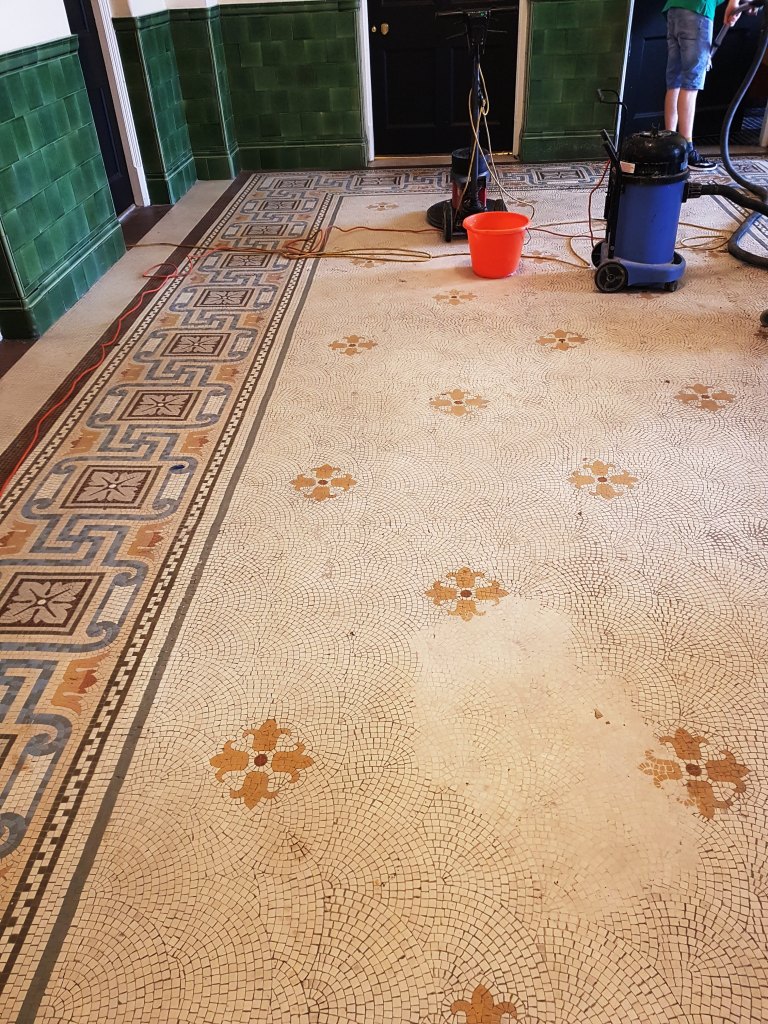 |
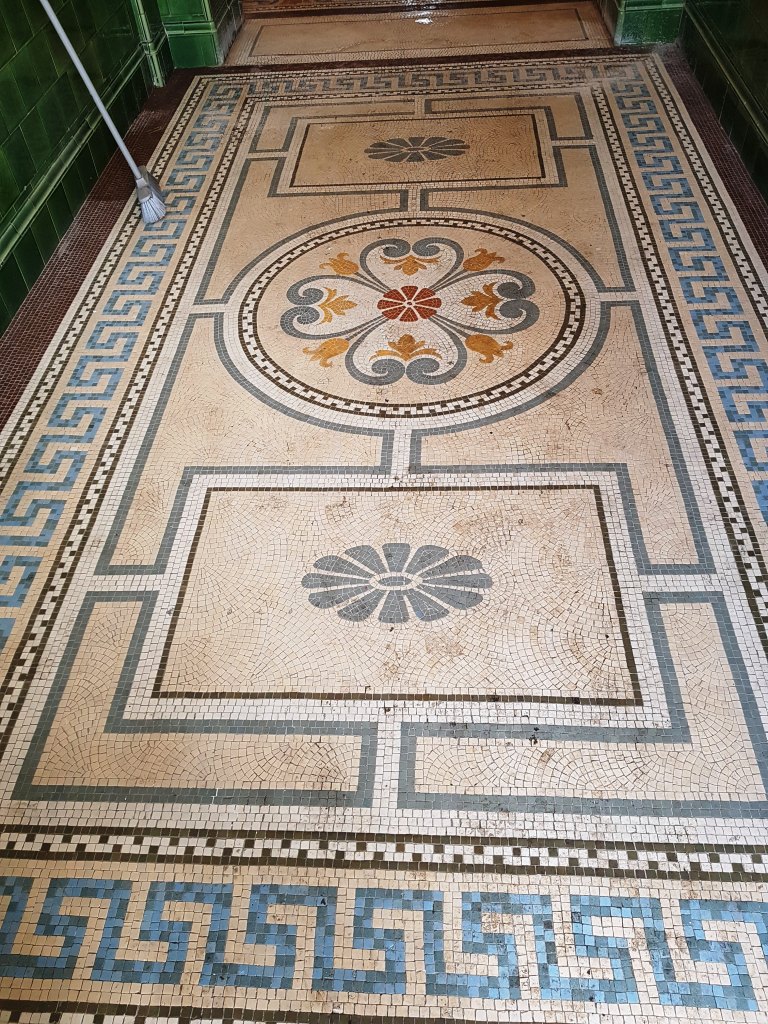 |
This process brought out the dirt and dust that had been ingrained in the tiles turning the cleaning solution into a grey slurry which was then removed with a wet vacuum. It was a large floor and I had to repeat the cleaning process a couple of times to remove the layers of dirt, but the result was worth it and by the end of the first day the colours and design of the floor was really standing out.
 |
 |
Day 2 – Replacing Missing Mosaic Tiles on the Top Floor
On day two I started work to repair the floor where the mosaic pieces were missing using the collection of mosaic tiles the builders had kindly left me at the start of the restoration. It was quite a jigsaw that involved looking through the hundreds of pieces that had been collected, finding a suitable piece and if necessary shaping it with a grinder so it could fit in the pattern. I used a flexible tile adhesive and then left them to set overnight.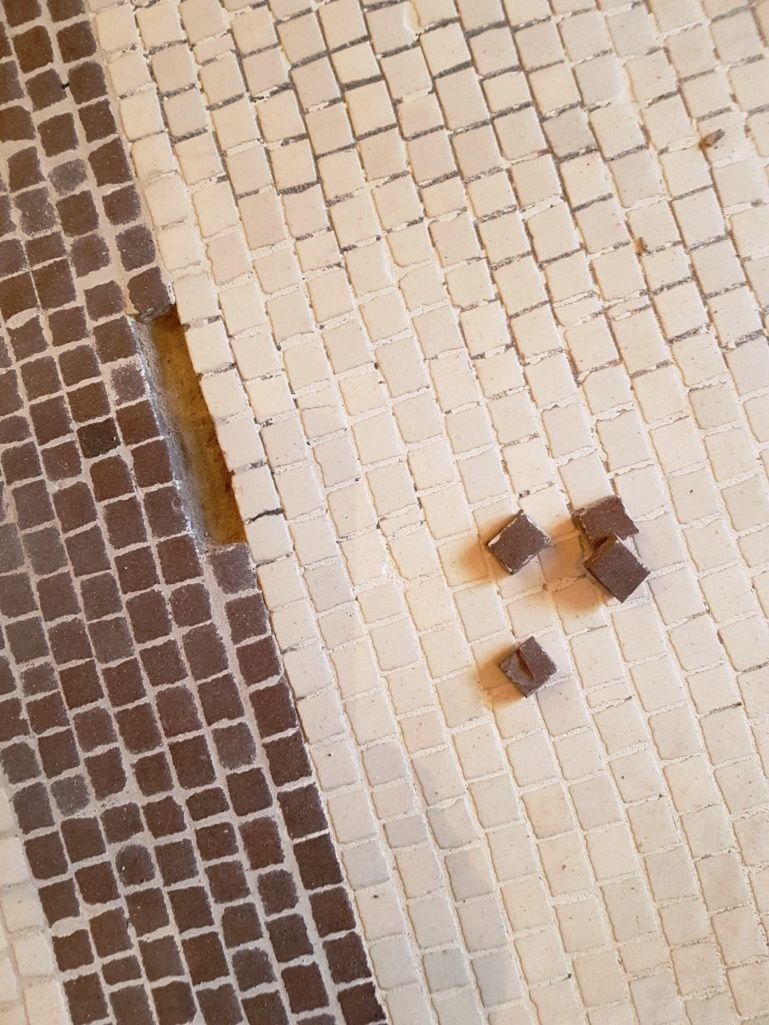 |
 |
Day 3 – Replacing Missing Mosaic Tiles on the Top Floor
My plan on day 3 was to continue the restoration work on the top floor and ensure the repaired areas were level with the rest of the floor. I attempted to use a 50-grit milling pad fitted to weighted floor buffing machine for this but found the segments on the pad would catch the edge of the replaced pieces and knock them out of place. Clearly this was not going to work so I changed tack and smoothed them down using a set of graded hand-held Diamond burnishing blocks. Again, there was lot to do so this work took up much of the day; some might say I could have worked around this but I’m a bit of a perfectionist and I like to ensure a job is done right.Day 4 – Burnishing Mosaic Tiles on the Top Floor
The next step was to use a set of Tile Doctor Burnishing Pads to clean and restore the finish of the mosaics. The pads which are encrusted with industrial diamonds are applied with a rotary floor buffer in sequence from coarse to extra fine. The first pad is a coarse 400-grit and is applied with only water for lubrication, it removes minor scratches, sealers, and the top surface dirt.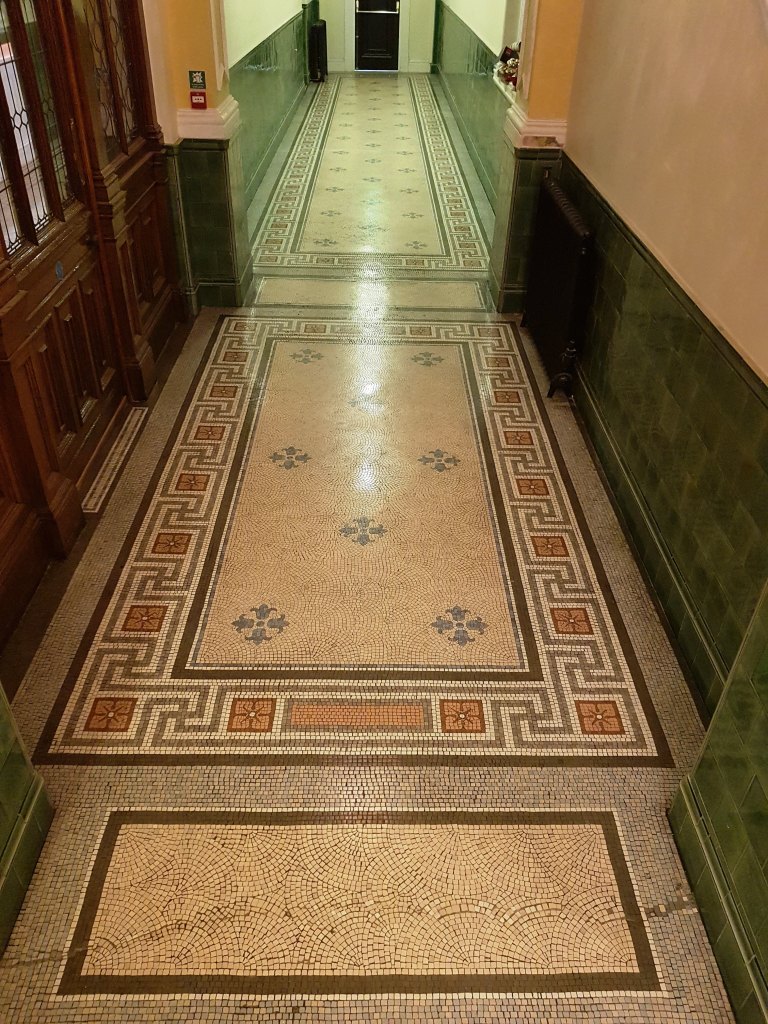 |
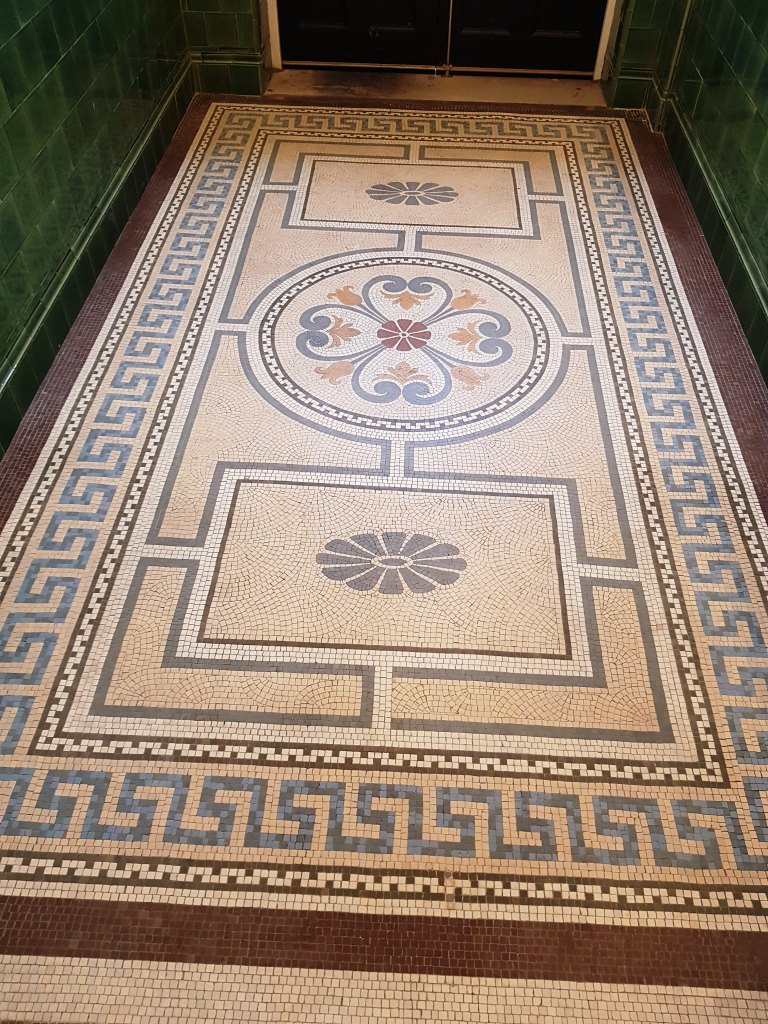 |
Working in sections, I applied the pad across the floor, rinsing with water in between and picking up the soiled solution with the wet vacuum. I then repeated this same procedure with the medium 800-grit pad which is the first stage polishing pad again rinsing with water after use. The next two pads are a fine 1500-grit and extra fine 3000-grit which really build up a high-quality polish on the stone. This last pad is applied at the very end of the process when the floor is dry and is run over the floor using a small amount of water which is sprayed onto the floor.
Day 5 – Restoring Mosaic Flooring on the Ground Floor
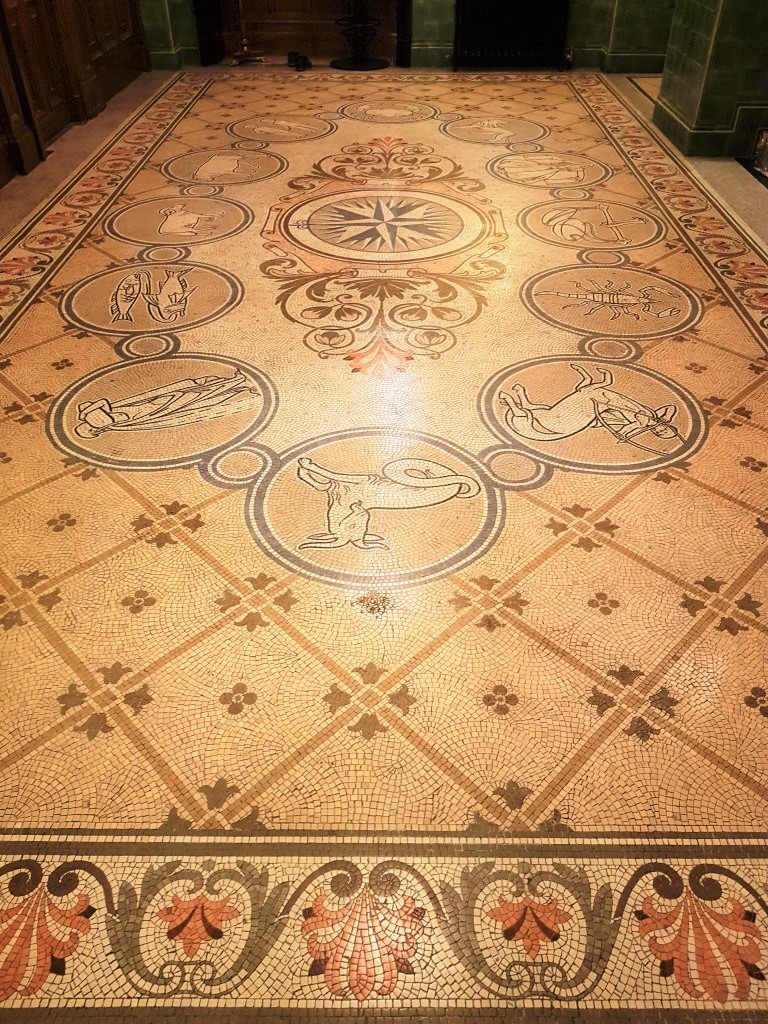
The next day we started on the ground floor which consisted of a large main lobby and hallway running off it. The mosaic pattern in the lobby featured an impressive oval zodiac design with two restaurants looking on to it behind wood and glass panelling. It must have taken a long time to lay back in 1901 and we were quite often stopped by people that worked there saying how nice it was seeing the wonderful floor being restored to its former glory.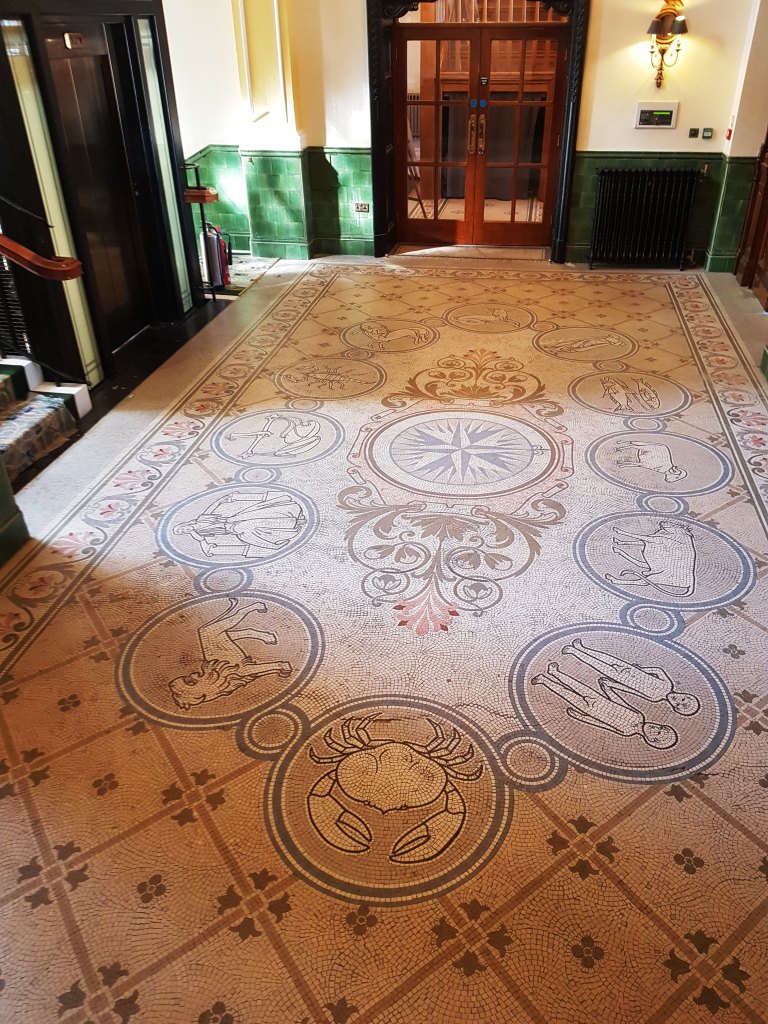 |
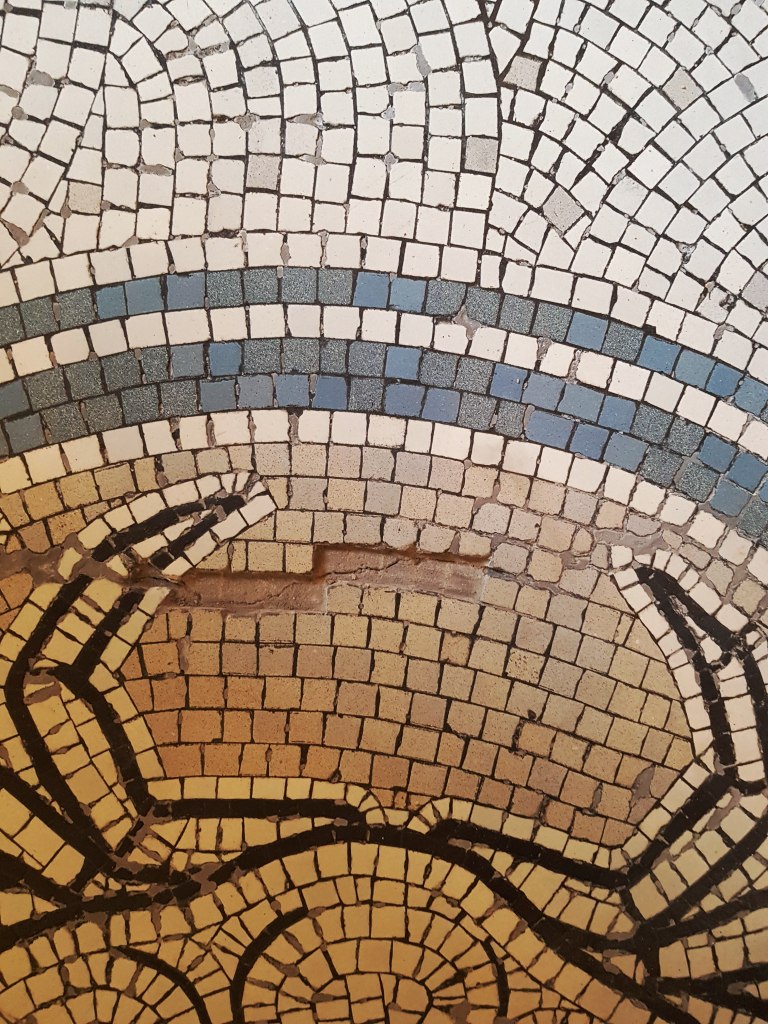 |
The ground floor Mosaics had the same issues as the first floor however the experience gained restoring the first floor meant I was able to crack on quite quickly and completed the repairs in a single day.
Day 6 – Burnishing Mosaic Tiles on the Ground Floor
On the sixth day I proceeded to burnish the Mosaic flooring on the ground floor and hall using the same system as before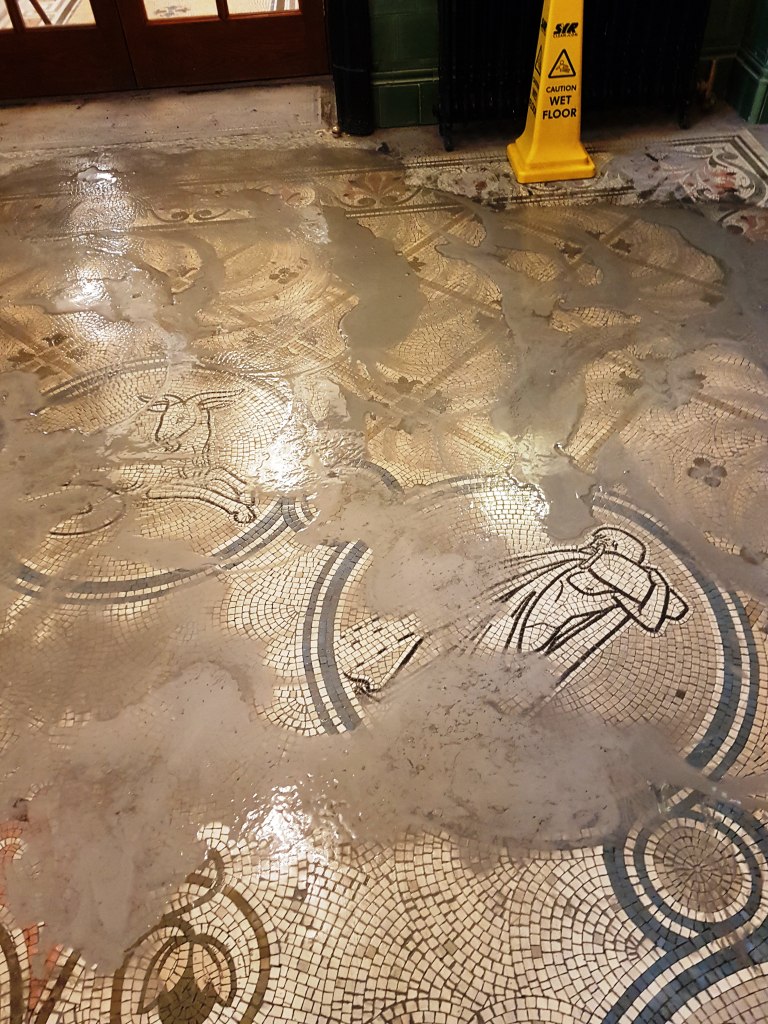 |
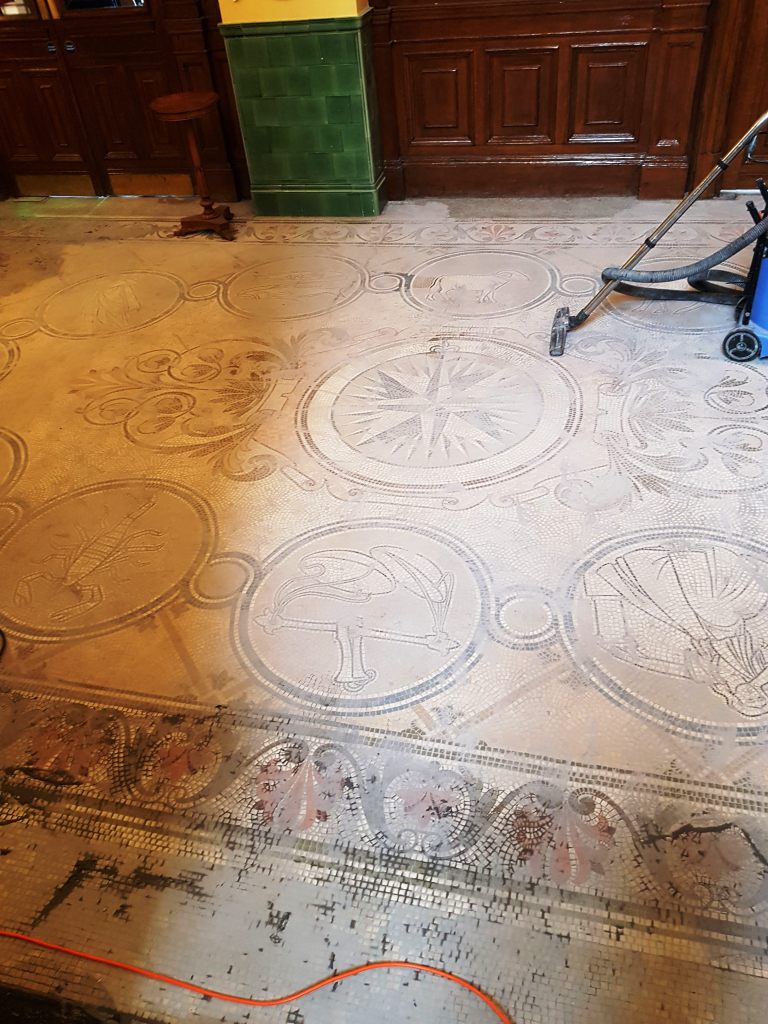 |
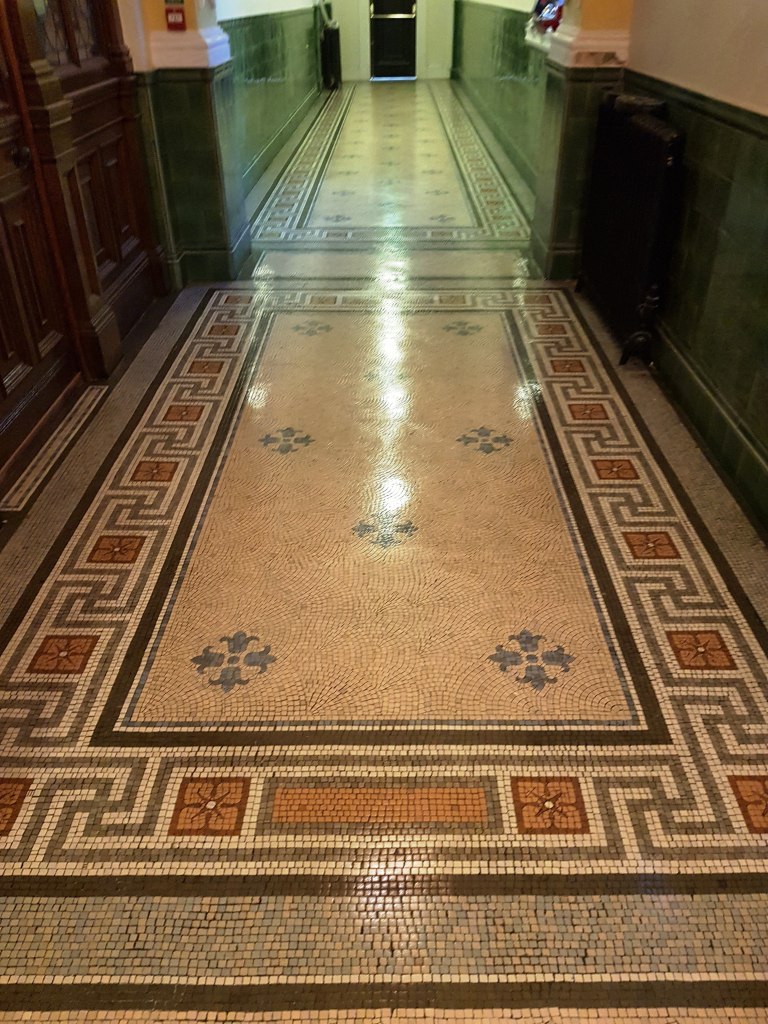
With two large areas to cover I found the burnishing of the ground floor and hall using the 400, 800 and 1500-grit pads as before took up the whole day. After finishing the floor was given a final rinse to remove the slurry and then left to dry out overnight.
Day 7 – Sealing Mosaic Flooring
I returned early the next day to complete the polishing process using the 3000-grit burnishing pad which further builds the polished appearance of the floor. Once this was done the floor was sealed using two coats of Tile Doctor Colour Grow which is an impregnating sealer that adds stain protection to the floor and enhances colour. With two floors to do I was able to work on one floor as the sealer on the other dried.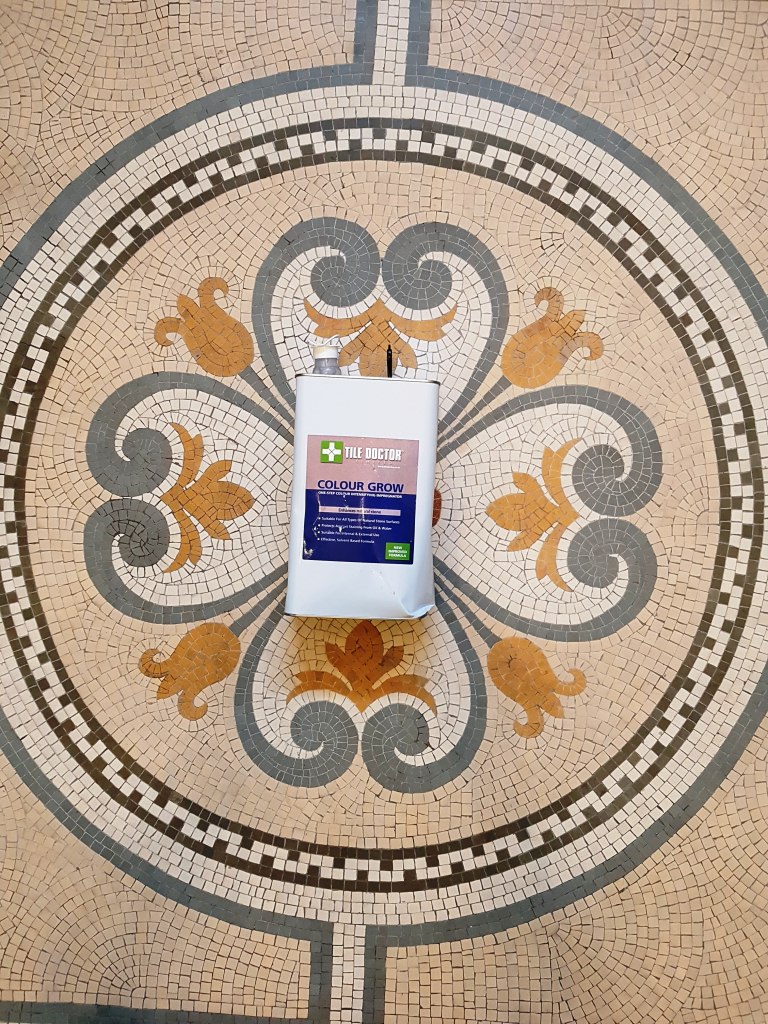 |
 |
The owners were very pleased with the work we did and have asked us if we can come back every two months to maintain the floor and keep it in tip top condition. Having a maintenance plan in place for busy tiled areas like these are a good idea if you want to keep your floor looking its best.
 |
 |
Source: Mosaic Tile Cleaning and Restoration Service in Cheshire