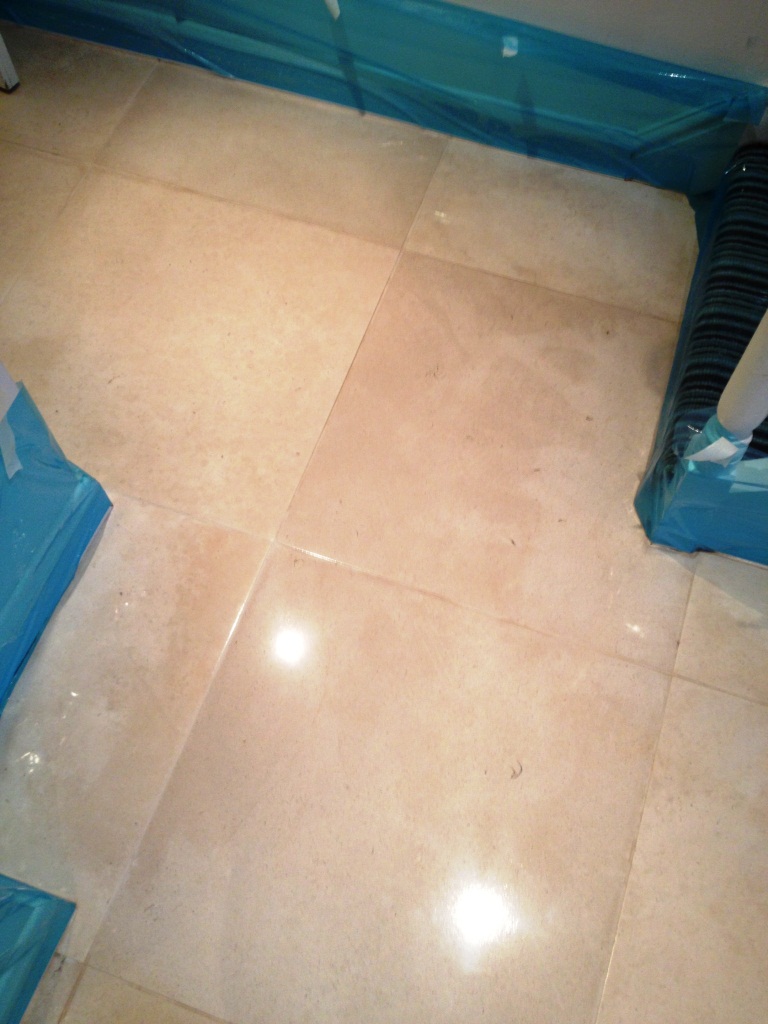
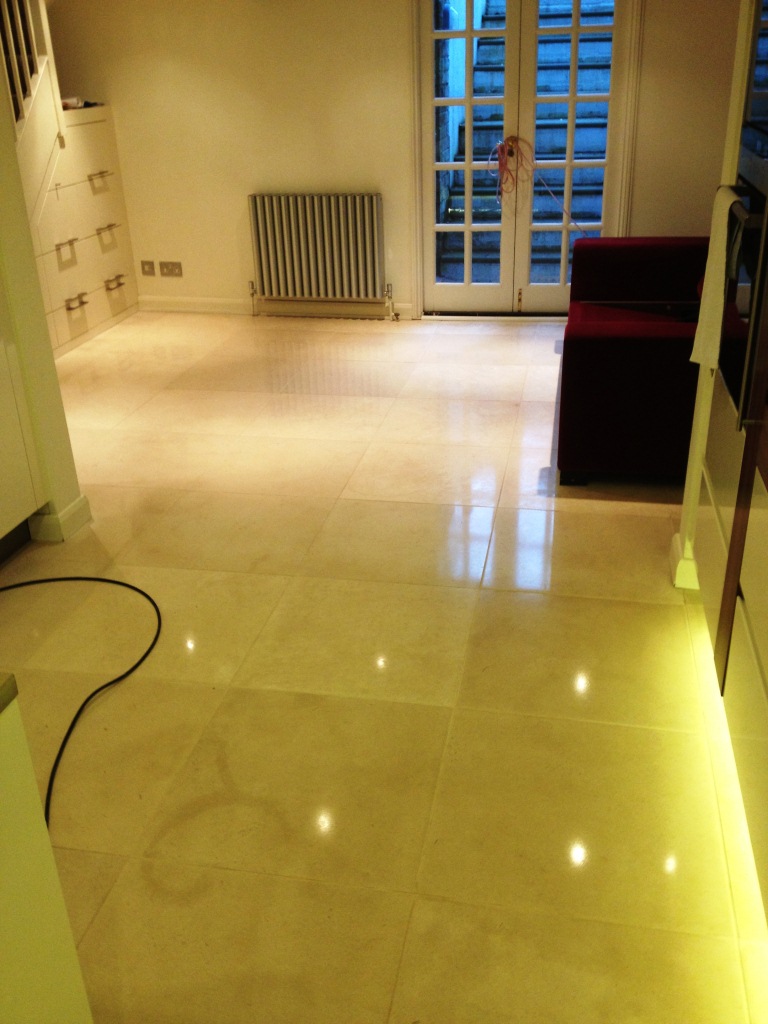
These photographs are from a
Limestone tiled floor installed at a residence in
Cambridge. The tiles were in good condition but the shine on the Limestone had worn off leaving them looking dull and the owner wanted them re-polishing.
Stripping and Polishing Limestone Floor Tiles
To restore the shine on polished stone we use a set of four diamond encrusted pads however before starting we gave the floor tiles a general clean with a dilution of
Tile Doctor Pro-Clean mainly to clean-up the grout but also to remove any loose surface grit. The cleaning solution was rinsed away and removed with a wet vacuum before starting the burnishing process using a rotary scrubbing machine fitted with a coarse diamond
encrusted burnishing pad and a little water. The coarse pad strips off dirt and old sealers from the tile and the resulting slurry is then removed using a wet vacuum.
The next pad after coarse is a medium grit which you apply in the same way followed by the fine pad again with a little water until the floor is polished. The final step to bring up the polish on the Limestone is to apply the last “Very Fine” pad which is fitted to the rotary machine and run over the floor tiles until they are buffed to a nice shine.
Sealing Limestone Floor Tiles
Once the floor was dry we set about sealing it using two coats of
Tile Doctor Colour Grow Sealer which is a penetrating sealer that soaks into the pores of the stone filling them so dirt can’t penetrate below the surface. As well as offering excellent protection Colour Grow lifts the colours in the stone enhancing it’s natural beauty. Once sealing was complete and dry the Limestone tiles were given a final buff with a soft
white pad.
Source:
Expert Limestone Tile Maintenance Site


