Showing posts with label colour grow. Show all posts

Monday, July 20, 2026

Restoring a Badly Stained Norfolk Clay Brick Floor in Attleborough Norfolk

Detailed below is the restoration of a heavily stained Clay Brick floor that I completed earlier this year. The floor was in the porch of an ex-farm labourer’s cottage in Attleborough which is an attractive market situated between Thetford and Norwich.

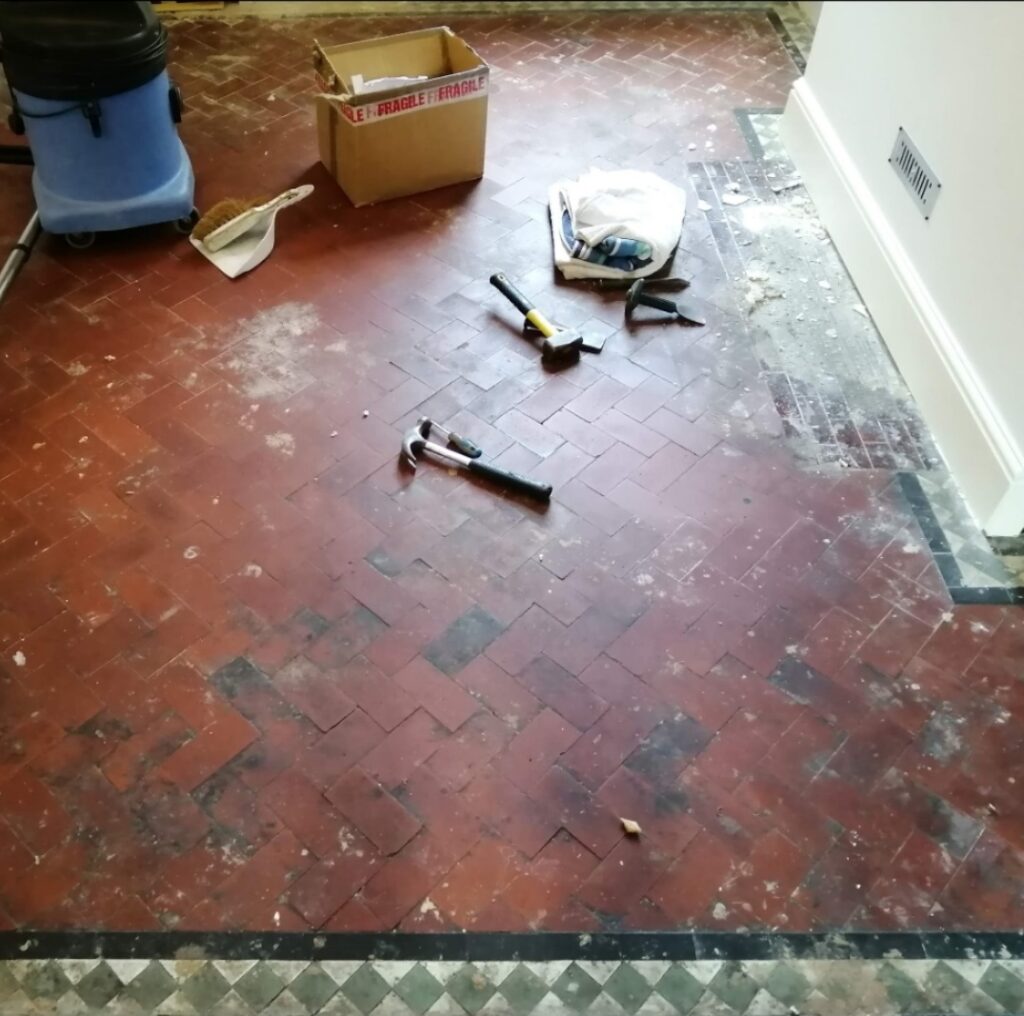
The owner had asked me to sort out the floor which as you can see from the image below was heavily contaminated with general dirt and thick efflorescence salts. The dirt was hiding all the natural vibrant colours of the Norfolk clay bricks and was well overdue a deep clean.


Clay Brick Porch Floor Before Cleaning Attleborough

It was a small area which I was confident in being able to renovate in a day however its size and awkward shape meant a lot of cleaning would need to be done with more time-consuming hand tools. I worked out a detailed quote for the renovation which was accepted and a date set.


Cleaning and repairing a Brick Style Tiled Floor

To release the dirt from the clay bricks I started with a strong dilution of Tile Doctor Pro-Clean which was spayed onto the floor and left to soak in for a good ten to fifteen minutes. It was then worked in repeatedly with a 120-grit carbide brush fitted to a Klindex Rocky rotary and lots of hand scrubbing. Afterwards the floor was rinsed with water and a wet vacuum deployed to extract the soiling; any stubborn areas were then re-treated as needed.

To treat the efflorescence Tile Doctor Acid Gel was pasted onto the brick, left for five minutes and then worked in with a firm nylon brush. The acid in the product dissolves the salts and being a gel minimises the water use on the floor. Again, once done the product was removed with more rinsing and the wet vacuum.

An industrial fan heater was then deployed to speed up drying the floor which would allow it to be sealed later that afternoon.


Sealing a Brick Style Tiled Floor

Once the floor had fully dried out, I applied a combination of two Tile Doctor sealers called Colour Grow and X-Tra Seal in an 80:20 ratio. Both these sealers are fully breathable which is essential when dealing with old floors like this one with no damp proof membrane. They both bring different characteristics to the finished floor leaving and brought out the natural colours in the brick. Both these sealers are impregnators which work by soaking into the brick, occupying the pores and thereby prevent dirt from residing there. This ensures dirt will remain on the surface where it can be easily cleaned away going forward. The sealer was then left to dry and then buffed with a white pad.

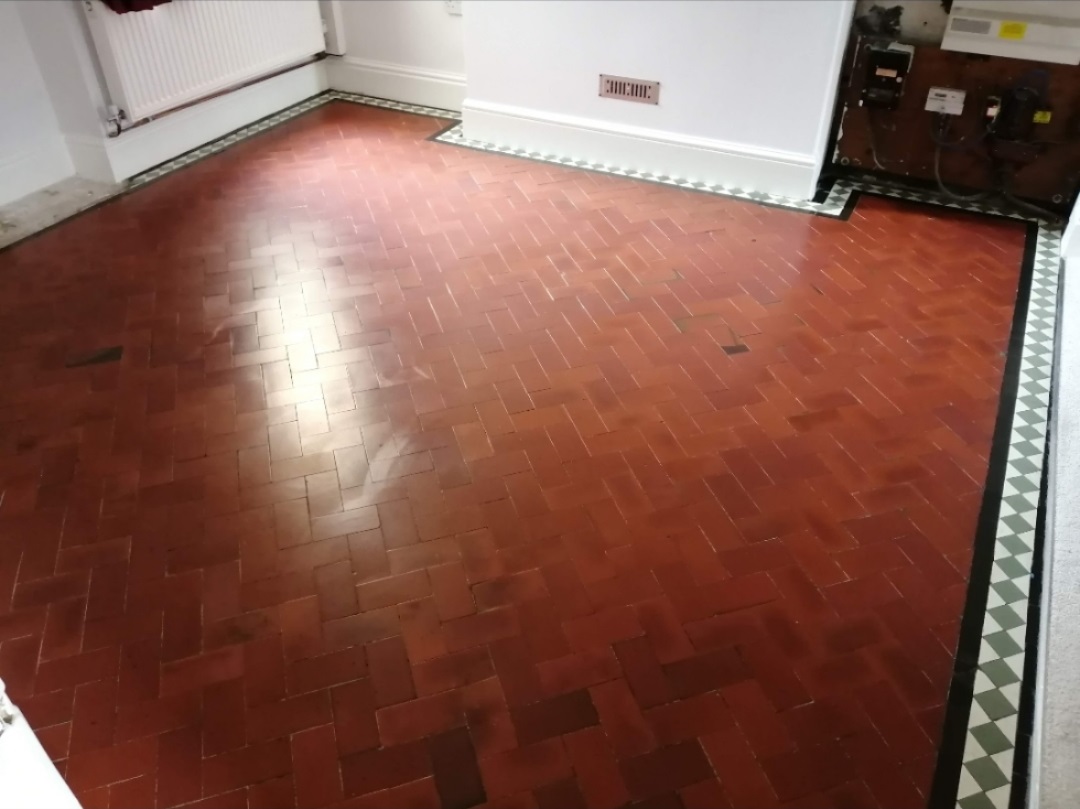
Clay Brick Porch Floor After Renovation Attleborough

The result was way beyond what the clients thought possible and they were so pleased that they promptly booked us in to renovate their much larger living room.

For aftercare cleaning I recommended Tile Doctor Neutral Tile cleaner which is a pH neutral tile that will clean the floor without harming the sealer which can be the problem with the stronger products you find in the supermarket.


Source: Brick Floor Cleaning Service in Attleborough Norfolk

Thursday, April 23, 2026

How to Restore Colour and Structure to Tired Flagstone Flooring

A customer from Ulverston was nearing the end of a house refurbishment and got in touch regarding the renovation of a Flagstone floor. A lot of contractors had been through the property and the stone was not looking its best. Happy to assist I arranged to visit the property and provide advice on its restoration.

I went over to survey the floor and could see it was suffering from heavy ground-in soiling. The stone had lost its colour and now looked dull and lifeless; the grout was also heavily soiled with ingrained dirt. We discussed the floor in detail and I recommended a deep clean to remove all the dirt and then applying a sealer to restore colour to the stone and prevent ingrained dirt.

Flagstone Floor Before Renovation Ulverston Barn Conversion

After measuring up I worked out a detailed quote and emailed it across to the customer for their review. Happy with quote I got the go ahead to restore the floor and agreed a date.

Deep Cleaning a Tired Flagstone Floor

To get the stone clean it was sprayed with a strong dilution of Tile Doctor Pro-Clean and this was left to soak in for a good fifteen minutes to give it time to start breaking down the ingrained dirt. The floor was then scrubbed with a rotary machine fitted with a coarse carborundum brush which lifts the dirt out of the stone and grout. The soiling was then rinsed off the floor and extracted with a wet vacuum.

Flagstone Floor During Renovation Ulverston Barn Conversion Flagstone Floor During Renovation Ulverston Barn Conversion

To further clean the Flagstones and strip off old sealers and remaining surface residues the floor was further treated with a strong dilution of Tile Doctor Remove and Go. This time the solution was scrubbed into the stone using a coarse 200-grit diamond burnishing pad to refine the appearance of the stone.

After rinsing and extracting again the stone was given an acid rinse using Tile Doctor Acid Gel. This neutralises the stone after the use of alkaline cleaners and further cleans the stone to remove grout smears and old mineral deposits to further refine the surface, improving clarity and tone within the stone.

After a final review of the stone to spot clean any stubborn areas, it was given another rinse and dried as much as possible using the wet vacuum.

Sealing a Flagstone Floor

The floor was left to dry out overnight and work resumed the next day to finish the stone with the application of a sealer. First however the floor was checked for moisture, applying sealer to damp stone can result in a patchy appearance so best avoided.

The results were fine so work started to apply the first of what would be two coats of Tile Doctor Colour Grow. This sealer is an impregnator that soaks in the stone adding protection from within, this ensures dirt remains on the surface where it can be easily cleaned away. Another feature of Colour Grow, as its name suggests, is to enhance and deepen the colour and features in the stone.

  Flagstone Floor During Sealing Ulverston Barn Conversion

Once complete the flagstones were restored to a rich, natural finish with improved colour depth and a far more uniform appearance. The surface is now protected and significantly easier to maintain.

  Flagstone Floor After Renovation Ulverston Barn Conversion

For aftercare I recommended Tile Doctor Neutral Tile Cleaner which will clean the floor without impacting the sealer which can be a problem with many of the stronger products you find in supermarkets.

Source: Flagstone Floor Cleaning and Renovation Services in Ulverston Cumbria

Tuesday, January 21, 2025

How to Remove Self Levelling Cement from Quarry Tiles

This Quarry tiled floor was discovered in an old cottage in the Surrey village of Cranleigh. The new owners had found the quarry tiled floor under an old carpet and wanted to have it restored as an original feature. Unfortunately, it also had a covering of concrete screed over a large percentage of it. This is a fairly common practice when laying vinyl or carpet over tiles as it ensures a completely flat surface.
Quarry Tiled Floor Before Restoration Cranleigh Quarry Tiled Floor Before Restoration Cranleigh
From experience, I knew returning the tiles to a decent state would be possible but it’s difficult and unpleasant work. None the less I was happy to do the restoration and having visited the property to survey the floor I came up with a restoration plan that I was happy with. This evolved into a quote which the owners were happy to accept, and a date set for the work to commence.


Cleaning a Quarry Tiled Living Room

To remove the screed, I started with a power chisel fitted with a serrated attachment and started to carefully chip away at the screed. This is noisy and messy work, so I shut myself off from the world wearing eye protection goggles and ear defenders. Slowly the cement screed came away and was bagged up for removal.

Once I’d cleared the area of screed, a heavyweight buffing machine was introduced to the floor. Heavy iron bars were attached to the front to increase traction with the tiles and make cleaning and burnishing more effective. With the machine ready the quarry tiles were covered in a strong dilution of Tile Doctor Pro-Clean, and this was left to soak in for ten minutes.

A coarse 200-grit diamond pad was fitted to the machine and then run over the floor to work in the cleaning solution. This abrasive pad cuts into the surface of the tile to remove the years of dirt and grime. This is an aggressive, wet process but the cleaning solution captures the dirt and dust minimising the mess. Once done the floor was rinsed with water and the soiling extracted with a wet vacuum.

Attention was then directed at the grout which had to be hand scrubbed for the best results using more Pro-Clean. The whole floor was then inspected and any stubborn areas of staining were spot treated using the same process. Once I was happy with the condition of the tiles the floor was left to dry out overnight ready for sealing the next day.


Sealing a Quarry Tiled Living Room

Quarry tiles don’t particularly like aggressive cleaning processes and it can cause their colour to fade, however there is little alternative when they are this bad. With this in mind, I had decided to seal them with a colour enhancing sealer called Tile Doctor Colour Grow. This product is an impregnator which works by soaking into the pores of the tile, protecting it from within and ensuring any dirt remains on the surface, it also leaves the matt finish the client had requested.
Quarry Tiled Floor After Restoration Cranleigh Quarry Tiled Floor After Restoration Cranleigh

Other sealers are available that offer a sheen or shiny finish however this client had a couple of dogs whose claws can damage a topical sealer, so an impregnator was the best option.

Quarry Tiled Floor After Restoration Cranleigh

I returned a month later with some reclaimed tiles to fit around the front of the fireplace For aftercare cleaning I recommended the use of Tile Doctor Neutral Tile Cleaner which is ideal for the regular cleaning of sealed tiles and won't impact the integrity of the sealer.

Wednesday, November 13, 2024

Cardiff Tile Doctor Details the Restoration of a Quarry Tiled Floor in Penarth

This client from Penarth contacted Tile Doctor to see if their 100-year-old Quarry tiled floor which had broken and missing tiles could be salvaged. The property dated back to 1890 and had experienced many years of wear and tear and it certainly showed. One of the biggest problems however would be to renovate the area in front of the old fireplace where a hearth was once situated.

Quarry Tiled Floor During Restoration Penarth

It was clear the area in front of the fireplace would need to be rebuilt using matching replacement quarry tiles more of which would be needed for the other repairs that needed doing. Once that was done the floor would then need a deep clean and a fresh sealer applied to give the whole floor a consistent appearance.

I worked out a comprehensive quote which included the repairs and renovation work. This was accepted by the client and a date set for the work to start.
   

Cleaning and Repairing a Quarry Tiled Room

Work started with the tile repairs which involved breaking out the damaged tiles and those in front of the old fireplace and then cleaning up the floor ready for the replacement tiles to be installed.

Quarry Tiled Floor During Restoration Penarth 

Quarry tiles are still very popular, so it wasn't a problem finding matching replacements which I had manage to source before work commenced. The replacements were then laid in-line with the existing tiles using rapid set adhesive and grouted in.

Once the tiles had set, I was able to start the cleaning process which started with scraping off as much cement, paint, and plaster residue off the floor as possible. This was then followed up with a deep clean of the tile and grout using a mixture of Tile Doctor Pro-Clean combined 50:50 with with Tile Doctor Nanotech HBU Cleaner.

After leaving these products to soak in for ten minutes I worked by hand scrubbing in 1m2 sections at a time, cleaning and rinsing with water and vacuuming up the waste with a wet vacuum as I progressed. Doing it this way ensures maximum attention to detail and ensures the floor is as clean as possible. 

Once done, the floor was given an acid rinse using Tile Doctor Grout Clean-up which was brushed onto the floor and extracted with the wet vacuum as before. Old floors like this don't have a damp proof membrane and are susceptible to efflorescence, giving the floor an acid rinse like this counters salts and helps further clean the tiles.

After another rinse and extraction with the wet vacuum the floor was left overnight to dry.
   

Sealing a Quarry Tiled Floor in Penarth

The next morning the floor was tested for moisture with a damp meter and the readings confirmed it had dried sufficiently to accept a sealer. I don’t recommend sealing a damp floor as it impacts the sealers’ ability to cure and leads to a patchy finish.

Sealing started with the application of a single coat of Tile Doctor Colour Grow which is a very durable and breathable sealer which being an impregnator provides an excellent base. The customer wanted a shiny finish so this was followed up with a couple of coats of Tile Doctor Seal and Go. This product further protects the floor and adds a subtle shine which together with the Colour Grow really brought out the colours in the Quarry tiles. As you can see the red colour of the floor looks vibrant and stunning after the two different sealers were applied.

Quarry Tiled Floor After Restoration Penarth

My client was delighted with the result and offered to recommended Tile Doctor to their family and friends which was nice. For aftercare I recommended the use of Tile Doctor Neutral Tile Cleaner which is a gentle but effective tile cleaner that's ideal for cleaning sealed floors.

Quarry Tiled Floor After Restoration Penarth

Friday, October 4, 2024

Essex Tile Doctor Reveals how to Remove Years of Dirt from Terracotta Floor Tiles

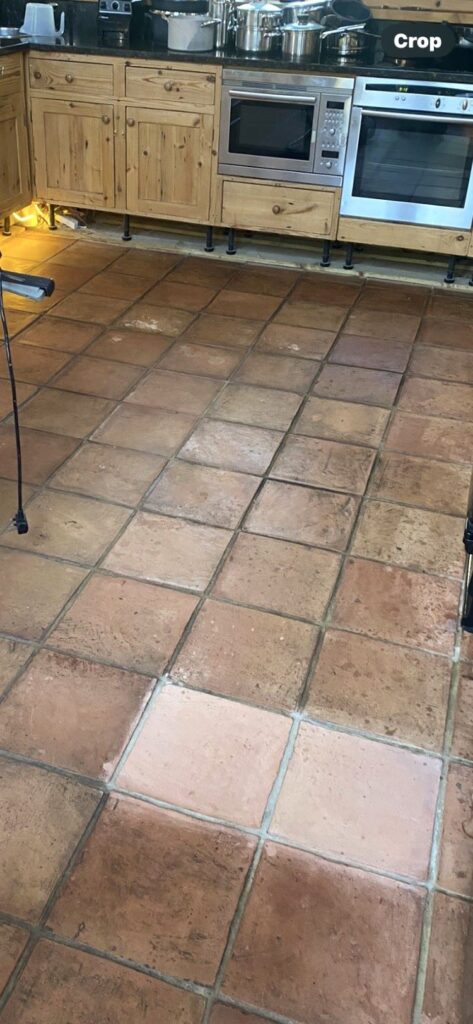
The Terracotta tiles in the kitchen of this property in Danbury near Chelmsford were installed by the owners only five years prior. At the time they didn't like the light colour of the terracotta, so they were sealed with a black pigment added to the sealer in an attempt to darken the floor. Five years later and the sealer had clearly failed, and the tiles and grout were now seriously filthy and impossible to clean.

I wanted to be certain I could remove the dirt and old sealer so whilst at the property surveying the floor I did a cleaning test with Tile Doctor Remove and Go scrubbed into a couple of tiles by hand. The product worked really well and easily cleaned the tiles and grout with excellent results (see picture).

Terracotta Tiled Kitchen Floor Before Cleaning Danbury Chelmsford

The difference was quite striking and equally impressive so after I worked out a quote, they were more than happy to get me booked in to complete the floor.

Deep Cleaning a Terracotta Tiled Kitchen Floor

I returned on the agreed date and immediately set about applying the same process to get the Terracotta tile and grout clean. I used a strong dilution of Tile Doctor Remove and Go working it into the tiles using a black scrubbing pad fitted to a rotary machine which also cleaned the grout lines.

The Terracotta was rinsed, and the soiling extracted with a wet vacuum. Once done the tiles and grout were inspected and any stubborn areas re-treated using the same process until I was satisfied the Terracotta, and grout was as clean as possible.

The underfloor heating was switched on and used to dry the floor overnight so it would be dry and ready for sealing the next day. This was a helpful addition and avoided the need for me to get the fan dryers out overnight.

Sealing a Terracotta Tiled Kitchen

Terracotta is made from clay and as a result is a very porous material, because of this it took eight coats sealer before it was fully sealed. I applied Tile Doctor Colour Grow sealer for this, it contains a colour enhancing formula which really brought out the orange and red colours in the tile.

This sealer is an impregnator that works by soaking into the tile, occupying the pores and ensuring dirt remains on the surface where it is easily cleaned away. It will provide long term protection moving forward and it improves the appearance of the floor without the tiles becoming too shiny.

Terracotta Tiled Kitchen Floor After Cleaning Sealing Danbury Chelmsford

I think you will agree from the photographs that the floor was completely transformed, and I’m pleased to say the owner was really happy and shocked to see it so different from before.

For aftercare cleaning I recommended Tile Doctor Neutral Tile Cleaner, this is a pH neutral product which will ensure the newly applied sealer retains its integrity. Many household cleaning products are simply too strong and will strip away the sealer with use.

Wednesday, November 8, 2023

Tile and Stone Cleaning in Beziers South of France

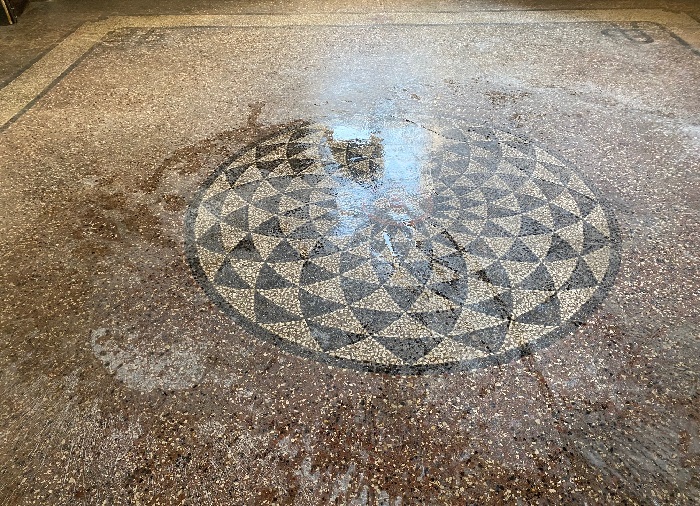
The English owner of a French Chateau contacted Tile Doctor about the hard floors at their property in Béziers in the South of France. There were several floors at the property including Terrazzo, Limestone and Black and White Encaustic tiles all around a hundred years old and in a bad state of repair. There was a lot to cover so for this post we will focus on the Terrazzo flooring.

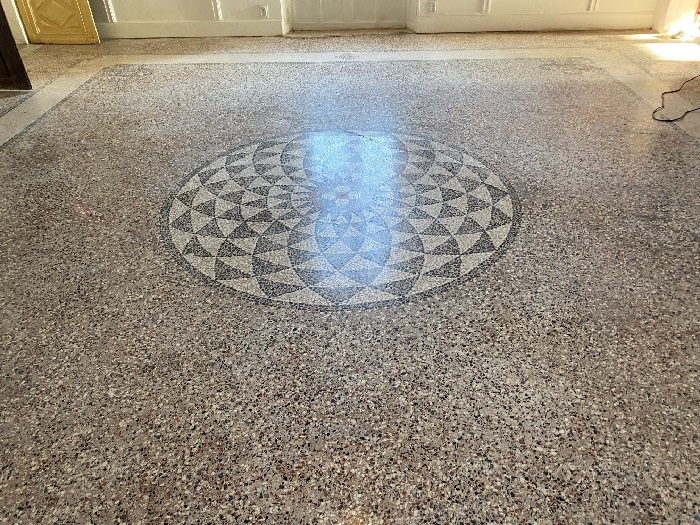
Terrazzo Floor Before Renovation Beziers France 

We have been known to carry out tile renovation work in other counties so we were more than happy to consider a visit to the South of France and help bring the floors back to life. Previous overseas projects have included a hotel restaurant in Addis Ababa, holiday cottages in Ireland and a villa in France. 

Luckily for us the customer had invested in some machinery that he had found on eBay but he didn’t have the technical knowledge to do the work and so had decided to seek help. Having discussed each of the floors in detail over the phone and with photographs sent via email I worked out a restoration plan for each floor.

We supplied the products he needed and we were flown down from Manchester to Béziers Cap d'Agde Airport where we were picked up by the client, (very Hollywood). If you have never been to Béziers before it’s well worth a visit, it's a beautiful area, well laid out, with parks and rivers, an old 12th Century Monastery and the property had great views all around.

Tile Doctor Floor Renovation Bezier


Deep Cleaning and Filling Terrazzo Flooring in Béziers France

On arrival at the property work started with setting up the machinery and conducting some preliminary cleaning tests to work out the best approach. After that however our host insisted on showing us round Béziers, it was a Saturday afternoon and we were in the South of France so why not, they certainly know how to live properly down there.
   
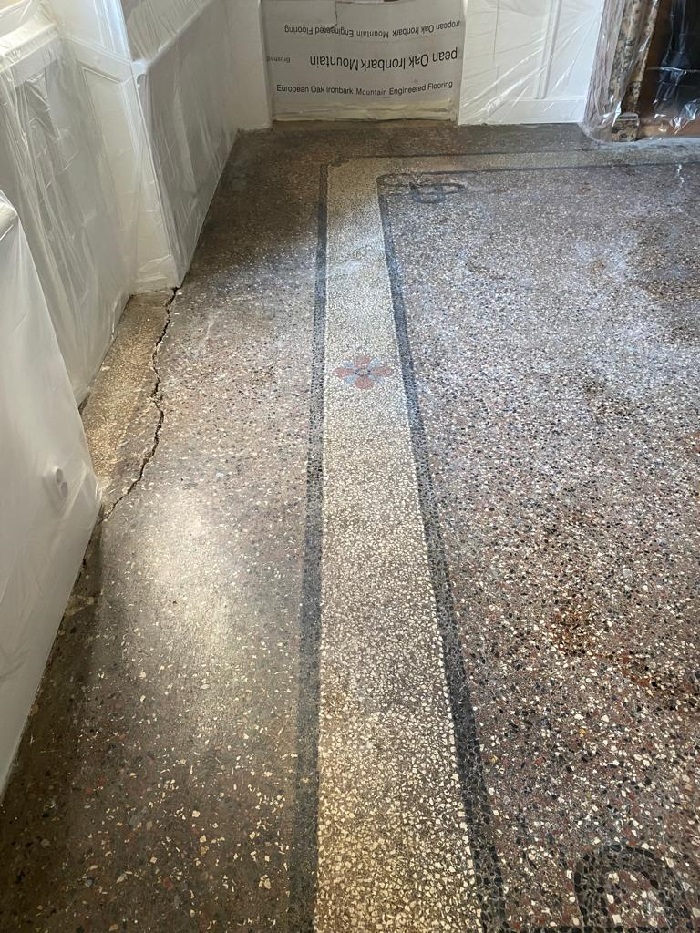
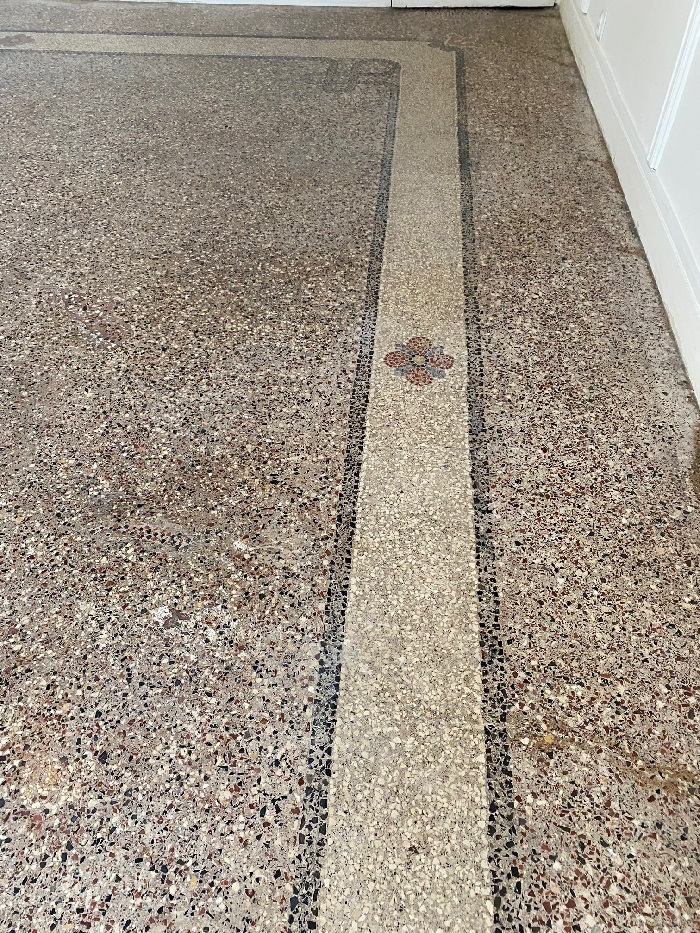
Terrazzo Floor Before Renovation Beziers France Terrazzo Floor Before Renovation Beziers France

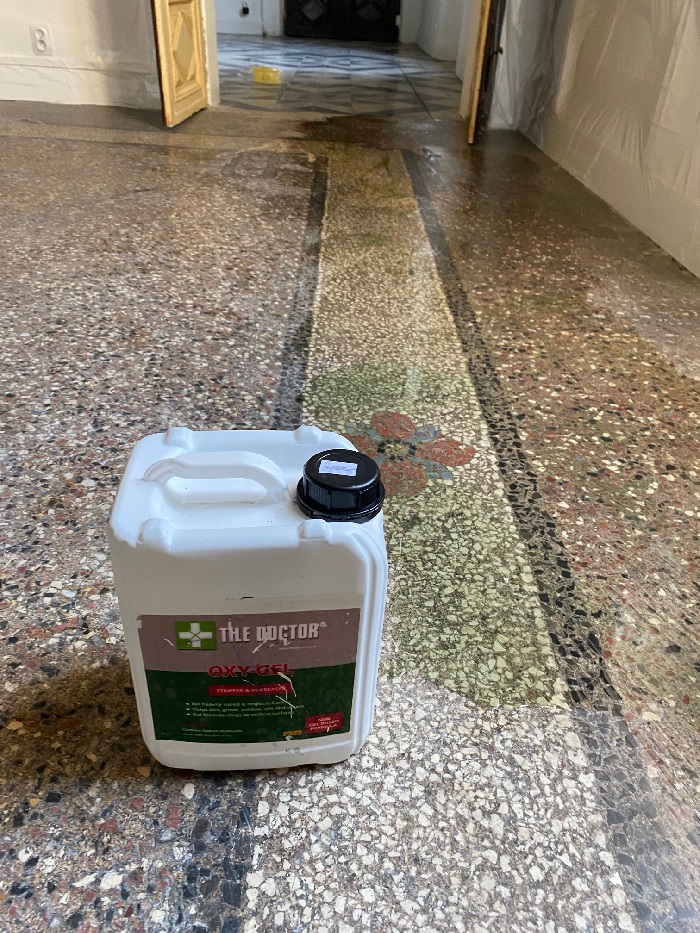
So, work started on the Sunday with the application of a 200-grit Milling pad and Oxy-Gel cleaning solution. I was concerned (due to some hairline cracks in the Terrazzo) that water would seep through into the rooms below (this was a big old townhouse set on four levels) so by using a gel-based product it would be easier to control and the moisture would be kept to a minimum.

Terrazzo Floor During Cleaning Oxy-Gel Beziers France 

The resultant soiling was then extracted with a wet vacuum and attention moved to filling the cracks in the Terrazzo with a resin filler. Once the resin had cured the floor was cleaned again, this time with a 200-grit DRB Milling pad which contains diamond segments. The process was lubricated with water and progress was checked underneath several times to ensure the pad was working as expected.

Terrazzo Floor During Renovation Beziers France


Polishing a Terrazzo Floor in Béziers France

This work continued with increasingly finer diamond encrusted burnishing pads starting with a 400-grit Diamond burnishing pad and moving up to an 800-grit and finishing with a 1500-grit pad. Only water was used for lubrication and the soiling was extracted with a wet vacuum after each pad was applied. This method slowly improves the surface of the Terrazzo adding a long-lasting polished appearance. 

The floor was left to dry overnight and the following day treated to a spray burnish using a very fine 3000 grit burnishing pad; the pad is applied dry to the floor with only a little amount of water which is sprayed onto the surface.


Sealing Terrazzo Flooring in Béziers France

This final 3000-grit pad leaves the floor dry and allows the floor to be sealed shortly afterwards. The sealer chosen for the Terrazzo was Tile Doctor Colour Grow which is a colour enhancing impregnator which works by soaking into the pores preventing dirt from residing there. Sealing the floors keeps the dirt and other contaminates on the surface where it can be easily removed.

Two coats of Colour Grow were applied and this brought out the lovely pink tones in the Terrazzo which together with the polished appearance really transformed the appearance of the floor.

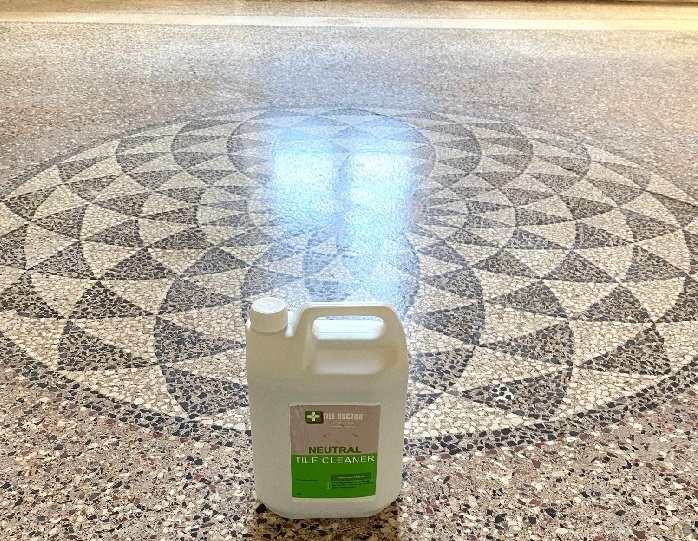
Terrazzo Floor After Cleaning Beziers France 

For aftercare cleaning I got the customer to purchase a five-litre bottle of Tile Doctor Neutral Cleaner along with the other products. You must be careful what you clean sealed floors with as many products contain bleach and are simply too strong resulting in the premature degradation of the sealer.

We spent the whole week at the property and as well as working on the other floors did find time to do some more sightseeing before flying back the following weekend.


Sunday, August 13, 2023

How to Remove Excess Grout from Brick Slip Bathroom Flooring in Saxilby Lincoln

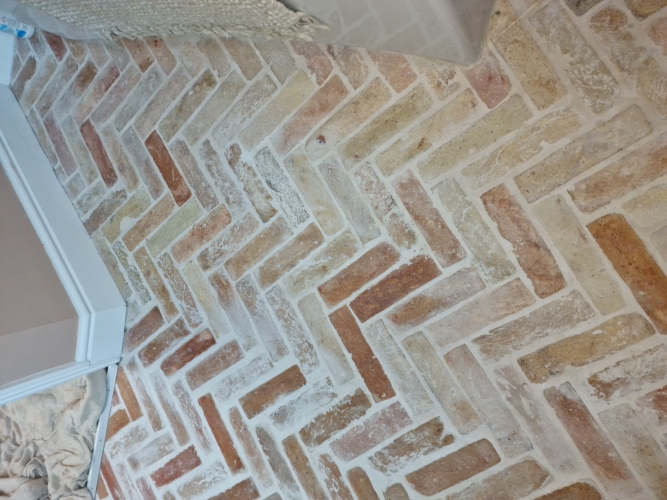
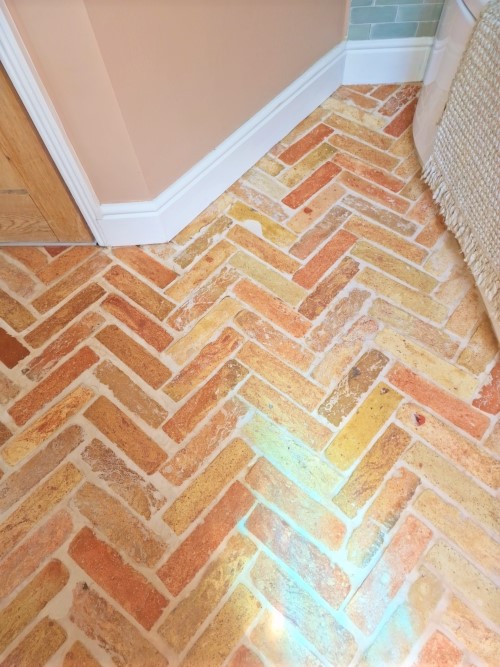
I was asked if I could improve the look of this new bathroom floor that had been laid with brick slips in a herringbone pattern at a property in Saxilby near Lincoln. The builder had done a solid job of laying the bricks but had been overzealous on the grouting and was unable to remove all of it resulting in a whitening of the red bricks due to grout haze. Unhappy with the appearance of their new bathroom floor and with little chance of resolution with the builder they contacted Tile Doctor to see what could be done to improve their appearance.
 
Brick Slip Tiled Bathroom Floor Before Cleaning Saxilby

Brick Slip tiles are basically a very thin brick which allows it to be laid like a tile, normally they are cut from an actual clay brick although there are other types. Thin like a tile and light weight they can be used to quickly create authentic looking brick walls and floors.

I visited the property to understand the problems and whilst I was there, I carried out a test clean to show the client what could be achieved. They were happy with what I showed them and booked me in to have the work done.
 
Brick Slip Tiled Bathroom Floor Before Cleaning Saxilby Brick Slip Tiled Bathroom Floor Before Cleaning Saxilby


Removing Grout Haze from Brick Slip Flooring

To remove the grout haze, I started off with an application of Grout Clean-up which contains phosphoric acid and is designed exactly for this purpose. It was a small space to work in so the product was scrubbed into the tile by hand until I got them as clean as possible. This was followed by a quick rinse and extraction with a wet vacuum.

I then inspected the floor and could see more work was required so this time I laid down Acid Gel which is a blend of Phosphoric and Hydrochloric acids and left it to dwell for ten minutes. After another scrub I was pleased to see I had managed to remove all the grout haze and the red brick was really starting to come through. I then gave the floor a thorough rinse with water and then removed the soiling and as much moisture as possible with the wet vacuum. I left the floor to dry off whilst I went to lunch leaving an air mover in place to assist with the drying.


Sealing Brick Slip Flooring

Once it had dried the floor was then sealed using Tile Doctor Colour Grow which is a colour enhancing product that as the name suggests improves colour in the tile, it’s also an impregnator which works by occupying the pores in the brick protecting it from within.
 
Brick Slip Tiled Bathroom Floor After Cleaning Saxilby Brick Slip Tiled Bathroom Floor After Cleaning Saxilby

The client was over the moon and said that is how they wanted it to look originally. For cleaning I made the client aware of the problem of using harsh cleaning products on sealed tiles and advised them to use Neutral Tile Cleaner which is a mild but effective cleaner that won’t erode the sealer with regular use.

Wednesday, March 22, 2023

Amazing Restoration of a Victorian Path in South London

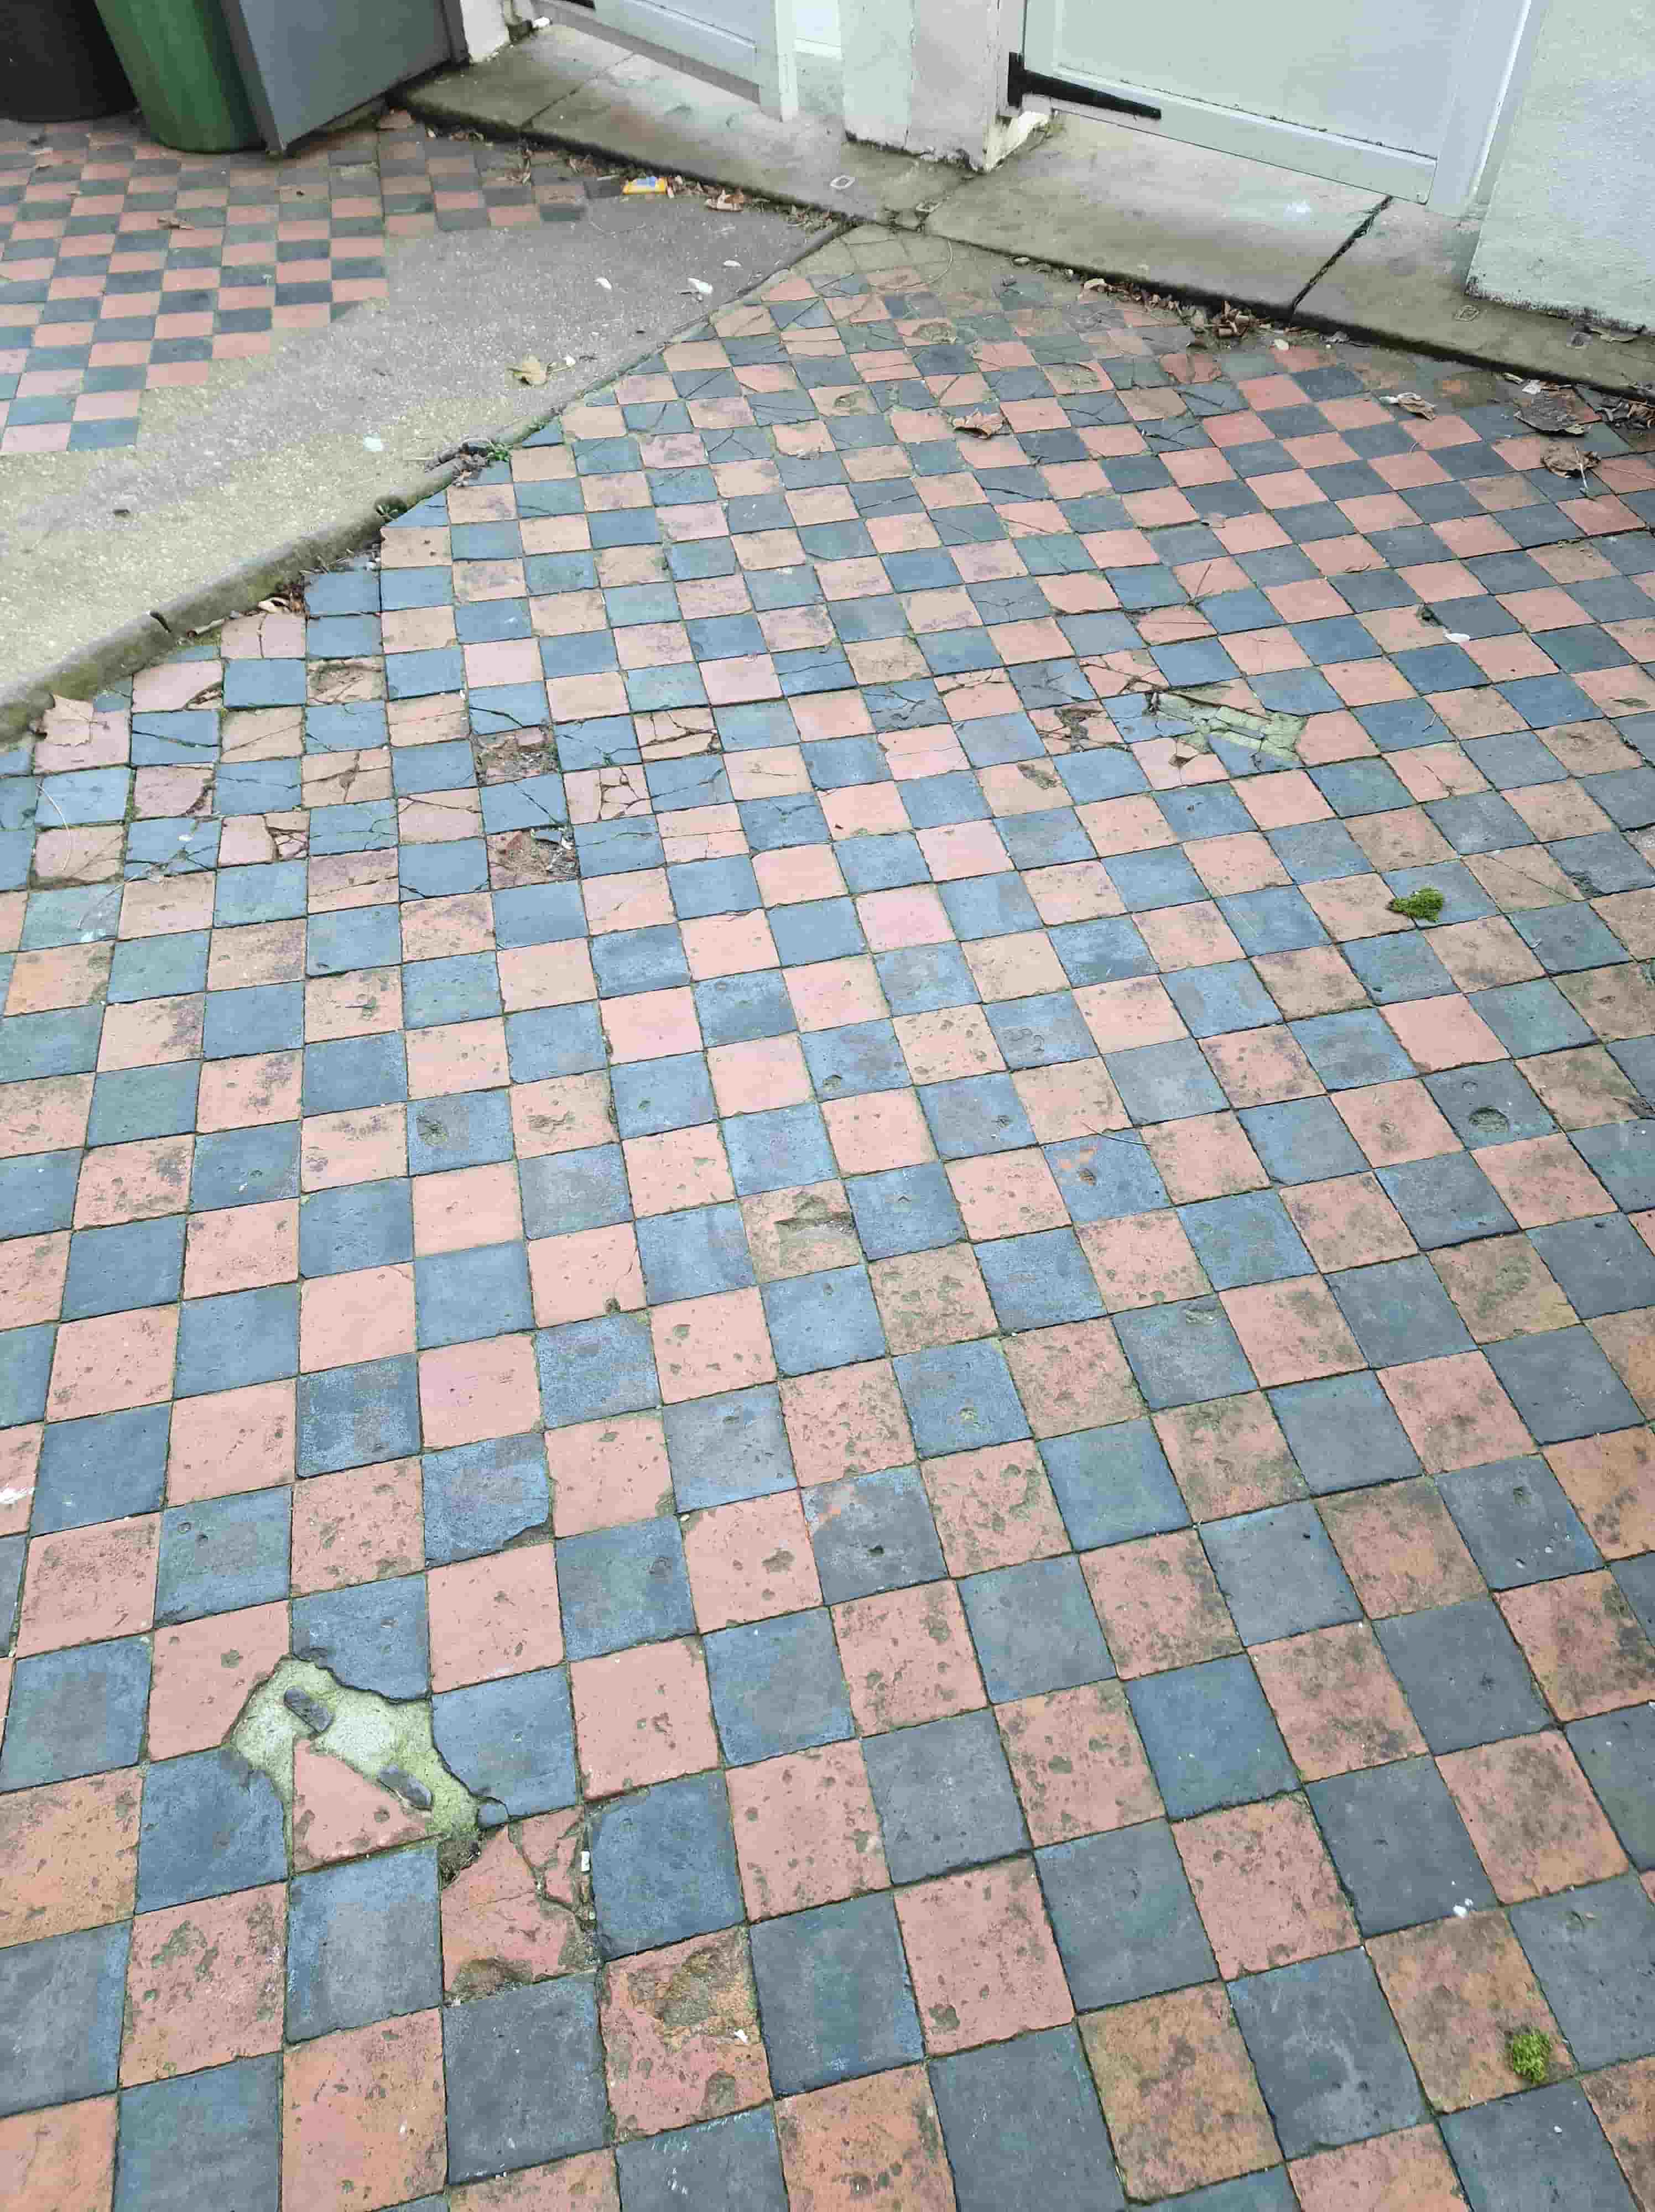
Here we have an old Victorian tiled path in front of a property in Battersea which was very much worse for wear. Tiled in a red and black diamond pattern it had seen a lot of use and weathering and the owner now wanted it renovating or improving at the very least.

 
Neglected Victorian Tiled Path Before Restoration Battersea

I was asked to pop over to the property, survey the path and provide a quote for its restoration. Hopefully you can appreciate from the photographs the numerous cracks and missing tiles. It was certainly going to need a lot of work to improve its appearance, which I was happy to do but I had to lower the expectations of the owner as it would never be perfect. We agreed a price for the work and booked the job in.

 
Neglected Victorian Tiled Path Before Restoration Battersea


Repairing a Victorian Tiled Pathway

Before starting work we tried to source salvaged tiles that would blend in with the originals, but unfortunately, we couldn't find any that were a close enough match, so had to make do with modern tiles. These are still suitable but the metric sizing makes it a little tricker.

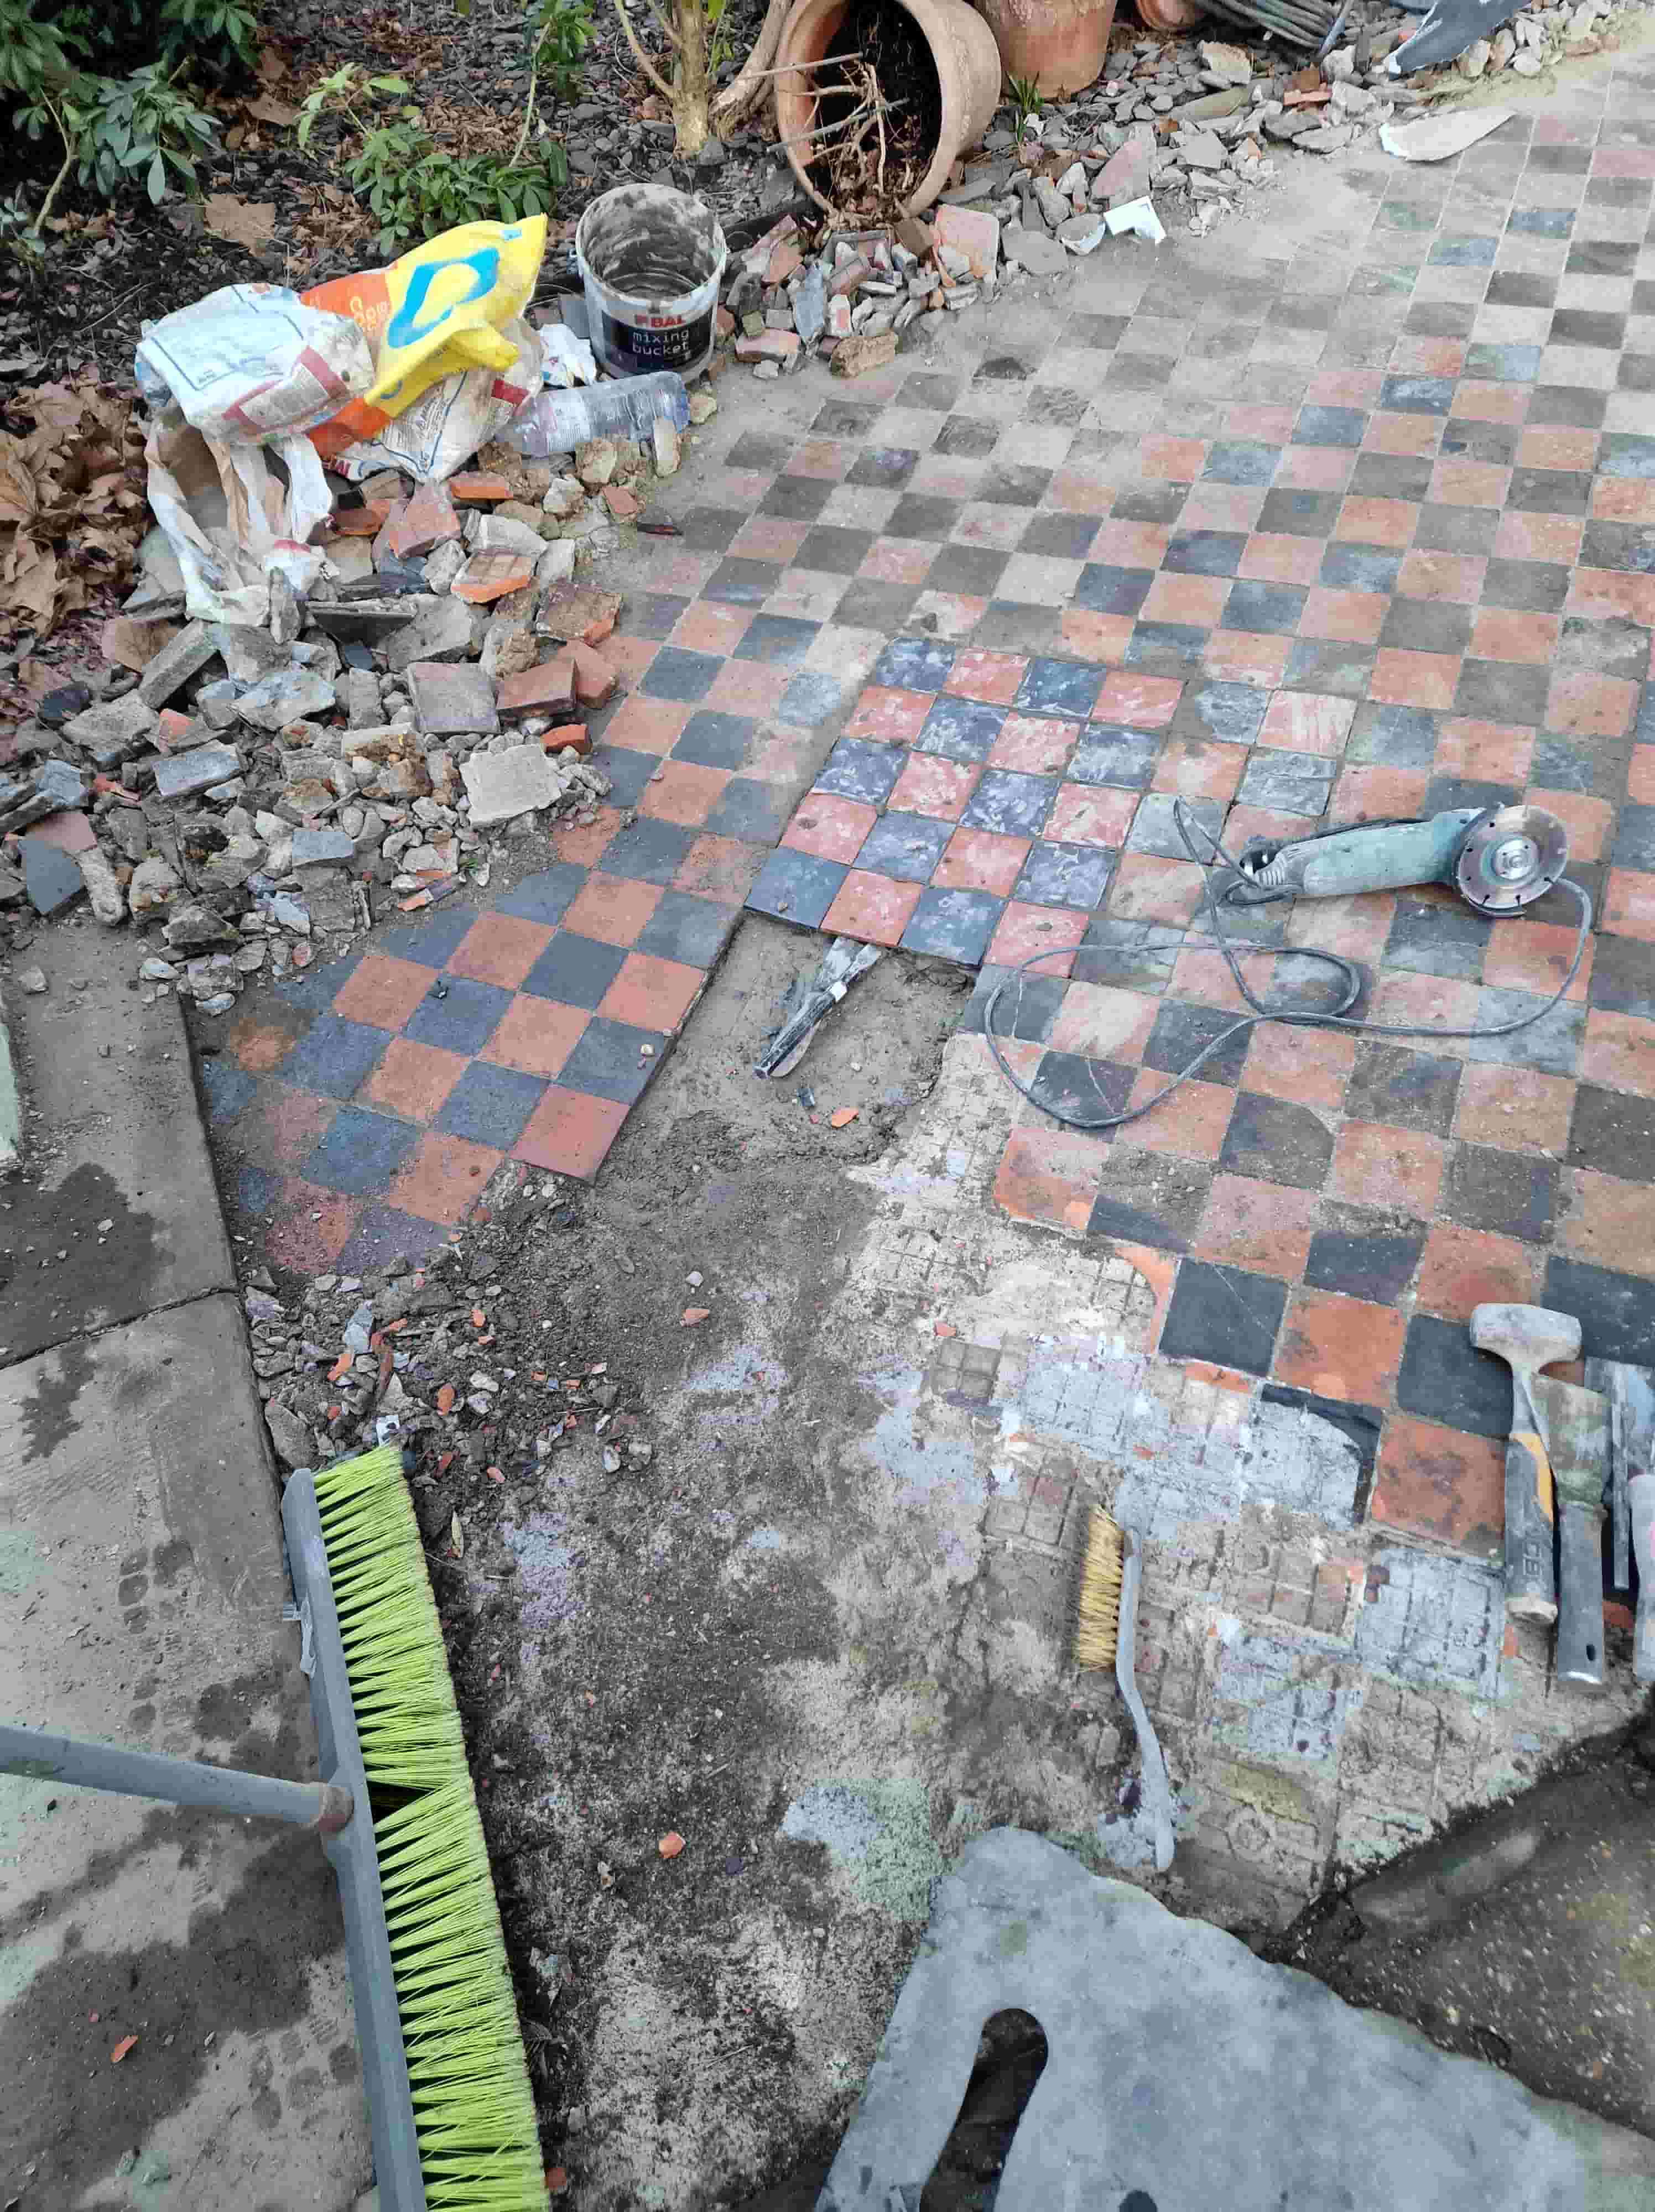
Work started by digging out the broken and loose tiles and then cleaning what could be salvaged. Once removed the base was then cleared of debris and where required rebuilt with cement. There were numerous affected areas, so it took quite some time to complete. Finally with the preparation done the tiles were re-laid using a mixture of original and new. The new tiles being metric had to be cut to shape as needed. The repair work was extensive and took two days to complete.

 
Neglected Victorian Tiled Path During Repair Battersea


Cleaning a Victorian Tiled Pathway

On day three the replaced tiles had set, and I was able to clean up the whole path by scrubbing in Tile Doctor Oxy-Gel which being a gel cleaner doesn't require a lot of water. This was then followed by giving the path an acid rinse using Tile Doctor Acid Gel which further cleans the tiles and again being in gel format doesn’t require a lot of water and is much easier to control. After each stage in the cleaning process the soils were extracted with a wet vacuum.

I recommend the use of gel cleaners on old tiles like this example as they were laid before the invention of the damp proof membrane and less water means it dries quicker. This was important as it was planning to apply a sealer the next day and the tiles must be dry to achieve the best result.


Sealing a Victorian Tiled Pathway

The weather held out and after leaving the path to dry overnight I confirmed they were dry the next morning with a damp meter. Two coats of Tile Doctor Colour Grow sealer were applied to the tiles which is a fully breathable sealer that works by soaking into the tile, occupying the pores and thereby preventing dirt from becoming ingrained there. With the dirt forced to remain on the surface they are much easier to clean. This product also contains a colour enhancing formula which helps improve the deep Red and Black colours in the tile.

 
Neglected Victorian Tiled Path After Restoration Battersea

The tiles responded very well to the treatment and transformed the appearance of the path. Expecting only a small improvement my client was over them moon with the difference.

Sunday, February 12, 2023

Getting a Great Finish on a Black Slate Kitchen Floor in Hounslow

This Slate tiled floor at a property in the West of London suburb of Hounslow was not looking its best and now in need of a strip and seal to restore its appearance. The decorators the client used had agreed to clean and re-seal the floor after painting but unfortunately didn’t do a good job of it. I suspect they applied the sealer without rinsing properly and didn't allow the floor to dry fully beforehand.

 
Slate Tiled Kitchen Diner Floor Before Cleaning Hounslow Slate Tiled Kitchen Diner Floor Before Cleaning Hounslow

My client was unhappy with the finish and so asked me to quote for resolving the problems. I went over to survey the floor and advised the client that to rectify the problems we would need to strip off the sealer they had applied, clean the floor again and then reseal with the correct product. They were happy to go ahead with my recommendation as they wanted the floor restored to its pre-decoration state. They agreed my quote and we scheduled a mutually convenient time to carry out the works.

 
Slate Tiled Kitchen Diner Floor Before Cleaning Hounslow


Cleaning a Slate Tiled Kitchen Diner Floor

In order to break up the sealer, a coatings remover was applied to the floor called Tile Doctor Remove and Go. This is a strong sealer stripper that breaks up the sealer allowing it to be removed. This was left to dwell for a short while to lift the sealer.

The products were then scrubbed into the floor using a heavy-duty machine, alongside this we also applied another cleaning product called Tile Doctor Pro-Clean. This action ensured that all the sealer was removed and it also removed any dirt that had been left on the surface. The floor was then low pressure rinsed and the old sealer and soils were then vacuumed away leaving the floor ready for sealing.


Sealing a Slate Tiled Kitchen Diner Floor

The following day, after allowing the floor to dry overnight with the under-floor heating it was ready for sealing. Two coats of Tile Doctor Colour Grow sealer were applied which is a durable impregnating product that works by occupying the pores in the stone preventing dirt from residing there.

This sealer also contains a colour enhancer which is ideal for Black Slate as it further darkened the colour and brought out the contrast in the tiles. This product is also fully breathable and recommended for use on a large variety of flooring and can even be used externally.

 
Slate Tiled Kitchen Diner Floor After Cleaning Sealing Hounslow

The client pointed out that it looked like it did when originally installed and was very pleased to say the least. Before leaving I took time to discuss aftercare and recommended the use of Tile Doctor Neutral Tile Cleaner. This is a pH neutral tile cleaning product that is mild enough to be used regularly and will ensure that the newly applied sealer will stay in place. The new sealer will also ensure cleaning will now be easier which the client was very grateful for.

 
Slate Tiled Kitchen Diner Floor After Cleaning Sealing Hounslow Slate Tiled Kitchen Diner Floor After Cleaning Sealing Hounslow


Tuesday, June 14, 2022

Tips on Deep Cleaning Victorian Hallway Tiles by Expert Restorer in Johnstone

 This is another Victorian hallway floor we deep cleaned in Johnstone which is located to West of Paisley. Before quoting I visited the property to survey the Victorian tiles and ensure I had a complete idea of what would be needed to fully renovate floor.

 
Victorian Tiled Floor Before Cleaning Johnstone

After inspecting the floor, I could see there were no surprises such as loose or cracked tiles that would need replacing and that the main issue was it was just incredibly dirty. All that it needed would be deep cleaning including stripping of any remaining sealer, then cleaning and ultimately sealing. This is a typical Tile Doctor job for us to carry out and having worked on many Victorian floors before I was very confident of a great result. The client was happy to go ahead with the quotation and we arranged to return a few weeks later.


Cleaning a Victorian Tiled Hallway Floor

The floor was given a pre spray of Tile Doctor Remove and Go diluted 50:50 with water and then left to soak in for10 minutes to give it time to break down the dirt and any previous coatings that may have been present on the floor. Then the floor was scrubbed using a rotary bonnet machine fitted with a silicon carbide brush. This is an effective brush that in combination with the Remove and Go released a lot from the pores of the tile to the surface where it could be extracted with a wet vacuum. The floor was dirtier than anticipated and the process was carried out three times to ensure floor was as clean as possible.

Once the chemicals had done as much as they could the Victorian tiles were resurfaced using Tile Doctor 100 and 200 grit milling pads that remove stubborn ingrained dirt and staining. This process was carried out twice rinsing with water and extracted the soiling with a wet vacuum afterwards.

Last process was to give the tiles a mild Acid wash using Tile Doctor Grout Clean-up. This was scrubbed in using soft brushes fitted to the bonnet machine and then extracted as before. This process further cleans up the tile and will counter any efflorescent salts that can build up in floors of this age which won’t had a modern damp proof membrane in place.

The floor was left to dry out for a few days with a fan left in place to speed up the drying times. The floor looked so much cleaner than when we started, and my client was already pleased with the results.

Sealing a Victorian Tiled Hallway Floor

On my return the I took a few moisture readings with a damp meter to check it was dry enough to accept a sealer. We don’t recommend applying a sealer to a damp floor as from experience the results can be inconsistent so always best to check first.

The meter readings were fine, so I started applying the sealer, which for this floor Tile Doctor Colour Grow was chosen. Three coats were applied to fully protect the floor and bring the colours back after being cut back with the milling pads. This sealer works by soaking into the pores of the tile, occupying the pores, and thereby preventing dirt from becoming ingrained there going forwart. As the name suggest it’s a colour enhancing product that is also fully breathable which is important for floors with no damp proof membrane.

 
Victorian Tiled Floor After Cleaning Johnstone

For aftercare cleaning I recommended the use of Tile Doctor Neutral Cleaner which is a mild pH neutral tile cleaner that is gentle enough for daily use and will ensure that the newly applied seal is not compromised and kept looking good, especially in such a high traffic area.

Sunday, April 17, 2022

Rescuing a Forgotten Period Victorian Floor in North London

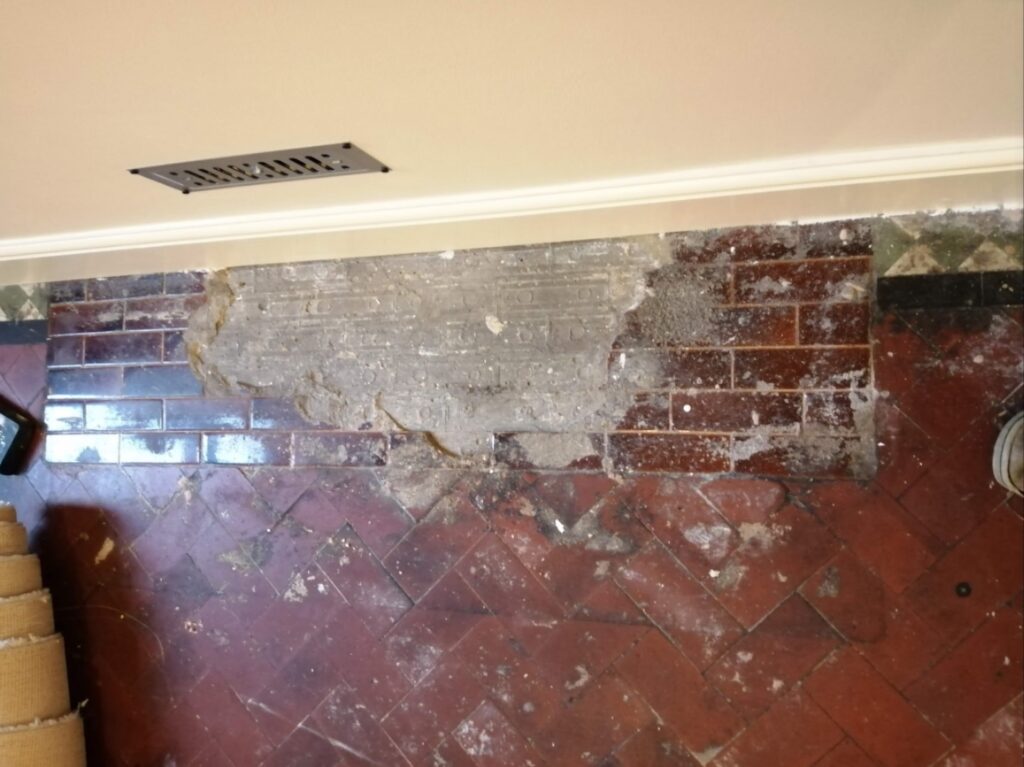
This classic original Black and White Victorian tiled floor was discovered by a customer in Kensal Rise under a lino floor when they moved in. Unfortunately, a large section of tiling was missing and had been backfilled with cement after a radiator pipe had been installed at some point in the past. The new owner understood that value that period features such as Victorian floors can add to the value of a property and was keen to have it restored.

 
Damaged Classic Victorian Tiled Hallway Before Restoration Kensal Rise Damaged Classic Victorian Tiled Hallway Before Restoration Kensal Rise

We have done numerous similar restorations in the past, so we were asked to go over, survey the floor and quote for carrying out the work. Knowing that a lot of the cement would need to be removed I started by carefully chipping away some of the cement to make sure the radiator pipe had been buried deep enough for tiling. It was so after measuring up and inspecting the rest of the floor I went ahead and issued a quote.

The client accepted so we booked in a mutually convenient date to carry out the works. The property was in a lovely street of similar properties many of which looked as if they had been restored.


Cleaning and Repairing a Victorian Tiled Hallway Floor

The first task we did was clean the existing tiles with an application of Tile Doctor Remove and Go which is a strong alkaline coatings remover. This was diluted with water, sprayed onto the tiles, left to soak in for ten minutes and then scrubbed into the floor using a black pad fitted to a rotary machine. After rinsing off and the slurry and extracting with a wet vacuum the tiles were inspected and the process repeated where needed.

 
Damaged Classic Victorian Tiled Hallway During Restoration Kensal Rise

The next stage was to treat the floor to an acid rinse using Tile Doctor Acid Gel, this time worked in with a coarse 200-grit pad. Old floors like this one don’t have a damp proof membrane under the floor and as the moisture rises though the tile to evaporate at the surface you can find white salt deposits being left behind. Giving the floor an acid rinse like this will dissolve the salts and will also neutralise the floor after the use of an alkaline cleaner. Combine this with a coarse pad and you find the tiles come up really well, it will even remove old grout smears on the surface of the tiles. Once done the floor was rinsed again and the floor dried as much as possible using the wet vacuum.

After leaving the floor to dry off overnight we came back the next day and started the processing of excavating the cement around the heating pipe. With the rubble removed fast drying self-levelling cement was applied to a point where it was the right height for re-tiling.

On day three with the cement now dry it was tiled using matching tiles I had managed to source from Original Style Tiles who are a supplier that specialises in reproduction Victorian tiles. They have a vast range so we can usually find a very close match. The tiles were laid in a matching diamond pattern and grouted in later that afternoon.

 
Damaged Classic Victorian Tiled Hallway During Restoration Kensal Rise


Sealing a Victorian Tiled Hallway Floor

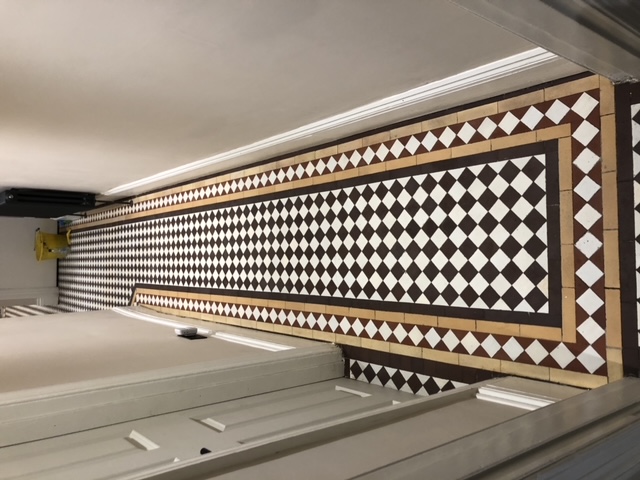
On the fourth and final day, we returned to seal the entire floor with a couple of coats of Tile Doctor Colour Grow which is a matt sealer that soaks into the tile occupying the pores and thereby preventing dirt from becoming ingrained there. It also contains a colour enhancer that really brings out the contrast in the black and white tiles. It is also fully breathable so is perfect for floors of this age which lack the damp proof membrane beneath the floor that we now use in every modern build.

 
Damaged Classic Victorian Tiled Hallway After Restoration Kensal Rise Damaged Classic Victorian Tiled Hallway After Restoration Kensal Rise

The client was very happy with the finished result, the entrance hall was now in keeping with the rest of the period features of the property. For aftercare cleaning I recommended the use of Tile Doctor Neutral Tile Cleaner which is a gentle pH neutral tile cleaning product compatible for use on sealed tiles. Many household cleaning products tend to be very strong and can affect the sealer protecting the floor.