Showing posts with label Norfolk. Show all posts

Monday, July 20, 2026

Restoring a Badly Stained Norfolk Clay Brick Floor in Attleborough Norfolk

Detailed below is the restoration of a heavily stained Clay Brick floor that I completed earlier this year. The floor was in the porch of an ex-farm labourer’s cottage in Attleborough which is an attractive market situated between Thetford and Norwich.

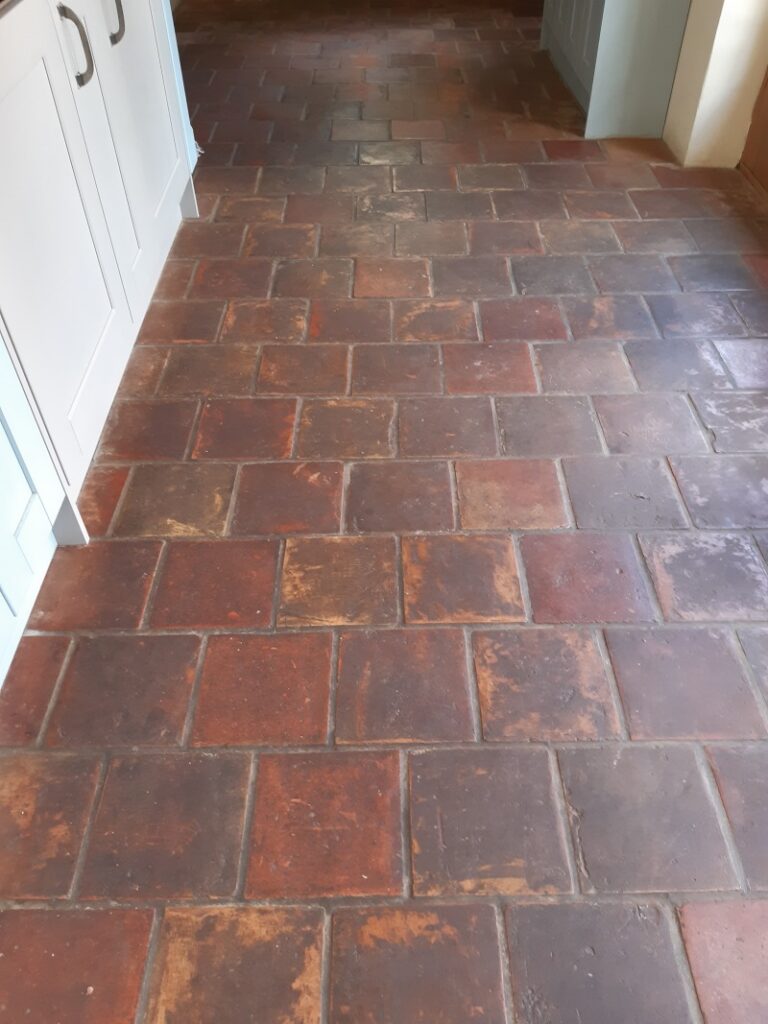
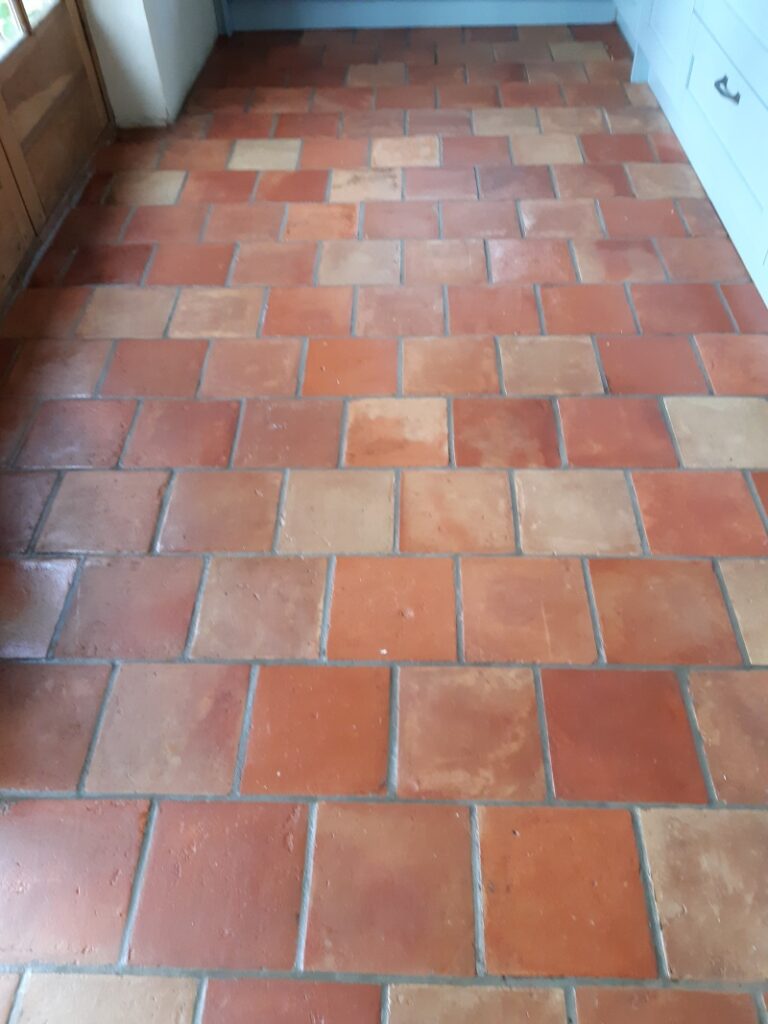
The owner had asked me to sort out the floor which as you can see from the image below was heavily contaminated with general dirt and thick efflorescence salts. The dirt was hiding all the natural vibrant colours of the Norfolk clay bricks and was well overdue a deep clean.


Clay Brick Porch Floor Before Cleaning Attleborough

It was a small area which I was confident in being able to renovate in a day however its size and awkward shape meant a lot of cleaning would need to be done with more time-consuming hand tools. I worked out a detailed quote for the renovation which was accepted and a date set.


Cleaning and repairing a Brick Style Tiled Floor

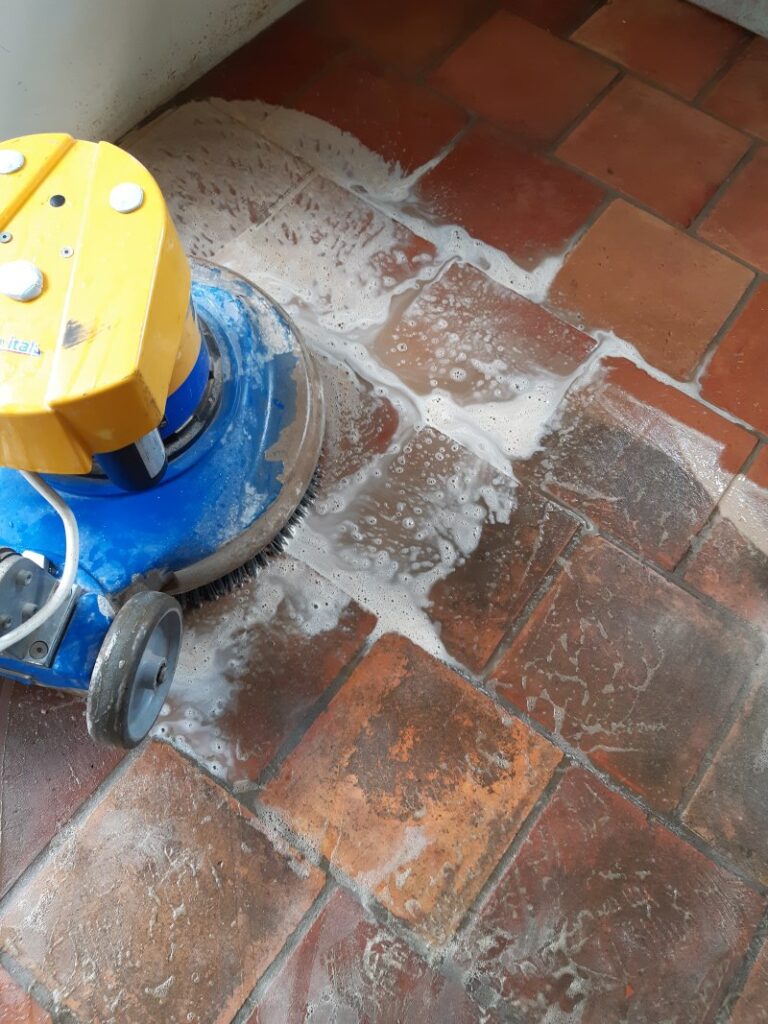
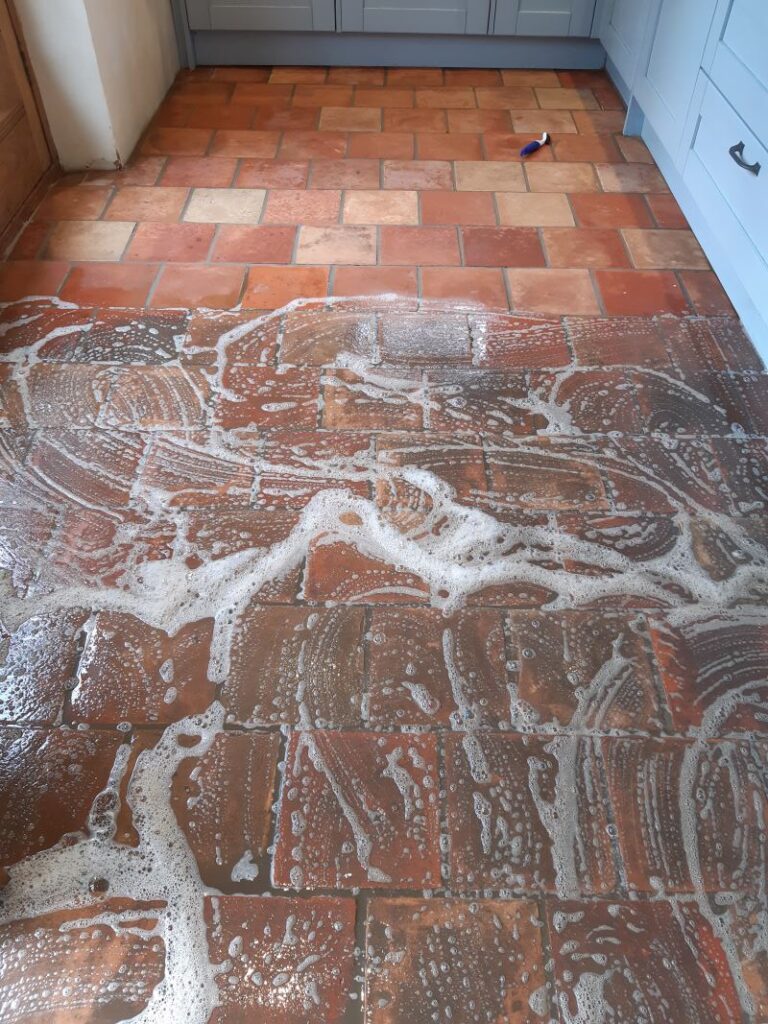
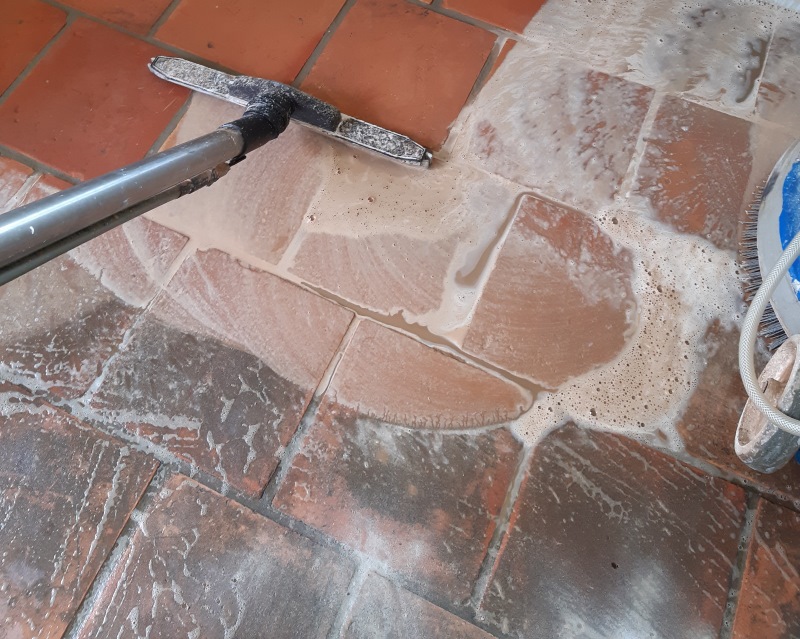
To release the dirt from the clay bricks I started with a strong dilution of Tile Doctor Pro-Clean which was spayed onto the floor and left to soak in for a good ten to fifteen minutes. It was then worked in repeatedly with a 120-grit carbide brush fitted to a Klindex Rocky rotary and lots of hand scrubbing. Afterwards the floor was rinsed with water and a wet vacuum deployed to extract the soiling; any stubborn areas were then re-treated as needed.

To treat the efflorescence Tile Doctor Acid Gel was pasted onto the brick, left for five minutes and then worked in with a firm nylon brush. The acid in the product dissolves the salts and being a gel minimises the water use on the floor. Again, once done the product was removed with more rinsing and the wet vacuum.

An industrial fan heater was then deployed to speed up drying the floor which would allow it to be sealed later that afternoon.


Sealing a Brick Style Tiled Floor

Once the floor had fully dried out, I applied a combination of two Tile Doctor sealers called Colour Grow and X-Tra Seal in an 80:20 ratio. Both these sealers are fully breathable which is essential when dealing with old floors like this one with no damp proof membrane. They both bring different characteristics to the finished floor leaving and brought out the natural colours in the brick. Both these sealers are impregnators which work by soaking into the brick, occupying the pores and thereby prevent dirt from residing there. This ensures dirt will remain on the surface where it can be easily cleaned away going forward. The sealer was then left to dry and then buffed with a white pad.

Clay Brick Porch Floor After Renovation Attleborough

The result was way beyond what the clients thought possible and they were so pleased that they promptly booked us in to renovate their much larger living room.

For aftercare cleaning I recommended Tile Doctor Neutral Tile cleaner which is a pH neutral tile that will clean the floor without harming the sealer which can be the problem with the stronger products you find in the supermarket.


Source: Brick Floor Cleaning Service in Attleborough Norfolk

Monday, May 13, 2024

How to Deep Clean Norfolk Pamment Tiles

I was contacted by clients with a Pamment Tiled Flooring who were living in Gissing, a small village in the centre of South Norfolk which has a long history dating back to Saxon times. The Pamments were reclaimed suffering from heavy soiling and in need of considerable expert attention. All the old protective coatings had pretty much worn completely off the surface of the tiles which had then allowed many years of dirt to become ingrained in the pores of the clay, making it almost impossible to clean for the homeowner using ordinary methods.

  Reclaimed Pamment Floor Before Cleaning Gissing 

 Pamment tiles were very popular in older Norfolk homes; they are made from locally sourced clay and, like terracotta, are extremely porous and therefore need to be thoroughly sealed against fluids and general soiling. When correctly cleaned and sealed, they are quite versatile and can be used for internal floors as well as external areas such as patios and pathways.


Cleaning a Pamment tiled floor

To remove all traces of the old sealers and clean the tiles I decided to apply Tile Doctor Remove & Go, which was diluted with water to form a medium strength solution. I applied a generous coat of this solution to the floor, leaving it to soak into the pores of the tiles for approximately ten minutes. The solution was then worked into the Pamments using a Black nylon scrubbing pad fitted to a 17" rotary machine. Remove & Go is a powerful and versatile cleaner which is safe to use on natural stone floors, kiln-fired tiles and all types of grout.
Reclaimed Pamment Floor During Cleaning Gissing Reclaimed Pamment Floor During Cleaning Gissing
I rinsed the solution off the floor with clean water once it had worked its magic and extracted the resulting dirty residue with a wet-vacuum machine. In order to tackle some particularly stubborn stains, I repeated this process until I was satisfied that the floor had been cleaned to the highest standard possible.

Reclaimed Pamment Floor During Cleaning Gissing
  
  The whole area was then given an acid wash using a dilution of Tile Doctor Grout Clean-Up. This further cleans the tiles to remove old grout stains and neutralises the pH level of the floor following the use of alkaline cleaning products, lastly it also ensures optimal adhesion of the new sealer.

The floor was then left to dry overnight before returning the next day to complete the seal. I left a dehumidifier running overnight to assist the drying process and ensure that the floor would be completely dry on the following day. It’s imperative that a tiled floor is completely dry before sealing as any excess moisture left in the floor can potentially adversely affect the overall performance of the sealer as it evaporates.


Sealing a Pamment tiled floor

To seal and protect the Pamment tiles I applied a total of five coats of Tile Doctor Seal & Go, which provided a robust, durable surface seal along with an aesthetically pleasing, mid-sheen finish (as you can see from the photos). Seal & Go is the go-to sealer for internal, unsealed porous surfaces such as Terracotta, Sandstone or Slate.

  Reclaimed Pamment Floor During Sealing Gissing

The clients had left us to work our magic over the two days, returning at the end of the sealing day and were absolutely staggered at the results we had achieved with a floor they had thought beyond help.

  Reclaimed Pamment Floor After Renovation Gissing

For aftercare cleaning I recommended the use of Tile Doctor Neutral Tile Cleaner, it’s a gentle yet effective product that won’t upset the sealer which can be the problem with many of the stronger products you find in supermarkets.

Friday, January 26, 2018

Restoring the Appearance of Victorian Hallway Tiles in Norfolk

There are thousands of Victorian tiled hallways in and around Norwich and I often get called to work on them, however this was a particularly abused and neglected example I thought you might find interesting. The surface had clearly been both painted red at some point (possibly with an old lead-based paint) and then completely covered with rubber-backed underlay and carpeted, a thick layer of double-sided carpet tape remaining firmly stuck in patches around all the edges of the floor area.

Victorian Hallway Floor Tiles Before Cleaning Norwich


Cleaning a Victorian tiled floor

Firstly, we cleaned the whole area using a strong solution (1:3) of Tile Doctor Pro-Clean, which is a high alkaline stripper and cleaner, agitated with a black scrubbing pad fitted to a rotary machine. All products and slurry were then power rinsed and vacuumed away to reveal the improved floor. There were still a significant number of glue patches and paint spots around the edges of the floor, so these were tackled using Tile Doctor Remove & Go, which softened them enough to enable us to remove them with a sharp-bladed scraper. Unfortunately, the decaying rubber underlay had left a pattern on the tile surface which was most obvious at the doorway into the terracotta tiled kitchen. We almost completely removed this using Tile Doctor Oxy-Gel which being in gel form allows it work on the problem area longer. It was painted on a brush and kept moist for two hours under a layer of cling film which drew out virtually all the contaminant from the tile. The next concern was that an original Victorian floor of this age would almost certainly have no damp proof membrane and an area near the front door which showed evidence of efflorescence salts was treated with Tile Doctor Acid Gel in order to remove the white deposits and further inhibit the production of more in the future. The whole area was then lightly buffed using the rotary machine and a 1500 grit diamond pad with water in order to remove any remaining fine paint spots and restore a silky feel to the surface of the tiles before leaving the floor to dry overnight with assistance from our dehumidifier.


Sealing a Victorian tiled floor

When we returned the following morning, our damp meter showed us that the moisture content in the substrate was probably going to be too high to allow us to use an acrylic sealer to provide the sheen which the client had requested; so we decided to spray-buff the floor using a 3000 grit diamond pad on the rotary machine followed by the application of Tile Doctor Colour Grow, a colour enhancing penetrating sealer which sits just below the surface of the tile and leaves no visible finish. Finally, the whole floor was spray buffed to a low sheen with a white maintenance pad on the rotary machine and any resulting dust vacuumed away.

Victorian Hallway Floor Tiles After Cleaning Norwich

The Victorian tiles now look fantastic and have become a great asset to the property as original features like these are very sought after.


Source: Victorian Tile Cleaning and Restoration Service in Norfolk