Showing posts with label Ultra-seal. Show all posts

Thursday, February 19, 2026

Birmingham Stone Expert Details How to Maintain Limestone Tiled Flooring Correctly

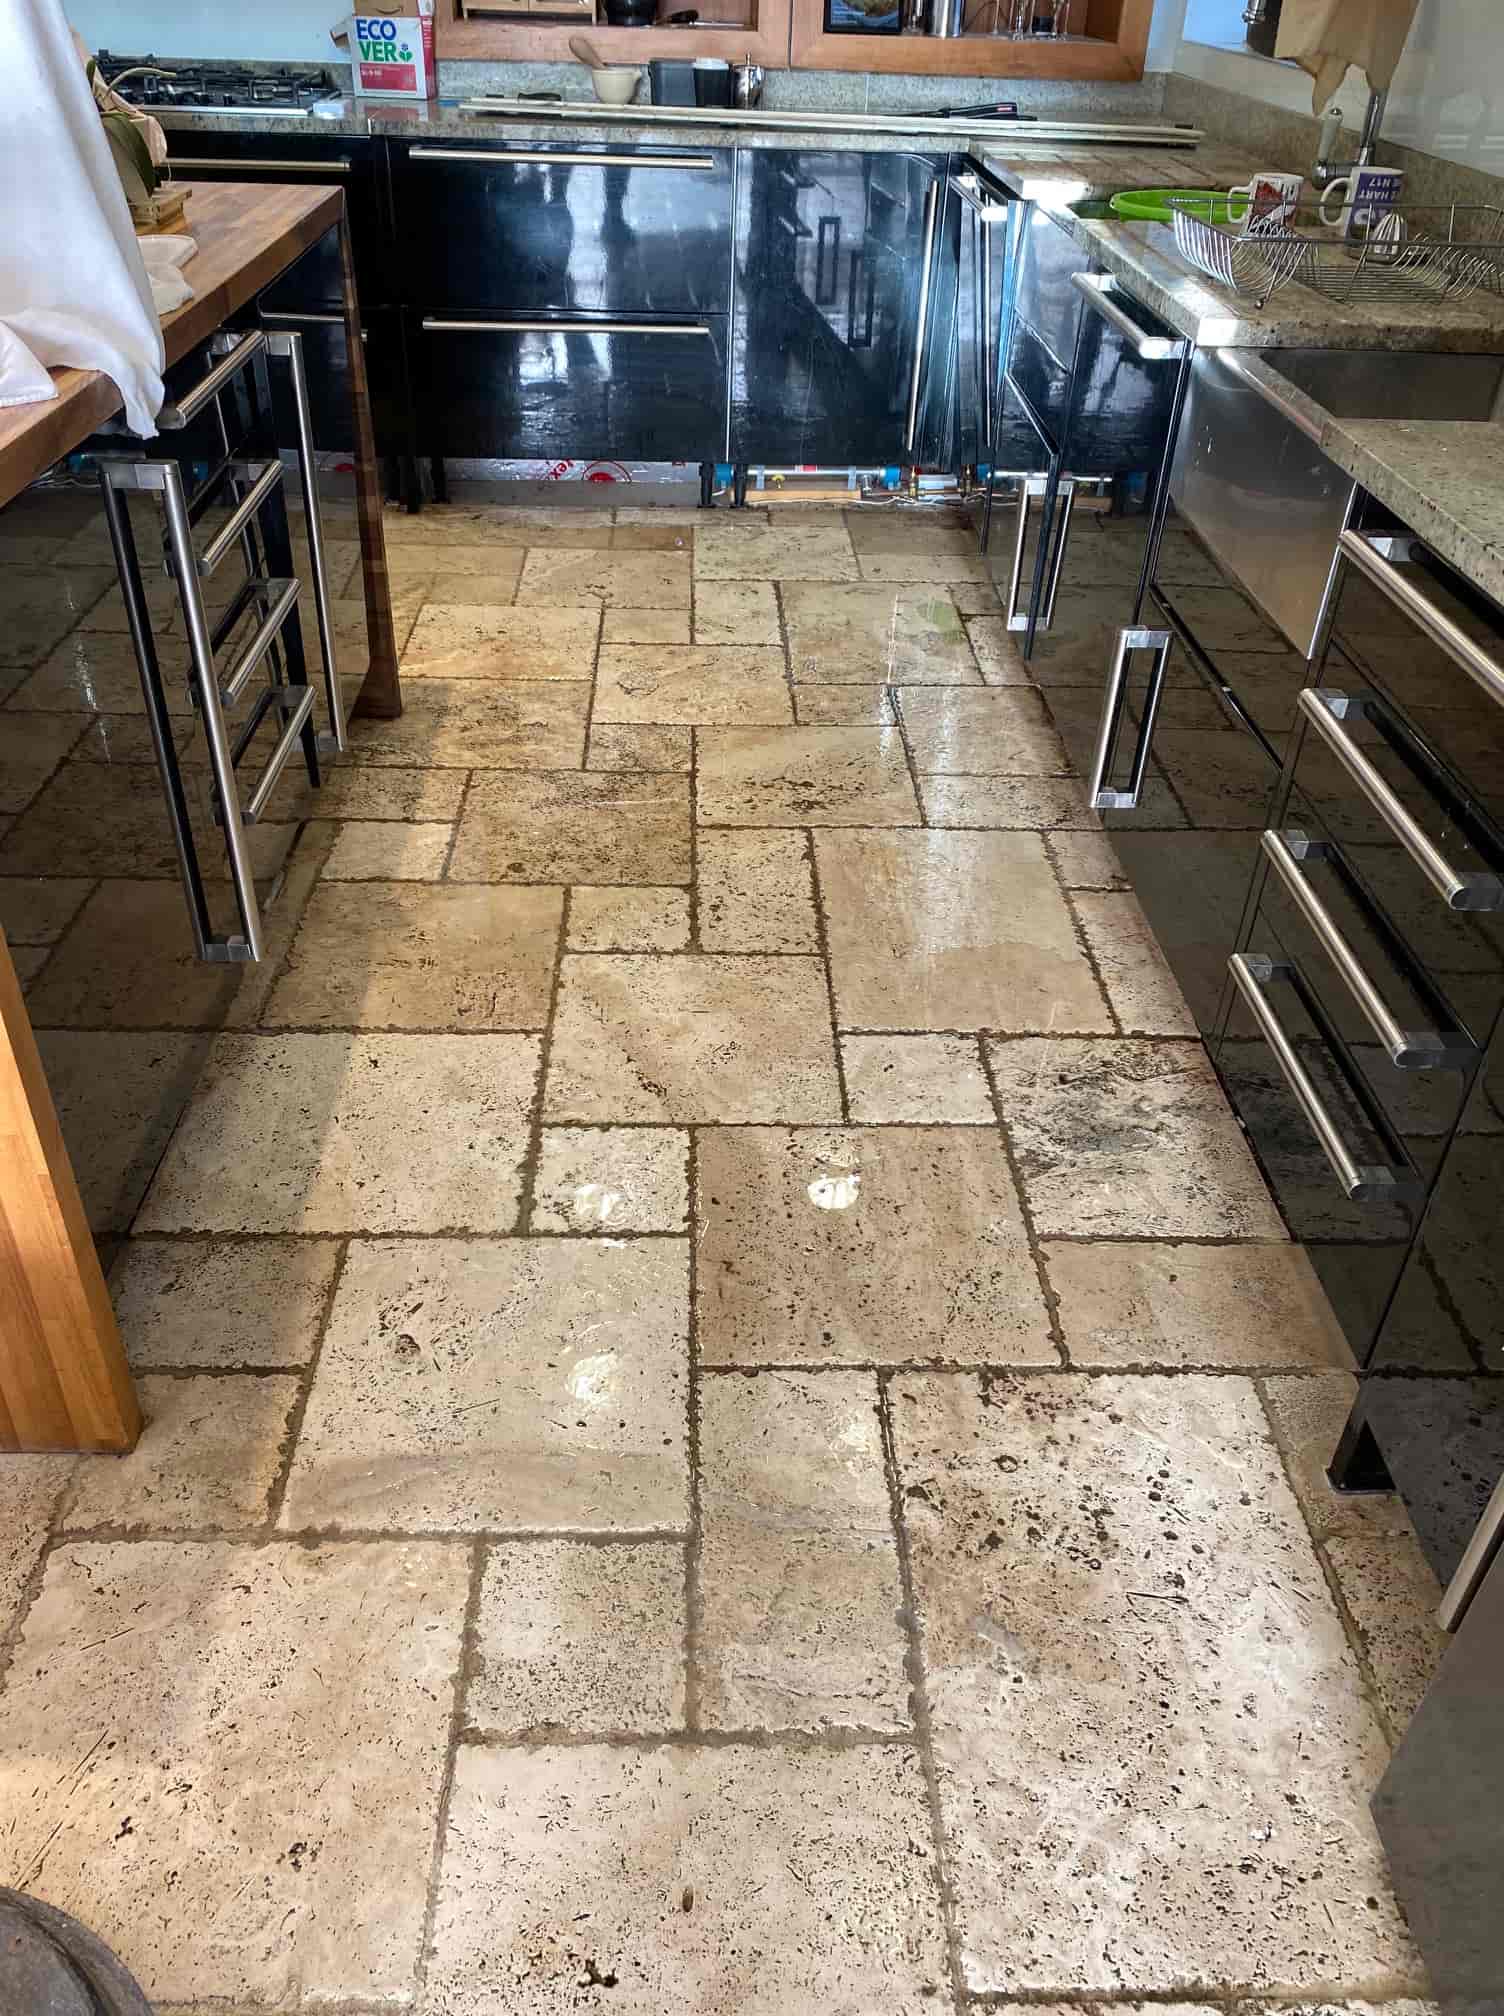
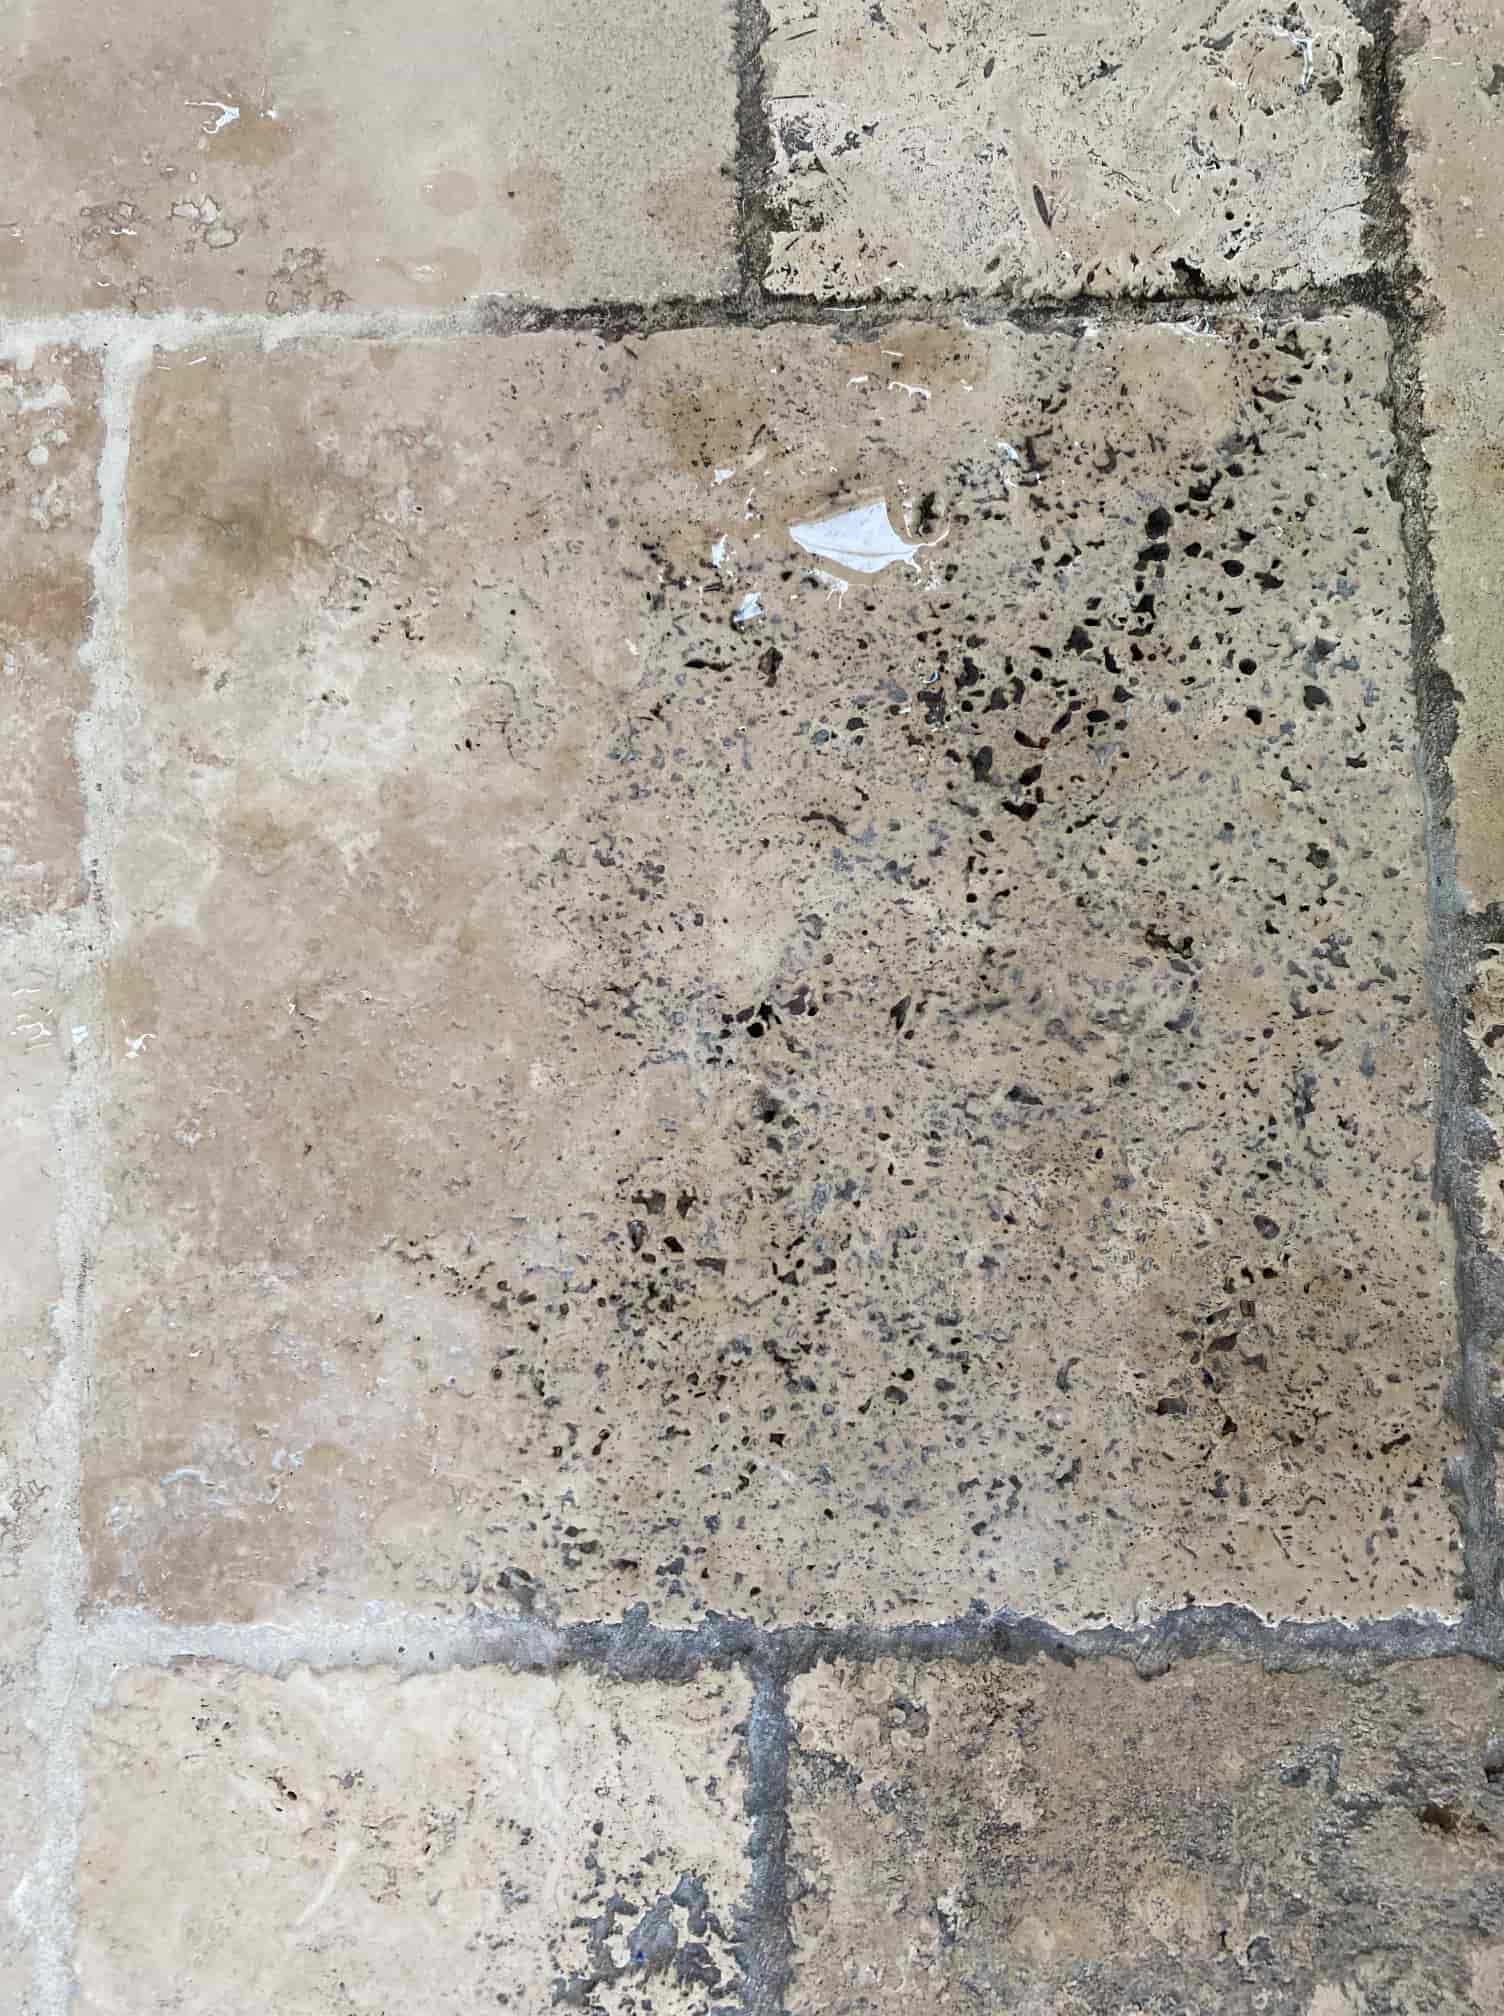
A homeowner in Darlaston near Walsall got in touch regarding their White Limestone floor, which was being easily marked from foot traffic. Dark marks were being left on the floor which they couldn't remove.

  White Limestone Floor Before Cleaning Darlaston 

 This was concerning as the floor had only been laid a few months earlier and it had been cleaned and sealed by another firm. When I asked about that it turns out the cleaning firm had cleaned, burnished and sealed the whole floor in one day, which was incredibly quick when you consider the floor measured 120m2! This was a red flag for me as I would have expected a floor of this size to take four days when done correctly.

  White Limestone Tiled Kitchen Floor Before Cleaning Darlaston 

 The only solution would be to do the floor properly so I popped over to survey the tiles and conduct a few tests. Whilst there I demonstrated the finish that we could achieve which they were happy with and I worked out a quote. They were happy with that and relieved the problem wasn’t more serious accepted my quote and the job was booked in.

Cleaning a Limestone Tiled Ground Floor

I returned a few weeks later and started by dividing the floor into four zones, which would make the job more manageable and have the advantage of being able to move furniture around.

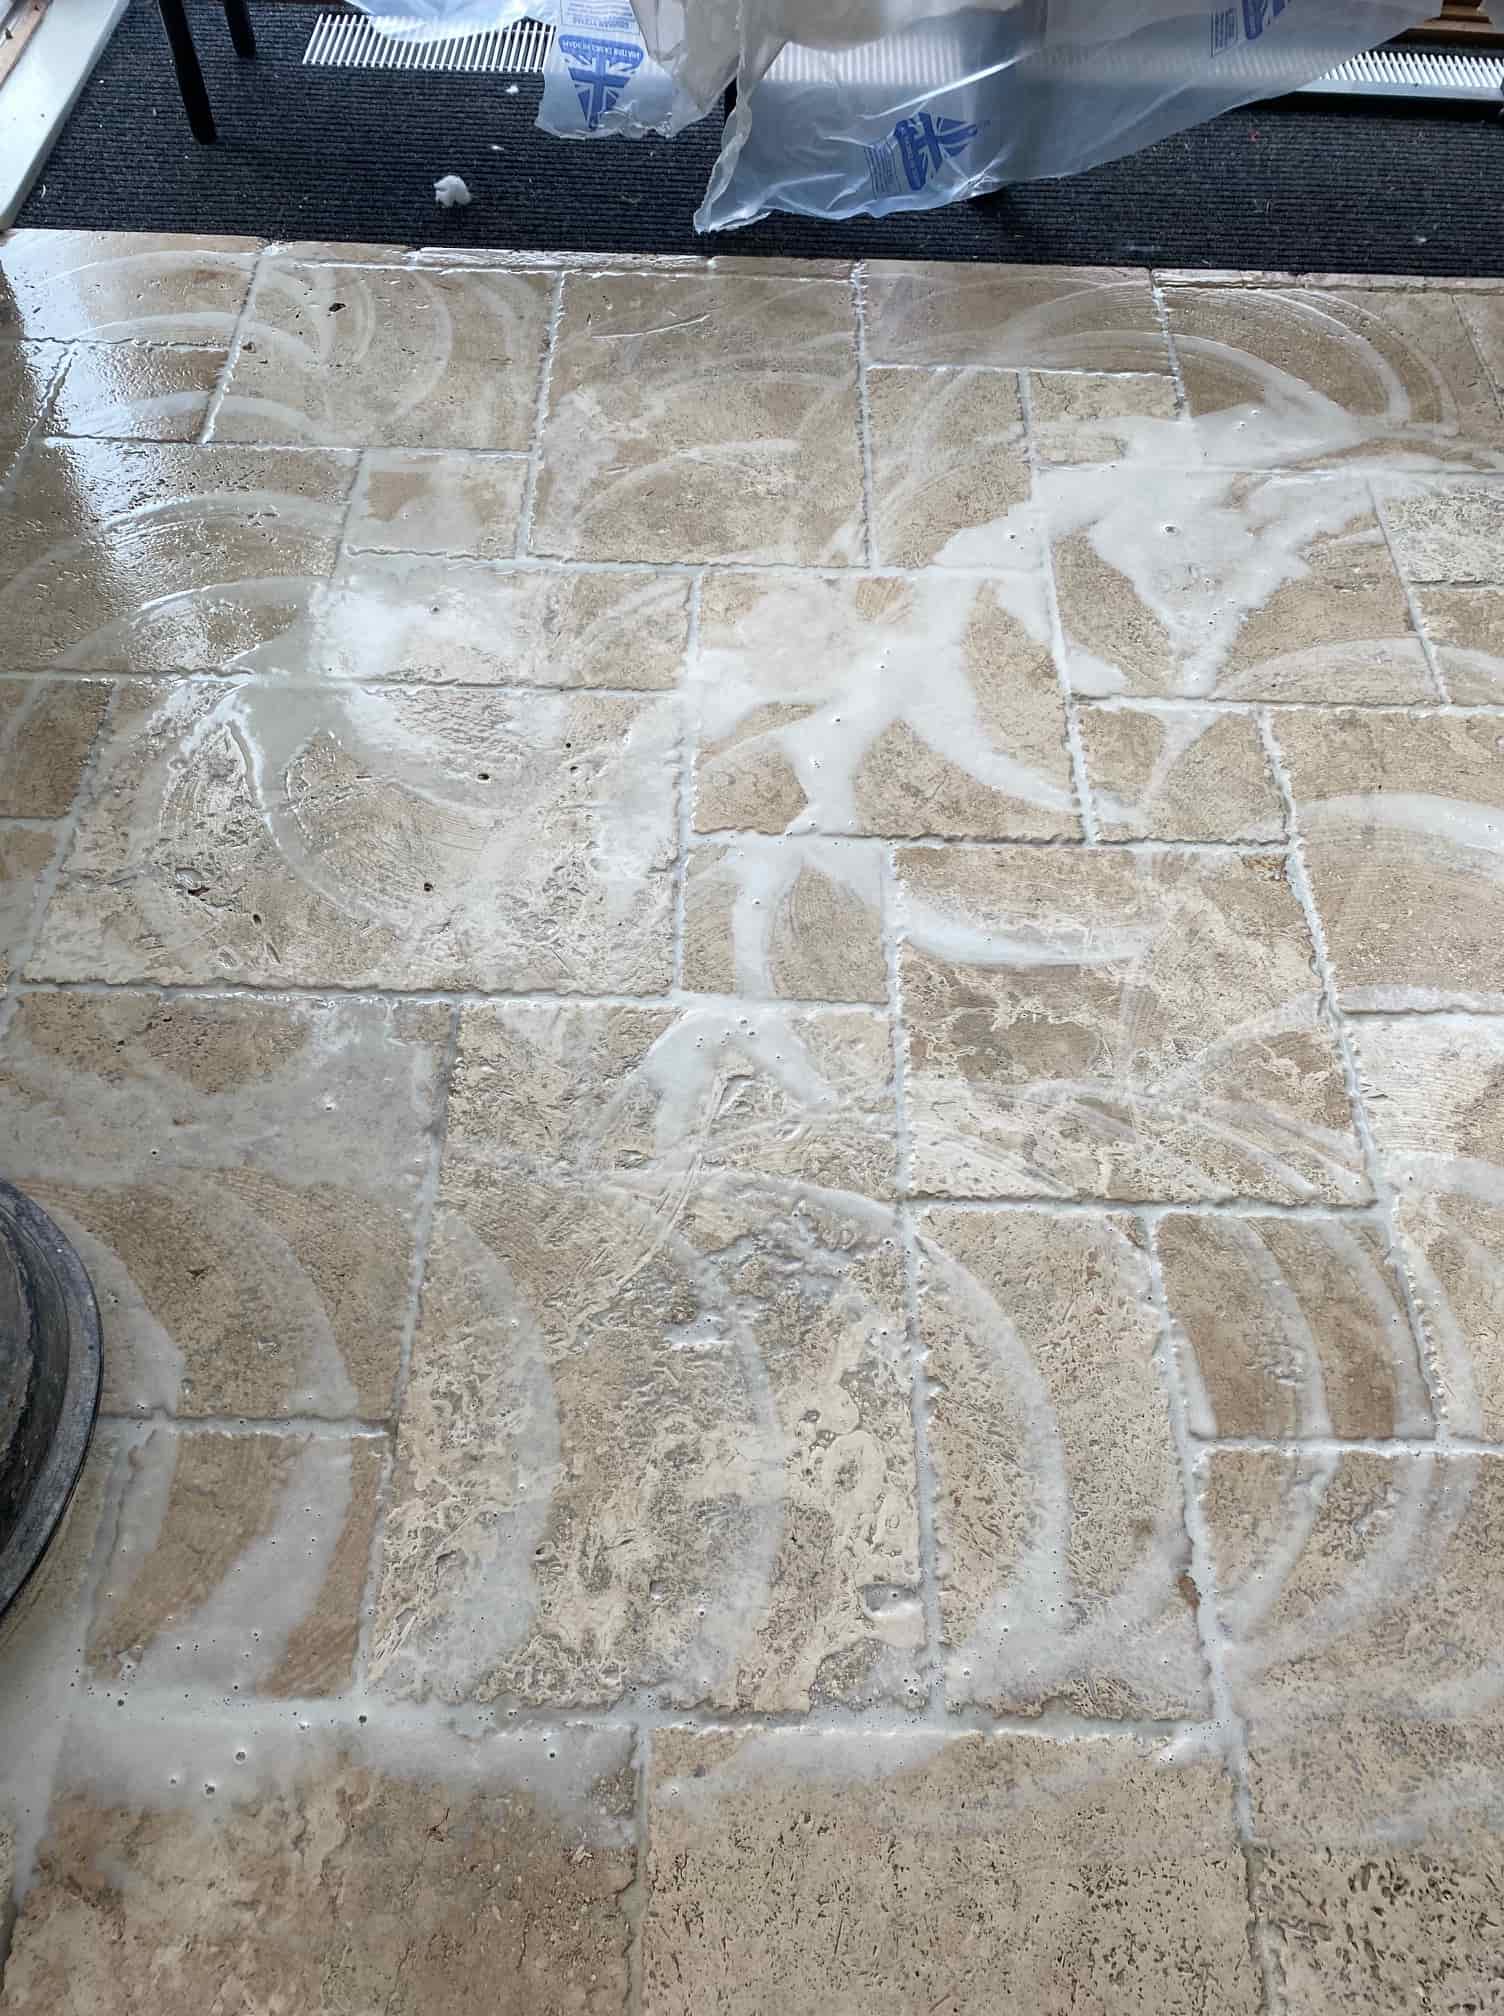
Each section was cleaned with a strong dilution of Tile Doctor Pro-Clean which was left to dwell and soak in for ten minutes before being worked in. I use a rotary machine to scrub the floor fitted with a 240-grit silicone carbide brush which combined with the Pro-Clean loosens trapped dirt and sealers from the floor. I then went over the grout with a grout brush by hand to get that clean. Next the soiling was rinsed away with water and extracted with a wet vacuum.

  White Limestone Tiled Floor During Cleaning Darlaston 

 I then started the process of burnishing the natural stone floor, starting off with a coarse 400-grit and working through 800 and 1500 grit diamond pads fitted to the rotary machine which had extra weights added to increase traction. The pads are run over the floor with water for lubrication and after each pad the floor is rinsed and the soiling extracted with the wet vacuum. The pads struggle in the corners and edges so these are doing with a handheld polisher fitted with 6-inch burnishing pads to ensure no areas were missed.

  White Limestone Tiled Floor During Cleaning Darlaston

The section was then allowed to dry with the aid of a floor fan whilst I finished off the process in a previous section by polishing the Limestone with the last pad which is very fine 3500-grit. This last pad tightens the pores and gives the stone a natural sheen, it is applied dry with only a little water sprayed onto the tile.

Sealing a Limestone Tiled Ground Floor

The last step was to seal the limestone tiles and grout using a couple of coats of Tile Doctor Ultra-Seal which is a natural look sealer that doesn't alter the look of the stone. This product is also an impregnator which works by soaking into the stone occupying the pores and ensuring dirt remains on the surface where it can be easily cleaned away. Afterwards the floor was buffed with a white pad to remove any excess sealer and further bring up the appearance of the Limestone.

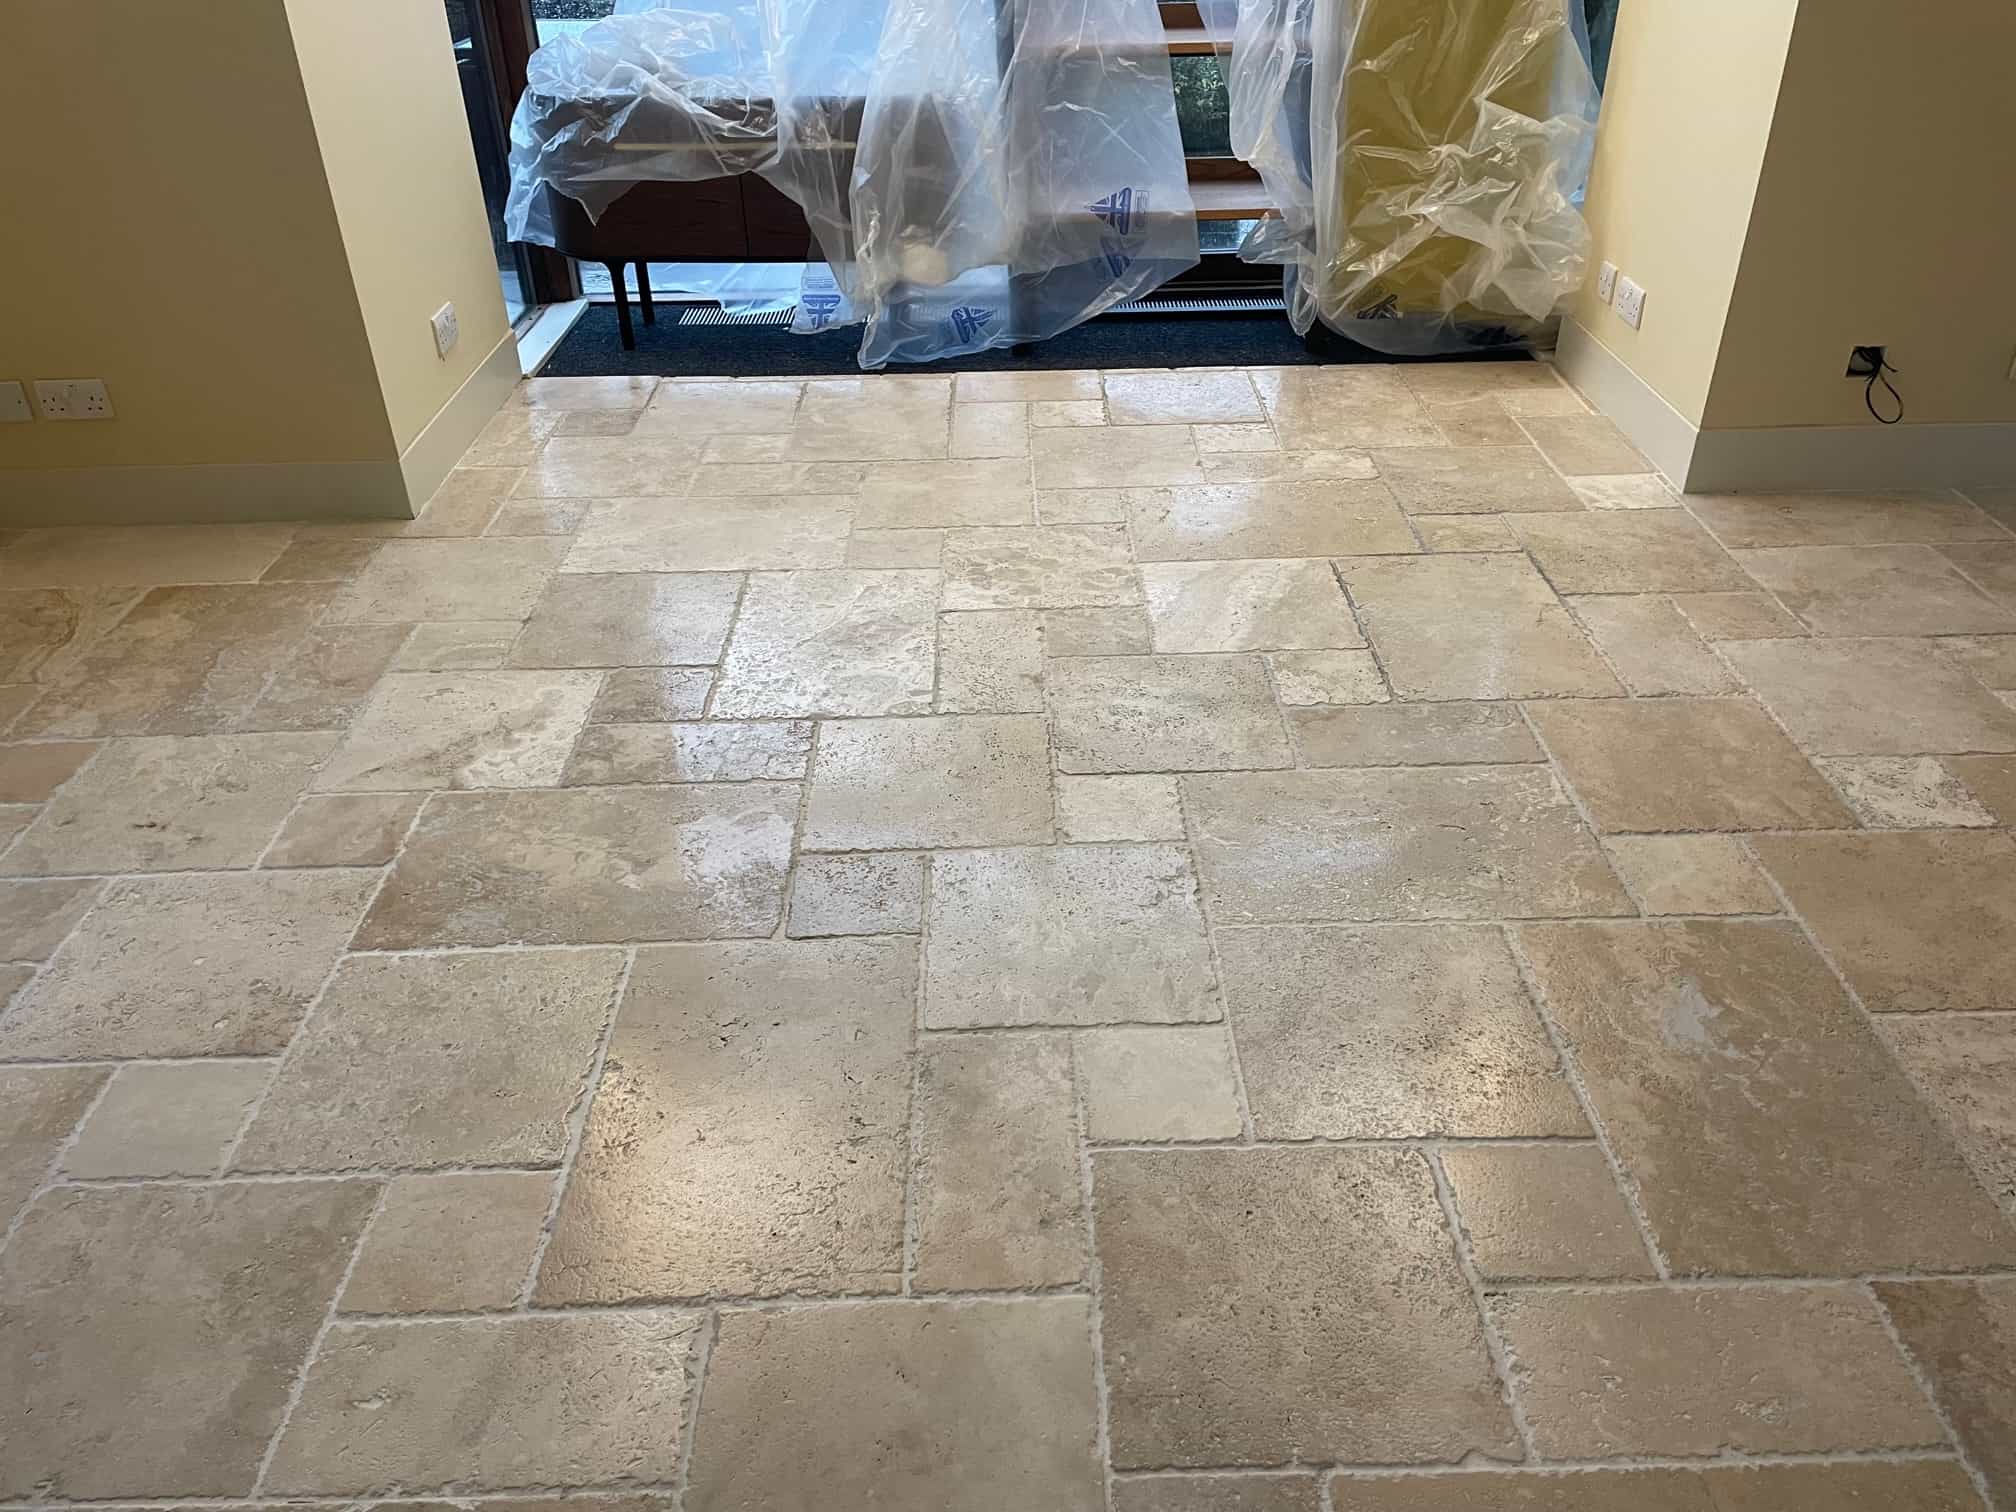
  White Limestone Floor After Renovation Darlaston 

The client was very happy with the results, and I left them a bottle of Tile Doctor Stone Soap to maintain the floor going forward. This will ensure the floor is easy to maintain and being a ph neutral product won’t impact the new sealer.

  White Limestone Tiled Kitchen Floor After Renovation Darlaston 

Thursday, May 8, 2025

Yorkshire Tile Doctor Explains How to Remove Soot Staining from a Stone Fireplace

Detailed below is the cleaning of a Limestone Fireplace surround and hearth at a property in Guiseley near Yeadon on the outskirts of Leeds.

Soot The fireplace had been installed approximately five years prior and was now badly stained with soot and smoke from the wood burner and this readily stood out against the pale Limestone. Having decided to do something about it the owner tried cleaning it but was unhappy with the result and decided to call in some professional help.

Soot-Stained Limestone Fireplace Before Cleaning Guiseley Yeadon 

Happy to oblige I was able to provide a quote based on photographs which was accepted and a date scheduled for the renovation which would only take a few hours.

Cleaning a Limestone Tiled Fireplace

Work started by adding protection to the surrounding carpets and the metal work of the log burner. Then to get the Limestone clean I decanted a strong dilution of Tile Doctor Pro-Clean into a spray bottle and sprayed it on to the stone. The spray mixes the solution with air making it lighter and more able to stick to the vertical surface. You can also use Tile Doctor Oxy-Gel for this which is a similar gel-based product. After leaving it to soak in for ten minutes the solution was worked in, using handheld diamond blocks of increasing grits.

Soot-Stained Limestone Fireplace During Cleaning Guiseley Leeds

Sealing a Limestone Tiled Fireplace

Once dry, the fire surround and hearth were sealed with Tile Doctor Ultra-Seal sealer to help protect from more soot. This is an invisible sealer that works by soaking into the pores of the Limestone protecting it from within. This keeps dirt and contaminants on the surface where they can be easily cleaned away with a product such as Tile Doctor Stone Soap. It’s important to use a pH neutral product for the regular maintenance cleaning of sealed stone as stronger products will erode the sealer prematurely.

Soot-Stained Limestone Fireplace After Cleaning Guiseley Leeds

 Once complete the Fireplace looked like new again much to the delight of the homeowner who left the following 5 Star feedback for me: 

"Limestone Fireplace in the lounge is very badly stained with soot and smoke. Got in touch with Chris Allen and he did a splendid job bringing it back to its original state. Excellent craftsmanship and kept us informed of what was going on and how to care for the Fireplace in future. Very knowledgeable and lovely gent to have done the work."


Source: Fireplace Cleaning Service near Guiseley Yorkshire

Wednesday, May 8, 2024

How To Restore Heavily Soiled Stone Tabletops by Berkshire Renovation Expert

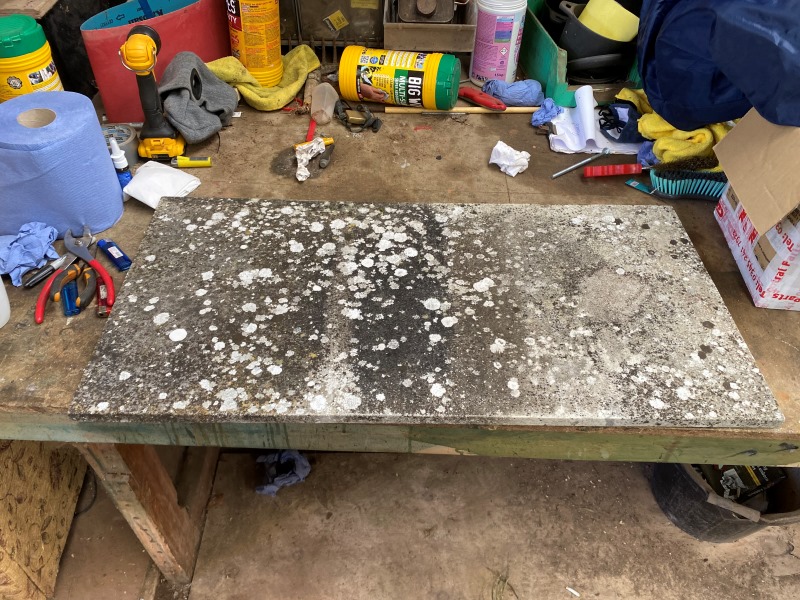
I received an enquiry from a customer in Pangbourne regarding a heavy soiled Marble stone table. The customer was downsizing and thought the marble tabletop would make a great addition to the balcony at the new property. However, as you can see from the photographs below it was in a very bad condition, in fact the customer described the tabletop as “not fit enough for the skip let alone the garden”.

Marble Tabletop Before Restoration Pangbourne

The tabletop was in such dire condition I wasn’t even sure it was Marble. However, after taking a more detailed look, I was able to confirm It was indeed marble and therefore confident it could be renovated to a good standard.

Time was of the essence as the customer was due to move in the following weekend so I quickly worked out a quote for doing the work, which was agreed, and I took the table home so it could be worked on in the evenings.


Repairing and Cleaning a Marble Stone Table

The outside elements had taken its toll on this tabletop and it was covered in algae, black spot and lichens. Tile Doctor have a wide variety of products that help us tackle various issues with stone however I figured a good start would be to use their Patio & Driveway Cleaner.

This product is seriously strong and designed specially to remove algae, lichens and black spot. It’s not what I would usually use on Marble however due to the severity of contamination it was my best option. Returning the next morning the results were incredible, about 80% of the contaminant’s had been removed but I knew if we repeated the process, we could achieve an even better result. I continued with the same method as before and left it to work overnight again. Happy with results I could continue with the next stage.

The next stage was to polish the Marble using a series of pads from Tile Doctors inventory of 6-inch diamond burnishing pads. The first pad in the set to be applied was a coarse 100-grit pad followed by a 200-grit. The pads are applied with water to help lubricate the process and are designed to repair damage left behind as a result of removing the algae and lichens.

The process was then repeated with a coarse 400-grit and fine 1500-grit pads which gradually closed the pores and return the shine. This is a messy process which generates a slurry which is removed with after each pad with the wet vacuum.


Sealing a Marble Stone Table

With the Marble surface restored the last step was to protect the stone with a sealer which will keep any dirt or contaminates on the surface where they can be easily wiped away. So once the table was dry, I applied a thin coat of Tile Doctor Ultra-Seal which is an almost invisible impregnator that soaks into the Marble occupying its fine pores and thereby preventing dirt from becoming lodged there.
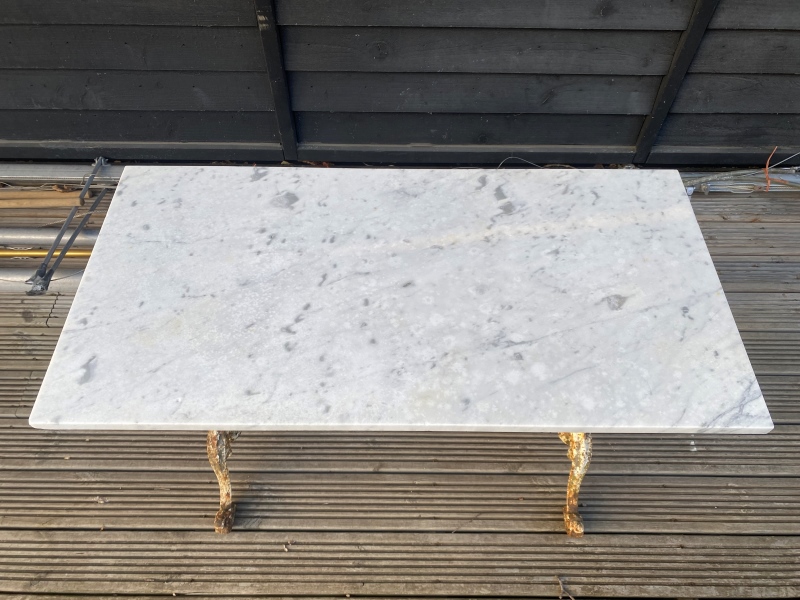
  Marble Tabletop After Restoration Pangbourne 

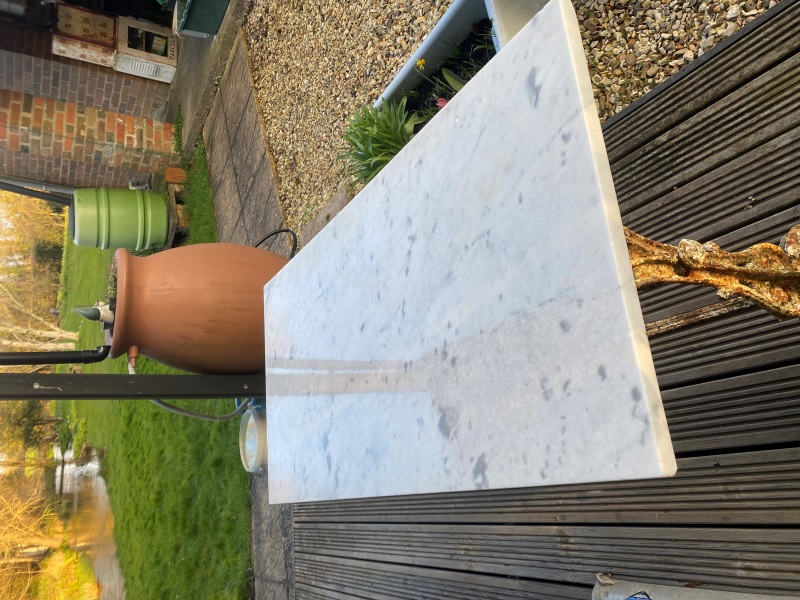
The transformation was incredible, and both the customer and I were astonished by the outcome. My clients her husband even joked that I must have ‘swapped it out with a new one!’

  Marble Tabletop After Restoration Pangbourne

For aftercare of polished stone worktops and tabletops I recommend the use of Tile Doctor Stone Patina Spray. Its a spray-and-buff cleaner that is designed to enhance the natural beauty and lustre of polished stone as it cleans.

Friday, November 18, 2022

Lancashire Tile Expert Reveals Travertine Renovation Secrets

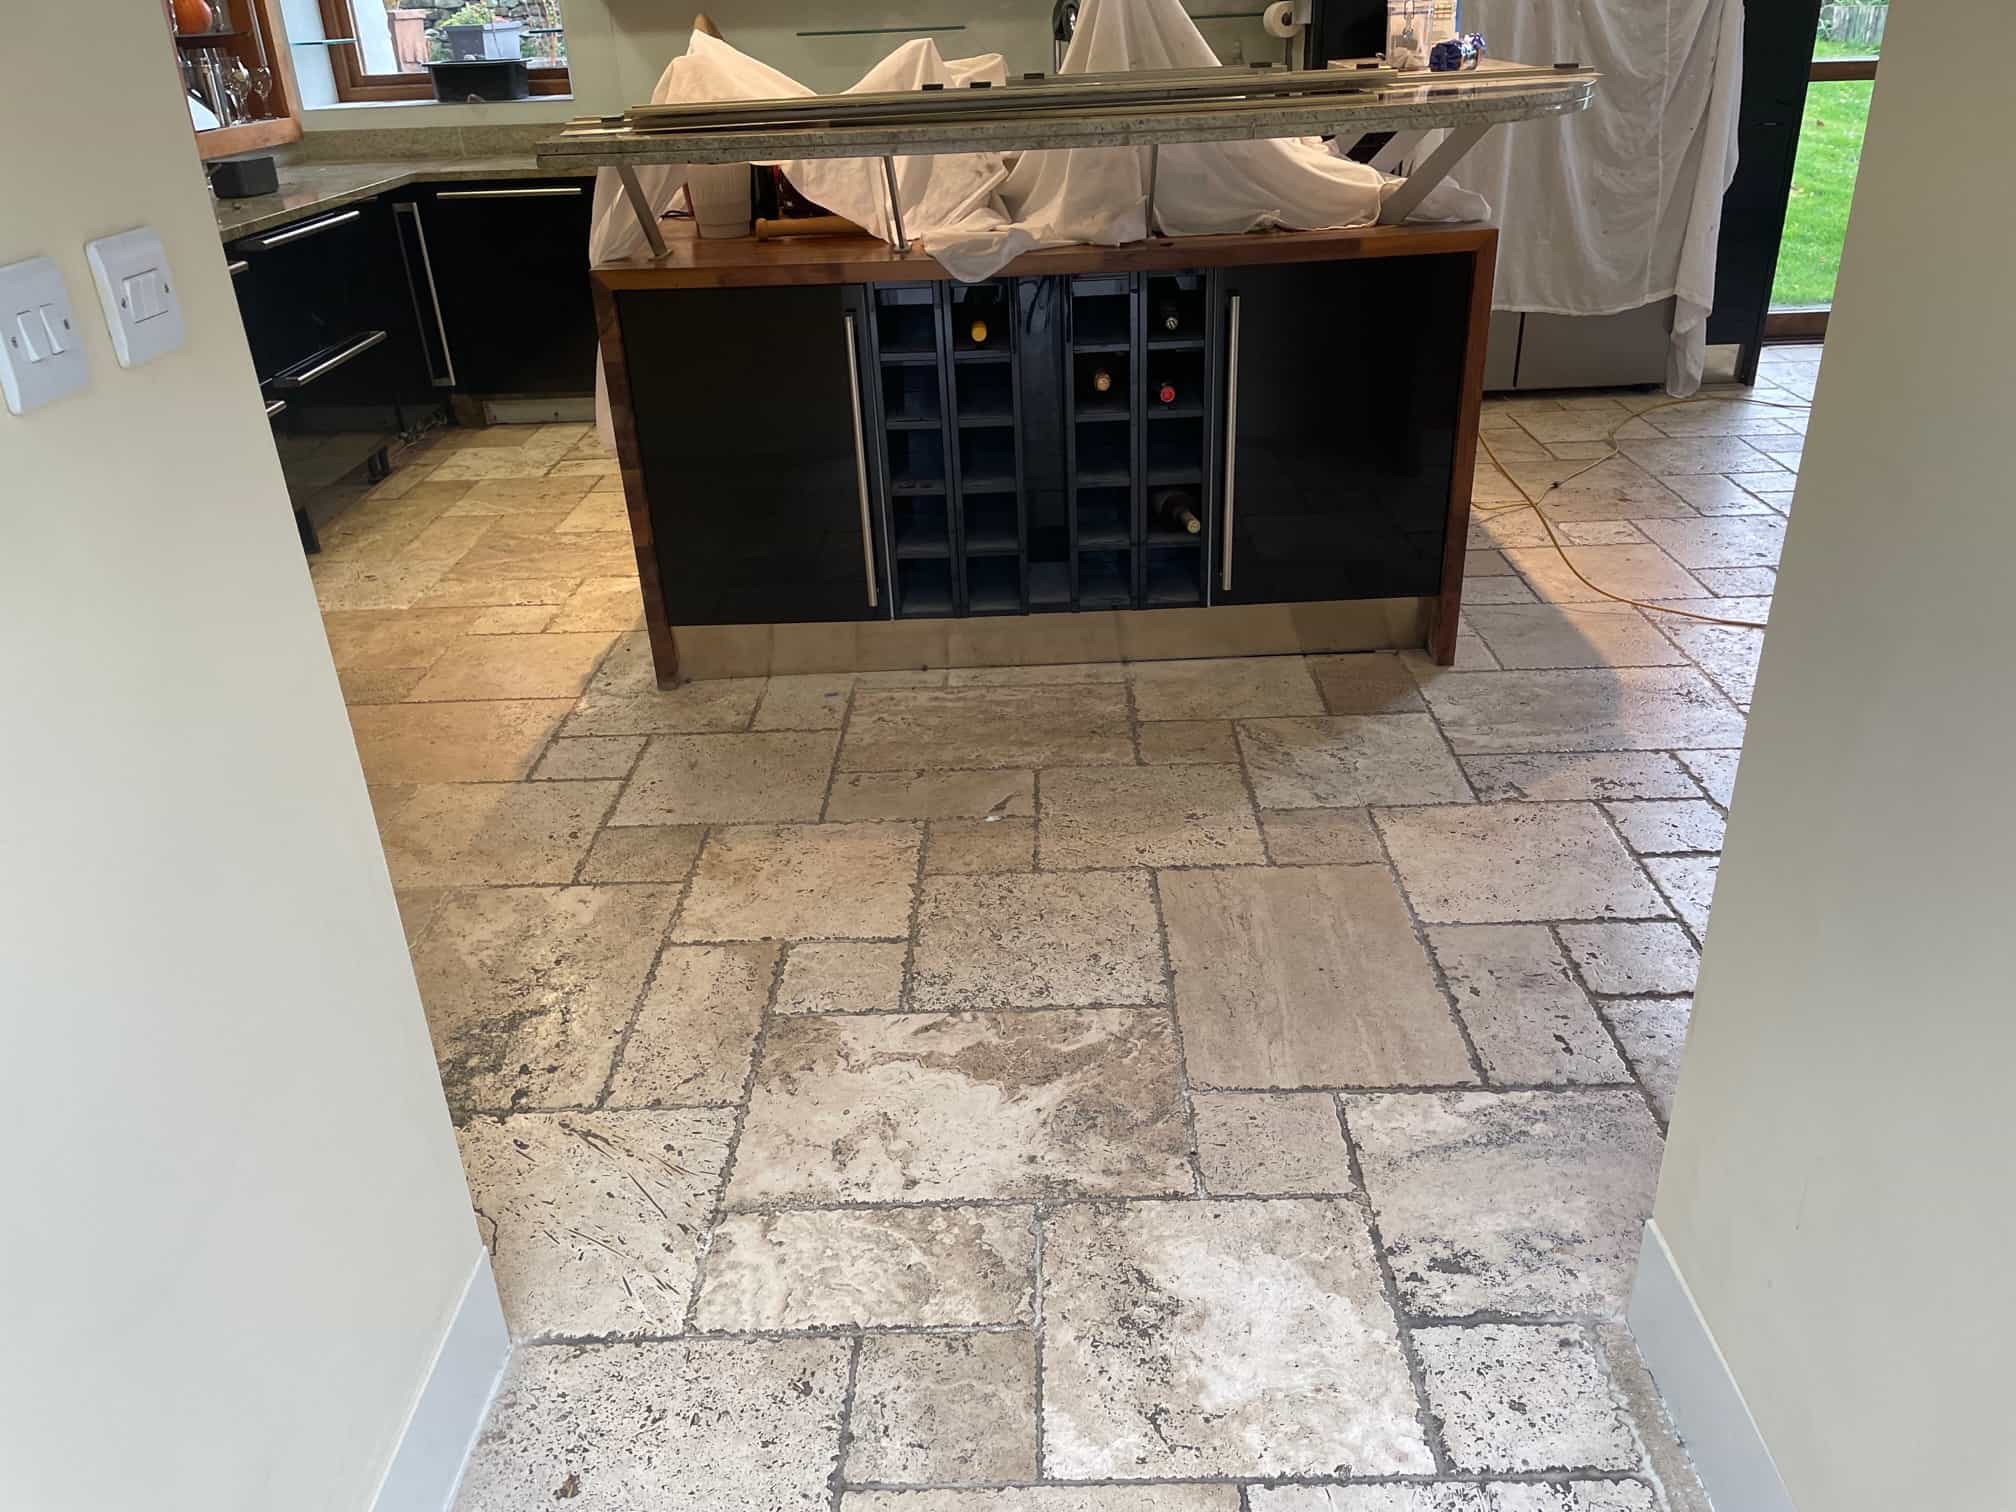
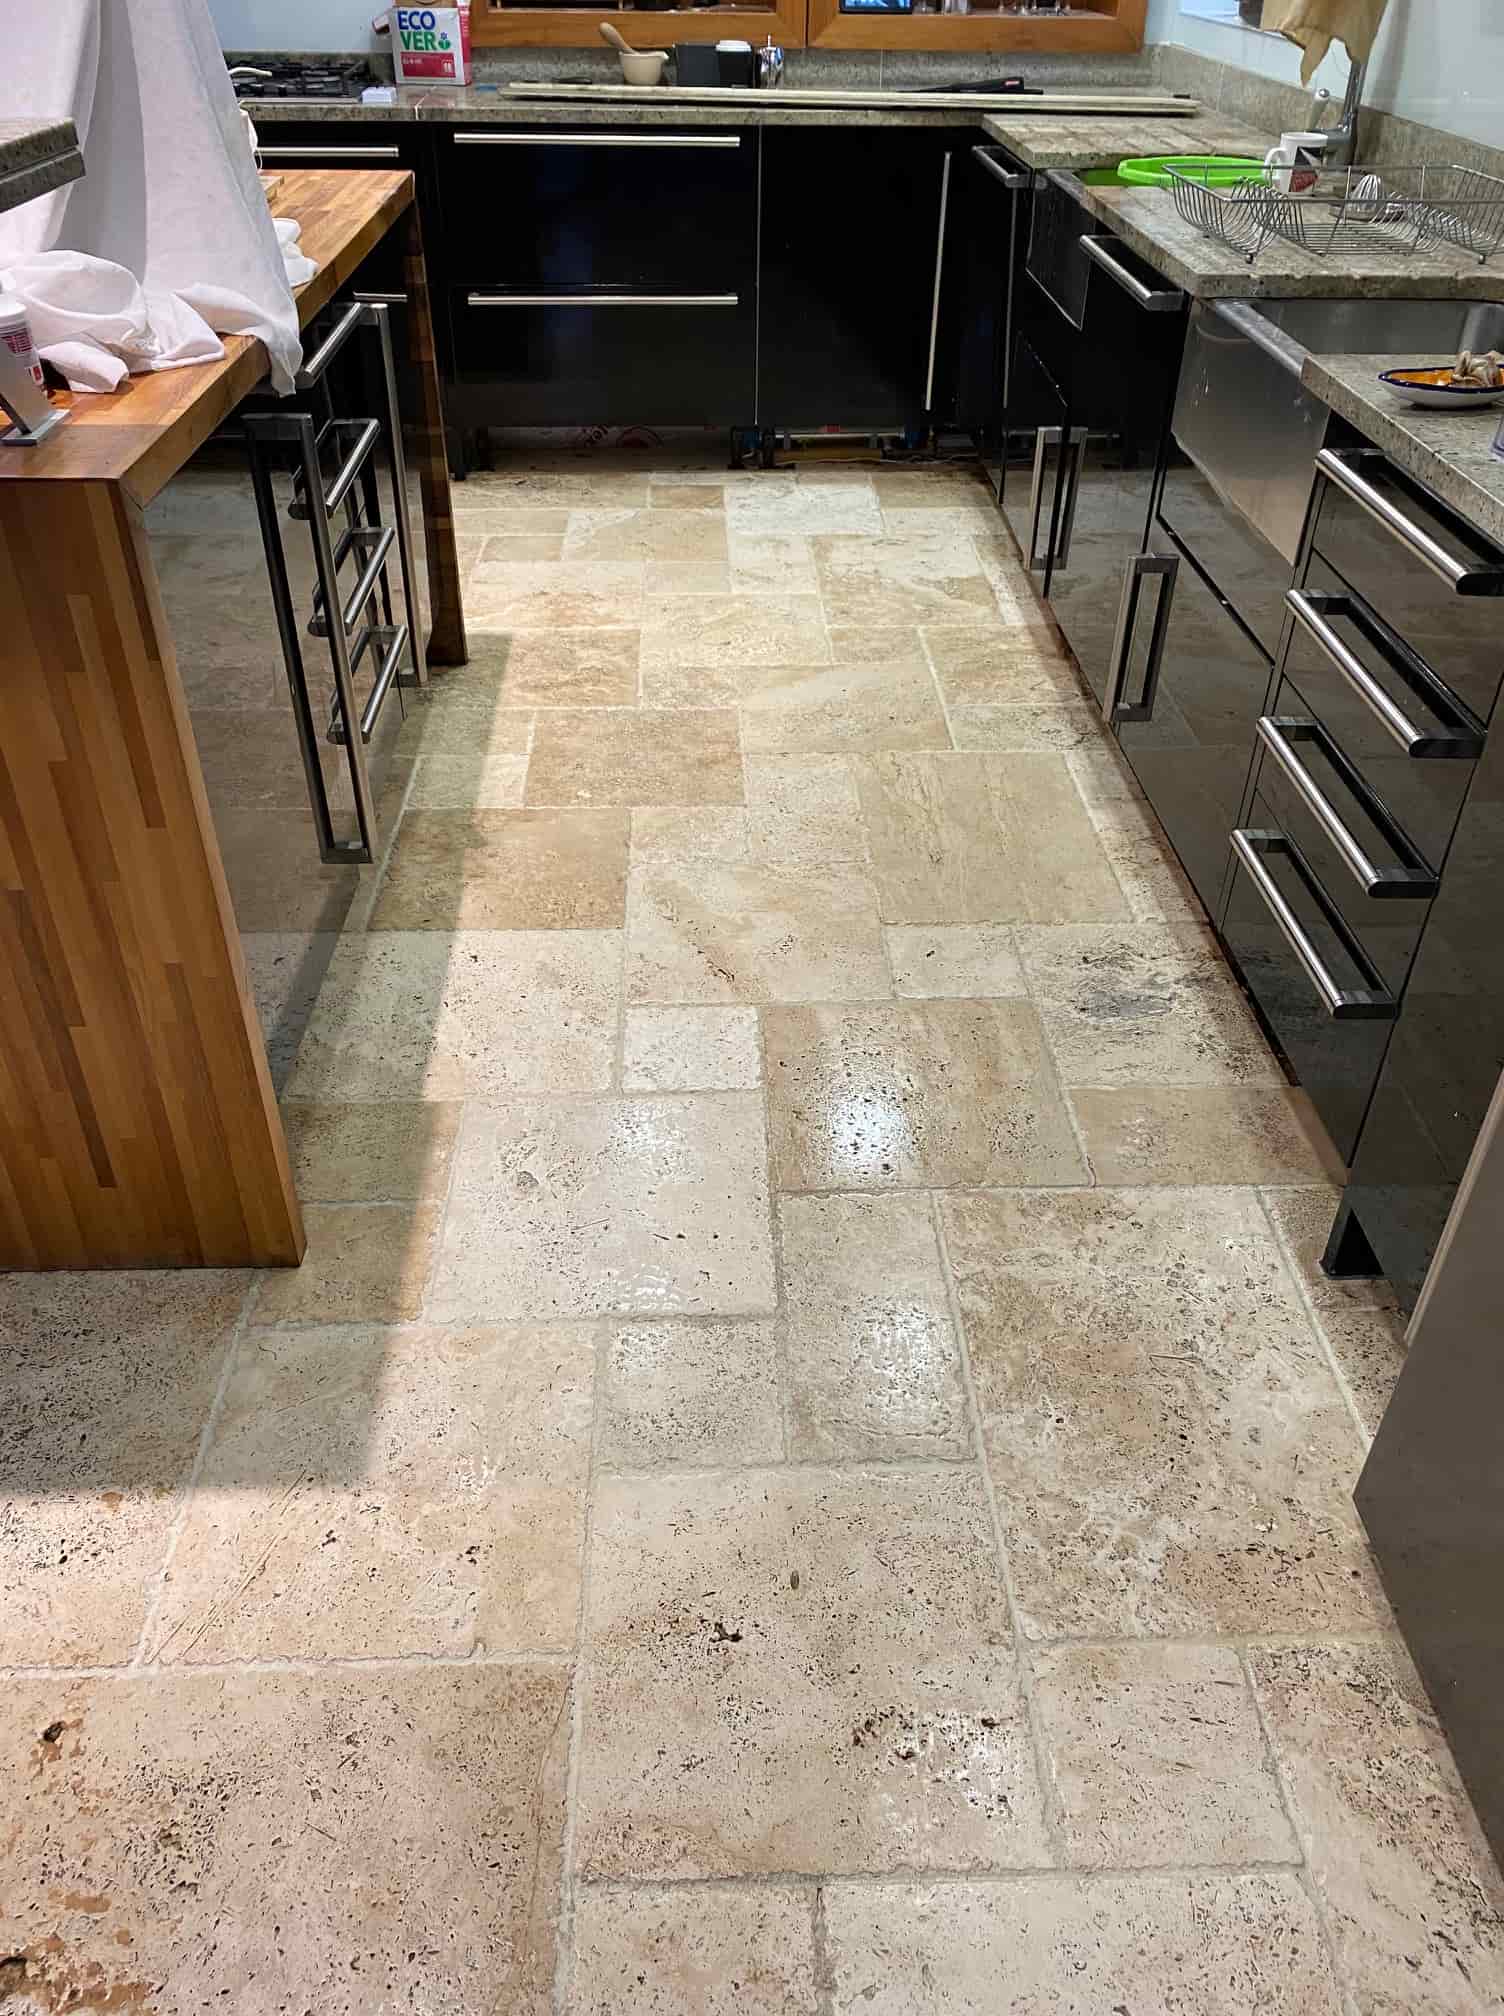
This customer in Preston in Lancashire had just moved into a house with a large 60m2 Travertine tiled floor that was installed throughout most of the ground floor. Travertine is a lovely stone but the previous owner had not maintained the sealer on the tiles and as a result it now looked grubby and there was a lot of dirt ingrained in the tiles leaving black staining, especially in the Kitchen.
   
Honed Unfilled Travertine Kitchen Floor Before Renovation Preston

This is a common problem with all natural stone floors, some are hardier than others but without a protective barrier in place they will attract dirt as the sealer become worn off. The new owner was seriously considering having the tiles ripped up, fortunately however they came across our service and decided to try having them renovated first.
   
Honed Unfilled Travertine Kitchen Floor Before Renovation Preston


Deep Cleaning a Travertine Tiled Floor

To get the stone clean and bring back the beautiful appearance of the Travertine I used several diamond burnishing pads which are run over the tiles with water for lubrication. The first was a coarse 200-grit pad which is fitted to a rotary floor machine and buffed into the stone in a circular motion. This process generates a lot of slurry which is then rinsed off afterwards and extracted with a wet vacuum.
 
Honed Unfilled Travertine Kitchen Floor During Renovation Preston

This process was then repeated using finer burnishing pads and continued with a 400-grit, 800-grit and finally a 1500-grit, again each pad was run over the tiles several times and then the slurry extracted as before. It’s a completely abrasive process with no other products needed and the result is a sealer and dirt-free tile.
 
Honed Unfilled Travertine Kitchen Floor During Renovation Preston

At this point I inspected the floor to see if the pads had been able to clean up the grout as well as the tile. Pads can struggle to reach down into the recess so I often find more work is needed on the grout. As suspected the Travertine had responded well to the treatment however it was clear the grout would need more work and was still stained black in places. Normally use a grout cleaning product called Tile Doctor Pro-Clean for the grout but on this occasion, I felt something stronger would be needed. So, on this occasion I applied undiluted Tile Doctor Remove and Go along the grout lines and left it to soak in for ten minutes. It was then scrubbed in by hand, rinsed off and the soil remove with the wet vacuum. The grout cleaning had worked a treat and happy with the condition of the floor it was left to dry off overnight.

Sealing a Travertine Tiled Kitchen Floor

The next morning time was spent filling in holes (aka pitting) in the Travertine with colour matching grout before running over the whole floor with a very fine 3000-grit polishing pad to further bring up the appearance of the stone. This is done using a little water sprayed onto the tile a process we call a spray burnish. Spray burnishing also leaves the floor dry and ready to be sealed. The owner wanted the Travertine to look as natural as possible so two coats of Tile Doctor Ultra Seal were applied. This is an impregnating sealer which is recommended for use on polished stone and for use in kitchens.
 
Honed Unfilled Travertine Kitchen Floor After Renovation Preston

Before leaving I took time to discuss aftercare cleaning and how important it is to avoid the use of strong cleaning products (especially bleach) on Travertine, not only will it degrade the sealer but can also harm the stone. For the regular cleaning of sealed Travertine, I recommend using Tile Doctor Stone Soap which is a gentle but effective cleaner that also helps maintain the patina.

Tuesday, May 10, 2022

South Bucks Stone Floor Professional Details Renovation of Travertine Kitchen Floor

This client from Amersham contacted us regarding their Travertine Kitchen floor which they were simply not able to keep clean. Frustratingly any spillage went straight into the floor and stained the tiles. I called them to discuss the problem and offered to come round and survey the floor which is a free service we offer.

I can provide a quote over the phone, but my preference is to visit and test different cleaning products and techniques on the floor before quoting. Doing it this way allows me to work out an accurate quote and gives the customer the confidence I can resolve their problems.

After agreeing a suitable time to call I visited the property and could instantly see that their main problem was the sealer protecting their Kitchen tiles had failed and as described dirt was becoming stuck in the pores of the stone. Natural stone like Travertine is porous and without a sealer in place dirt becomes lodged in its pores where is becomes very difficult to shift.

 
Travertine Kitchen Floor Before Deep Cleaning Amersham

The kitchen was stunning but let down by the dirty floor which had been installed around twenty years ago when a new extension has been added to the property. Typically, a sealer should last between three and five years depending on use and what cleaning products are used to maintain it, so it wasn’t surprising that the original sealer had worn off.

I quoted for deep cleaning the floor including the removal of the old sealer and then applying a robust impregnating sealer which is recommended for Travertine. Happy with the price we scheduled a date for the work to be done.


Deep Cleaning a Travertine Tiled Kitchen Floor

On the first day the floor was given a thorough deep clean using a strong dilution of Tile Doctor Pro-Clean, this product is our go to Tile and Grout Cleaner and when used in a strong dilution is strong enough to remove sealers. You find with sealers that they wear down first in the busiest sections of the floor so its important to remove all the sealer from across the floor or you end up with layering.

Pro-Clean is a strong alkaline cleaning product and it’s sprayed onto the tile and grout and then left for ten minutes before working it in, this allows it time to soak into the pores and start breaking down the dirt.

The floor is then scrubbed using a Rocky floor machine fitted with a series of diamond burnishing pads of increasing grits. This process generates a lot of soiling, and this is hoovered up with a wet vacuum after each pad.

The work begins with a coarse 400-grit burnishing pad which strips the Travertine and I work up to a 3000-grit pad which really brings up the finish of the stone to a slight sheen as the client requested. The floor was then left overnight to dry.


Sealing a Travertine Tiled Kitchen Floor

On day two I started on the sealing process first checking that the floor had dried sufficiently to accept the sealer. After discussing sealer options with the client earlier they had expressed a preference for a natural look, so I chose to apply a sealer called Tile Doctor Ultra-Seal which doesn’t colour the stone in any way and is almost undetectable.

Ultra-Seal is an impregnating sealer that works by soaking into the pores of the stone occupying the space and thereby preventing dirt from becoming ingrained there. Two coats were applied with a microfibre cloth allowing it to soak into the tile for a few hours before walking on it.

Once the seal had dried, I went over the tiles again with the 3000-grit pad which buffs of any excess sealant and brings up the sheen. Now with the floor being completely protected with Tile Doctor Ultra Seal the client shouldn't have any problem with spillages which can be simply wiped away.

 
Travertine Kitchen Floor After Deep Cleaning Sealing Amersham

Once finished the deep pitted dirt was gone and the floor looked much lighter and cleaner. My client was very impressed with the transformation and has recommended us to her friend who also lives in Amersham and has a similar stone floor.

I mentioned earlier that a sealer’s life can be impacted by the product you use for regular cleaning, it’s a fact that most supermarket tile cleaners are simply too strong and can damage the sealer so before leaving I took time to discuss aftercare cleaning and for Travertine, I recommend the use of Tile Doctor Stone Soap which as well as gently cleaning the stone also helps maintain the patina.


Tuesday, April 25, 2017

Shower Room Tile and Grout Restoration in Kendal

One of the first issues people have with shower rooms is the Silicone needs to be replaced, even a good quality Silicone like Mapei Ultra-seal which is fully waterproof and stain and mould resistant can still succumb to persistent damp issues. In fact it can get so humid in these areas the warm atmosphere is akin to a tropical rain forest. To avoid the build-up of mould I recommend you rinse the wall tile and silicone down with plain water from the shower head after every shower and then Read more...

Thursday, March 23, 2017

Dealing with Mouldy Ceramic Shower Tile and Grout in Cumbria

One of the first issues people have with shower rooms is the Silicone needs to be replaced, even a good quality Silicone like Mapei Ultra-seal which is fully waterproof and stain and mould resistant can still succumb to persistent damp issues. In fact it can get so humid in these areas the warm Read more...

Wednesday, March 22, 2017

Shower Room Tile and Grout Restoration in Kendal

One of the first issues people have with shower rooms is the Silicone needs to be replaced, even a good quality Silicone like Mapei Ultra-seal which is fully waterproof and stain and mould resistant can still succumb to persistent damp issues. In fact it can get so humid in these areas the warm atmosphere is akin to a tropical rain forest. To avoid the build-up of mould I recommend you rinse the wall tile and silicone down with plain water from the shower head after every shower and then Read more...

To read more on this topic click here