Showing posts with label Cleaning Stone. Show all posts

Monday, December 14, 2020

How to Remove Screed and Bitumen from Stone Floors

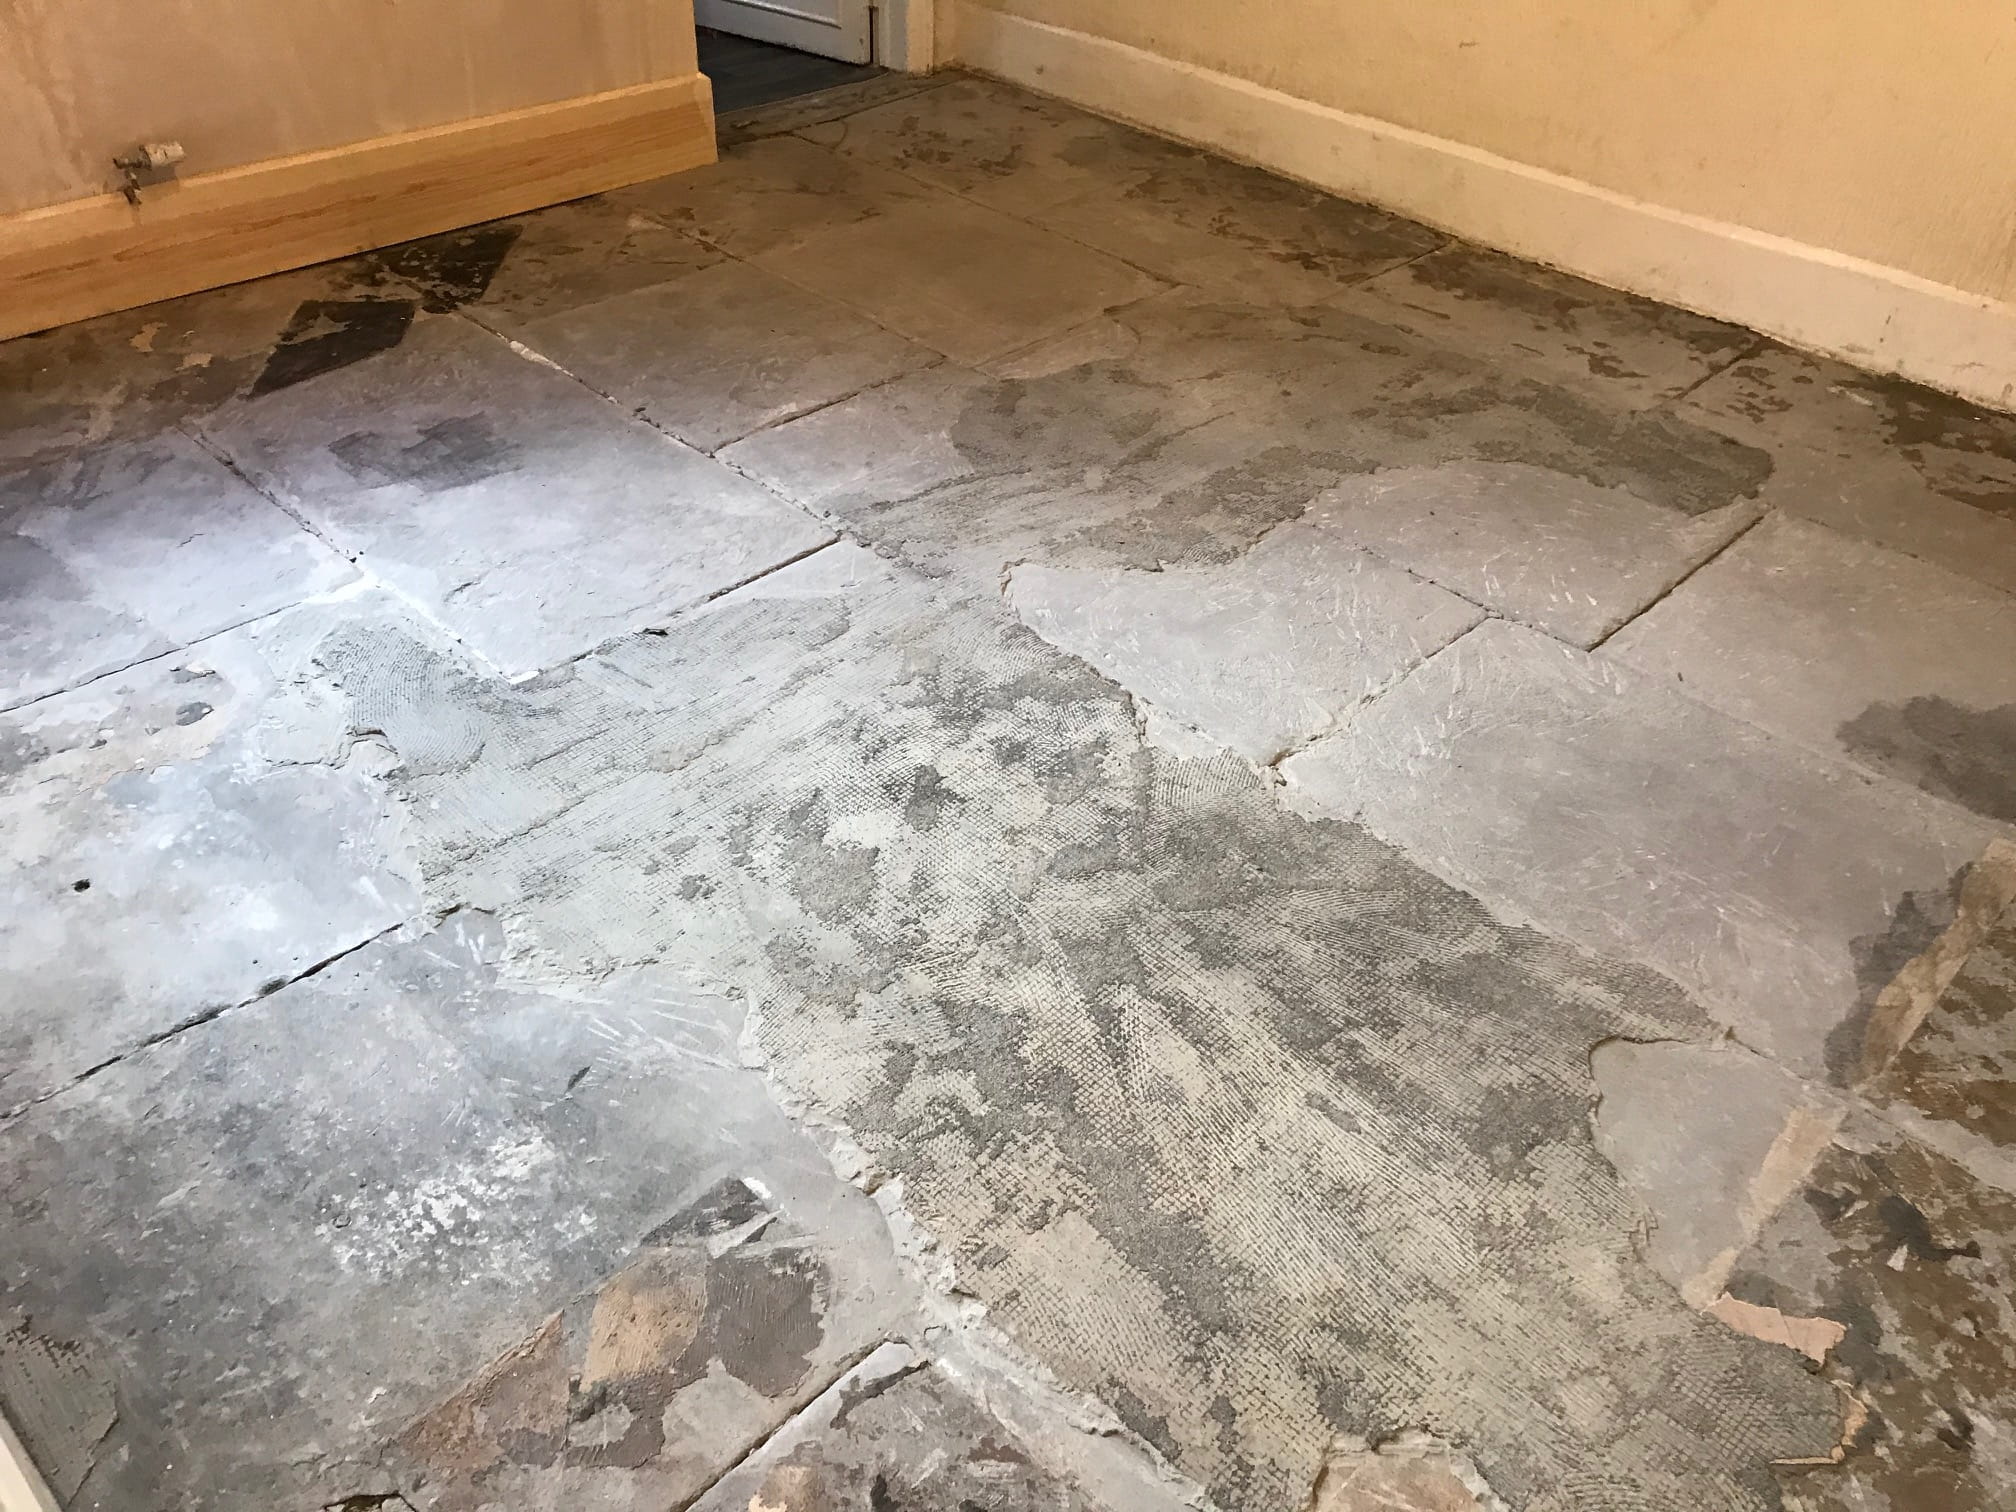
The owner of this Flagstone floor at a property in Carnforth was told by a damp specialist to remove the carpet and underlay and have the floor taken out and skipped. Then to install new hardcore and concrete put in place but with a Damp Proof Membrane installed in between, then once fully cured (four weeks at least) they could have a new carpet, tile or wood floor etc. installed. All good advice, however, the owner of the house wanted to keep as many original features as possible and wasn’t keen on the proposal.

Looking for an alternative solution they reached out to Tile Doctor and so I went over to take a look. After surveying the floor, I came up with a completely different solution which involved milling the stone with coarse abrasive pads to remove the screed and bitumen and then resurface with diamond encrusted burnishing pads of medium and fine grits which would result in a smooth finish. Not only would this be much easier to clean going forward it would also be much more attractive, especially once sealed.

 
Flagstone Floor Before Renovation Carnforth Flagstone Floor Before Renovation Carnforth

Happy with our alternative we arranged a date to come and do the work which would take three days, two days to prepare the floor and a third to apply a sealer.


Cleaning a Flagstone Tiled Ground Floor

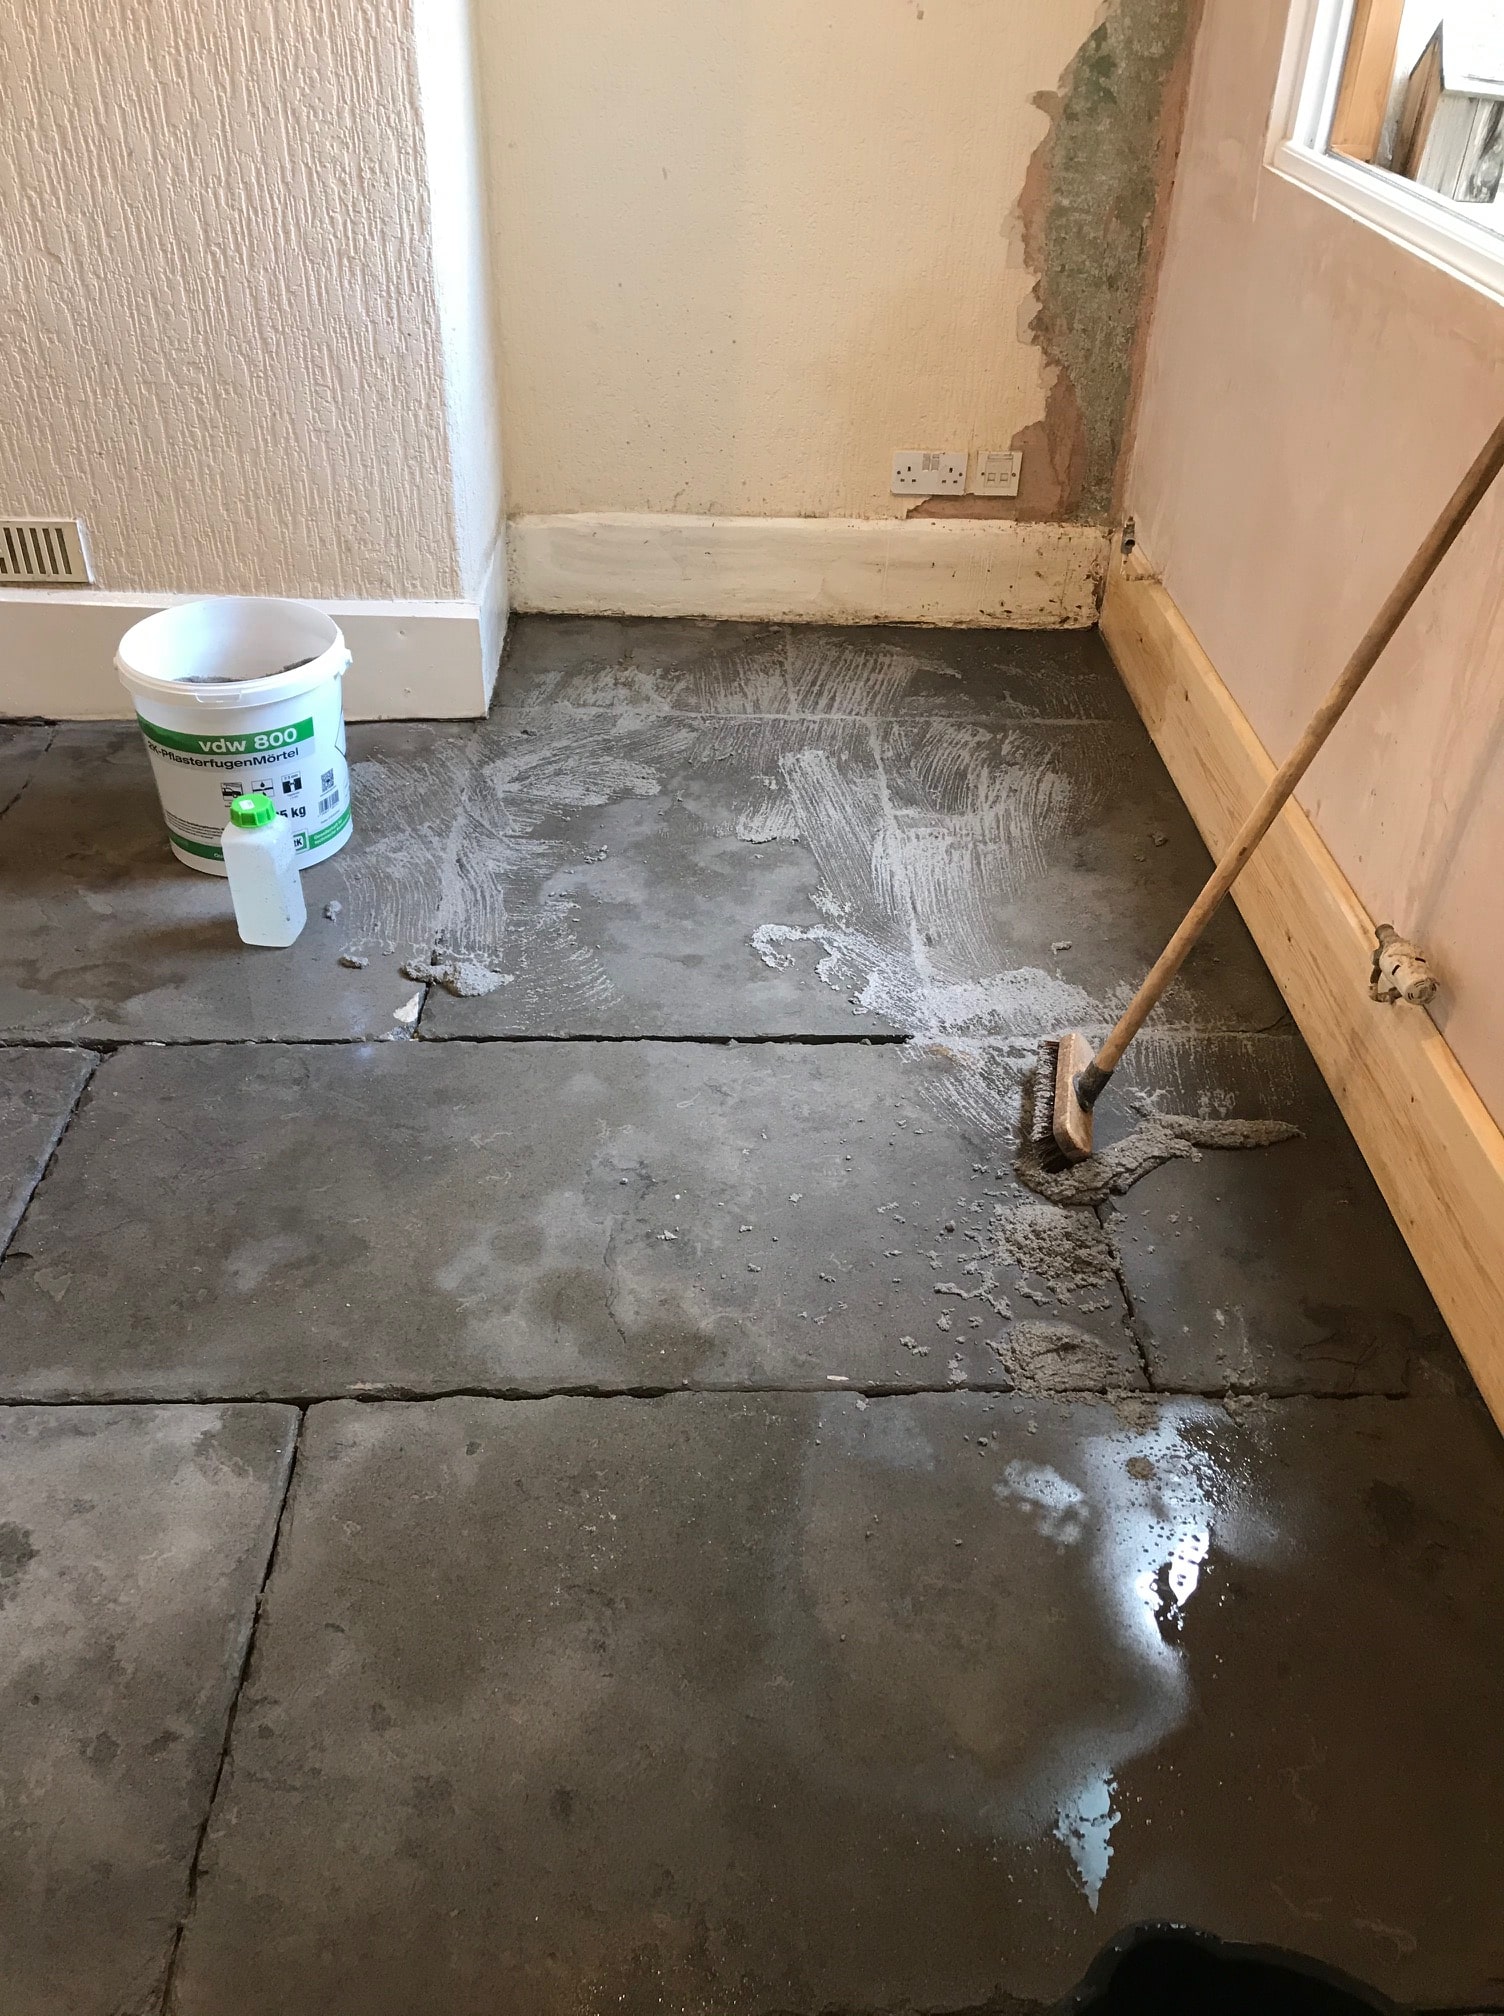
Milling a floor is arduous work and requires the use of a heavy rotary machine that can apply weight onto the stone so the milling pads can really get a bite into the surface. Because of this I roped in a colleague to help take some of the strain. Some of the areas of bitumen and screed were so prominent we used an SDS hammer action drill with a flat bit to chisel them off first, this can leave a few marks in the stone which we then level out with the milling pads starting with a 50 grit and go all the way up to a 400 grit.

Flagstone Floor During Renovation Carnforth Flagstone Floor During Renovation Carnforth

We used a lot of water during this process to help lubricate the abrasive action of the milling pads, this also helps to rinse off the soil that is created, all of which is extracted with a wet vacuum.

Next step is to give the floor an acid rinse with Tile Doctor Grout Clean-Up which is designed to neutralise any alkaline salts in the stone that could result in efflorescence later.

With the floor cleaned up the last step was to re-point between the Flagstones using a breathable pointing product called GFtK 800.

 
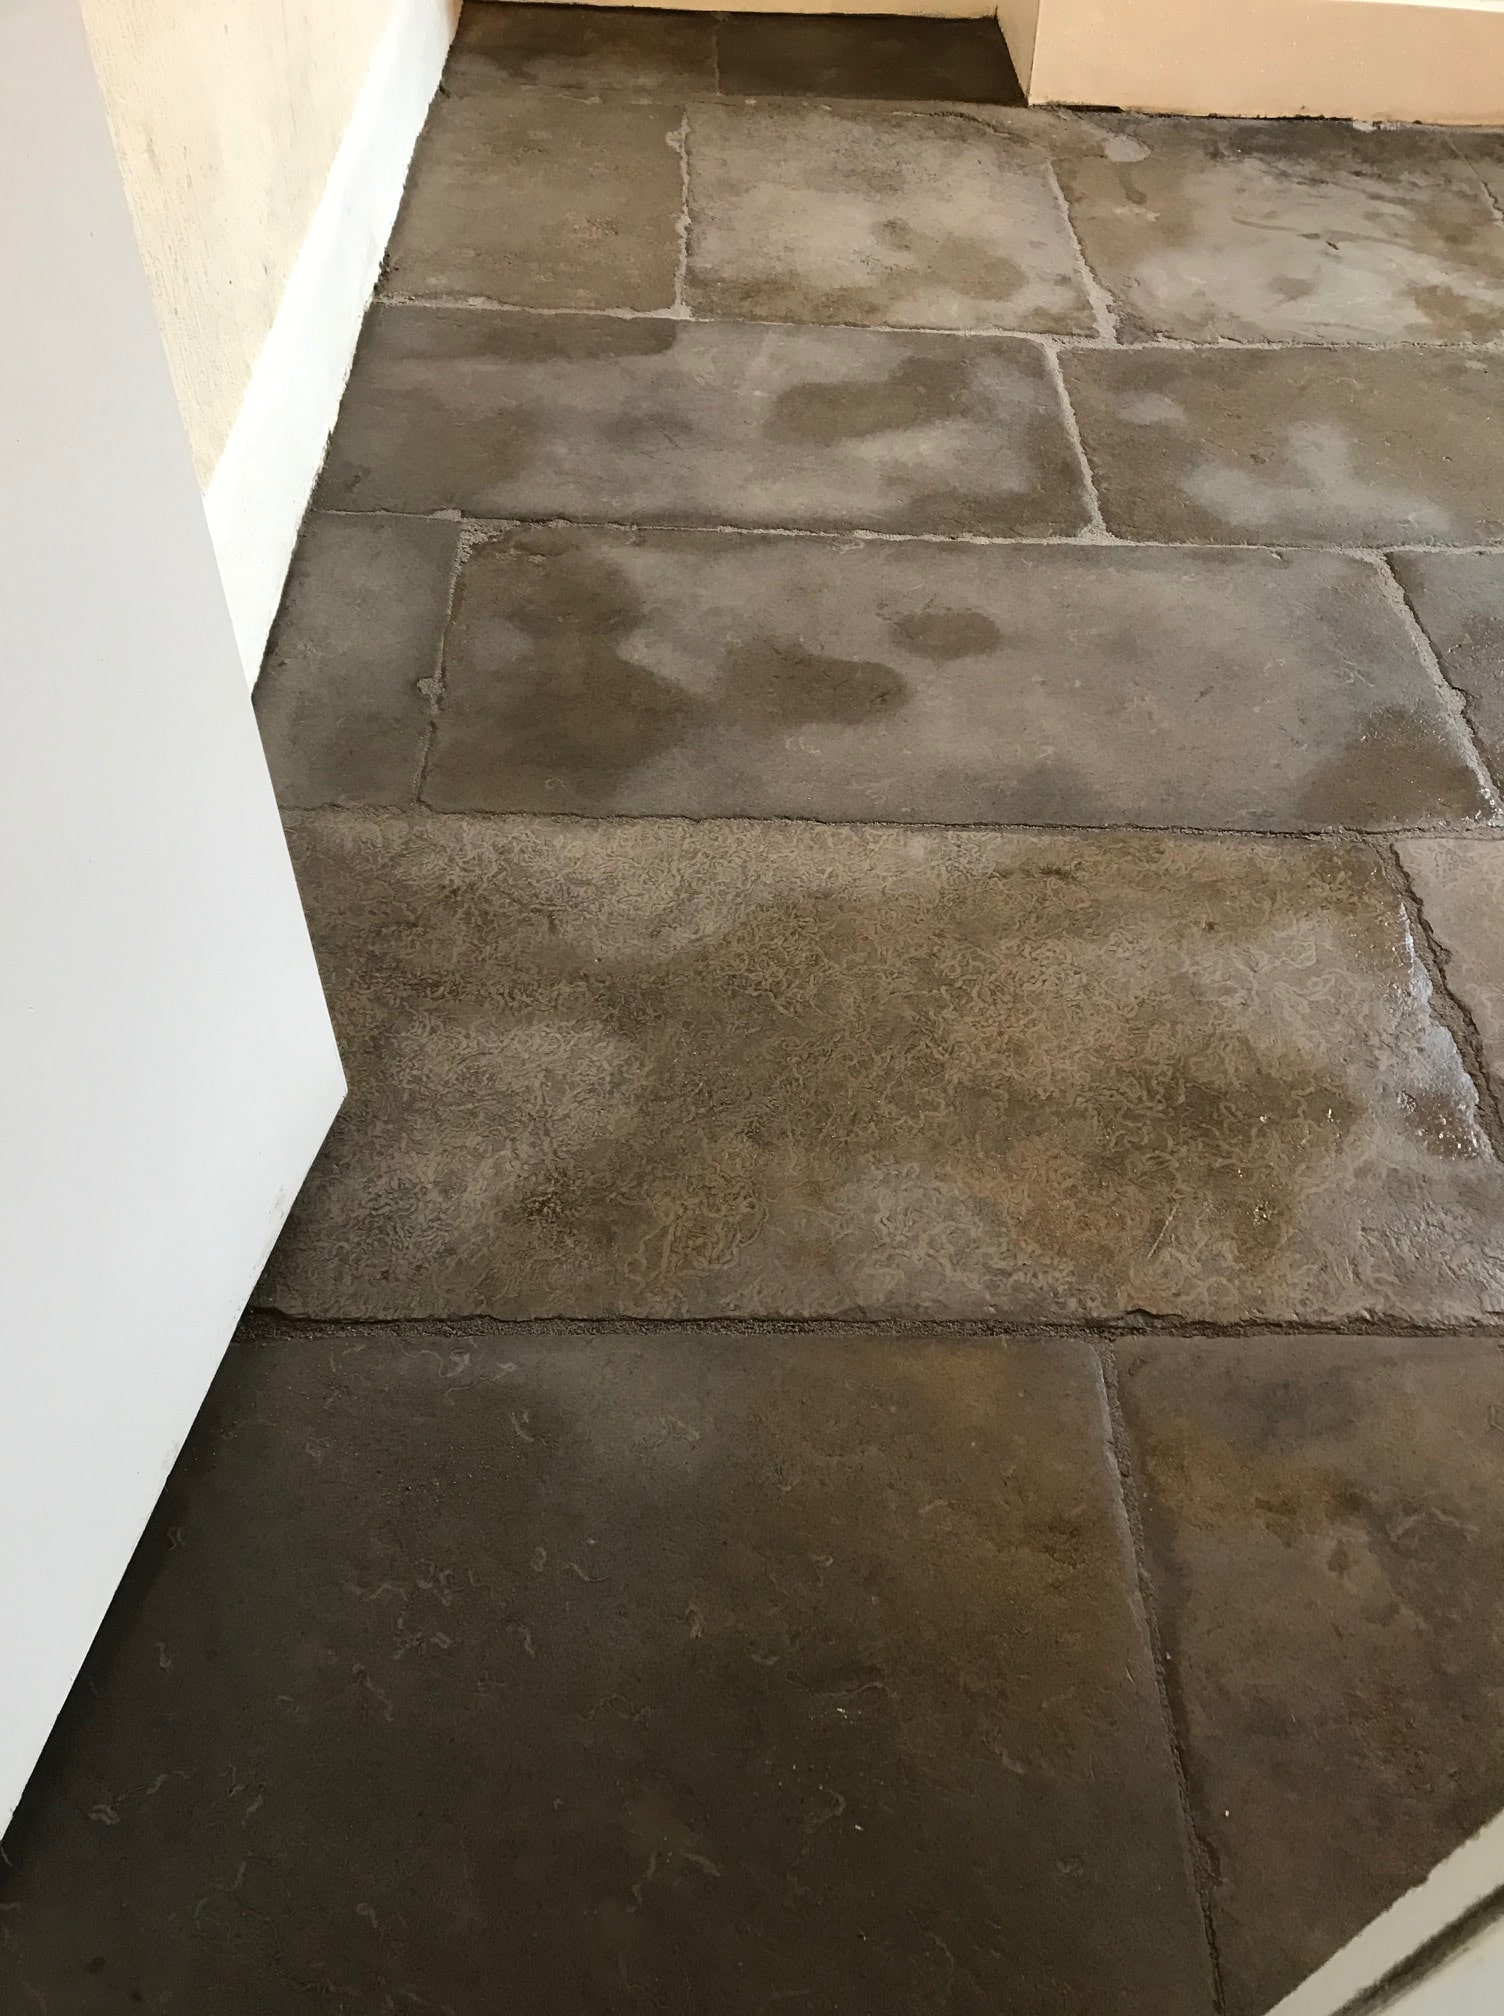
Flagstone Floor After Cleaning Carnforth Flagstone Floor After Cleaning Carnforth


Sealing a Flagstone Tiled Ground Floor

Sealing was the next step however the floor was still quite damp after the initial renovation, so it was left for a few days to dry out first.

We selected a fully breathable sealer for this floor, this is an important requirement for a floor with no damp proof membrane as it will allow moisture to rise through the flagstone and evaporate at the surface. The concrete screed and bitumen covering will have prevented this previously which is dangerous as a build up of moisture in the stone can lead to it crumbling and you risk moisture reaching out to the walls where it can lead to rising damp. 

Tile Doctor has three breathable sealers to choose from and in this case the customer decided to go with Tile Doctor Colour Grow which is an impregnating sealer that protects from within and enhances the natural colours in the stone.

 
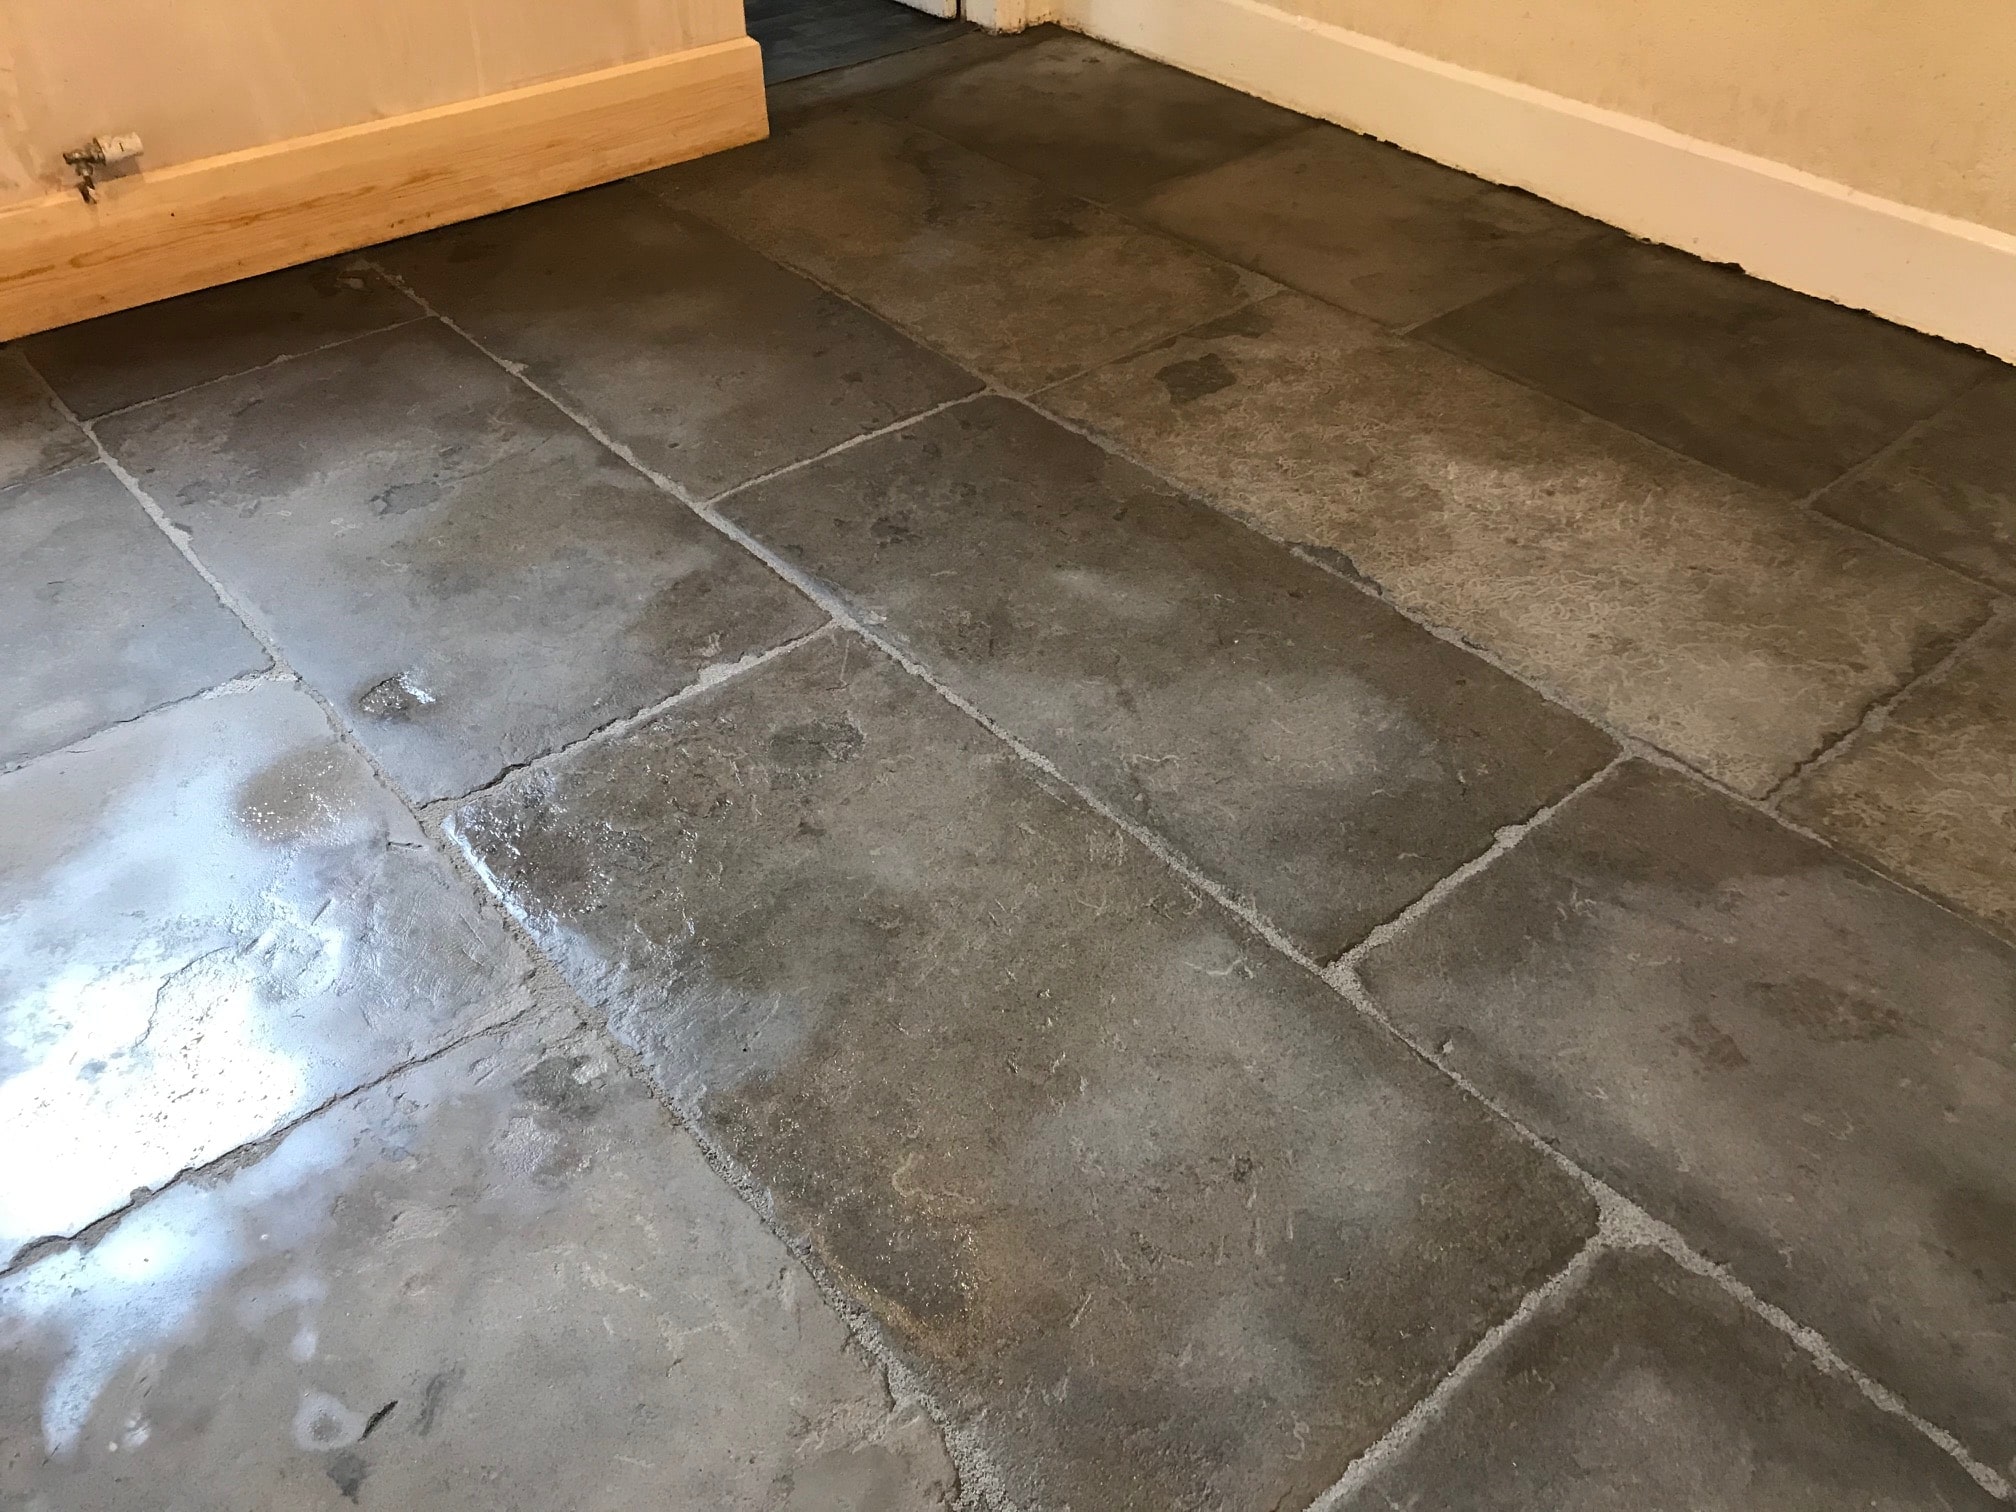
Flagstone Floor After Sealing Carnforth Flagstone Floor After Sealing Carnforth
The floor was completely transformed by the end of the third day, you would not have known it was the same floor. It was now clear of all the previous coverings and now looked like a characterful old Flagstone floor should.

Before leaving I recommended, they use Tile Doctor Neutral Cleaner for everyday cleaning, being pH neutral it won’t prematurely erode the sealer allowing it to work for longer. I also advised that it’s possible that parts of the stone may go a shade darker in winter and a shade lighter in summer due to the moisture rising through the floor.


Monday, September 23, 2019

How to Deep Clean and Renovate a Travertine Tiled Floor

The client in Bishops Cleave contacted me as she was so frustrated with her Travertine tiled floor she was thinking of having it taken up. The tiles had been laid throughout the Hallway and into the Kitchen many years prior. The appearance of the floor had slowly deteriorated over the years to the extent that she was now having real trouble getting it clean.

Travertine Tiled Kitchen Floor before polishing Bishops Cleave

I arranged to visit the property in Bishops Cleave which is a small village between Cheltenham and Tewkesbury. The floor was indeed in need of attention, the sealant had clearly broken down and dirt had become ingrained in the pores of the stone. I discussed with the client what could be done to restore the appearance and demonstrated the cleaning process on part of the floor. She was thrilled with the result and about the possibility of getting the floor restored. Better still she would avoid all the disruption of relaying the floor and of course the cost. We agreed a price to carry out the work and I arranged a suitable date to return and complete the work which would take two days.

Travertine Tiled Kitchen Floor before polishing Bishops Cleave


Renovating a Dirty Travertine Tiled Floor

Returning to the property the first task was to protect the kitchen units and wooden stairs with masking film. I then started cleaning with floor with a coarse 400-grit Diamond burnishing pad fitted to a rotary floor buffer using water to lubricate the abrasive process. The pad is run over each tile a few times and then once the section is completed the floor is rinsed with more water and fine slurry extracted with a wet vacuum.

This process is then repeated with the medium 800-grit pad and fine 1500 grit pads, again rinsing with water and extracting after each pad with the wet vacuum. it’s a slow process but burnishing the floor in this opens the pores in the stone so the dirt can be removed and then closes them up again so restore its appearance.

The grout lines were quite heavily soiled with dirt, so my next task was to scrub them with a strong dilution of Tile Doctor Pro-Clean. The area was then again rinsed, and the soil extracted leaving the floor to dry off overnight.


Sealing a Travertine Tiled Kitchen Floor

Returning the following morning, I then spray burnished the floor with a 3000-grit polishing pad to remove any residue that might have been left behind and to further bring up the polished appearance of the Travertine.

This final pad is applied dry with only a little water, so it leaves the floor nice and dry and ready for sealing. For the sealer I had selected Tile Doctor Ultra Seal which is a no-sheen, penetrating sealer which doesn’t change the appearance of the stone leaving a natural finish. It is formulated to provide maximum stain protection, so is particularly good in kitchens. It is also an excellent grout sealer. The sealer was applied and left to dry for an hour then buffed again with the 3000-grit pad. This gave the floor a lovely finish and the natural beauty of the Travertine was at last able to shine through. I was very pleased with this restoration.

Travertine Tiled Kitchen Floor after polishing Bishops Cleave Travertine Tiled Kitchen Floor after polishing Bishops Cleave

The client was delighted and very pleased the she had contacted Tile Doctor, the floor looked great. She was very happy she had not needed to replace the floor. I suggested to her to maintain the floor she should use Tile Doctor Stone Soap which is a pH balanced product which you dilute. It will ensure the seal is not compromised and will keep the floor in great condition.

Travertine Tiled Kitchen Floor after polishing Bishops Cleave


Source: Travertine Tile Cleaning and Renovation Service in Cheltenham